
If you’re ready to embrace your own custom van build, prepare to embrace power tools too. These seven power tools are my essential quiver for working on my van build.
Until this summer, I had limited experience with power tools. I’d used a drill while working in a ski shop. I have an electric toothbrush because I’m lazy. But other than that, I was a voltage virgin.
However, after being seduced by Instagram and encouraged by a ludicrous Colorado housing market, I decided to build out a van — lack of experience with power tools be damned.
Over the past two months, after asking countless questions of a friend who’s a van builder and making equally innumerable shoddy cuts, I’ve gained an elementary understanding of a few power tools. This article will likely be laughable to professional builders.
But for people like me who are intrigued by van life but feel lost in the looming aisles of Home Depot, I hope this guide is helpful.
A note on safety: Power tools are dangerous. Duh. Operating these buzzing tools while boozed up is not recommended, and reading manuals is probably a good idea.
Impact Driver
I had no idea at the start of our van build, but there is indeed a difference between an impact driver and a drill.

An impact driver is a workhorse tool. Use it exclusively to drive screws into wood, metal, and maybe even your hand if you’re not careful enough. It works with hexagonal bits and uses a satisfyingly effective fusion of continuous rotational force and bursts of downward force to deliver more torque than your average drill.
The impact driver subsequently unscrews mistakes (which you will make daily), powers through metal, sucks obstinate joints together, and gently works through thinner, delicate sheet goods.
While there are some tools you can skimp on if you’re building on a budget, a high-quality impact driver makes a huge difference.
But it now: Makita Impact Driver and Drill ComboDrill
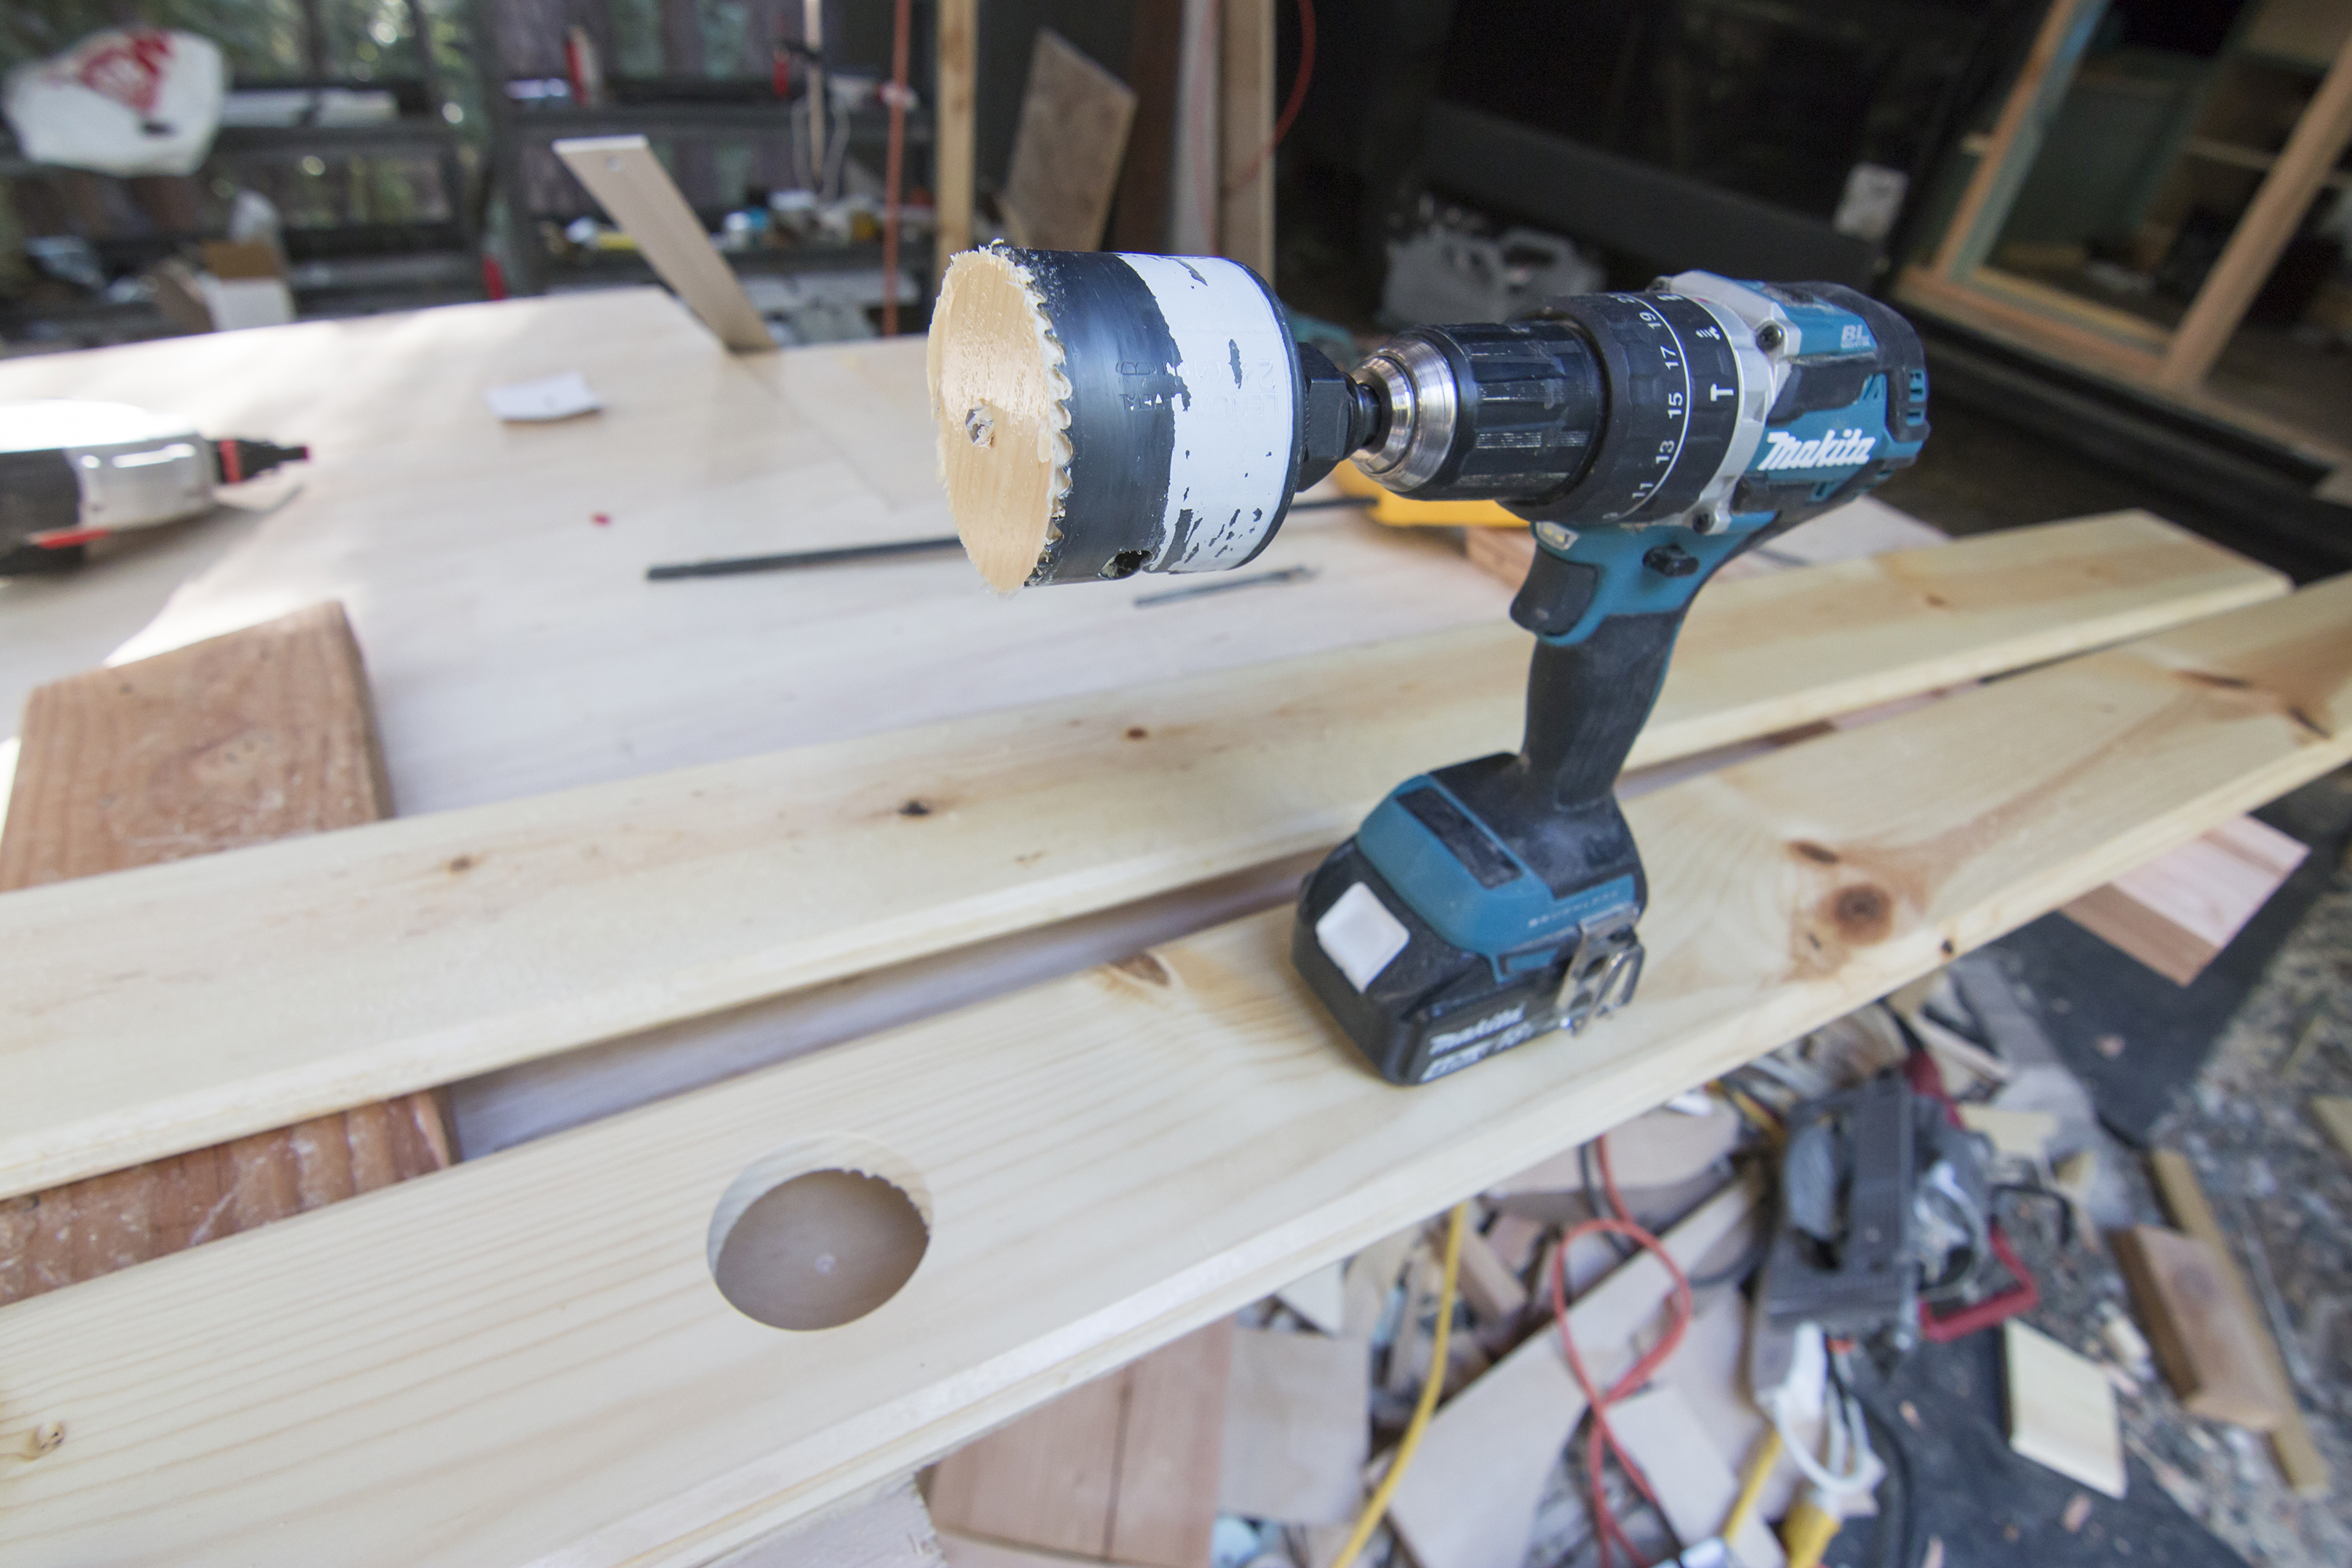
The drill’s job is simple: It puts holes into things. When building a van, you’ll have to drill a variety of hole sizes — 1/16-inch pilot holes through fiberglass when attaching solar panels to the roof, 1/8-inch structural holes into the metal frame of the van, and huge 1/4-inch holes for running wires.
You will drill each of these holes with the same tool. You just have to swap out bits. The hole saw bit (above) cuts out circular shapes and was the coolest bit we used. This bit enabled us to cleanly install LED puck lights directly into ceiling panels. One thing I learned time and time again throughout the build: A quality drill won’t perform well unless you replace old, worn bits.
But it now on Amazon: Makita Drill and Impact Driver ComboCircular Saw

The circular saw is often referred to as a “Skilsaw,” as that’s the brand that most popularized the tool. Of all the tools we used in the van build, the circular saw received the most frequent use.
It’s a handheld saw with a circular blade that can be adjusted by angle and cut depth, and it comes in handy when framing, cutting sheets to shape, and making beveled cuts to paneling. Although the circular saw is purportedly a breeze to use, I still find myself pleased and rather surprised when I make a perfect cut. Circular saws range in price, with entry-level saws available for under $100.
But it now at Home Depot: SkilsawTable Saw

The table saw is both a pain and a delight to use. It’s a pain because it’s heavy as a crashed meteorite and seems to want nothing more than to feast on your fingertips. But it’s a delight because it makes cutting straight lines feasible for even a callow carpenter like myself.
While there are portable table saws that come with relatively affordable price tags, high-quality table saws run steep. To get around the unattractive price tag, we bought a hulking, heavy standalone model off Craigslist for $120 and outfitted it with fresh blades. Another option is to rent a table saw, but this is only worth doing if you know exactly which days of the build you’ll be using the saw, which is tough to do.
The table saw has an adjustable spinning blade that pokes up out of the table, with an adjustable “fence,” essentially a straight metal guide that runs parallel. Essentially, you press one side of the wood against the fence, and the blade rips the other side. If you make precise measurements, use a piece of wood that already has a clean edge (i.e., a factory edge) and run it flush against the fence, the edge of your cut will rival a ruler’s.
But it now at Home Depot: Dewalt Table SawJigsaw
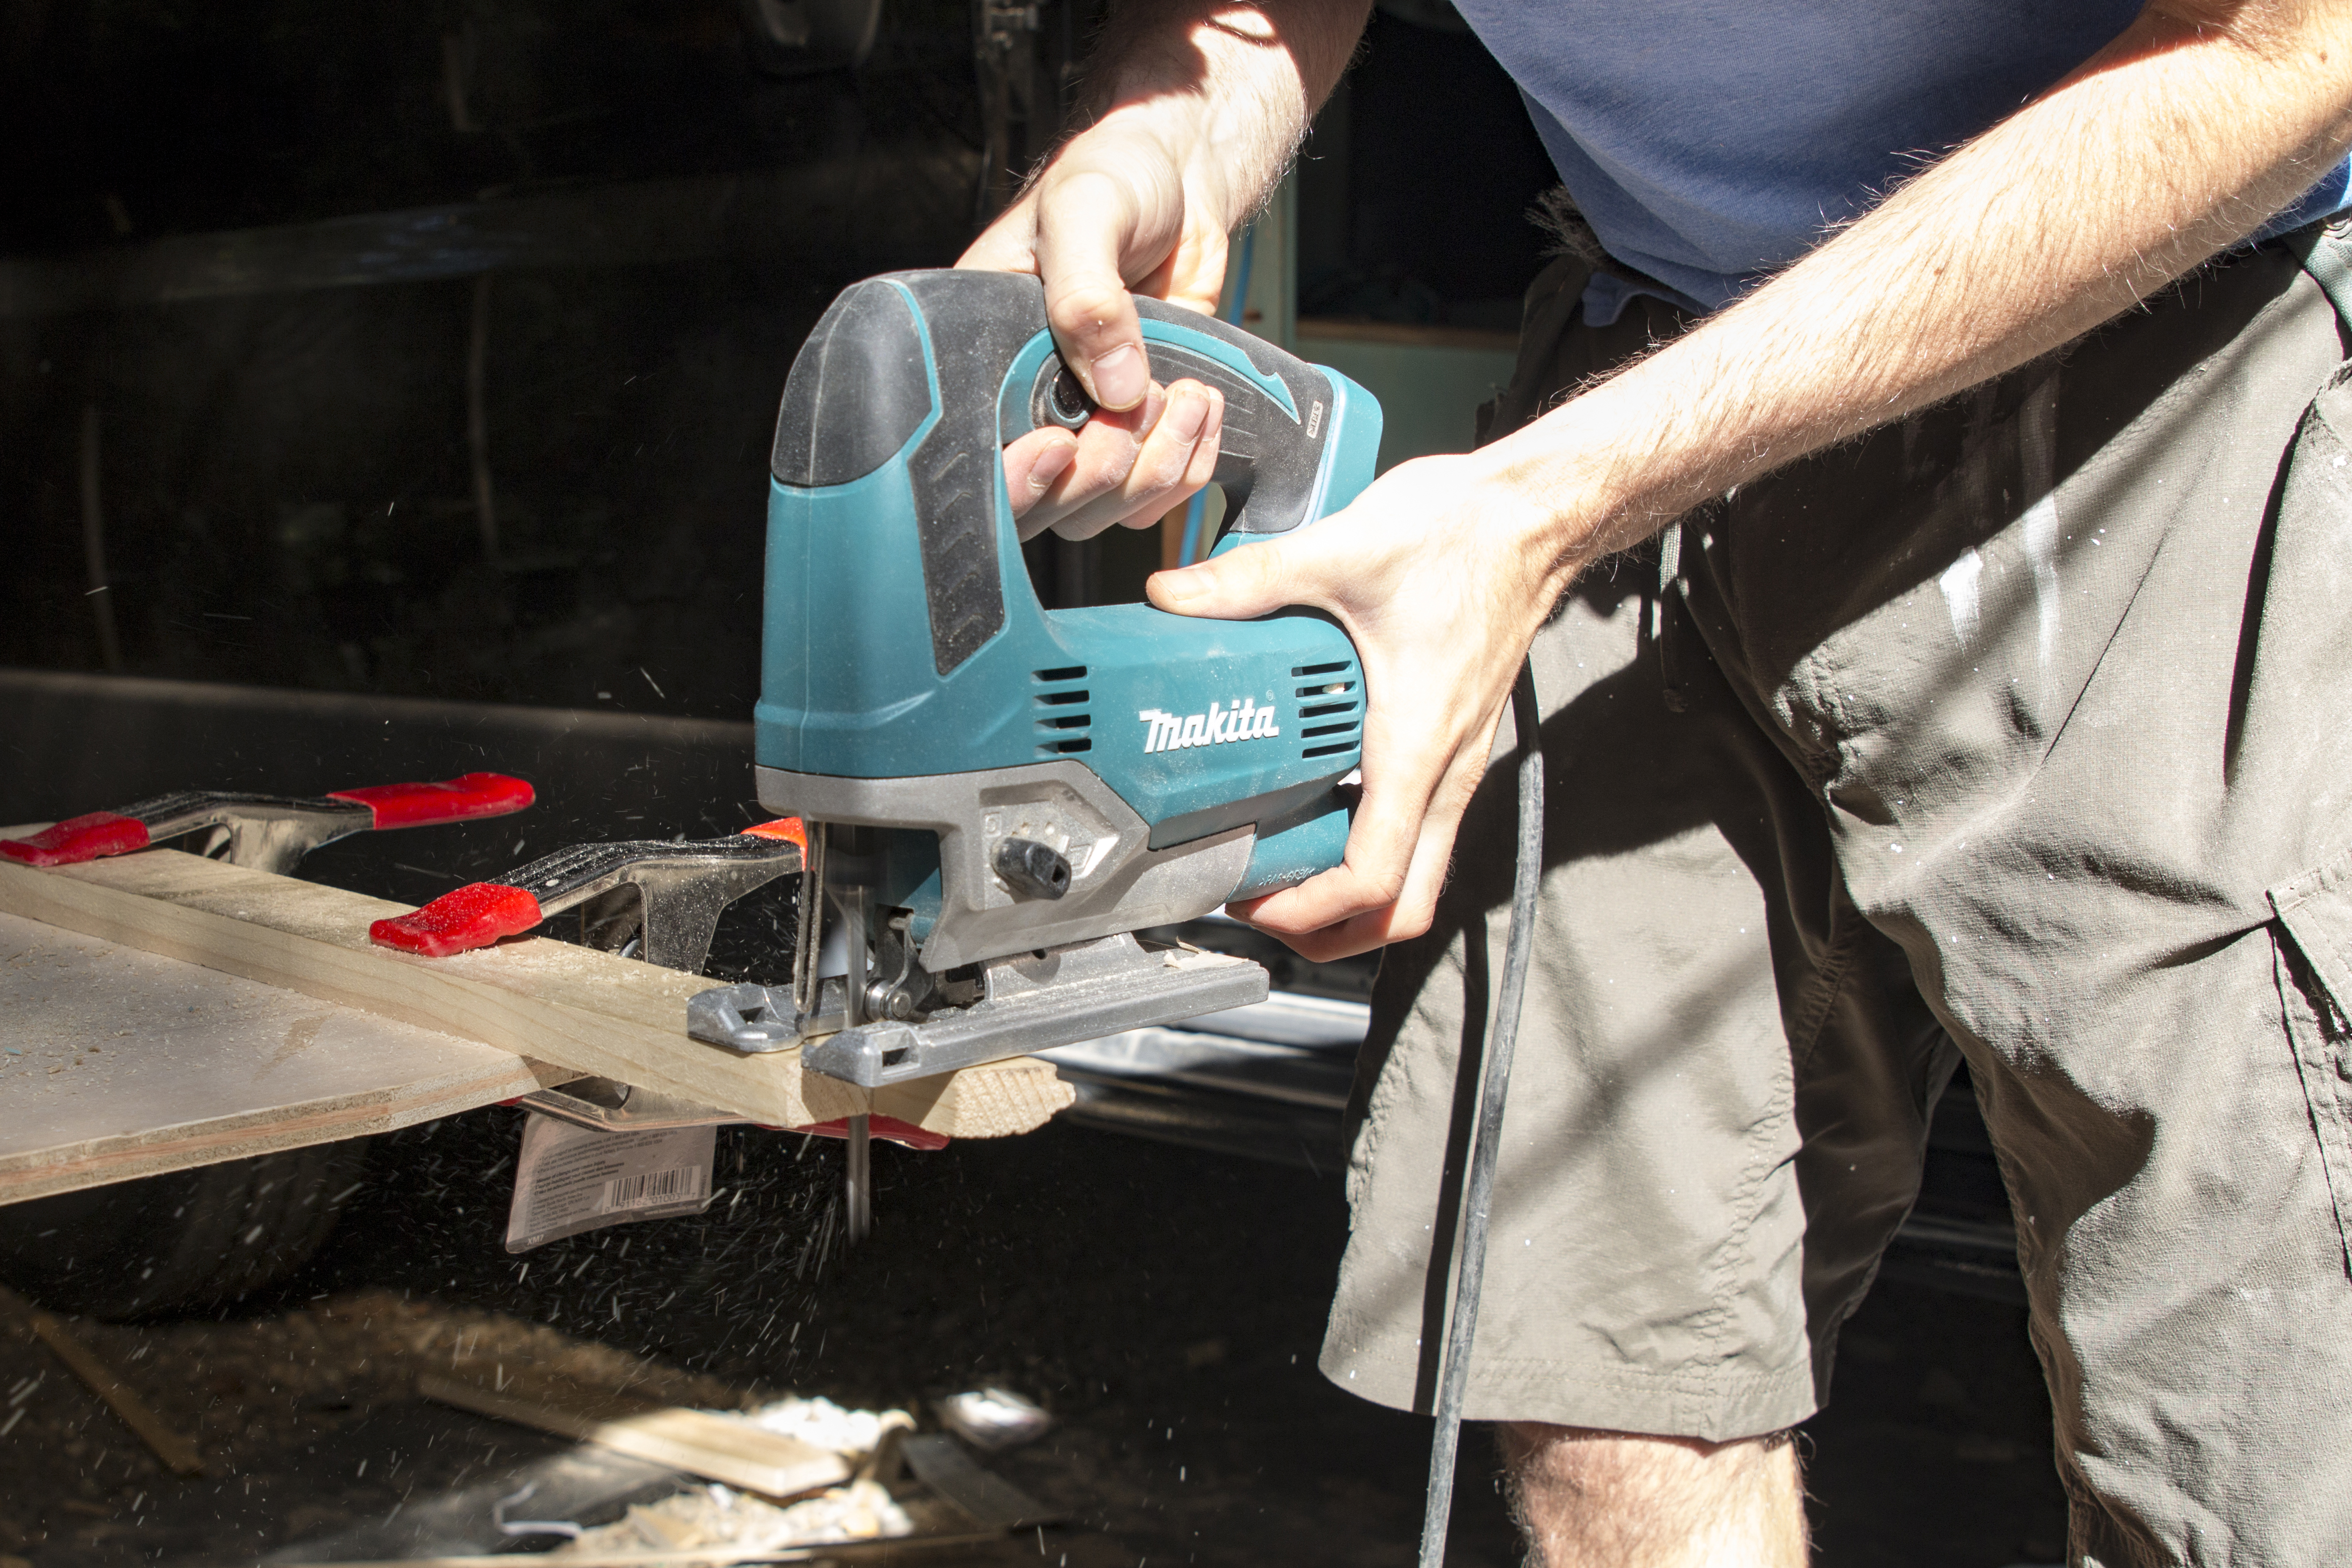
Both the circular saw and the table saw are designed for straight cuts. The jigsaw, on the other hand, is primed for cutting curves. A thin, flexible blade faces forward and pumps up and down, allowing the jigsaw to be coaxed along meandering lines. It can also be useful for nicking and notching materials or finishing a cut that the circular saw already started.
Jigsaw blades are susceptible to damage, especially if you push too hard around corners (been there, broke that). And it can be helpful to slowly ease the saw back and forth or make multiple cuts when taking on tricky curves.
But it now on Amazon: Makita JigsawSander

Even the most adept carpenters rely on a sander to clean up splintered edges and smooth out rough wood. Novices will use a sander religiously.
The sander vibrates, mimicking the natural back and forth motion of sanding by hand, just at a much faster rate. A versatile tool, the sander’s function is completely dependent on the grit of your sandpaper. Low-grit sandpaper (50-100) is best for shaving down material, while higher-grit sandpaper (150-320) is best for finishing work. Sandpaper is bought in sheets, which you can quickly change out as required by the task at hand.
Unlike the above power tools, the sander is virtually harmless and is best used while enjoying a beer at the end of a long day of building. As you mindlessly sand down board after board, just think about how arduous doing this by hand must’ve been, and be grateful for the gift of electricity.
But it now on Amazon: Dewalt SanderOxx Coffeeboxx

The Oxx Coffeeboxx isn’t a power tool per se, though it is built like one. Oxx forges the green-bodied cube from a high-density, heavy-duty plastic. It’s almost unreasonably durable. The six-button interface is straightforward, even on those rough mornings when coffee is obligatory before all thought.
It’s designed to be used with K-cups, those easy yet environmentally atrocious plastic cartridges. So instead, I use it with reusable K-cups. They’re still simple but don’t make me hate myself for further contributing to the Great Pacific Garbage Patch.
The Coffeeboxx makes zero sense sitting in the casual coffee drinker’s kitchen, and would likely clash with your interior design — unless your countertops are sitting on a couple of sawhorses.
However, should the coffee drinker be in the midst of a construction project and driving a van full of tools and building materials, they can chuck the Coffeeboxx into the chaos without concern for its wellbeing. Completely absurd and amusing all the same, the Coffeeboxx has been one of the most invaluable “power tools” in our van build.
But it now on Amazon: Oxx Coffeeboxx