Materials and construction techniques continue to advance, and outdoor footwear is lighter and better (and more expensive) than ever. Here’s a trick to add longevity to your mountain kicks.

Footwear has evolved. Trail hikers, boots, and approach shoes now have construction that’s much more complex than similar footwear built a decade back.
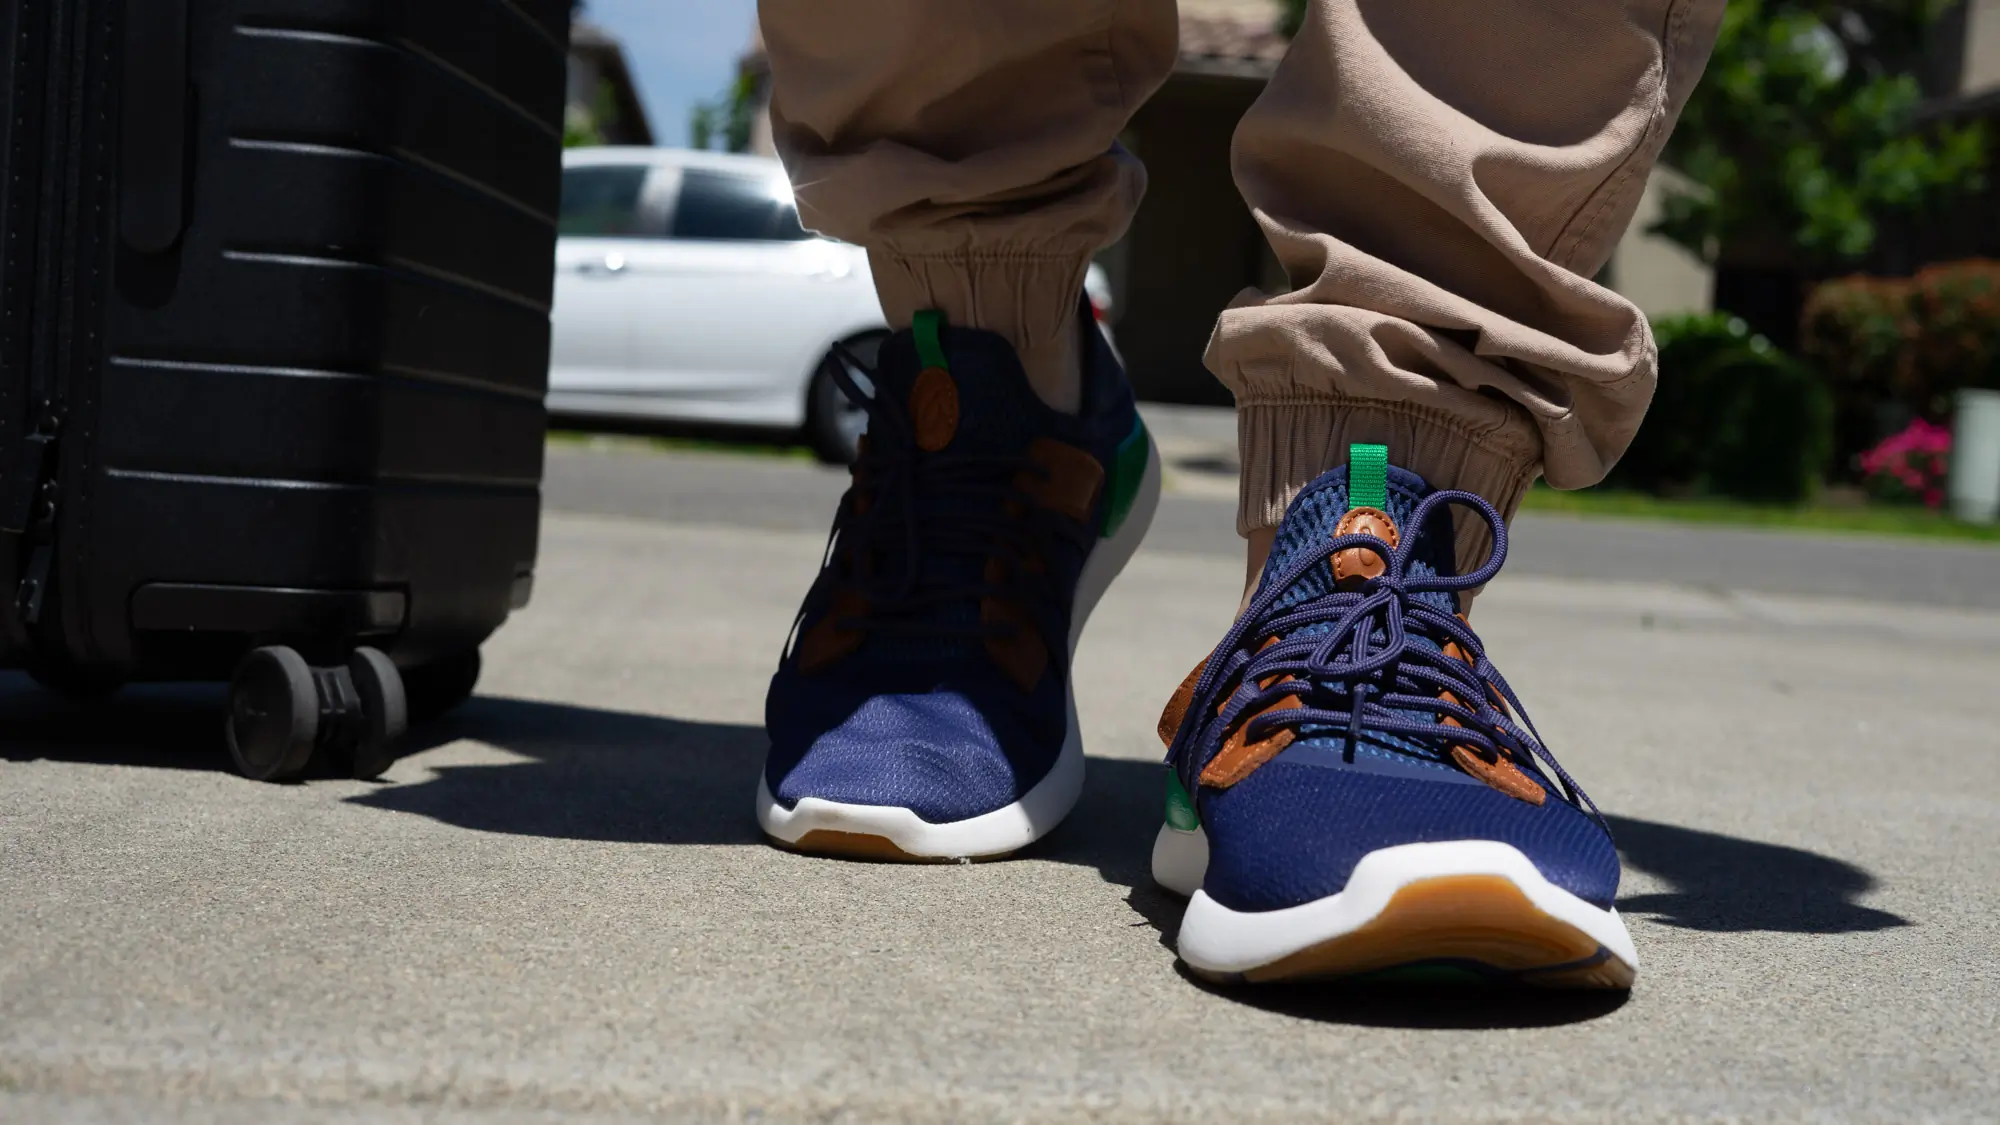
Different types of stitching, gluing, and fabric-welding techniques can be found in one pair of shoes.
These manufacturing processes improve the function of footwear. But they also increase the number of seams and interfacing materials, creating more potential wear points.
Quick Solution
By coating the seams with specialized adhesive, you can seal the holes and protect the threads used in the stitching process. I do this with all new technical footwear.
A layer of glue will also prevent dirt and water infiltration, which can cause the soles to delaminate from the uppers.

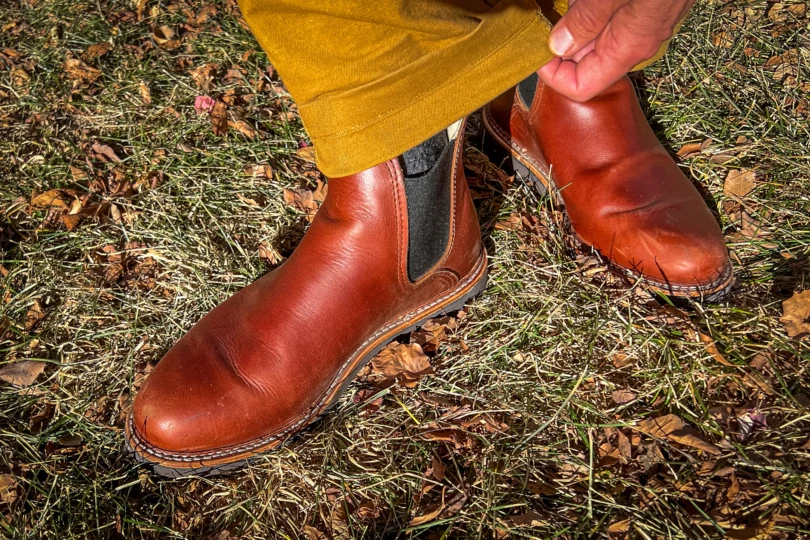
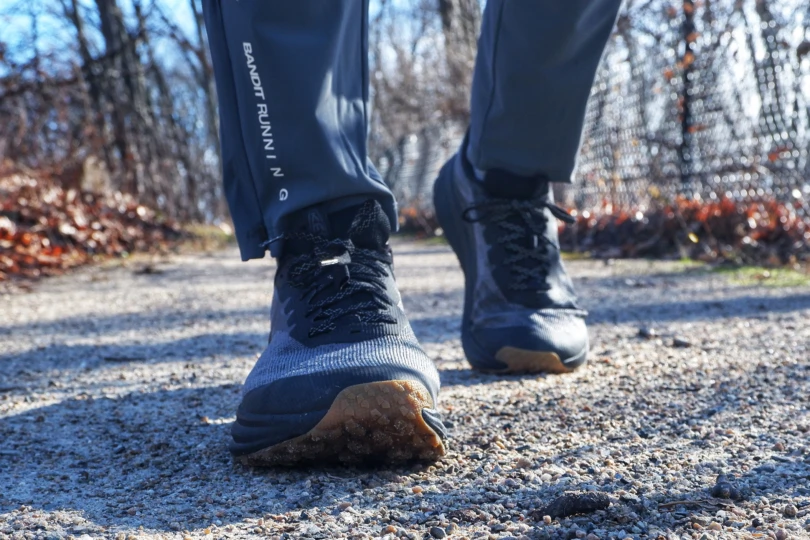
In addition, coating high-use areas with glue, such as the outside edge just below the pinky toe, will help the fabric/leather last longer.
Multiple outdoor-oriented adhesive products are available — Seam Grip, Aquaseal, and Freesole are urethane compounds made by McNett Corporation, each with different viscosities. Shoe Goo, made by Eclectic, is another alternative.

Instructions:
- Prepare your footwear. Ideally you should seam seal your shoes before you wear them the first time. If you are sealing used boots, clean them thoroughly. An old toothbrush and toothpicks can be useful in the process.
- Find a well-ventilated area (ideally outside). Follow the safety instructions of the particular glue you are using. Cover the floor area with newspaper or a flat piece of cardboard and wear thin plastic gloves. This will help keep you and your working area glue-free.
- Spread a thin bead of the glue into the seams and use a small brush to help spread the glue. Excessive amounts of adhesive will compromise the breathability of the shoes and, for the fashion conscious, will look unsightly. It is better to do several thin applications than one thick messy layer.
- Let the adhesive dry per the manufacturer’s recommended time, and then you are done. Redo the process as the shoes wear.
By sealing the seams of your shoes, they will be more waterproof, resistant to abrasion, and last longer. See the video below for another tutorial.
Dave Anderson is a filmmaker, photographer, writer and explorer based wherever his van, Magic, is parked. When not shivering during an unplanned bivy or editing his latest video in Magic, Anderson can be found leading climbing and trekking adventures in Asia. Read more about Dave Anderson at www.dave-anderson.com.