With today’s access to apps that have GPS tracking along mapped routes, a large population of outdoor recreationists finds themselves unfamiliar with how to read a good ol’ paper topographic map. Having a topo map on any adventure, including day hikes at a local park, can provide a huge advantage.
Sure, they’re old school. But topo maps have a huge upside: They’re waterproof and don’t need batteries. Most importantly, once you know how to use a topo map, your comfort and confidence will skyrocket in the outdoors.
As a bonus, you’ll know the terrain far more intimately and will remember details for years to come. Plus, you’ll impress your friends and other hikers with your ability to answer all sorts of questions about where you are, what’s ahead, and how to get there.
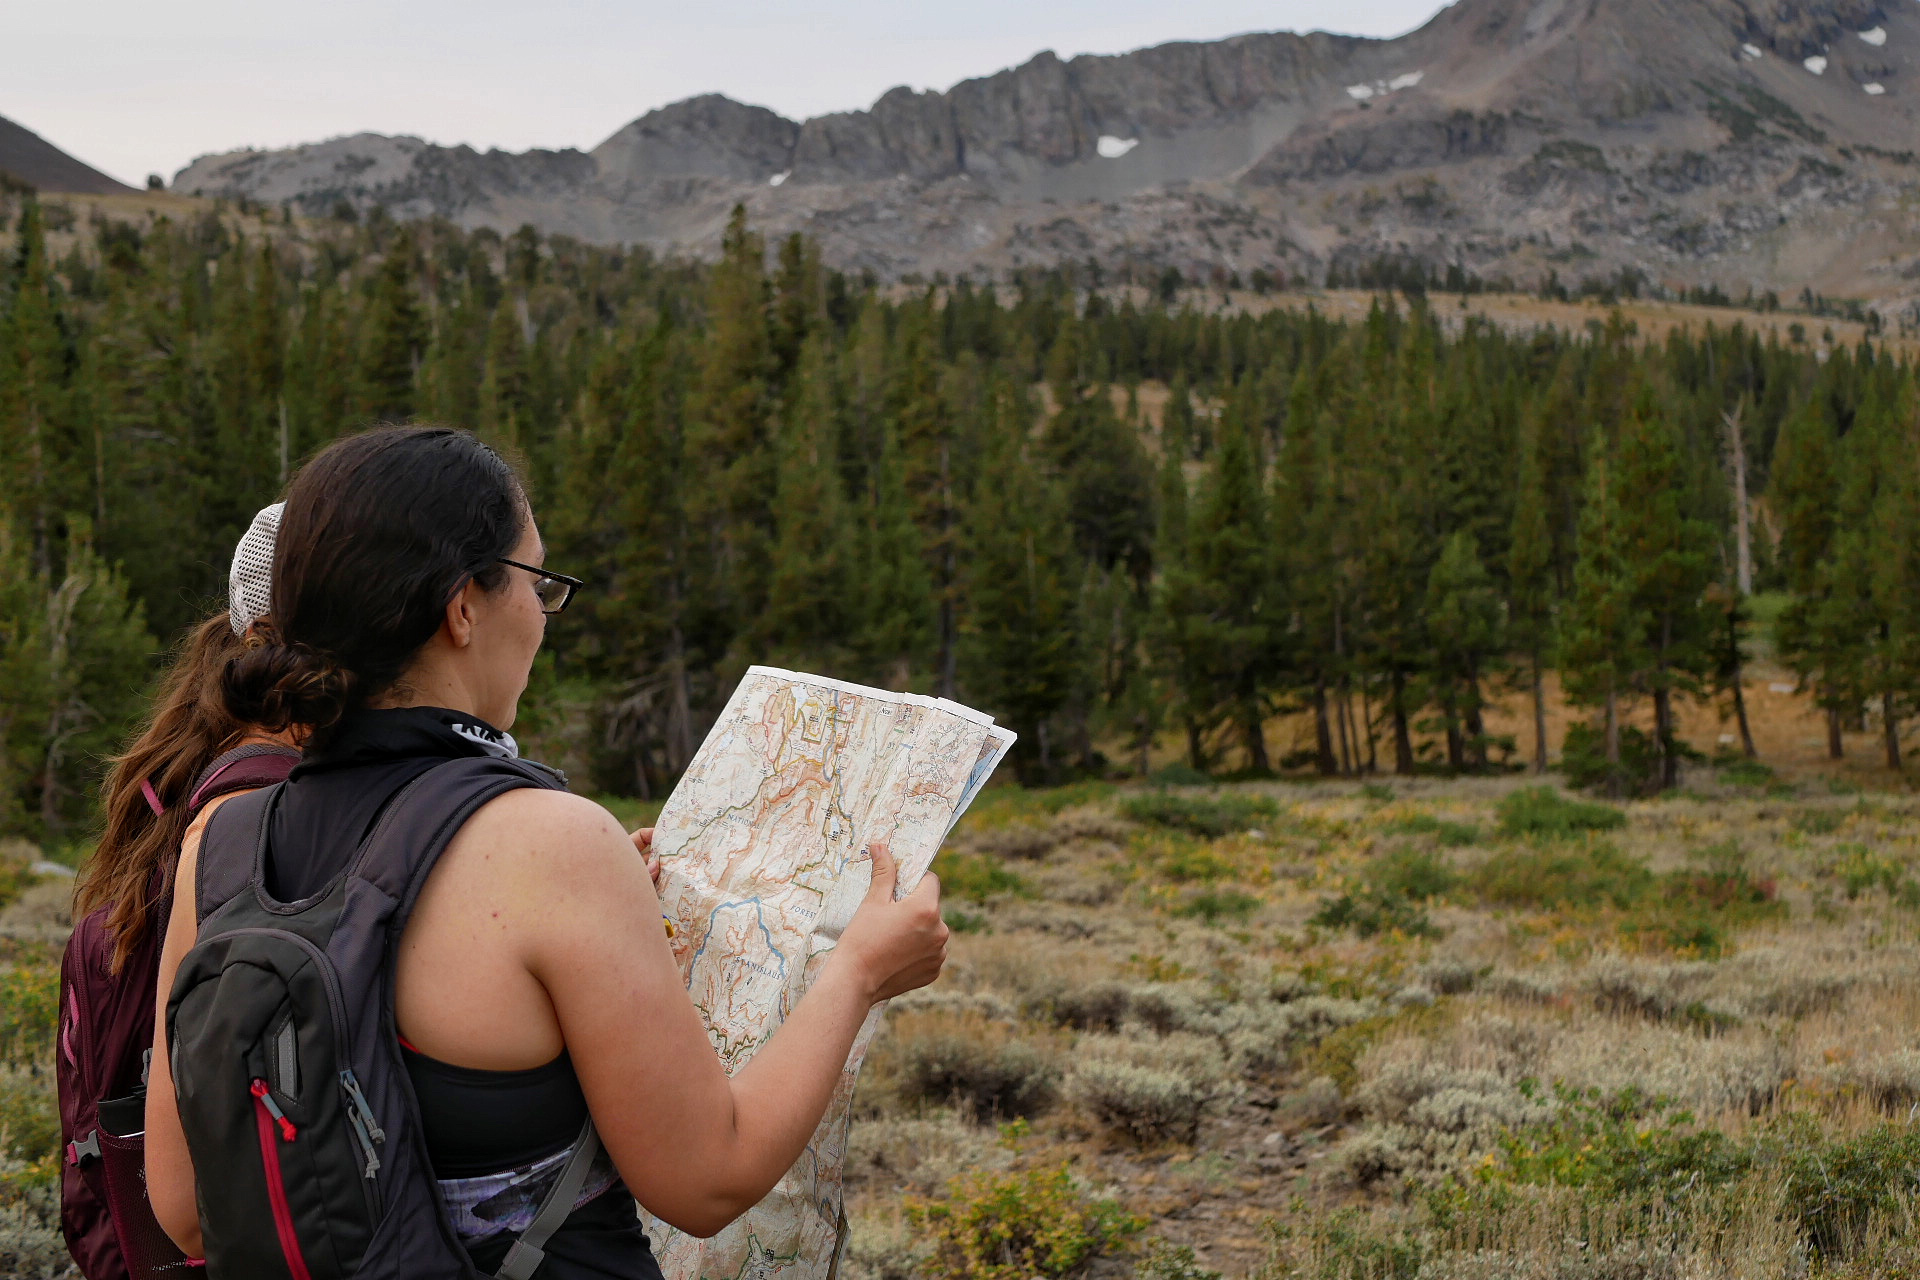
How to Read a Topographic Map
Distance
The first question most people have is, “How many miles?”
On a topo map, there are two ways to determine this:
- Look up the distance listed on the map.
- Measure out the distance using the scale in the legend of the map.
If your map has the distances marked along the trail, you will see the numbers parallel to the dotted line of the trail. That distance is the number of miles between the two markers on that section of the trail (usually between two intersections). Some maps also have numbered popular day hikes and a corresponding table with all the trailhead names, distances, and descriptions.
If your map doesn’t have distances labeled, find the legend and go to the scale with a thick black-and-white line and 0, ½, 1, and 2 miles labeled. Measure out a mile using an item you will have on the trail, preferably flexible like a backpack strap, shoestring, or even a blade of grass, and mark one mile.
Lay this against your trail, stacking distances, to get your miles. Or use the opisometer (map measurer) of your compass if the scales match.
Elevation
The next question is always, “What is the elevation gain?”
This is where the topographic map’s namesake comes in. The contour lines are the distinguishing feature of these types of maps. They are the squiggly lines that run parallel to one another, over the map’s entirety.
Most prominent lakes and peaks have their elevation labeled. The number will be in the same color as the lake or peak’s name and be right next to the name. But when you need to know an elevation outside of what is labeled:
- Find your legend in the same place you found the distance scale. You’ll see “contour interval = XX feet.”
- Find the closest printed number to the location you’re trying to determine. This may be a peak, lake, ridgeline, or intersection, or a labeled contour line.
- Count the contour lines between that label and the location you want to know the elevation of and do the math! Note: You may need to follow a contour line with your finger from where the label is to the location you’re trying to determine.
When the contour lines are incredibly close together, making it challenging to distinguish each line, then the slope is steep (i.e., a cliff band or the side of a peak). Now, if they’re farther apart and you can easily see each line, the terrain is flatter (i.e., a meadow or a mesa).
When the trail runs parallel to contour lines, your trail will be flat. And if it crosses perpendicularly to contour lines, your trail will ascend or descend.

Intersections
Trails intersect other trails, roads, streams, lakes, and saddles. These intersections often mark the end of a distance section labeled on your map, a fork in the trail you need to pay attention to, or a water crossing. A water crossing can mean a source for drinking water, or it may mean danger or impassability during wet seasons like winter and spring.
It’s good practice to stop at every intersection to review your map and answer the question, “Where are we?” An intersection means options, decisions, and easy navigation assistance, as long as you’re paying attention.
Geography
This brings me to my favorite, and I think the most important, part of topo maps: prominent geographical features! This means lakes, rivers, streams, peaks, ridgelines, saddles, valleys, meadows, and cliff bands. Most of the distinct features will be labeled on the map.
Another common question is, “Which peak is that?” Matching each prominent feature you see on the trail with its spot on the map, from the beginning of your hike and consistently throughout, while also utilizing the techniques above, will give you the clues needed to solve the puzzle.

Boundaries
Pull back and look at your whole map. That will help you see the boundary lines for wilderness, national forests, national parks, wildlife areas, Indigenous reservations, ski resorts, and campfire or camping restriction areas. Wherever you plan to day hike, camp, or backpack, you need to know which of these boundaries you are within and what the regulations are.
Common questions like, “Can I bring my dog?” or “Do we need a permit to camp here?” can be answered by determining which boundaries you are within, then consulting the area’s website or ranger station for regulation details. Sometimes, you’re within many boundaries at once and therefore need to familiarize yourself with each area.
Try It!
The best way to learn how to read a topo map is while in the woods, observing the topographic features, and translating what you see in person to what you see on the map. Whether you’re doing homework before an adventure or teaching yourself the magical tools of the topo map, this guide is a great starting point.

Like anything else, the more you practice, the better skills and more knowledge you’ll obtain. Have fun and enjoy the feeling of giddy excitement you’ll come to relish each time you pick up a topographic map!


