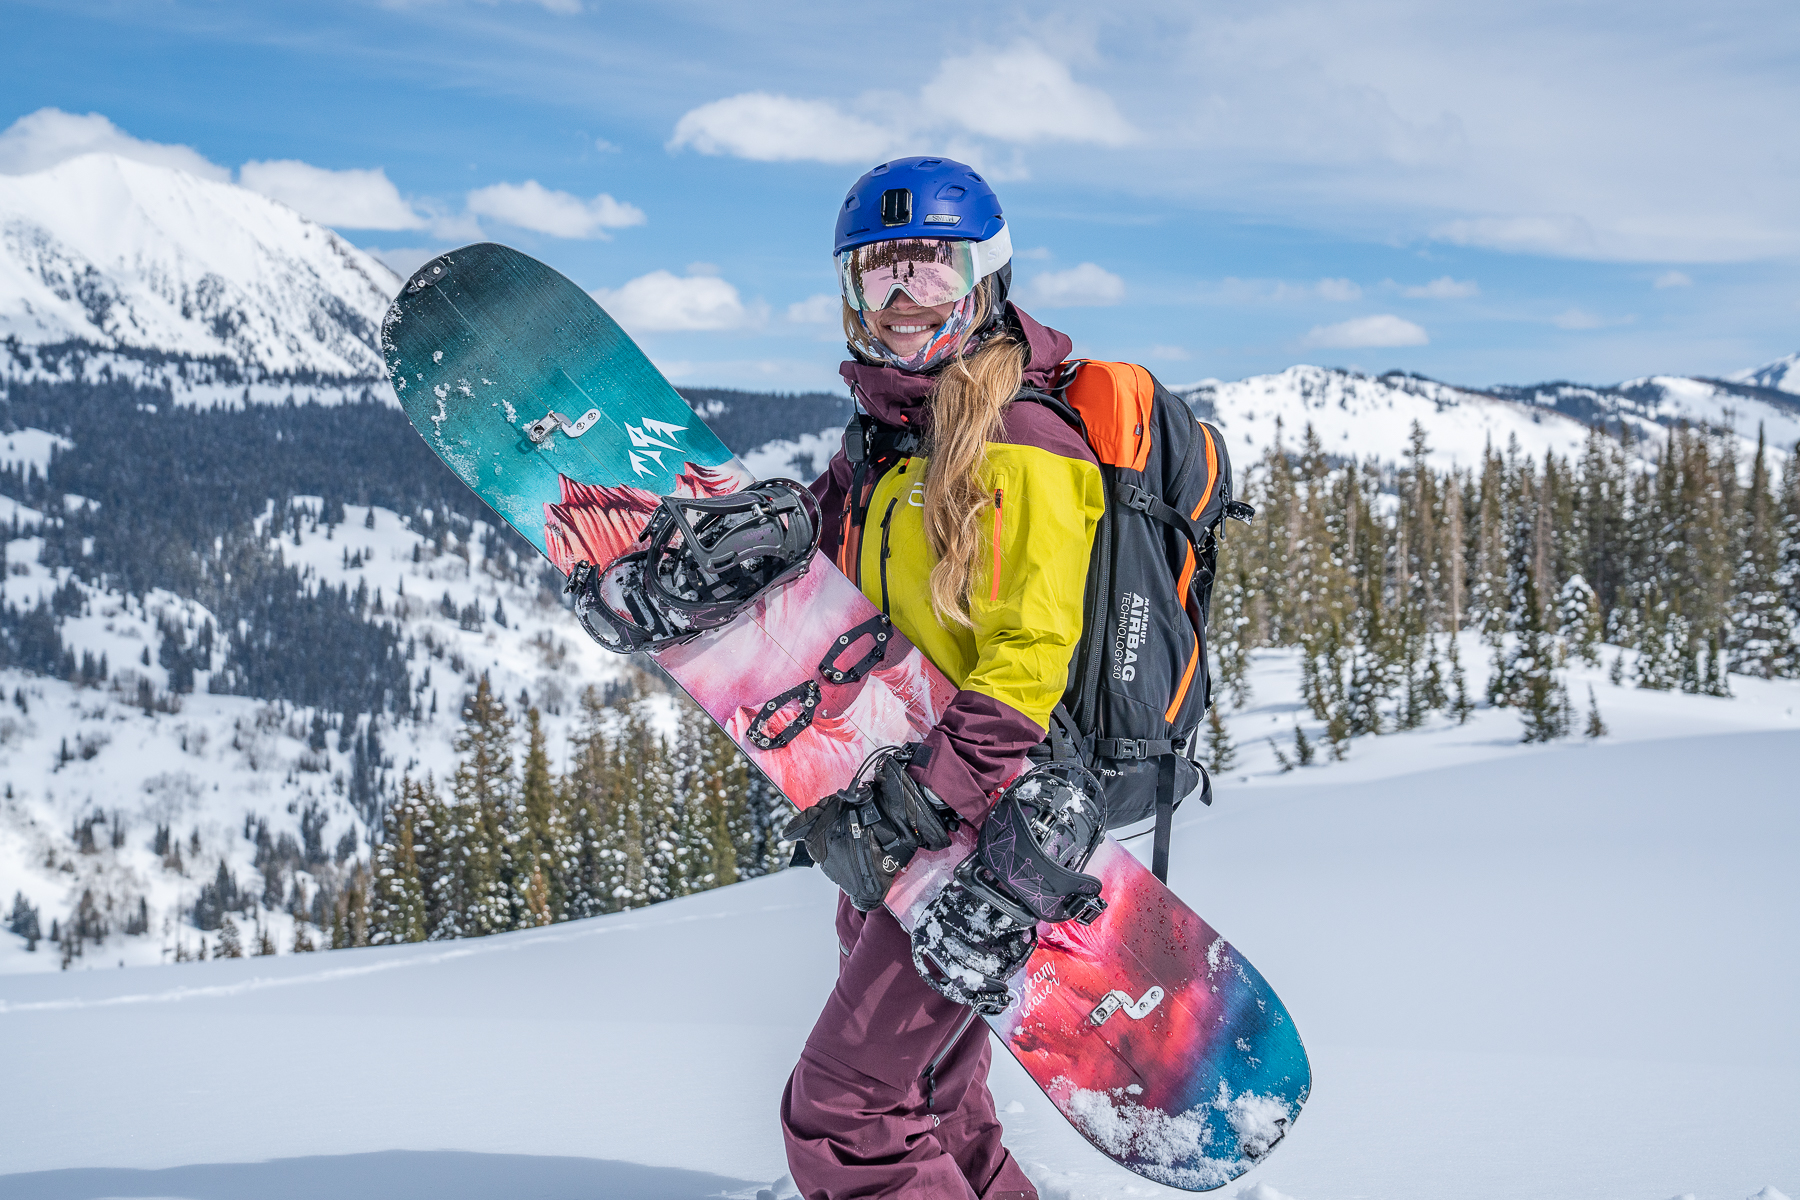
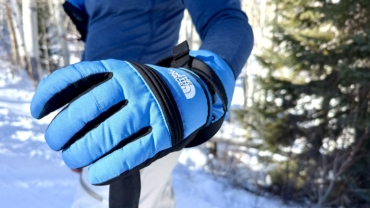
Splitboarding flips the resort experience on its head: Rather than riding chairlifts, you climb uphill then descend untouched backcountry terrain. It’s equal parts challenge and reward. Choosing the right splitboard makes all the difference between a slog and a smooth, unforgettable tour.
It’s important to choose a splitboard that fits your expectations. Splitboard technology has come a long way from the days of running your old board across a table saw.
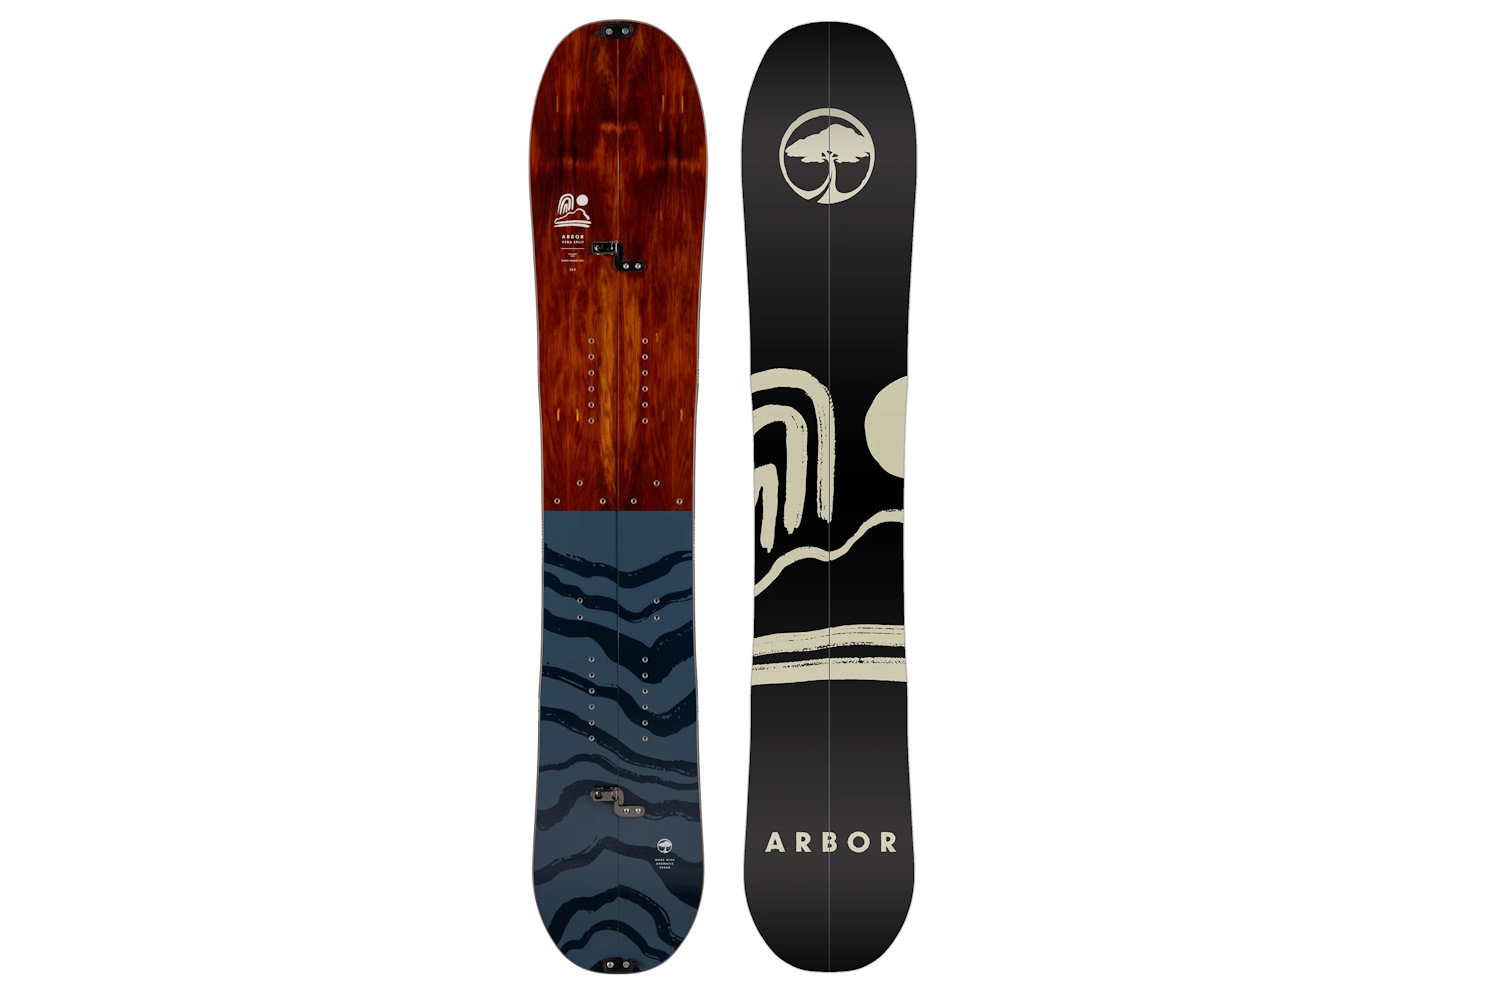
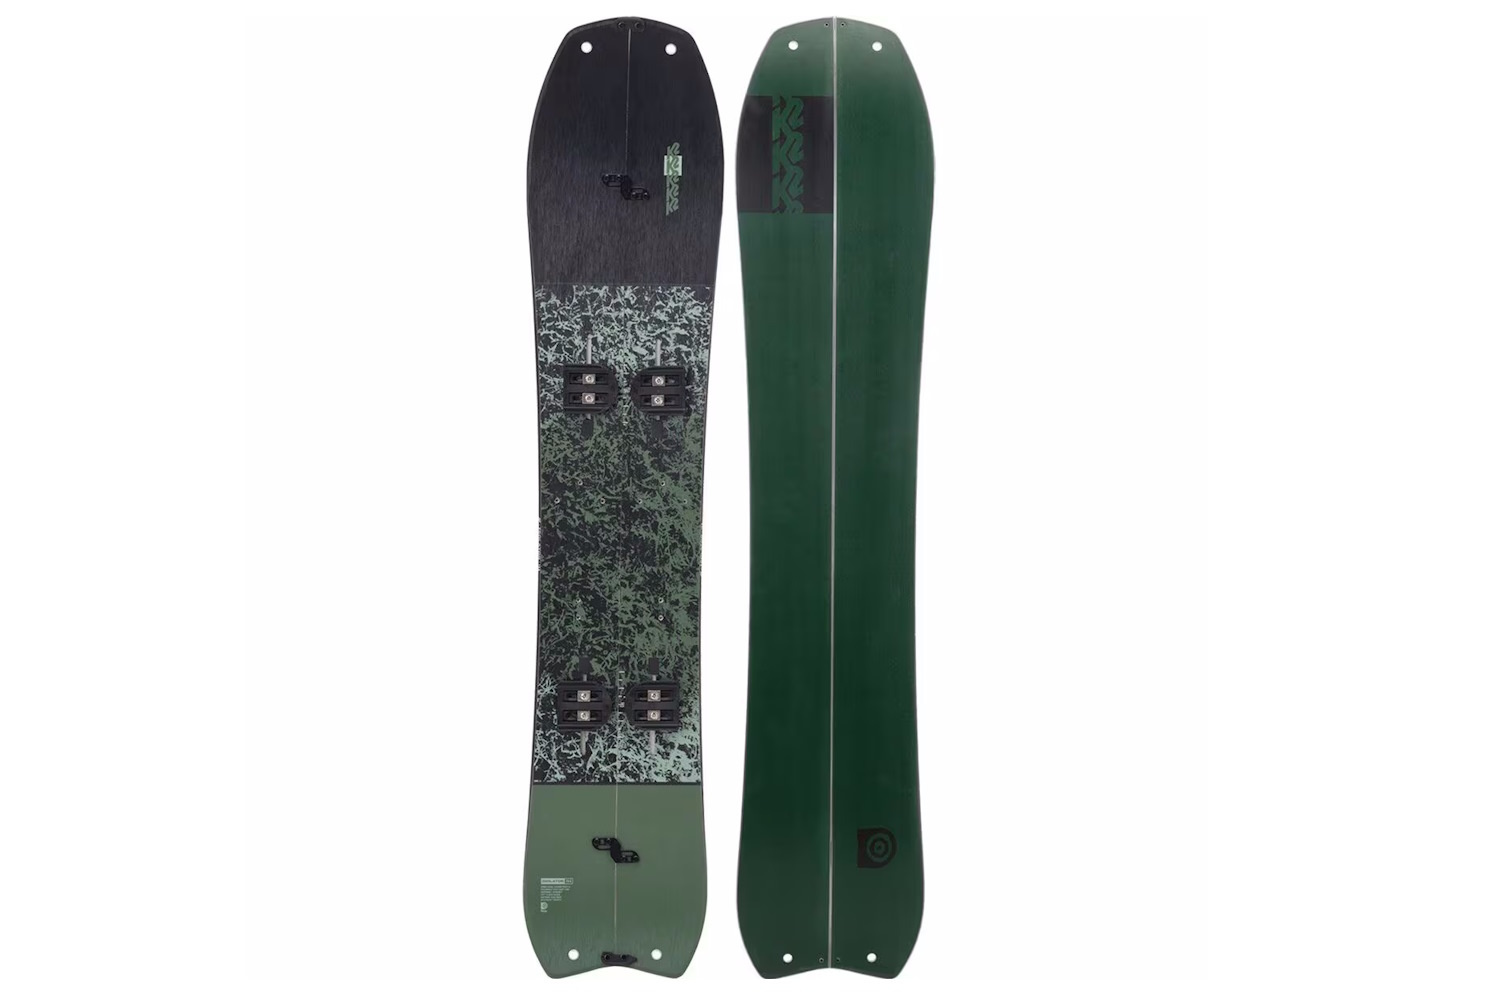
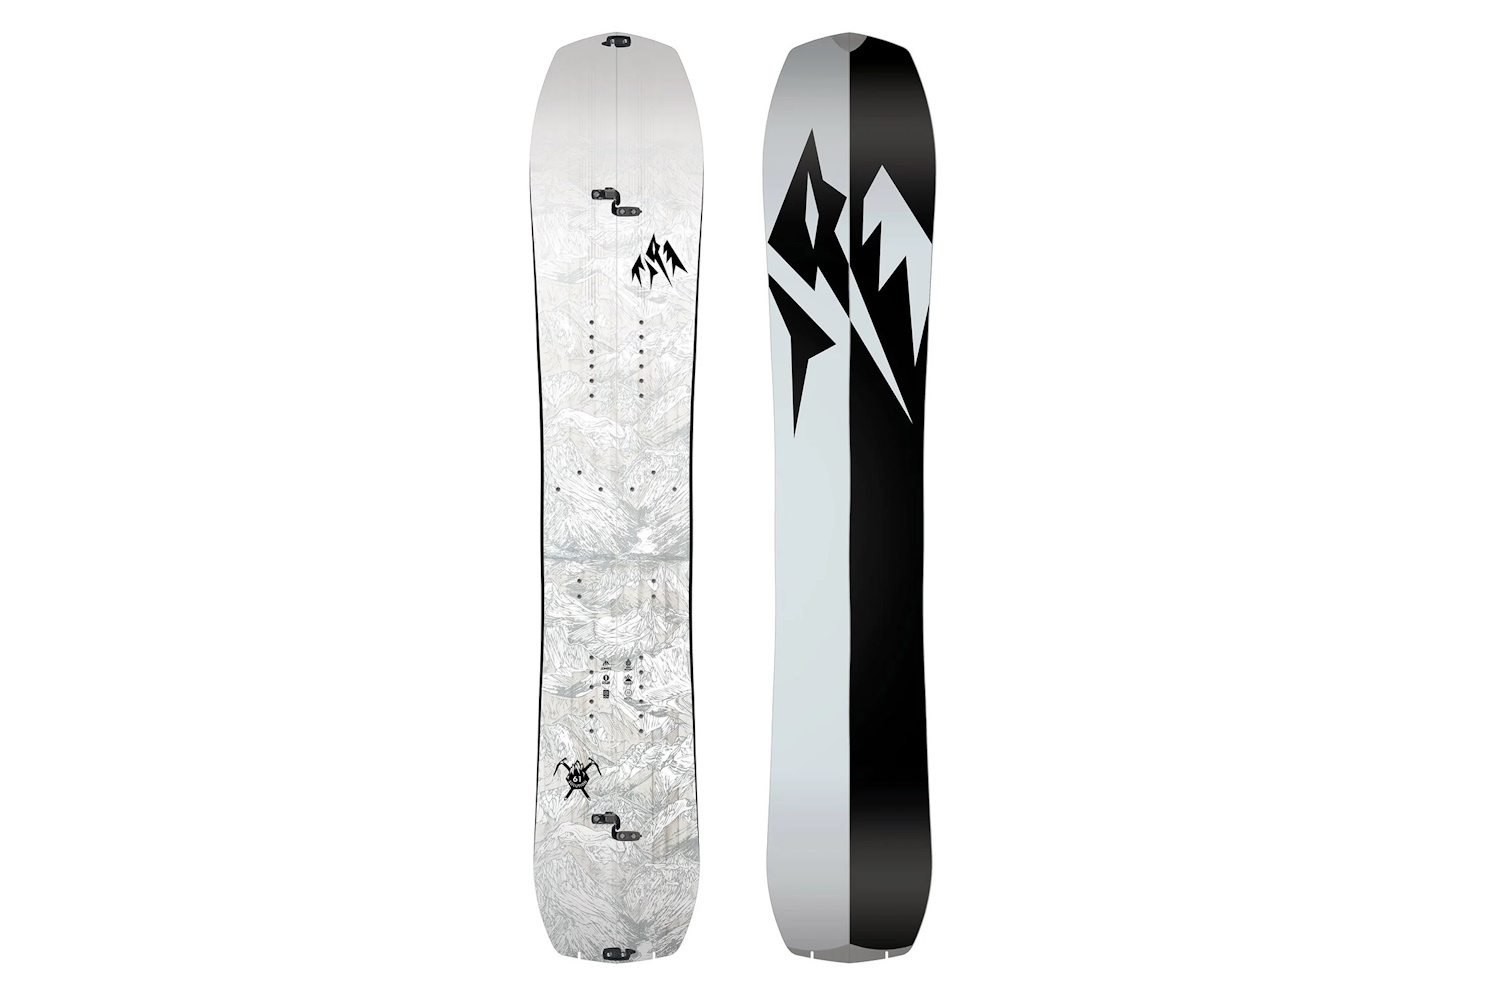
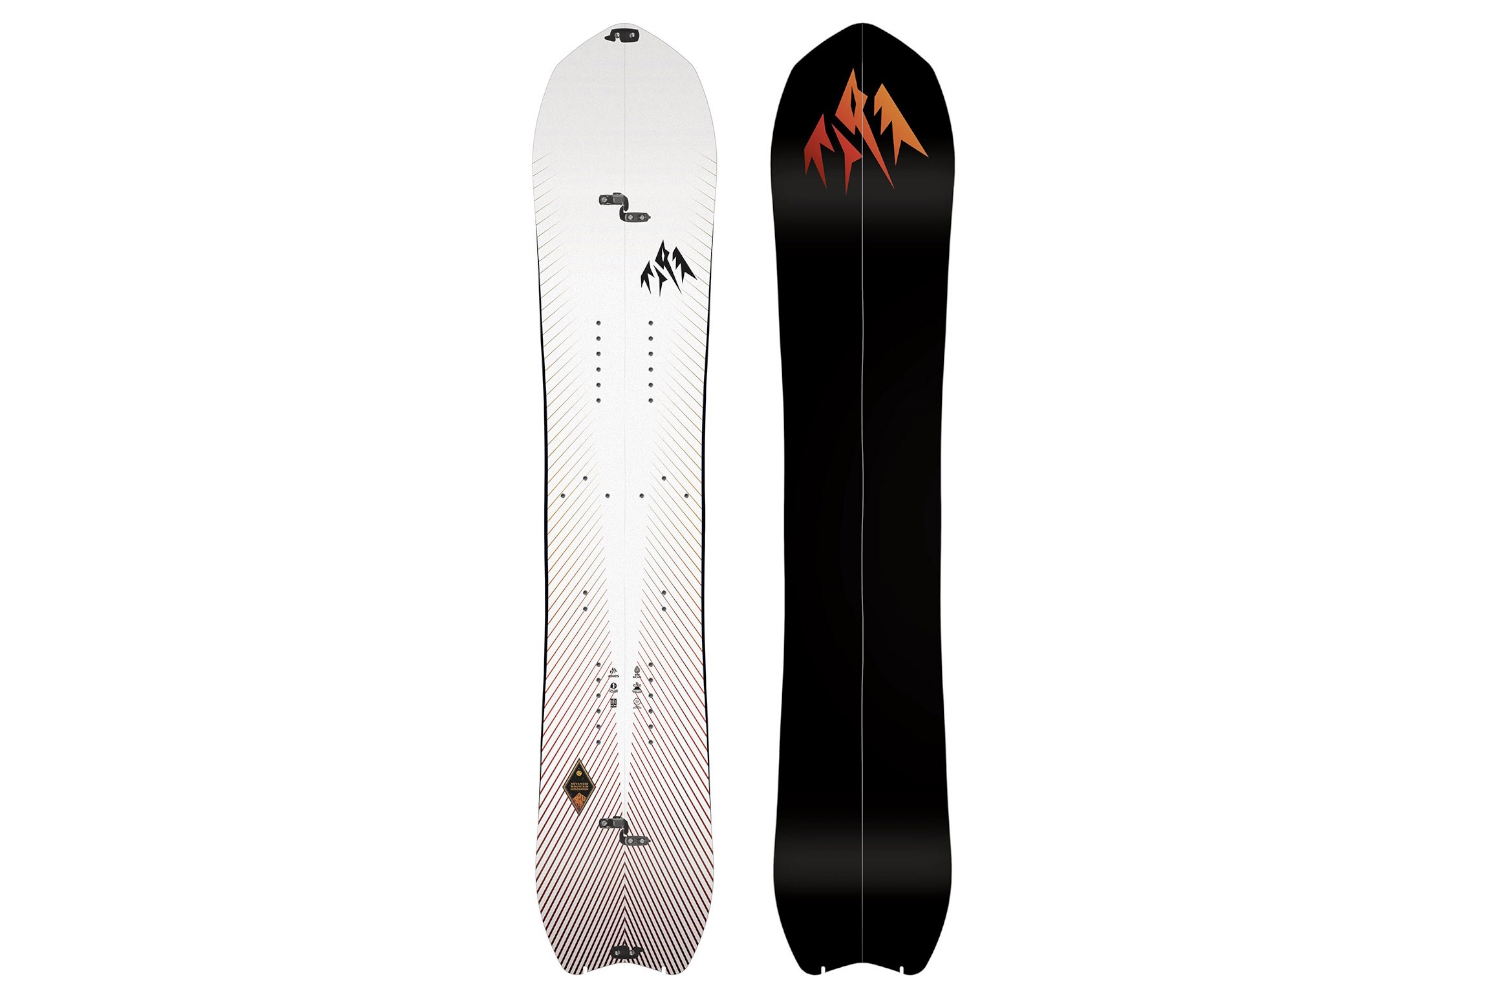
There’s no shortage of designs. You can go for a dependable all-arounder like the Jones Men’s Solution Splitboard. If you have big feet and wear big snowboard boots, you might prefer the volume-shifted, wide K2 Isolator Unisex Splitboard. There are also traditional, full camber designs including the Arbor Veda.
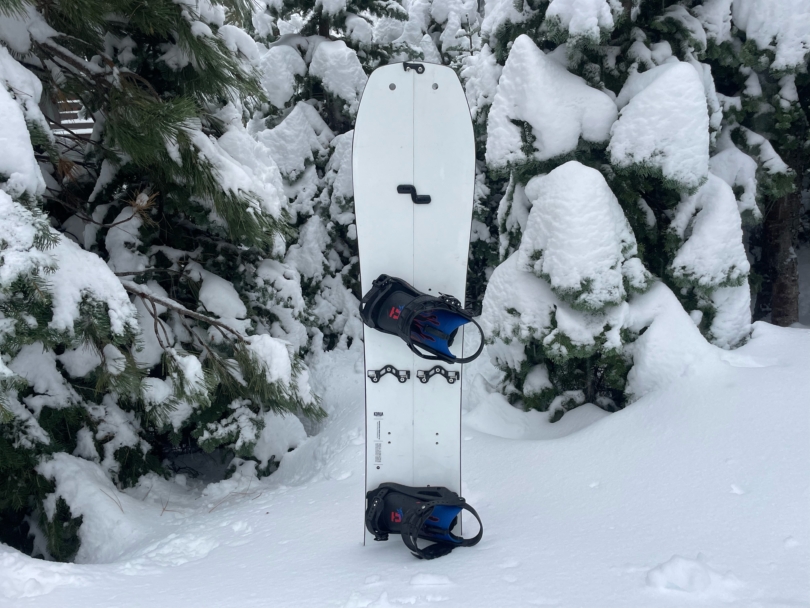
Editor’s Note: We updated this guide on October 20, 2025, with a field-tested review of Korua Transition Finder Split.
The Best Splitboards of 2025-2026
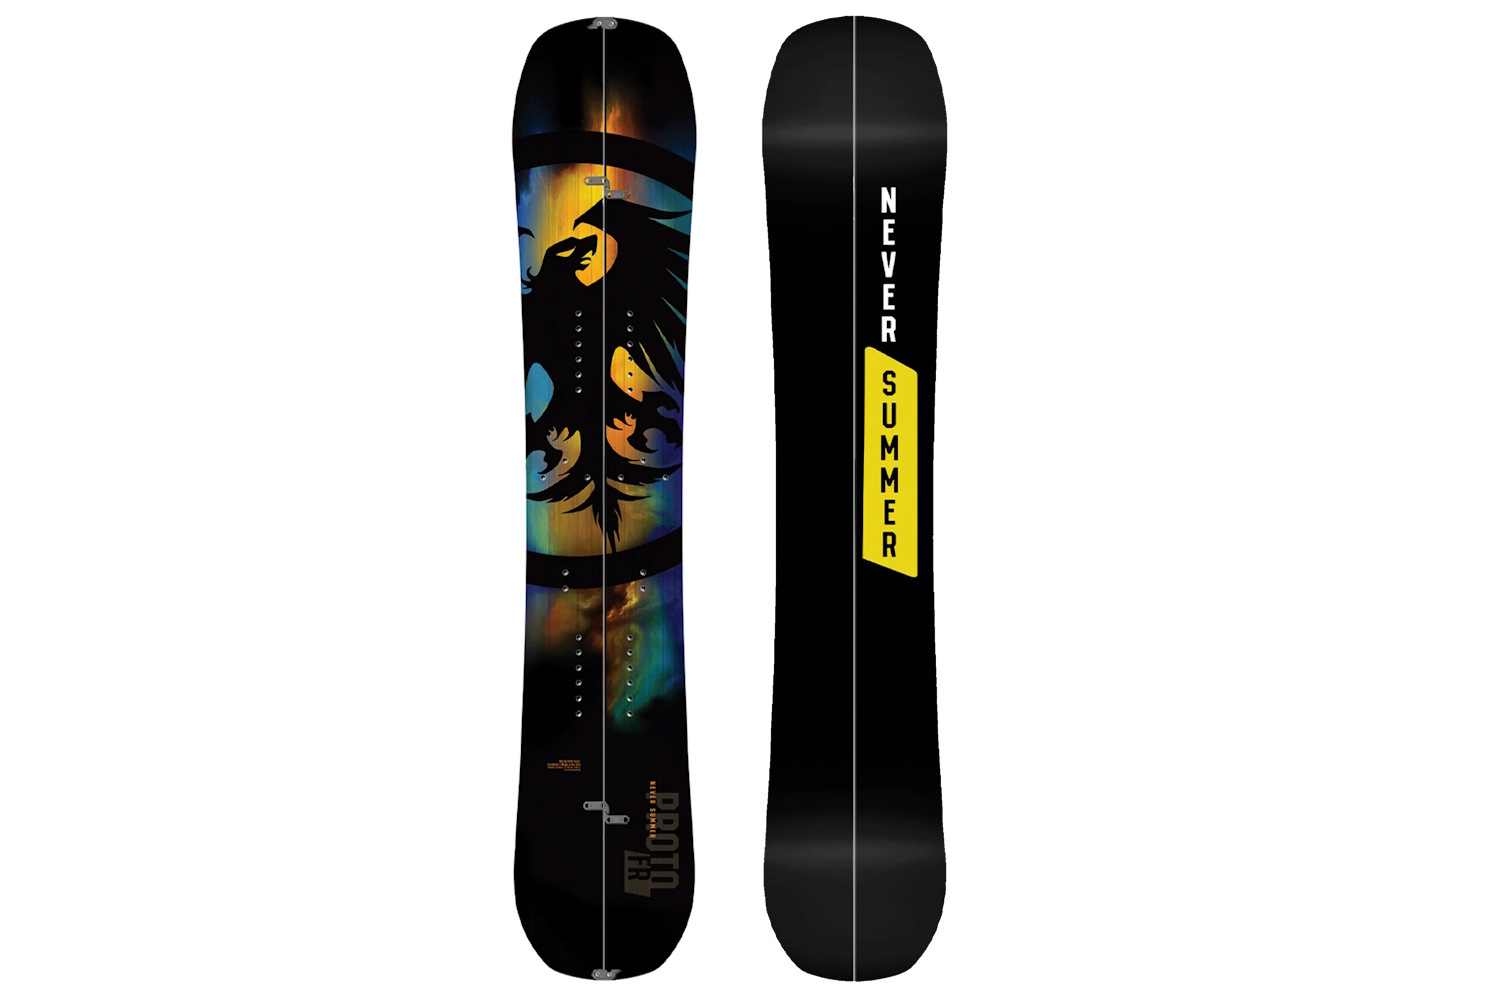
Never Summer Proto Splitboard
- Setback: 1.9 cm
- Taper: 5 mm
- Flex: 7
- Sizes: 157, 160, 164W
- Profile: Camber past the feet, more rocker in the nose than tail
Pros
- Great edge hold
- Durable materials
Cons
- Lacks a playful feel
- Slightly heavy
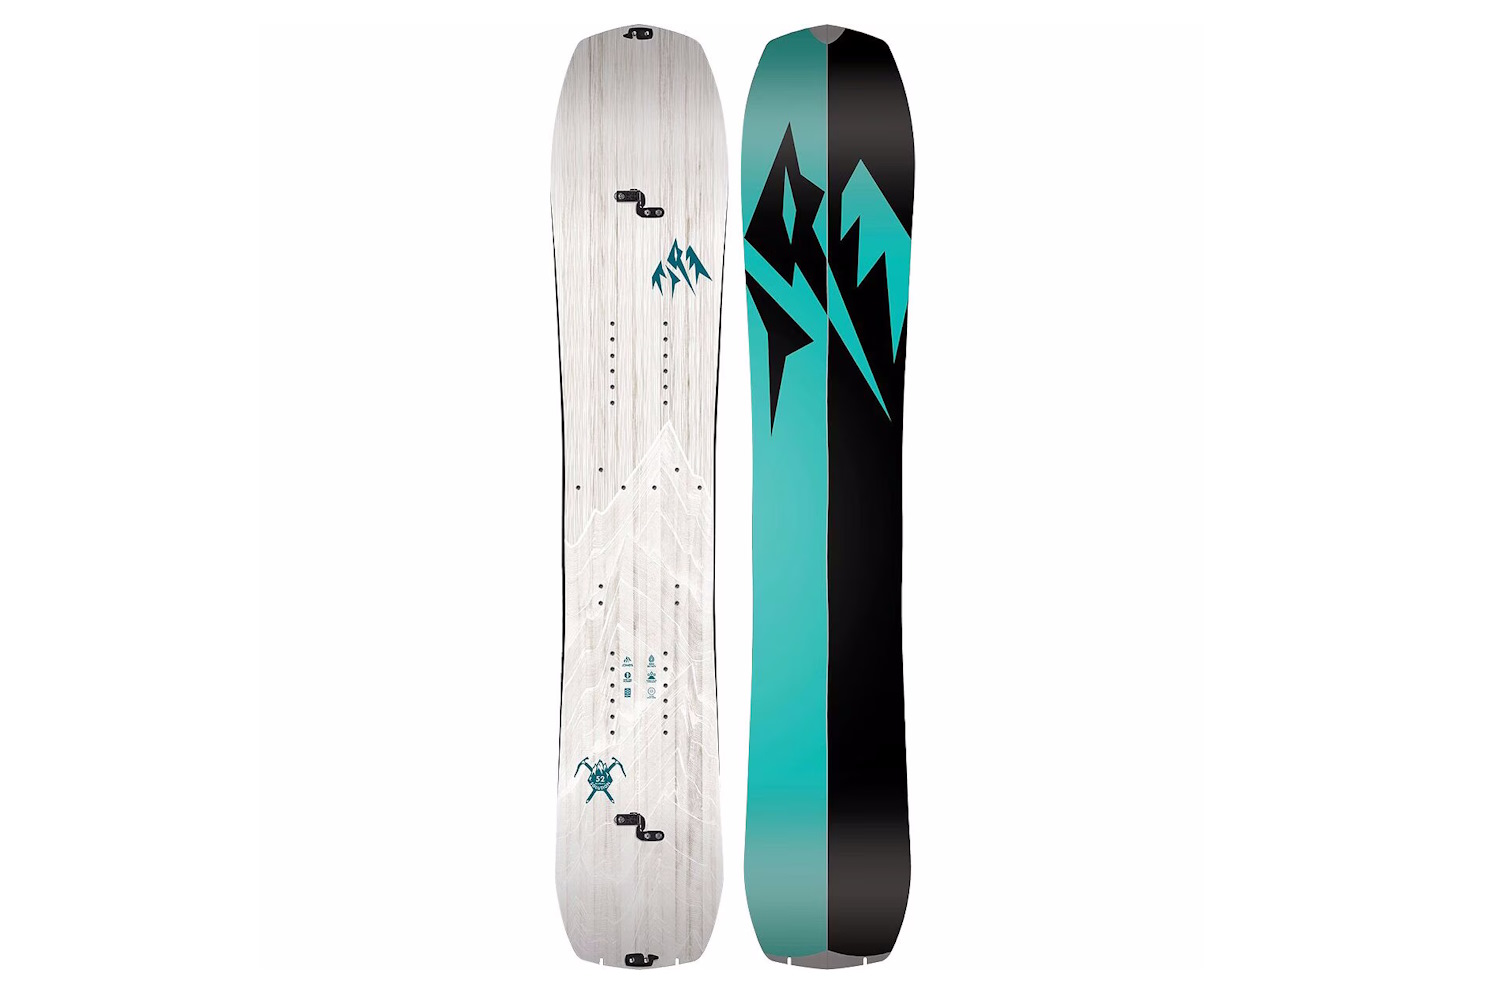
Jones Women’s Solution
- Setback: 2 cm
- Taper: 12.5 mm
- Flex: 7
- Sizes: 146, 149, 152, 155
- Shape: Directional
- Profile: Directional rocker in the nose, camber underfoot, rockered tail
Pros
- All-mountain aggressive ripper
- Flirty spoon nose
- Recycled interior and exterior edges and ABS sidewalls
- Tenacious, enduring construction that lasts season after season
Cons
- Edges ice at an 8/10 level, so remain vigilant on stiff, steep entrances
- Stiffer but not the rigidest option on our list
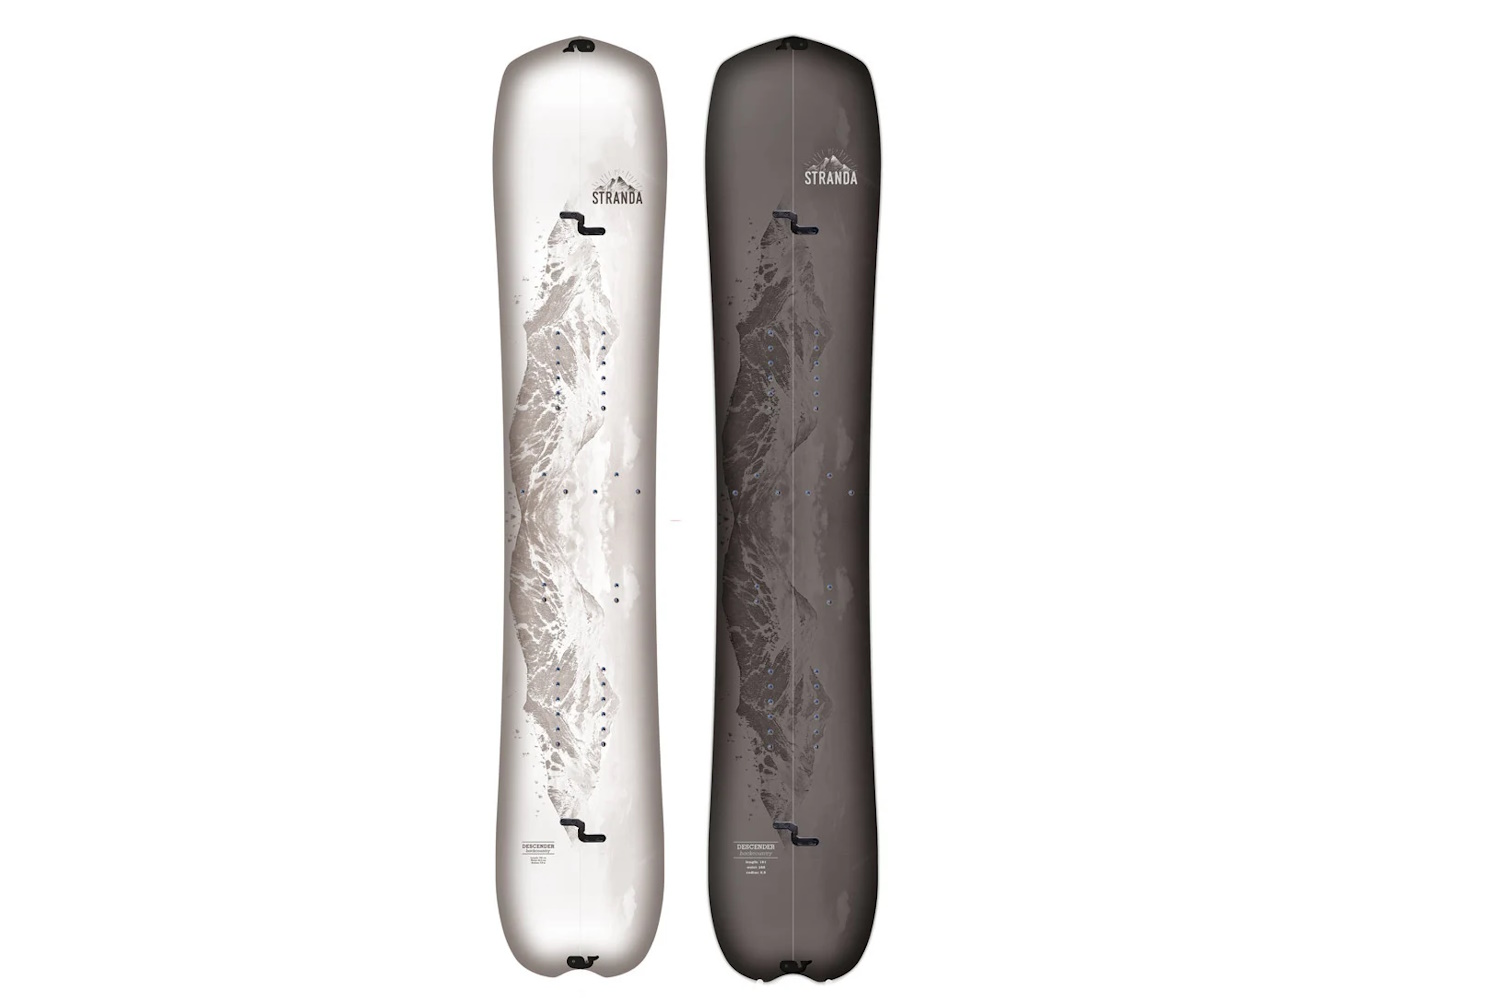
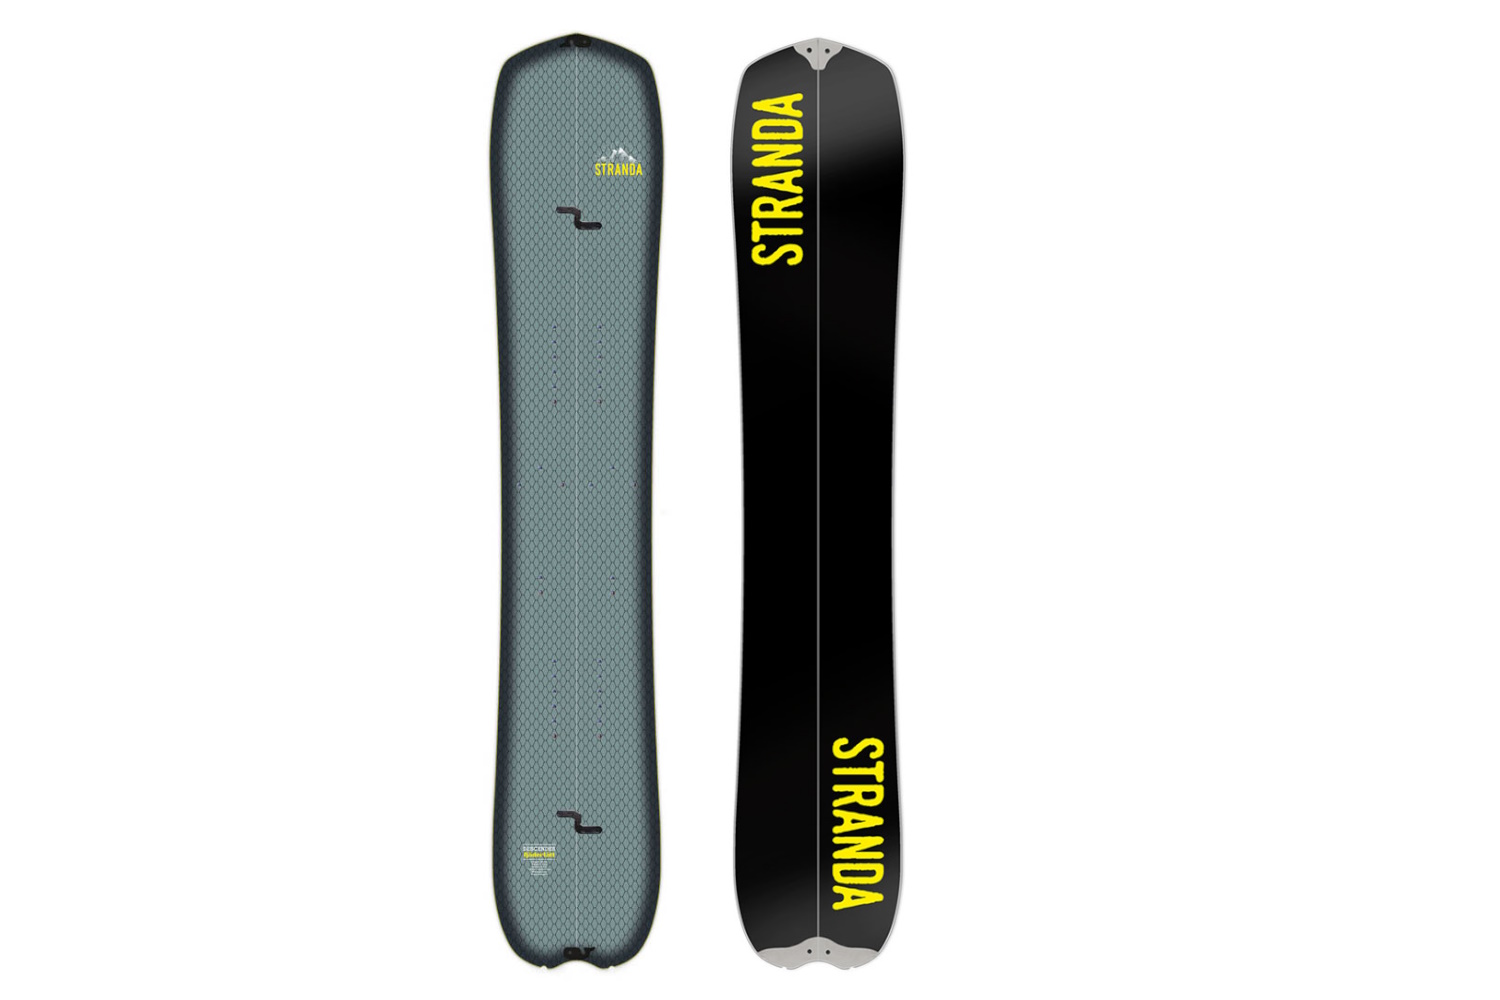
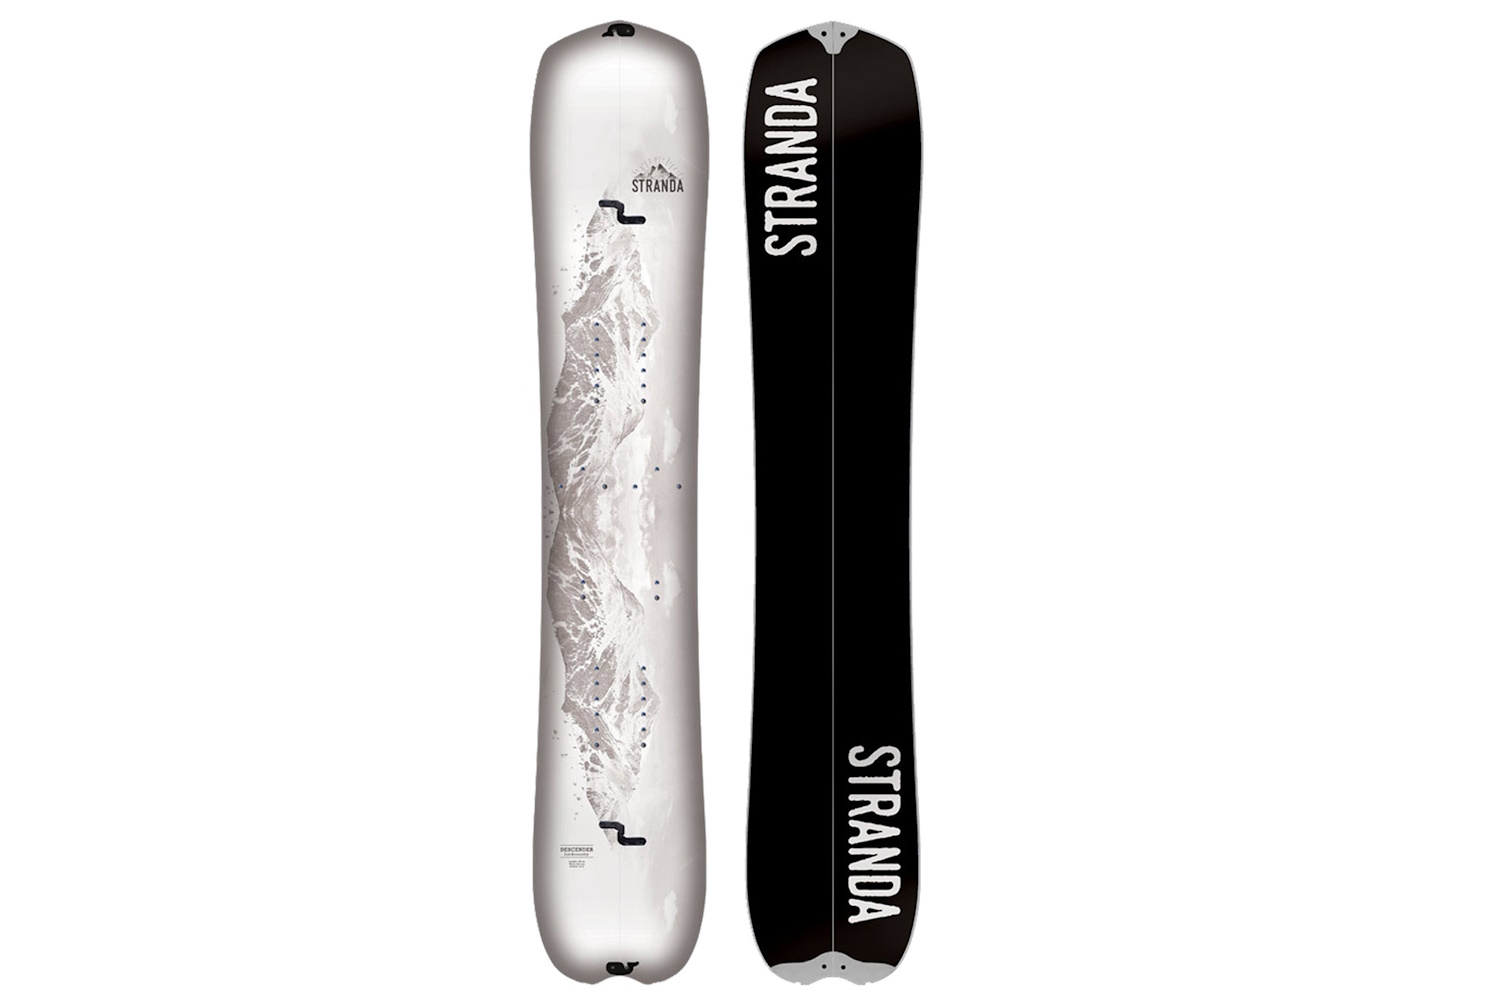
Stranda Descender B.C. Splitboard
- Setback: 2 cm
- Taper: 9 mm
- Flex: 8
- Sizes: 158, 161, 162W, 166, 166W
- Profile: Directional freeride, camber past the feet, rocker tip and tail
Pros
- Confidence inspiring and surfy feel
- Playful
Cons
- Skins failed relatively fast
- Hard to put together when snow-packed
Arbor Veda Camber Splitboard
- Setback: 2 cm
- Taper: 8.3 mm
- Flex: 6
- Sizes: 152, 156, 159, 162W
- Shape: Directional
- Profile: Camber that’s gradually reduced towards the tip and tail
Pros
- 1.5-degree tapered corners help prevent snags and improve turn initiation
- Athletic board for variable conditions in the high alpine
- Gorgeous aesthetic
Cons
- If you prefer a true twin, this board is directional and setback
- Isn’t tailored to novice riders
K2 Isolator Unisex Splitboard
- Setback: 1.9 cm
- Taper: 2 mm
- Flex: 8
- Sizes: 154, 158
- Profile: Volume shifted, directional
Pros
- Volume shift lets you ride a shorter board than normal
- Floats very well in powder
Cons
- Does not perform across all conditions
- Too wide for most skin tracks
Stranda Descender Fjäderlätt Splitboard
- Setback: 2 cm
- Taper: 9 mm
- Flex: 8
- Sizes: 158, 161, 162W, 166, 166W
- Profile: Directional freeride
Pros
- Lightweight
- Playful
Cons
- Pricey
- Gives up a bit of durability
Our Other Choice Splitboards for Backcountry Adventures
- Setback: 2 cm
- Taper: 9 mm (size 152)
- Flex: 8
- Sizes: 148, 152
- Shape: Directional
- Profile: Low camber with minor rocker in the tip and tail
Pros
- Playful
- Stable in landings and high speed
- Excellent edging and traversing power
Cons
- Not the number-one choice for riding switch
- A beginner might consider a softer board
- Only two length options
- Setback: 2 cm
- Taper: 13.6 mm
- Flex: 8
- Sizes: 154, 158, 159W, 161, 162W, 164, 165W, 167, 169W
- Profile: Directional rocker, camber between the feet, more rocker in the nose than tail
Pros
- Single quiver design
- Performs across conditions
Cons
- Less playful
- Not as surfy as other boards
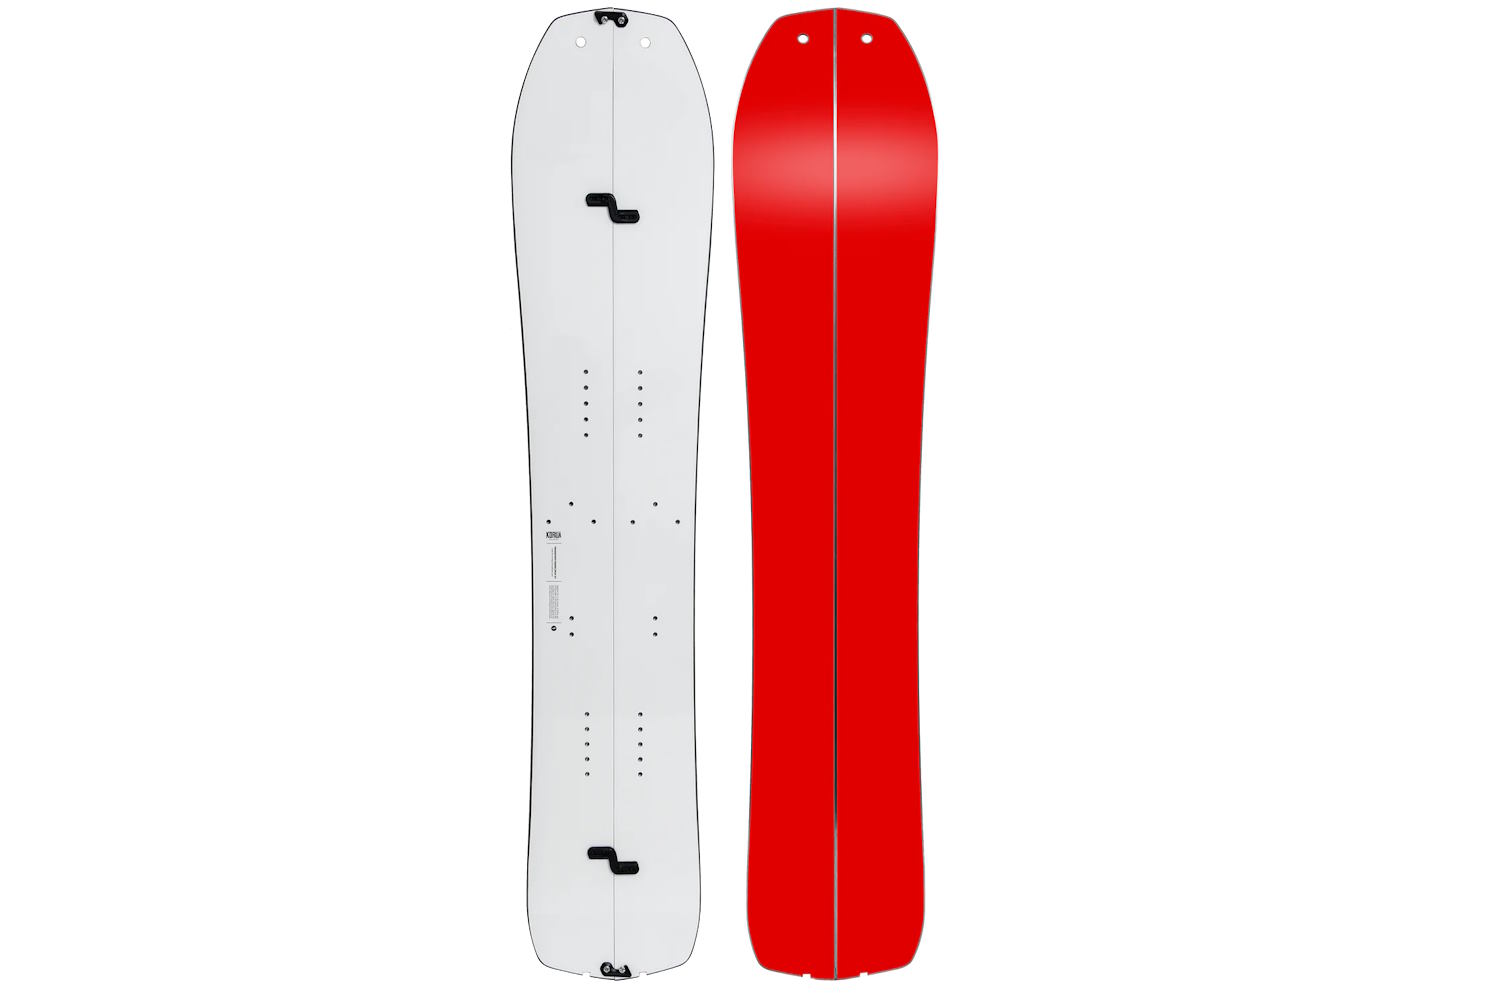
- Setback: 2 cm
- Taper: 15 mm
- Flex: 7
- Sizes: 150, 157
- Profile: Camber underfoot, rocker at the nose
Pros
- Playful flex encourages fun
- Timeless design
- Versatile shape excels across conditions
Cons
- Limited sizing
- Union hooks at the nose and tail
- Setback: 2 cm
- Taper: 0 mm
- Flex: 5
- Sizes: 142, 145, 148, 151, 154
- Shape: Directional
- Profile: Directional rocker in the nose, camber underfoot, rockered tail
Pros
- Fun-loving plank
- Vibrant topsheet art
- One of the largest size runs among women’s splitboards
Cons
- Too forgiving for super steep, bulletproof drop-ins
- Setback: .5 cm
- Taper: 10 mm
- Flex: 8
- Sizes: 148, 152, 156, 159, 164
- Profile: Directional camber, camber between the feet, more rocker in the nose than tail
Pros
- Sustainably made
- Stable at speed and through chunder
Cons
- Heavy underfoot
- Slow turn initiation
- Setback: 2 cm
- Taper: 10 mm
- Flex: 9
- Sizes: 156, 158W, 159, 161W
- Profile: Directional rocker
Pros
- More playful than the Solution
- Easier to initiate turns
Cons
- Tapered nose can sink into deep powder
- May be too stiff for some riders
- Set back: 0 cm
- Taper: 2 mm
- Flex: 4
- Sizes: 143, 148, 153
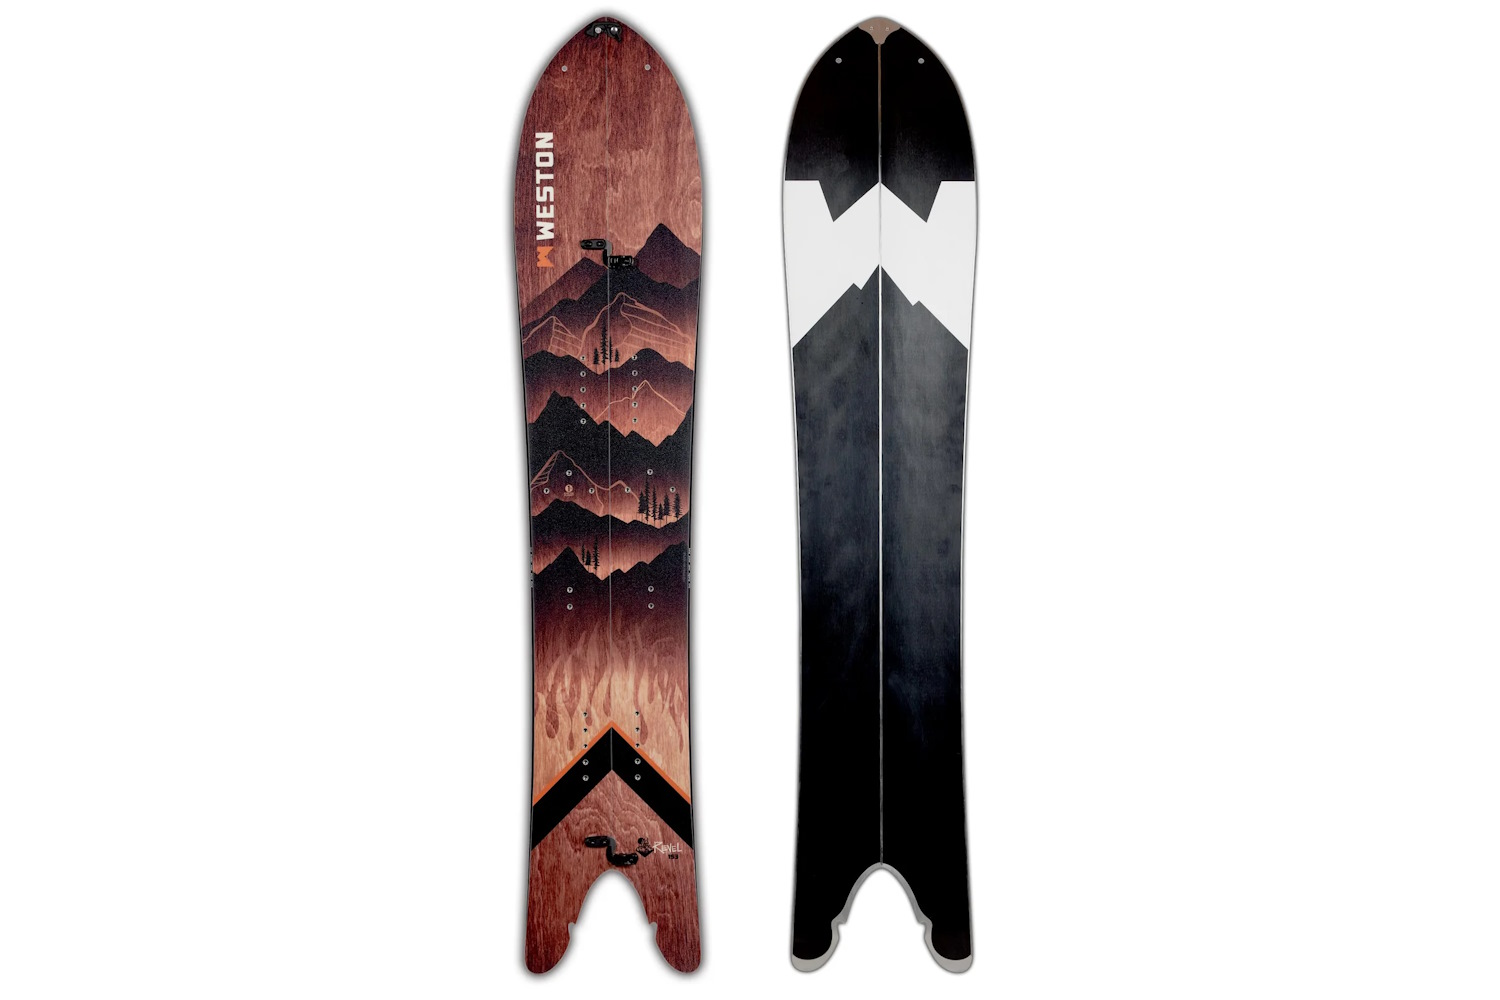
- Shape: Directional swallowtail
- Profile: Rocker nose to camber
Pros
- Nothing flies down a powder field more gloriously
- Unique, playful design
Cons
- Not a top-choice all-mountain tool for variable, steep, aggressive lines
- Freestylers would likely prefer a more classic shape
- On the pricier side
- Setback: 2 cm
- Taper: 9 mm
- Flex: 9
- Sizes: 158, 162, 166W
- Profile: Camber past the feet, more rocker in the nose than tail
Pros
- Stability at speeds
- Lightweight
Cons
- Overly damp
- Fights to float in low angle pow
- Setback: 2.5 cm
- Taper: 7 mm
- Flex: 7
- Sizes: 156, 157W, 160, 161W, 165, 166W, 170
- Profile: Flat between the feet, mellow rocker in the nose and tail
Pros
- Under $1,000
Cons
- Profile and flex feel mismatched
- Lacks pop
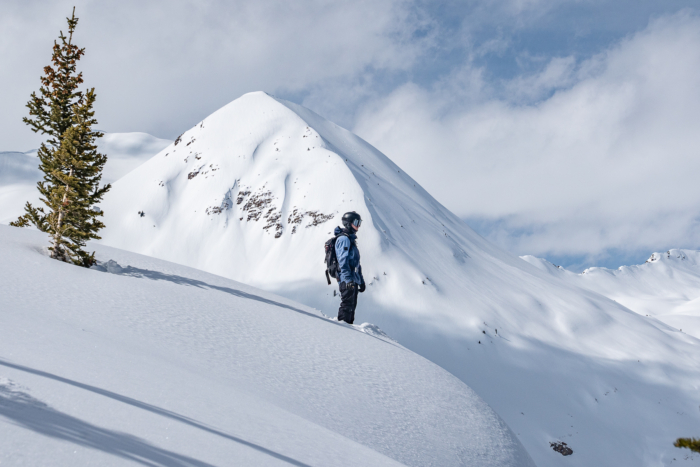
Splitboards Comparison Chart
Scroll right to view all of the columns: Price, Setback, Flex, Sizes, Profile.
| Splitboards | Price | Setback | Flex | Sizes | Profile |
|---|---|---|---|---|---|
| Never Summer Proto | $1,120 | 1.9 cm | 7 | 157, 160, 164W | Camber past the feet, more rocker in the nose than tail |
| Jones Women’s Solution | $1,050 | 2 cm | 7 | 146, 149, 152, 155 | Directional rocker in the nose, camber underfoot, rockered tail |
| Stranda Descender B.C. | $895 | 2 cm | 8 | 158, 161, 162W, 166, 166W | Directional freeride, camber past the feet, rocker tip and tail |
| Arbor Veda | $780 | 2 cm | 6 | 152, 156 | Camber that’s gradually reduced towards the tip and tail |
| Jones Men’s Solution | $980 | 2 cm | 8 | 154, 158, 159W, 161, 162W, 164, 165W, 167, 169W | Directional rocker, camber between the feet, more rocker in the nose than tail |
| Stranda Women’s Descender | $895 | 2 cm | 8 | 148, 152 | Low camber with minor rocker in the tip and tail |
| Capita Navigator | $1,000 | 2.5 cm | 4 | 147, 151, 155, 158, 161, 164 | Camber past the feet, rocker tip and tail |
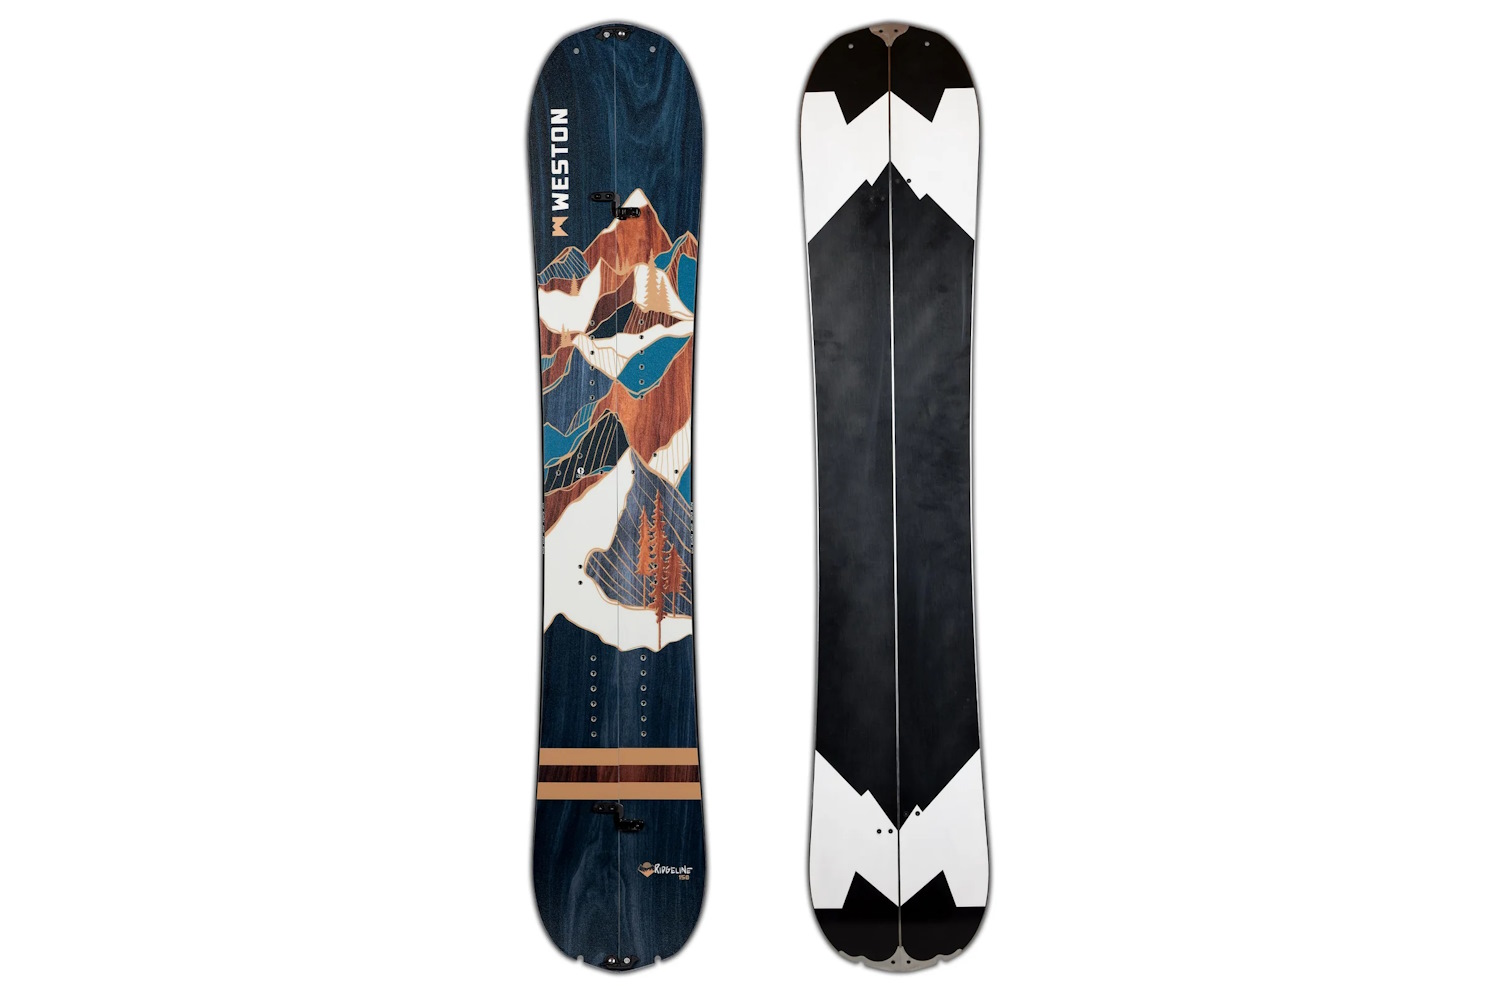
| Weston Ridgeline | $950 | 2 cm | 9 | 158, 162, 166W | Camber past the feet, more rocker in the nose than tail |
| K2 Isolator | $1,050 | 1.9 cm | 8 | 154, 158 | Volume shifted, directional |
| Stranda Descender Fjäderlätt | $1,245 | 2 cm | 8 | 158, 161, 162W, 166, 166W | Directional freeride |
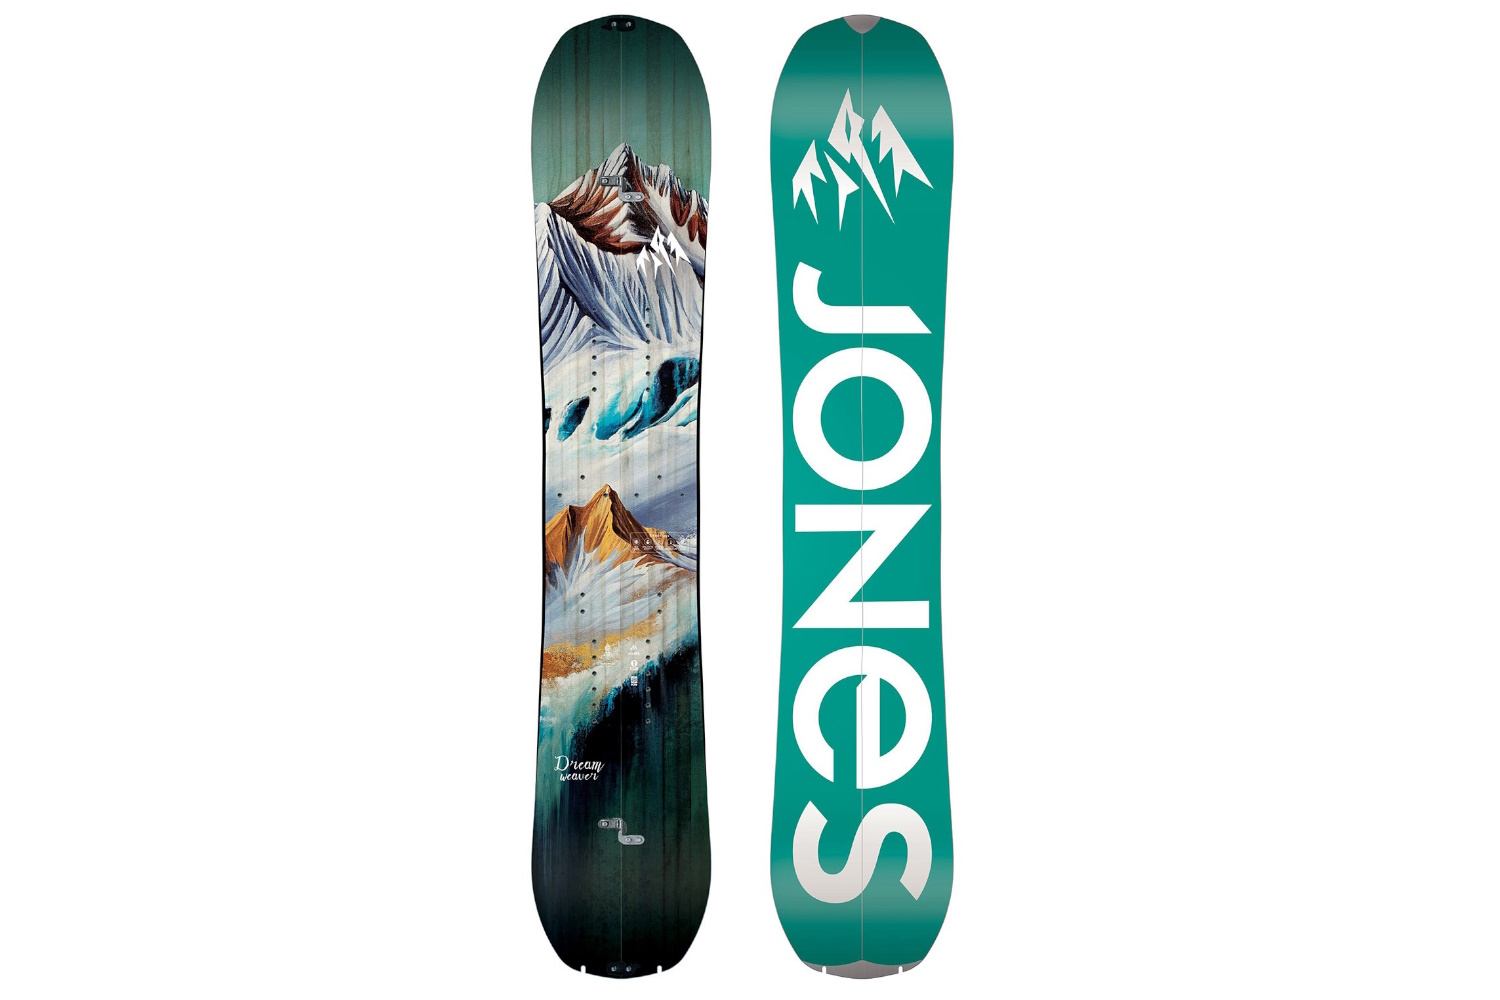
| Jones Dream Weaver | $850 | 2 cm | 5 | 142, 145, 148, 151, 154 | Directional rocker in the nose, camber underfoot, rockered tail |
| Weston Revel | $949 | 0 cm | 4 | 143, 148, 153 | Rocker nose to camber |
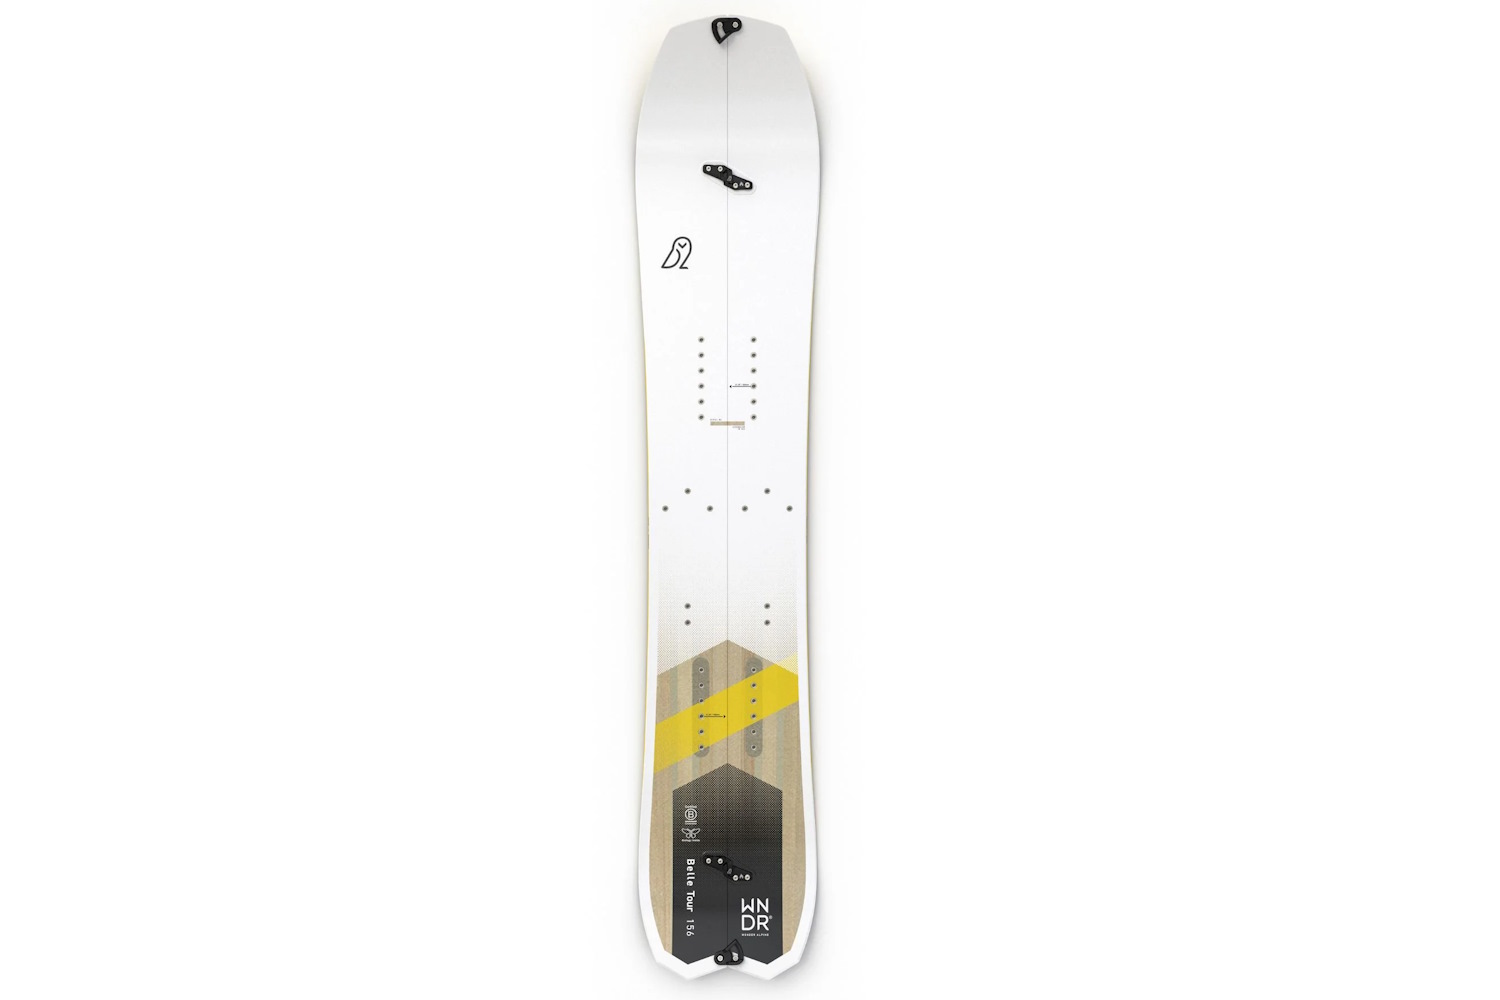
| WNDR Alpine BelleTour | $999 | .5cm | 8 | 148, 152, 156, 159, 164 | Directional camber, camber between the feet, more rocker in the nose than tail |
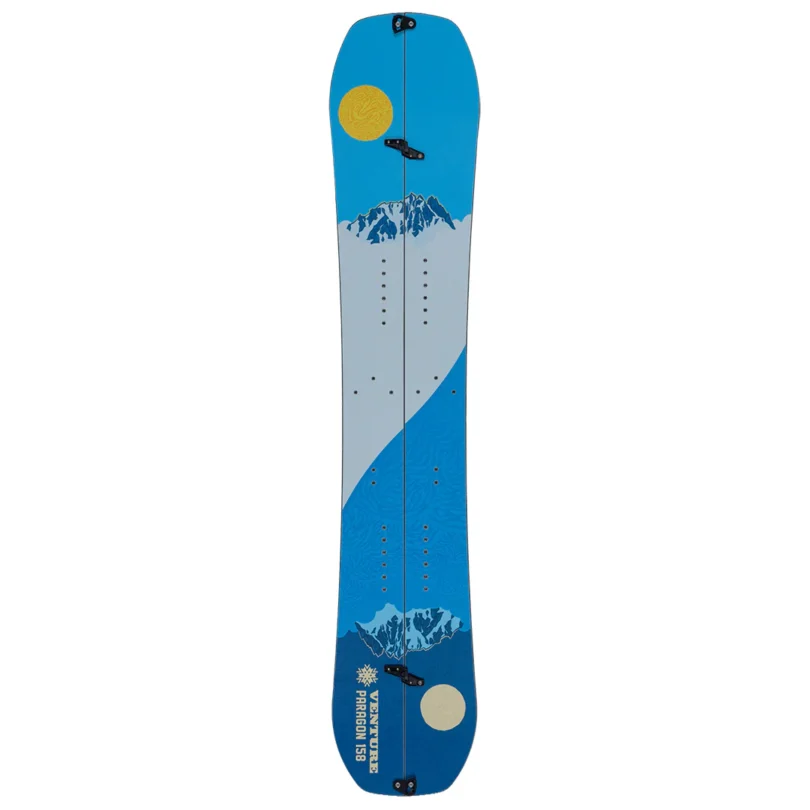
| Venture Paragon | $999 | 2.5 cm | 7 | 149, 153, 154, 158, 159, 163, 164, 168 | Flat between the feet, mellow rocker in the nose and tail |
| Korua Shapes Transition Finder | $849 | 2 cm | 7 | 150, 153 | Camber underfoot, rocker at the nose |
| Jones Stratos | $1,000 | 2 cm | 9 | 156, 158W, 159, 161W | Directional rocker |
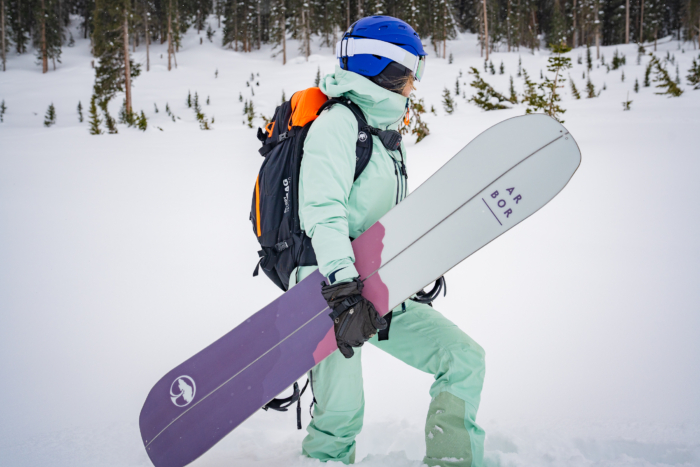
How We Tested the Best Splitboards
Our crew of GearJunkie splitboard testers consists of several expert-level riders, all with a high level of backcountry experience.
Our Expert Testers
Tester Nick Catmur is AIARE 1 certified. He grew up a devoted skier but caved during the snowboarding craze of the late 90s. He fully converted to standing sideways in 1999. Crested Butte has been home since age one, and Catmur has 30-plus years of experience in the surrounding mountains. Catmur created his inaugural splitboard using a table saw. The board had self-epoxied side walls. He mounted resort bindings on top with the original Voile metal slider plates. He is pleased with today’s modern tech, which is far removed from the days of homemade rigs!
Testing ladies’ goods, GearJunkie Senior Editor Morgan Tilton is AIARE 2 certified. Tilton grew up in Telluride, Colorado, and started backcountry skiing in Estes Park followed by moving to Crested Butte for the winter backcountry. She started as a skier but switched to snowboarding in 2005. She spends winters enjoying multiple forms of snowboarding, from spinning laps inbounds to sled-accessed backcountry missions. There’s a sprinkling of pow surfing, too.
Also putting men’s splitties through the paces is local Crested Buttian Eric Phillips, GearJunkie tester and photographer. Phillips is a formerly certified Level II PSIA-AASI instructor and a big-mountain pow surfer when he’s not at the resort. He also enjoys slashing powder with his sled and taking tons of splitboard tours. Sean Galaway is a frequent splitboarder based in Mammoth Lakes, Calif.
Our Testing Grounds
Our riders conducted the majority of testing in the rugged Elk Mountains outside their hometown of Crested Butte, Colo. Test laps also went down in the nearby San Juan Mountains.
Our Testing Process
No matter how great a winter is, the backcountry is always full of variety. It’s easy to test splitboards across the full range of snow conditions typically experienced in a season. From bottomless powder days to hard-packed windboard — leaving you second-guessing why you didn’t go to the resort — and everything in between.
The all-mountain snowboard category dominates the splitboard market and our fleet of test boards reflects this. One exception is the ladies’ Weston Revel. Otherwise, you won’t find short, stubby, or swallowtail powder boards on this list. Instead, we focus on do-it-all splits from a wide range of brands and price points. The goal was to help you find the perfect board for all your backcountry outings.
We focus on assessing performance across a constellation of details including the durability, flex, profile, shape, width, length, edge to edge transfer, dampness, setback, taper, edges, topsheet, binding and skin compatibility, as well as the ease and hardiness of the tip and tail clips. We also consider the purpose and best rider for each board.
In addition to field tests, we examine the most sustainable, innovative, and legacy boards out there for our pool of selects.
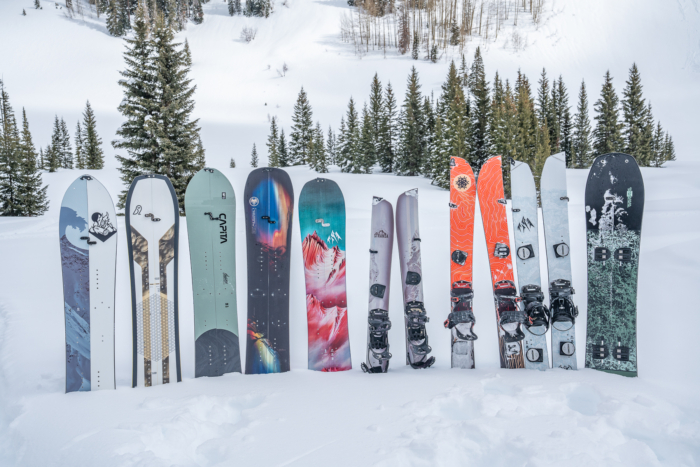
The Best Splitboards: A Buyer’s Guide
What Is a Splitboard?
“Those are some funny-lookin’ skis.” As a splitboarder, there is actually a chance you’ll hear someone say that. A splitboard is exactly what it sounds like: a snowboard that can split in half and become a pair of skis.
Providing snowboarders with a ticket to ditch the resort, the skis of a splitboard are meant solely for uphill use. Split skis are not intended for downhill skiing. Though, that’s an important skill to learn for backcountry travel.
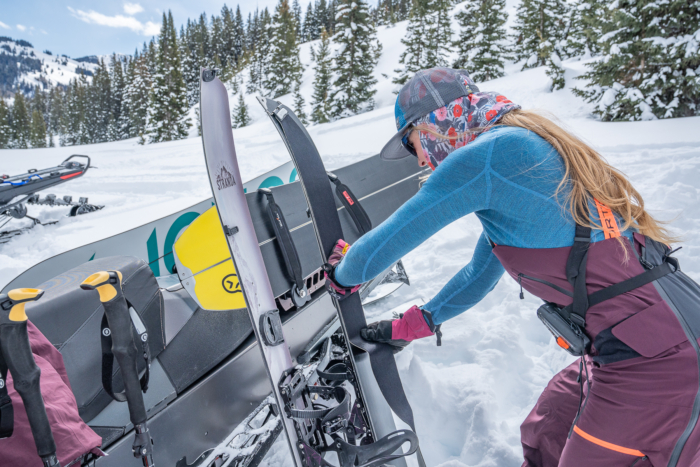
These setups utilize special bindings and a pair of skins, so you can use those splitboard skis to walk uphill. Once you reach the top, it’ll take you a few minutes to transition the skis back into a snowboard. That technical adaptability allows you to carve your way back down the slope.
How to Choose a Splitboard
Like your resort board, you want to choose something that matches your style. Don’t go wild thinking you need to size up for all that pow. Be sure to consider the variable conditions you might encounter. Do you expect to always be in deep powder? Or, do you want a stable board that can handle stiffer, wind-affected snow or slushy spring conditions?
Think about the type of board you ride on the resort. Avoid arbitrarily jumping to a more aggressive flex or bigger size because “it’s for the backcountry.” Stick with what you know and what makes you comfortable.
Speaking of comfort, if you are thinking about getting into splitboarding, we recommend honing your skills at your local resort. You should consider yourself an advanced to expert rider. Meaning, you are very comfortable riding all types of terrain and snow conditions. The backcountry is not a place to learn how to ride. Humility is important here.
Check off the black diamond and double-black diamond runs at your home resort before heading out. Navigate tight trees, rocky slopes, ice, and deep powder in blizzards, cold temps, high humidity, and heat. Those factors change how gear performs and teach you physical and mental skills for the volatility of the backcountry.
Once you are ready to step into the backcountry, think about your expectations. Are you hoping to get out a few times a year for some safe low-angle pow? Or are you ditching the season pass to splitboard every chance you get regardless of snow conditions? You might be willing to invest more heavily the more you plan to step out of bounds.
Either way, thanks to the growing popularity of splitboarding, there’s more variety in the shapes and styles of than ever. The evolution makes it easier to find the right splitboard for your backcountry expectations and skill level.
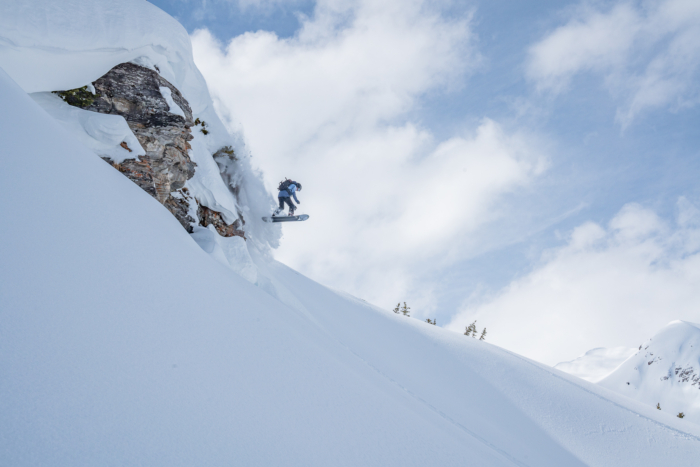
Splitboard vs. Solid Snowboard
When you see a splitboard, you’ll instantly notice some differences between it and a normal or solid snowboard. There’s a giant cut down the middle where the wood separates to form skis.
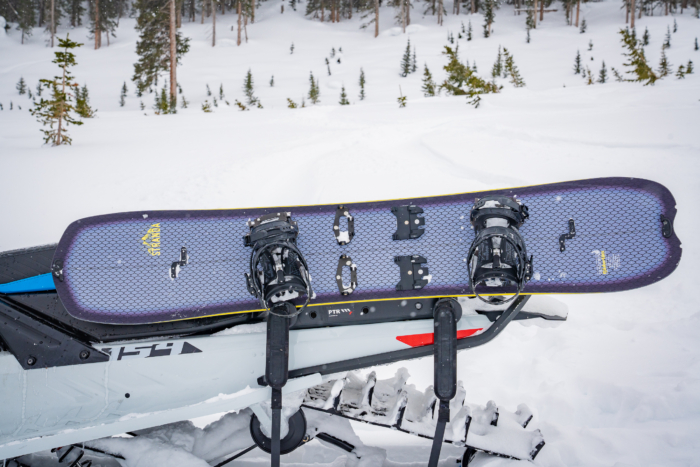
Along this cut, you’ll notice a straight metal edge on the inside. There are two clips: one at the tip and another set at the tail. The splitboard also has two sets of hooks (four total) that are situated in the center between the nose and tail.
The clips and hooks keep the board together when in snowboard mode. A variety are out there, but we don’t recommend letting them get in the way of your purchase decision.
Similar to solid boards, splitboards come with metal inserts that accommodate various locations for mounting bindings. However, splitboards have extra inserts in the middle of the board between your feet. This is where you’ll mount brackets that accommodate your bindings when the board is split into skis for uphill travel.
Like a solid board, the hardware for mounting bindings can be easily removed and replaced. You only need a #3 Phillips head screwdriver. This allows for easy at-home stance adjustments so you can always dial in the perfect setup.
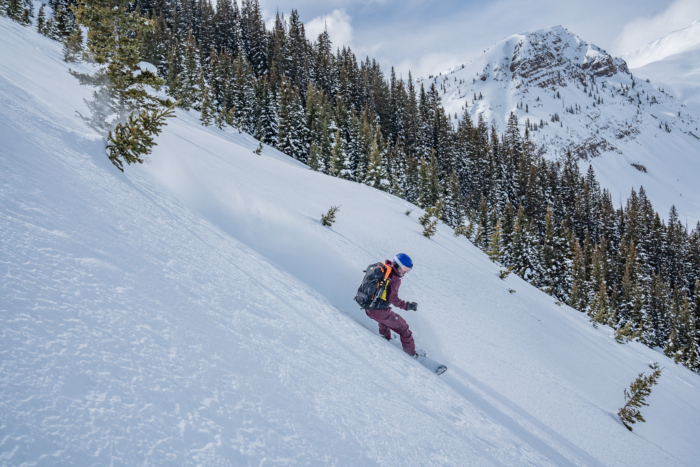
Shape & Profile: Splitboards
The shape of a splitboard is the outline or silhouette of the board. If you hold a model in front of you, with the top sheet head on, the shape is pretty clear.
That profile is harder to see with the naked eye. Swivel the board, so you’re looking at the counter of the base and along the metal edge. Together, the shape and profile of the splitboard greatly influence how it rides.
The intended use of splitboards in variable, natural snowpack influences their shapes and profiles. That’s why the majority of splits have directional shapes and camber-dominant hybrid profiles. Those two details define the all-mountain riding category. We have yet to encounter any backcountry terrain parks or rails at the top of a climb. That’s probably why it’s hard to find full rocker, true twin, or asymmetrical splitboards.
Hybrid Profiles
Hybrid profiles were the most common in our fleet of tested boards. Those profiles are dominated by camber with smaller amounts of rocker in the tip and tail. There’s good reason for this profile combo.
The camber helps maximize skin contact with the snow on the ups. Camber also helps riders maintain edge control in steeper and rougher terrain on the downs. The tip and tail rocker help riders float through powder with less effort. For a better, all-around ride we recommend this blend of camber over a full-rocker profile when buying a splitboard.
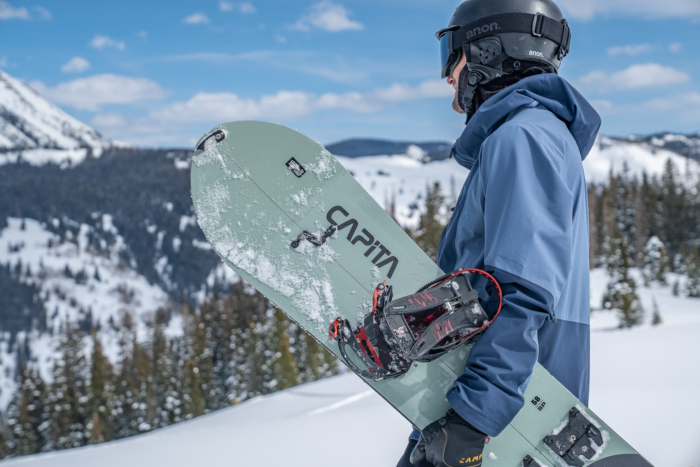
Splitboard Shapes: All-Mountain vs. Powder
Splitboard shapes are primarily geared toward all-mountain and powder riding, much like splitboard profiles. Meaning, directional-shaped boards dominate the market. However, within this design, there are plenty of subtleties that can change how a board rides. Two of the biggest ones to consider when it comes to the shape of a board are setback and taper.
Setback
The setback of a splitboard refers to how far the binding inserts are positioned away from the center between the tip and tail. The higher the setback number, the longer the nose of the board resulting in an even more directional feel. The higher the setback, the more awkward a board can be to ride switch, which is sometimes requisite in terrain.
Taper
Taper refers to how much narrower the tail of the board is than the nose. Tapered boards make it easier to sink your tail into the snow and float that wider nose through the powder.
Similar to setback, a board with more taper feels more directional than a board with less. If you prefer a more centered stance or freestyle flair, look for a board with minimal setback and taper.
For an in-depth dive into snowboard shapes and profiles, check out our Best All-Mountain Snowboards buyer’s guide.
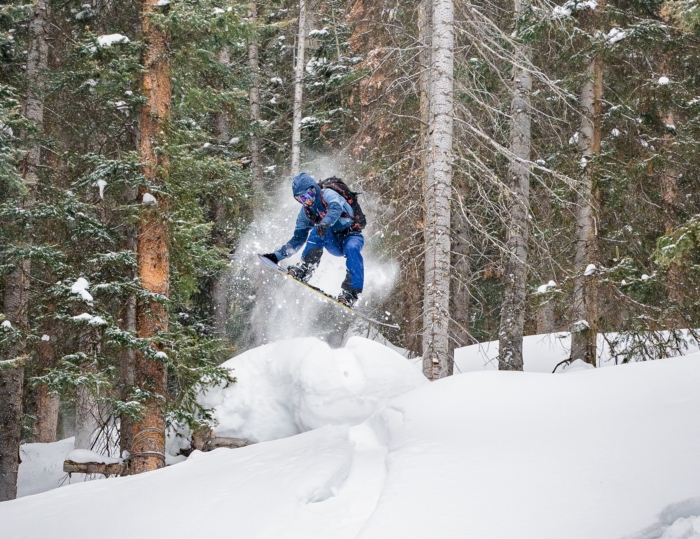
Types of Splitboards
The variety in types of splitboards isn’t as broad as it is for solid boards. Most splitboards are primarily geared toward riding powder and in variable snow conditions. Manicured groomers, park jumps, and rails aren’t part of backcountry riding.
Therefore, the types of splitboards typically fall into one of two categories: daily driver or powder-specific. We tack on a third “lightweight” category, as well, since some brands strive to drive down weight.
- Daily driver: Labeled as all mountain, all terrain, freeride — these designs handle a range of conditions and have moderate setback
- Powder specific: Built for float with unique shapes, wide nose, swallow tail
- Lightweight: Reduced materials and weight, less playful and stout, saves energy on bigger missions
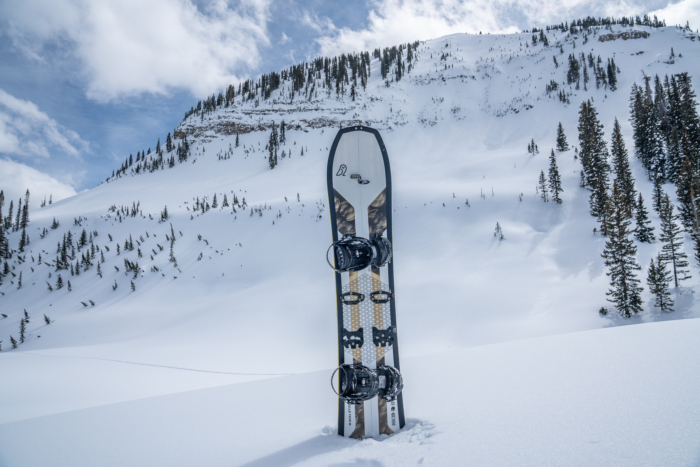
When considering splitboard categories, ask yourself: “What am I going to use this splitboard for?”
If this splitboard will be your only, or the setup that you ride most days, stick with a daily driver.
Brands don’t typically label boards this way. When you’re scrolling their sites, look for the terms: all mountain, all terrain, or freeride. These designs often carry the traditional look of a snowboard. They have a moderate setback stance. They’re good at handling any conditions that the backcountry throws at you.
The majority of splitboards in this guide fall into this category. The exception is the ladies’ Weston Revel Splitboard, which offers up a swallowtail.
Powder-Specific Splitboards
Powder-specific boards are exactly that. You might be buying one of these if you already own a daily driver. Or, you might want a powder-specific board if you strictly prioritize going into the backcountry to ride bottomless pow.
A lot of powder splitboards have a unique shape. Their characteristics can include a big wide nose. They often have a swallow tail, or a similar cut out, at the tail end of the silhouette.
Lightweight Splitboards
The last category for splitboards is the lightweight category. This might be a camp to consider if you know your splitboard missions will include long approaches and big climbs.
Lightweight boards will be very similar in their look and style to daily drivers. The caveat is that lightweight boards have reduced materials and more than likely, lots of carbon. We’ve found that the reduction in materials and added carbon can make these boards less playful than daily drivers. Carbon will increase the price tag, too. For some designs, durability can go down.
If you’re into counting grams, be sure to check out splitboards in this category.
Length
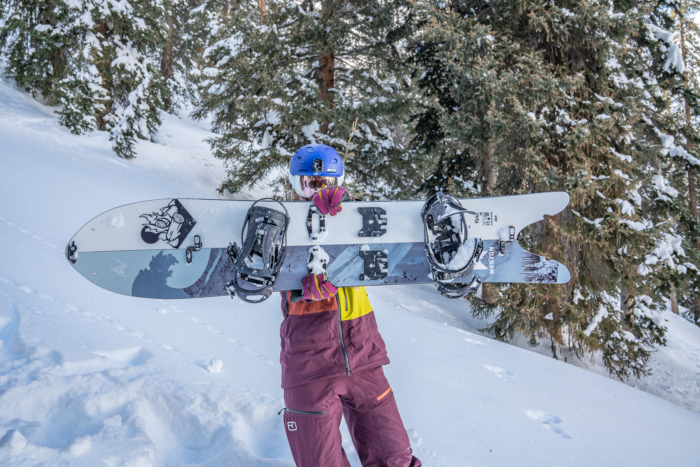
When shopping for a splitboard, try to avoid the arbitrary assumption that you need to size up. It’s a pitfall to think that because it’s the backcountry, you need a bigger, more aggressive board. Splitboards are designed to flourish in mixed conditions and to help you float in powder. You won’t need extra length for that.
Length should primarily be determined by three factors: rider weight, skill level, and expectations. Rider weight should be your starting point, and we suggest sticking within the board’s manufacturer-recommended weight range. That weight range can be rather large.
Less aggressive riders or riders looking for casual experiences should pick a length in the middle-to-lower half of the weight chart. More aggressive riders and those stepping into bigger terrain, don’t be afraid to select the longest recommended length or beyond.
Longer boards can quickly become too much to handle. Meaning, it can be difficult to navigate gladed terrain or initiate turns in consequential areas. Stick with a size that makes you comfortable. Don’t deviate too much from what you would typically ride at the resort.
Width
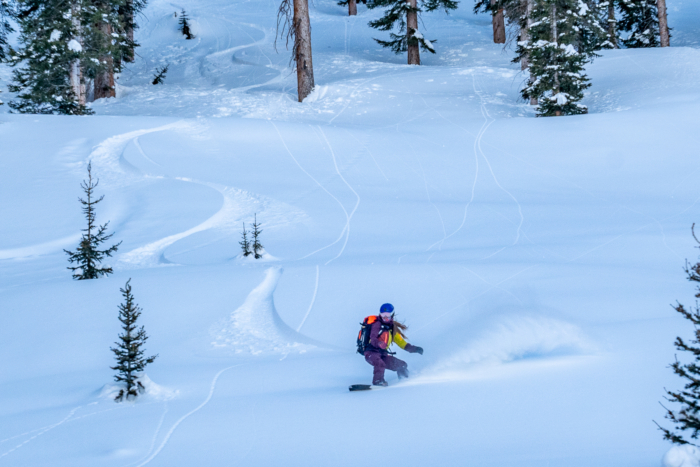
This is where it pays to be a splitboarder. We have way fewer options regarding width than our brethren in the ski world, making our decisions easier. Every splitboard out there is pretty wide compared to skis. You don’t need different widths for different depths of snow. You don’t have the option to go skinnier to save weight.
In our test fleet of boards, the waist width never varied by more than 1 cm between boards. When comparing board waists, typically the width increases by approximately 1 cm, if the board is a “wide” iteration. For example, the Jones Solution Splitboard in a 161 length has a width of 25.2 cm. The 162 version has a width of 26.3 cm.
Our same recommendation for length carries over to width — stick with what you know. For splitboarding, you should have enough snowboard experience to know if your boot size requires a wide board. If it does, stick with that rule. If you don’t typically ride a wide board we don’t recommend getting one as your backcountry rig either.
Materials & Weight
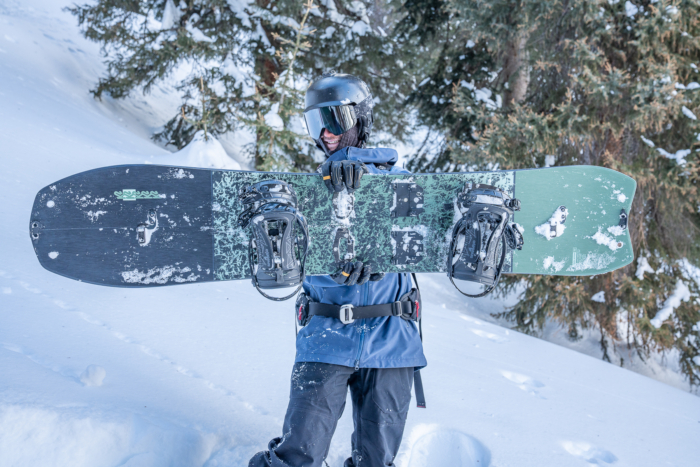
Materials used in splitboard construction don’t vary that much from what is seen in traditional solid boards. However, the layup and the amount of each material typically differ between solids and splits. The reason for this is to accomplish two main goals. First, keep the boards lighter in weight. Second, to compensate for the added torsional flex that’s created by the cut running down the board’s gut.
The core materials used in splitboards tend to prioritize lighter-weight woods such as aspen, paulownia, beech, or bamboo. These woods will often dominate the majority of the board’s core. To achieve better pop or to increase stiffness and dampness, brands employ dense wood stringers down the board’s length. A couple of types are ash or poplar.
Other boards use carbon fiber stringers to achieve an even stiffer flex and damper feel. Carbon is a great way to add dampness while keeping down weight. A good example of this is the Weston Ridgeline Splitboard, which weighs 2,740 g. That’s 640 g less than the non-carbon version of this same splitboard.
Speaking of weight, splitboards are not going to be the lightest setup on any given skin track. They are lighter than they used to be. But the purpose of a splitboard demands a certain width that can only be reduced so far. Be conscious of the board’s weight. But don’t be driven to the wrong board for your riding style for the sake of a few ounces. For instance, the Never Summer Proto felt the heaviest underfoot but had the best downhill performance of the lot.
Flex & Dampness
Flexibility and dampness often go hand in hand. The two design details are primarily determined by the materials and greatly impact the way a board performs.
There are two types of flex when talking about splitboards. Longitudinal flex, meaning tip to tail, and torsional, meaning heel to toe. Dampness refers to the board’s ability to absorb vibrations, or chatter, which is created as you speed up over snow.
Let’s be real for a second. A splitboard is essentially two skis clipped together, which lends to a large amount of torsional flex. Manufacturers attempt different methods of construction to compensate for this and have done a good job in doing so. But splitboards inherently struggle to perform like solid boards.
Flex Rating
Throughout testing, we focused on the longitudinal flex of each board. We assigned a flex rating from 1 to 10 to each model. The goal is to give you a better idea of how these boards compare to one another. The flex ratings assigned to boards by the company can be a good starting point. But those in-house ratings can be a bit arbitrary when you try to compare those numbers across different brands.
For this test, a 1 represents a board that flexes too much. Basically, it can’t support any amount of weight applied to the tip or tail. A 10 represents that doesn’t flex under any weight from the rider, think 2 x 4.
In our test, we gave the Weston Ridgeline Splitboard a nine, the highest rating of any board. It wasn’t impossible to flex but it was very reluctant to, making floating in powder a challenge. The Never Summer Proto Splitboard and Venture Paragon Splitboard were rated at seven: The sweet spot. They had enough flex to be fun without being too soft to not hold an edge.
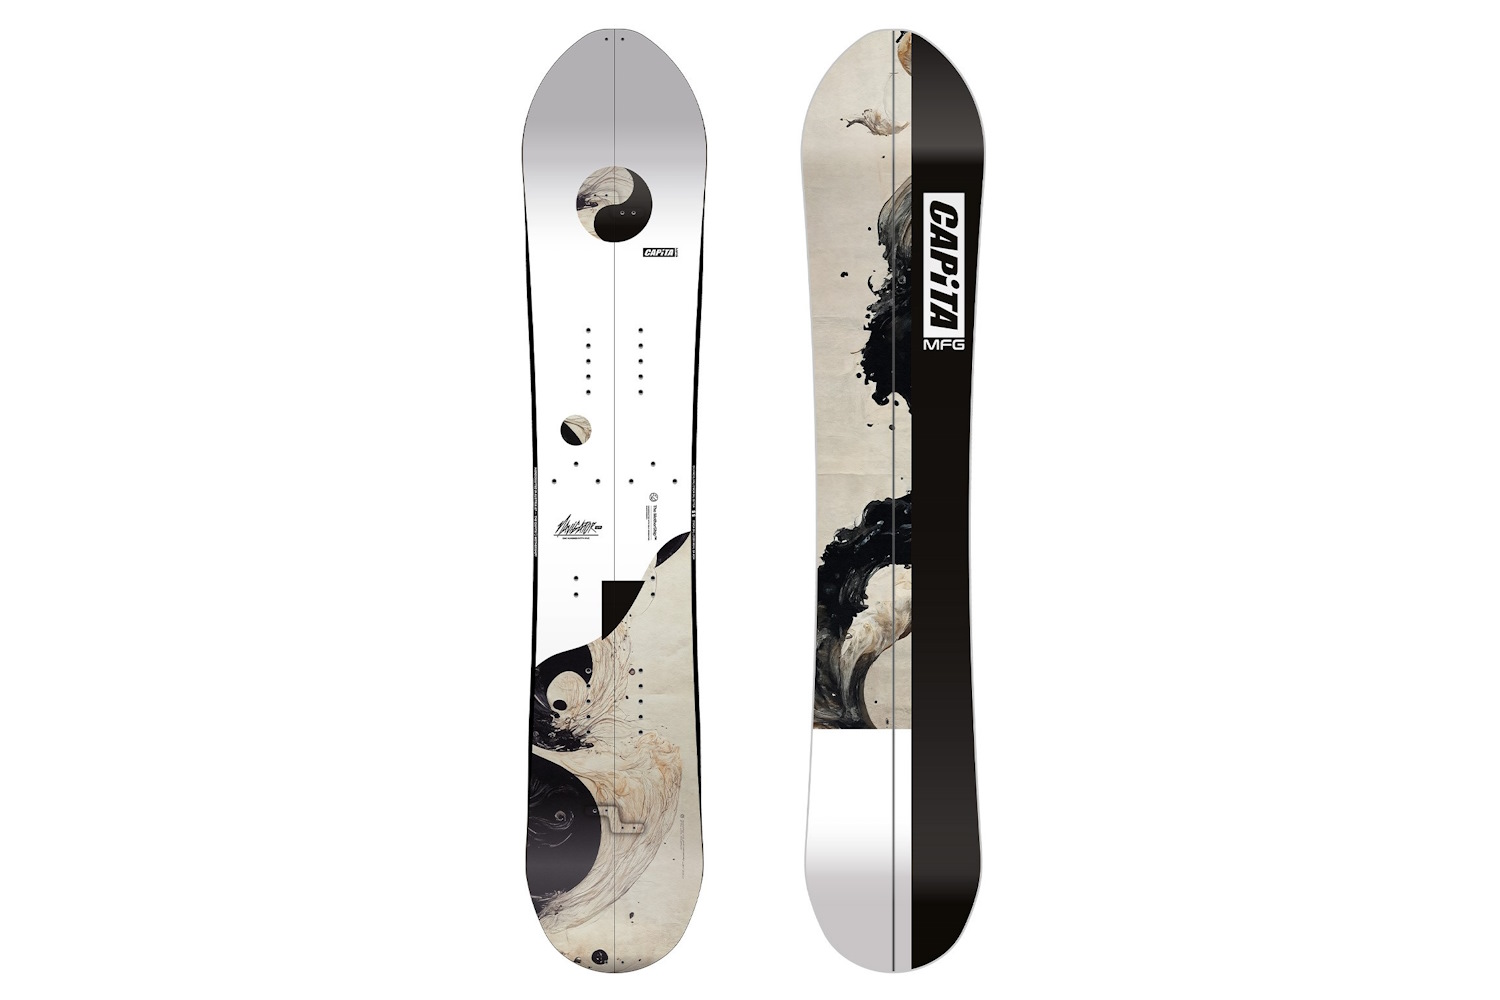
The softest board in our test was the Capita Navigator Splitboard with a rating of four. This board was very easy to lean back on for easy float. But if we applied a bit too much pressure, it would easily give out from underneath us.
Your preference for board flex and dampness should be determined by your expectations and skill level, similar to a board’s length. A softer flexing board will be more forgiving and easier to maneuver. A soft board like the Capita Navigator Splitboard can be an easier, more playful ride in low-angle pow.
Dampness
Dampness is the ability of a board to absorb vibration as it moves across snow. This detail is especially noticeable at high speeds and in variable snowpack. A damp ride can reduce chatter. You might compare dampness to shocks on a car or suspension on a bike.
Stiffer, damper boards are typically coined as more aggressive, like the Weston Ridgeline Splitboard. They hold an edge better at higher speeds. They won’t fold easily when you have to apply pressure to the nose or tail of the board. There is a fine line to walk with dampness. Overly damp boards can feel dense and unresponsive under a rider’s feet. The result eliminates playfulness and makes it a struggle to float through powder or initiate turns on lower angle terrain.
Sidecut & Sidecut Radius
Sidecut refers to the arc shape you see on the long edge of a board. Different boards have different depths and curvatures along this edge which change how the board performs when turning. Sidecut radius describes how this curvature is measured. This can be difficult to picture. But imagine if you extended the curved edge of your board until it made a giant circle. The sidecut radius is the measurement of half the width of this circle.
OK, so what does this mean for how the board rides? A shallower sidecut or bigger radius allows the board to track longer, more drawn out turns. A deeper sidecut or shorter radius allows the board to initiate quick snappy turns. But the shorter radius won’t allow for those long arcing turns. It typically takes more effort or input from the rider to initiate turns on a board with a shallower sidecut.
A traditional radial sidecut is fairly common for splitboards given it works well on boards with traditional camber. However, be sure to pay attention to anything specific the manufacturer describes about their side cuts.
Some brands will blend multiple radii along a single edge as this helps accommodate different camber profiles and riding styles. Capita uses a parabolic shape along the edge of their Capita Navigator Splitboard. The parabolic design is a deep sidecut in the center that blends into a shallower sidecut toward the ends.
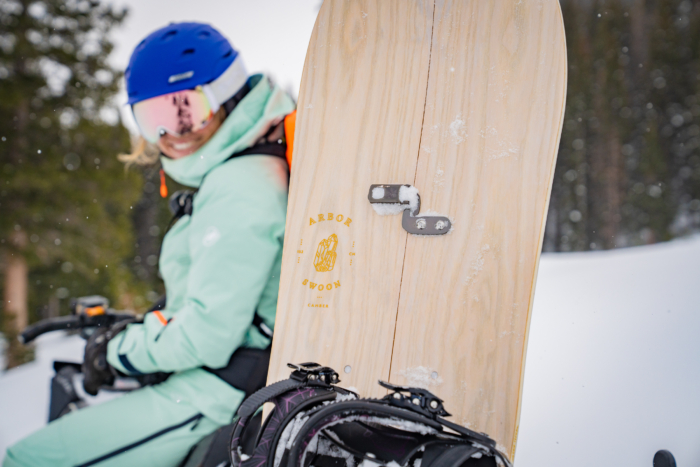
Parts of a Splitboard Setup
Tip & Tail Clips
These come standard on all splitboards and serve to keep the tip and tail together when going downhill.
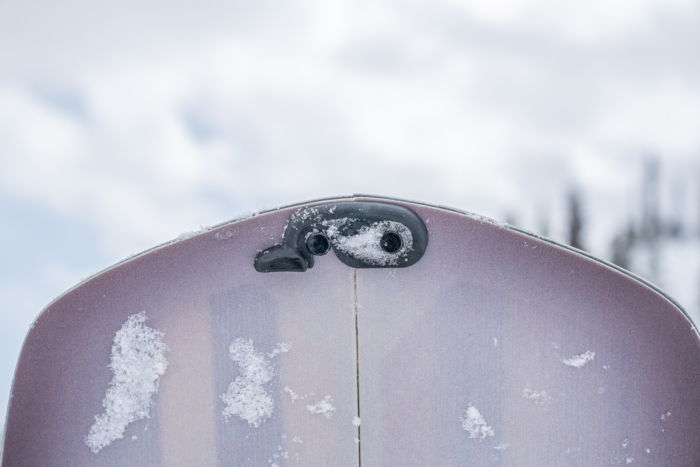
Hooks
These are found about a quarter of the way in from the tip and tail. The hooks are more vital in holding the board together in downhill mode than the tip and tail clip. As a result, the build is beefier.
A handful of brands make different styles of clips. In our experience, there isn’t one brand that stands above the rest. The model of hook that comes standard on a board shouldn’t sway your purchase decision.
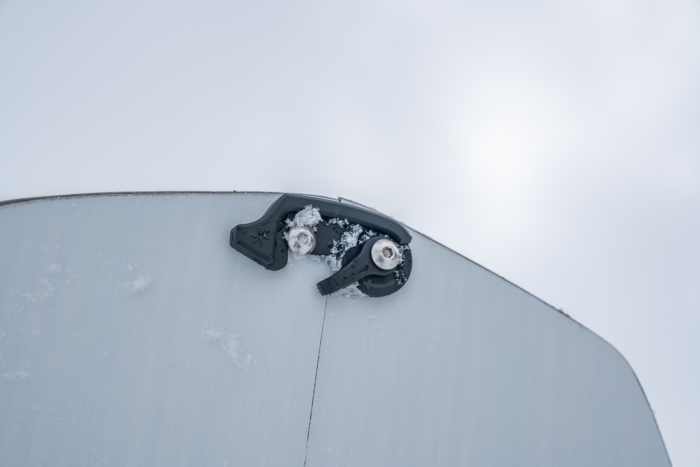
Splitboard Binding Pucks
Unlike solid boards, you won’t screw your bindings directly into the board. Instead, you mount pucks, that allow you to easily take your bindings on and off. The attachment is done via a simple spin, slide, or pin for uphill and downhill modes. A few brands include pucks with the board, like K2 and Burton. But more than likely, these come with the bindings you buy or need to be purchased separately.
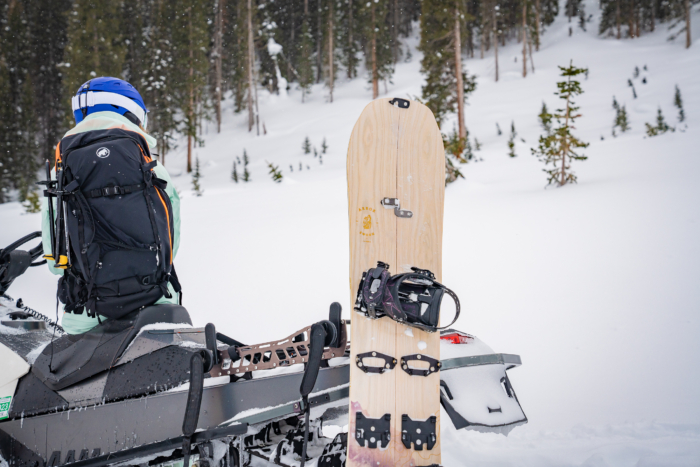
Touring Bracket
Mounted to the insert between your feet, the touring bracket is what accommodates your bindings for uphill travel. These are included with splitboard bindings.
Splitboard Bindings
The focus of this guide is on the splitboards themselves. But we are compelled to give a little background on splitboard bindings. And yes, we recommend buying splitboard-specific bindings.
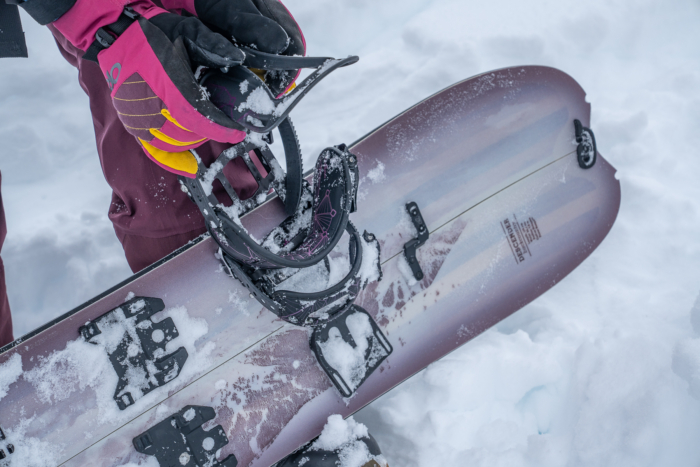
Spark R&D
The tried and true and the binding that we run on our personal setups. Without doubt, we have found a benchmark of durability in Spark R&D splitboard bindings. One of us has used the same pair for 8 years. The only replacements have been screws that rattled out from whoops following long, wild snowmobile approaches.
Spark has been in the splitboard binding game for a long time, and that experience has led to incredible bindings. They are reliable, comfortable, sturdy, simple in design, and easy to use. The simple puck system is quick in transitions and rarely faces issues with ice build-up. Spark bindings are also the only ones on our list that come with dual-height heel risers, which is key. Note that Spark sells their binding pucks separately for $80.
Karakoram
Karakoram blasted into the splitboard scene with something radically different than what we were used to seeing from Spark R&D.
Some in our ranks have found that Karakoram bindings perform a hair better than Spark. But that performance comes at a cost to your wallet and patience.
Our biggest complaint with Karakoram bindings is the amount of time you’ll spend trying to de-ice them while transitioning.
Union
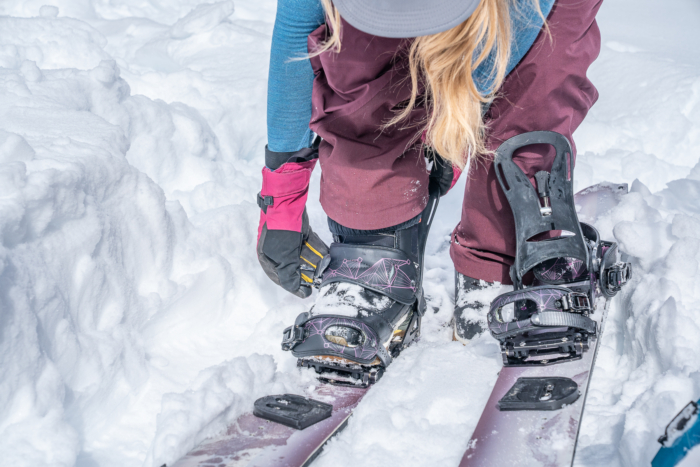
Union has been making outstanding snowboard bindings for years. It’s no surprise to see them recently making the step to the splitboard binding market.
Their foray into the market left us wanting more. The split bindings were more comfortable than anything else on the market. But the overall system wasn’t user-friendly, making transitions slow and frustrating.
They recently redesigned their board and binding interface with the release of the Charger Splitboard Binding. The result is a much cleaner, easier-to-use transition. That upgrade puts these bindings at a top three choice for us.
Phantom
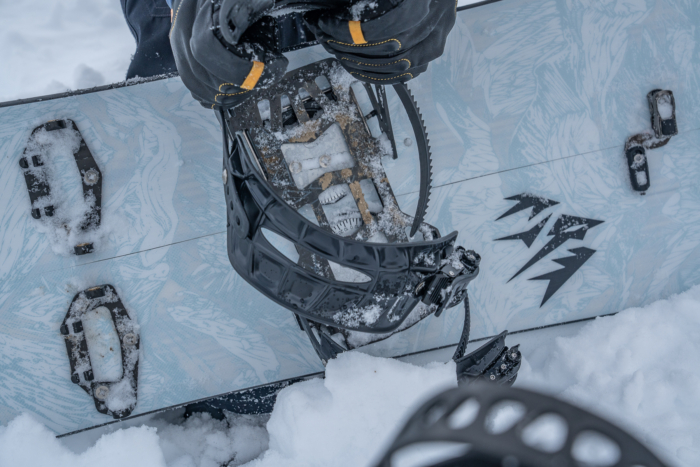
We felt obliged to give a nod to Phantom and all you hard boot splitboarders out there.
For those who don’t know what hard booting is? It refers to splitboarders using a lighter-weight alpine touring ski boot instead of a snowboard boot. As a result, the binding setup differs, too. You need downhill-specific pieces, like the Dyno DH, that slide onto pucks. For the touring, you need tech toes or a bin binding to attach the ski boots to the skis.
While we don’t have experience with hard booting, if you’re going that route, look into Phantom’s lineup. The brand is dedicated to making products for hard booting.
Skins
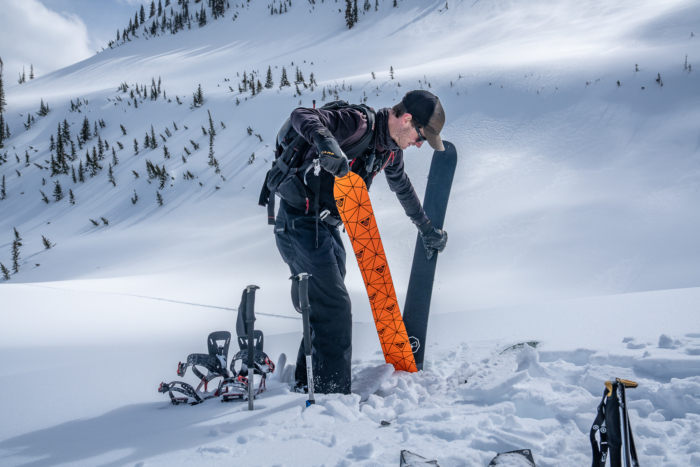
The biggest impact on uphill travel will be your skins. Skins have two distinct sides. One side has thousands of synthetic fibers that grip the snow when walking uphill. The other is the “glue” side and sticks to the bottom of your skis.
The synthetic material of skins usually comes in a blend of two distinct materials: nylon and mohair. Nylon is typically a little bulkier, though the fiber has an advantage of providing better traction and grip on snow. Mohair is typically lighter weight and provides better forward glide. However, mohair comes at the cost of not having as much traction compared to nylon.
The last part of the skins are the tip and tail clips, which attach to the ends of your skis. The tail clip is often adjustable allowing the skins to accommodate different length boards. Due to the shape of splitboard skis, skins are right and left-specific.
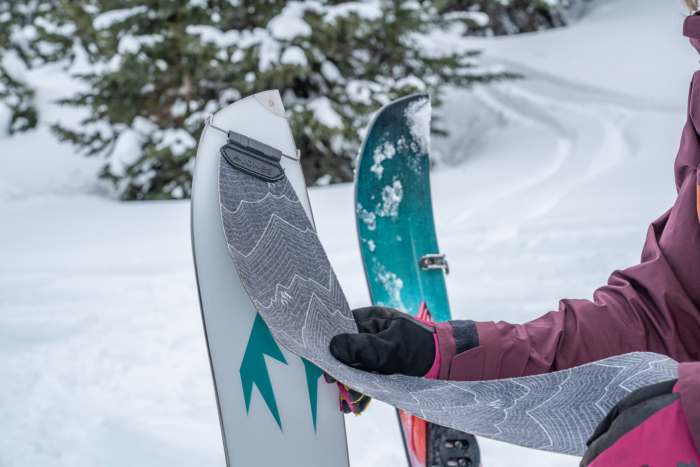
Where to Buy Splitboard Skins
There are a lot of companies out there making skins. Some of the most popular are Black Diamond, Pomoca, Montana, G3, and BCA. You’ll also find that some of your favorite snowboard brands are selling skins with their logos on them. In those cases, the brand is licensed to put their logo on skins from one of the manufacturers.
For example, Pomona makes the Jones-branded skins. Burton-branded skins are made by G3. Stranda partners with Kohla. There are countless other examples of this.
To keep it simple, forget branding. If you are new to skinning, we highly recommend buying skins with a higher percentage of nylon. You will appreciate the increased traction. Nylon adds minute weight that’s easily overshadowed through fewer slips and falls on the skin track.
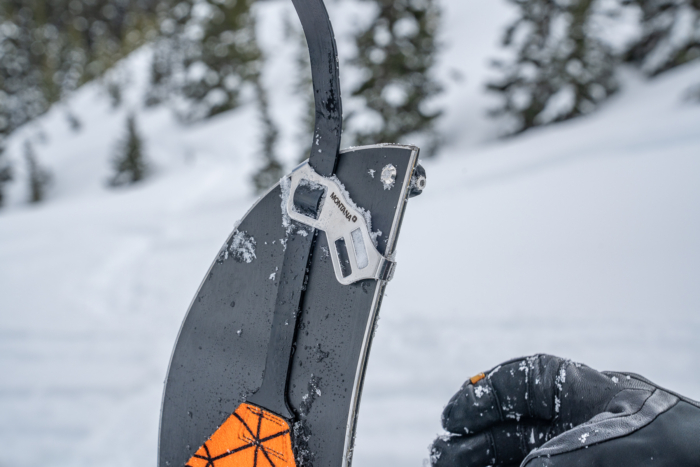
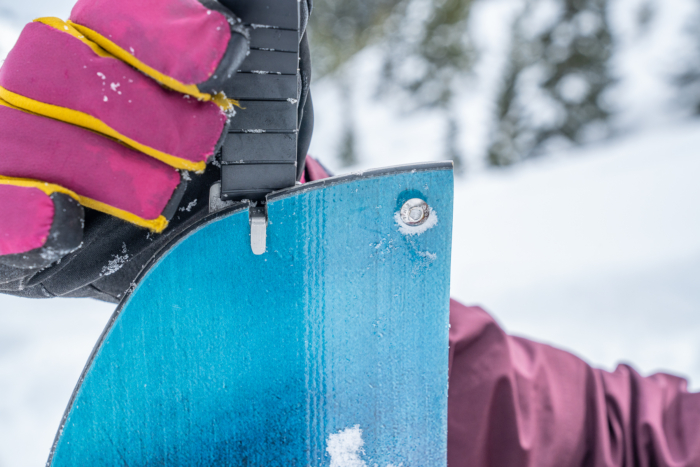
Universal vs. Proprietary Skins
It is a good idea to buy skins after, or at the same time you buy your board. The adjustable tail clips mentioned above will only be able to accommodate a certain range of board lengths. Most brands offer skins in different length ranges. You need to know how long your board is before you buy skins. Buying your splitboard bundled with skins might be an option. Another aspect to look out for is if the board has a proprietary skin attachment design.
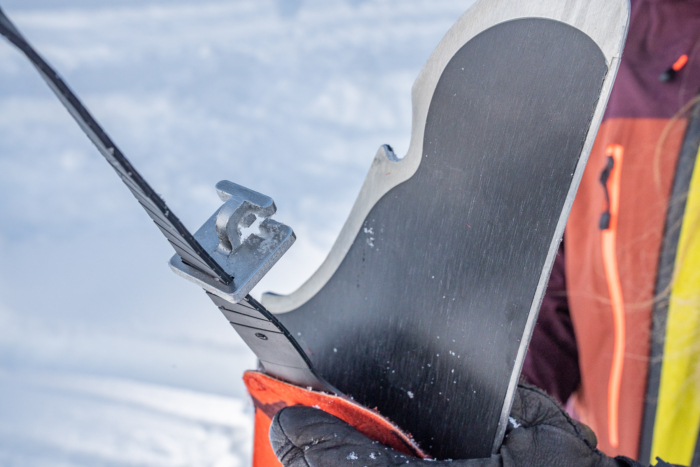
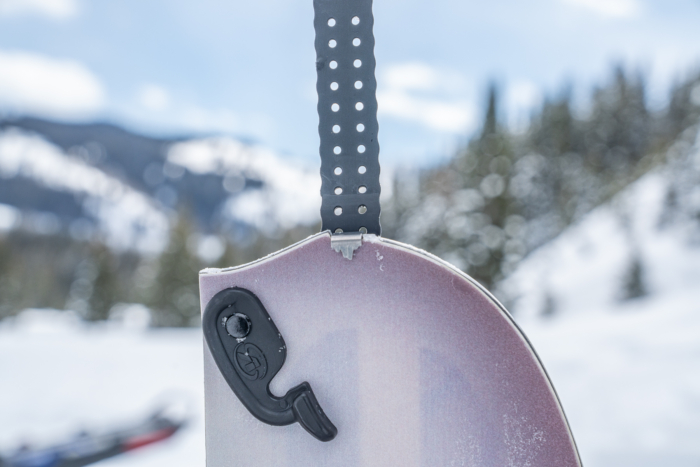
A good example of this is the Weston Ridgeline Carbon Split. This design’s “tip hole” and “tail notches” are designed for a specific style skin attachment.
This board will also accept a universal style tip and tail attachment. The rider can buy a skin that works with one board or stick with the universal option. But if a skin is tailored to a board design, usually that’s the most functional (or only) compatible choice.
If you purchase a swallowtail-style splitboard, you need to see if the company makes skins specifically for that board. Or take the board to a shop to buy a skin that will effectively attach to the board.
Backcountry Safety
This guide isn’t the place to give a lecture on the dangers of the backcountry. But it needs to be said. Please get educated on backcountry safety, avalanche hazards, and rescue equipment before you venture into the backcountry.
Before buying a splitboard, you will need the essential equipment of an avalanche beacon, shovel, and probe. Buying these three items is the easy part. They are worthless without an education in avalanche safety and rescue and the ability to think critically.
We can’t emphasize enough how important it is to learn backcountry safety before making backcountry riding part of your winter routine. How you approach this is up to you. Some quality resources could be your friends who backcountry ski or your local avalanche center. In Colorado, we have the Colorado Avalanche Information Center (CAIC).
Books are another great research tool including Staying Alive in Avalanche Terrain by Bruce Temper. Reading incident reports is another useful learning tool. Familiarize yourself with terms associated with avalanche hazards and how snow science experts predict avalanche dangers.
After gaining a basic understanding we highly recommend looking into avalanche training and courses. In the United States, the industry standard for avalanche education is The American Institute for Avalanche Rescue and Education (AIARE). The resources tab on AIARE’s website is also a great tool to begin familiarizing yourself with avalanche education.
Splitboarding Tips: Uphill Travel or Skinning
Brace yourself. This is how splitboarders spend the majority of their days, so it is important. The key to going uphill is to pace yourself and maintain efficiency. Here are a few key tips for your uphill journey:
1. Slide, don’t step
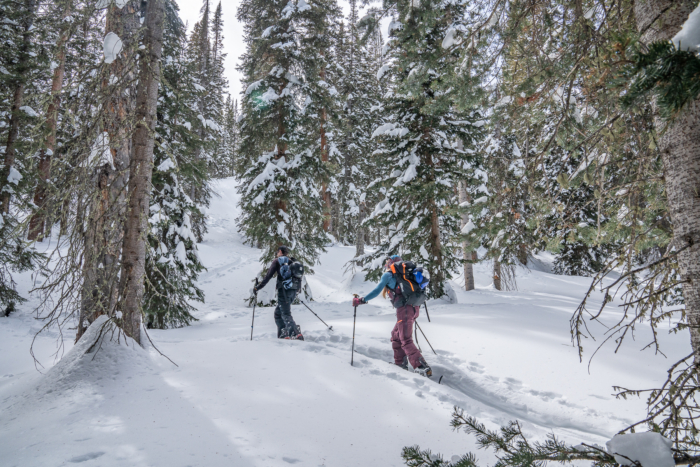
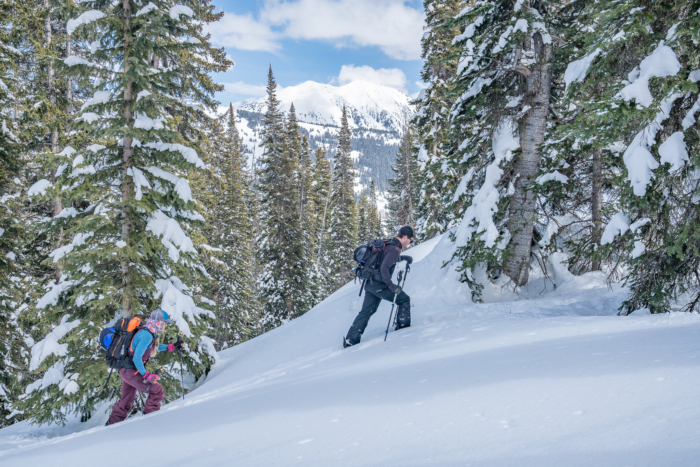
You don’t need to take big steps as you move uphill. You’ll use far less energy by sliding your ski across the snow and keeping it close to the ground.
2. Know when to use your heel risers
Those bars that elevate your heel off the board can be lifesavers. They help keep your weight back to preserve energy with each slide. The key is to use them if you are on an incline and don’t use them in the flats. If your bindings come with dual-height heel risers, the taller one is for steeper skin tracks. Don’t be afraid to use it!
3. Keep your weight back
Skinning with your weight back can be counterintuitive. Keep your weight toward your heels. That way, the more pressure there will be in the center of the board. That weight distribution creates the best grip between your skins and the snow. This will limit the potential for slipping backward on the skin track.
4. Master the kick turn
This is difficult to explain on paper. If you’re new to skinning, find an experienced buddy and ask them to give you a demo.
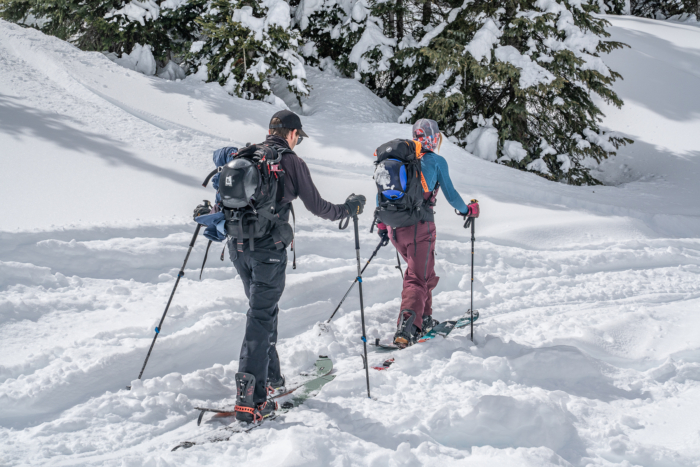
The bottom line is that this term refers to how you navigate the switchbacks on a skin track. Many people approach them by making an arched or U-shaped turn. However, when you do this, you inevitably point your skis straight uphill for a step or two. This can quickly lead to slipping and falling. Instead, try to make a V shape with your skis when in a switchback. Master this move, and it will save you a lot of energy.
Price & Value
To get a splitboard, don’t expect the same price range as a solid board. The construction of a splitboard takes more time and materials to make. The factory is essentially making two skis rather than one board. The resulting price is basically double what you might pay for a similarly built solid board.
Another reason for the higher cost of splitboards is the use of higher-end materials in their construction. The best example of this is the use of a sinter base material over an extruded base material. Sintered bases are far more durable and perform better than extruded bases. We didn’t have a single splitboard in our test with an extruded base.
Budget
So at the end of the day, the baseline cost of a splitboard is nearly double the price of a solid for the resort. You don’t want these tools to fail in the middle of nowhere, in the heart of winter. Even our most economical selects are made with a durable construction, a seamless center edge, a gouge-resistant base, and sturdy clips.
Our budget picks are the guys’ Stranda Descender B.C. Splitboard ($895) and the gals’ Arbor Veda Splitboard ($780). The $800 range also includes the Stranda Women’s Descender Splitboard ($895). You’ll also see the ladies’ Jones Dream Weaver Splitboard ($850).
Mid-Tier
Bumping into the $900 zone, these choices include the men’s Jones Stratos Splitboard ($1,000) and WNDR Alpine BelleTour ($999).
The Weston Ridgeline Splitboard ($950) has an aggressive layup of carbon, making it a good choice for very aggressive riders. But the Ridgeline will not be fun to ride for the average splitboarder.
If you are hoping to stay under $1,000 none of these boards are going to let you down. The Descender B.C. was one of our favorites. For a powder-centric rider, our fishtail choice is the women’s Weston Revel Splitboard ($949).
Premium
If you aren’t worried about keeping your splitboard purchase under $1,000, it will open up more buying options. Remember more expensive doesn’t always mean better, it all depends on how you ride. But in this zone, you’ll find the hardiest, lightest, most detailed designs out there. Generally, the profile becomes more complex and has a hybrid between camber and rocker.
The Capita Navigator Splitboard ($1,000) is a great option for an easygoing rider who prefers trees. And the K2 Isolator Unisex Splitboard ($1,050) is a unique wide, volume-shifted design that, for many riders, solves a drag problem while others love the width for float. There’s also the high-end Jones Women’s Solution and men’s Solution Splitboard ($1,050 each).
If you’re cutting grams, look no further than the lightweight, top-notch build of the Stranda Descender Fjäderlätt Splitboard ($1,245). Lastly, the Never Summer Proto Splitboard ($1,120) falls at a premium, too. The Proto was awarded our best overall splitboard.
Frequently Asked Questions
The easy answer to this is yes, you certainly can. However, when you start to dig into the performance of split boards versus solid boards you may want to reconsider. The vertical cut in the middle of a splitboard leads to a torsional flex pattern. That means they’re inherently softer than solid boards.
This flex pattern can lead to splitboards not feeling quite as sturdy on those hard-packed groomers associated with resort riding. This isn’t to say they can’t handle it. If you’re used to riding a solid board, it takes some time adjusting to the way a splitboard feels.
The bottom line is this comes down to preference and money. We understand that splitboards are expensive. If you can only afford one board and plan to predominantly ride the backcountry then go for it. If you spend most days at the resort with a small dose of backcountry, we recommend having both boards. Maybe look for a used splitboard to save yourself some money.
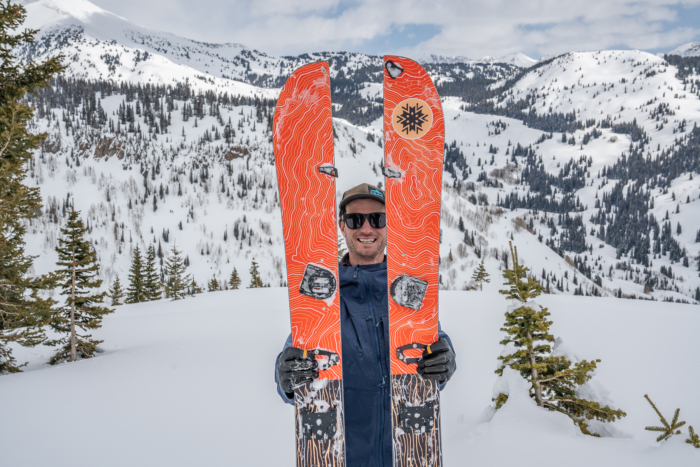
No. Splitboard skis can handle short descents that you encounter on the skin track. But split skis are not designed for downhill skiing.
We are sorry, but these are not an awesome 2-in-1 tool for people who ski and snowboard. Splitboards are simply a means for walking uphill, so that you can snowboard back down.
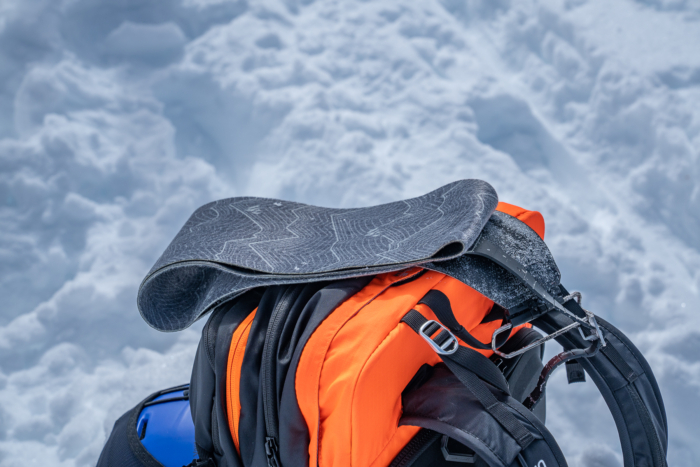
Aside from the essential avalanche rescue and safety equipment, there are other items you should consider carrying in the backcountry.
The right size ski backpack is essential to make sure you have enough room for all of your equipment. Be sure to look for a pack that can accommodate your poles when going downhill.
Poles are considered foreign objects to most snowboarders but essential for splitboarding. We recommend a pole that compacts to a small size, so it can be easily stored on the downhills. We recommend telescoping poles over folding poles, as they tend to have fewer issues with freezing up in cold weather.
Extra layers and gloves are very important, going uphill tends to make you pretty warm and potentially sweaty. You will want more layers to put on when making your descent. Extra layers are critical for emergencies that lead to being out longer than expected, potentially after dark or overnight. An emergency overnight shelter or bivy sack is also important for this reason.
Smaller items to carry include spare parts for your bindings (screw, straps, buckles, etc). You should also carry water, food, sunglasses, a first aid kit. Always have a spare plastic wax scraper with you. These are handy when ice builds up on the base, bindings, and inside edges of your board.
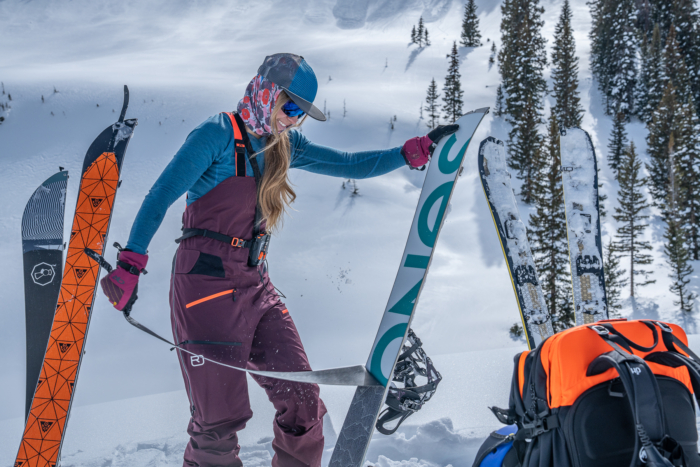
From a practical and preparation standpoint, there is no difference. Sidecountry is the same as backcountry and you need all of the same equipment, knowledge, and preparation.
In most conversations, the two terms are used to describe different riding experiences. Sidecountry or slack country refers to terrain that can be accessed through a boundary gate at a lift-served ski resort.
You might access sidecountry by using a chairlift, but the terrain is considered out-of-bounds. Meaning, that zone is not maintained by ski patrol, so the terrain is not avalanche mitigated. Riders should not go in the sidecountry without proper backcountry knowledge, equipment, and the avalanche forecast.
The term backcountry is used to describe terrain not associated with or accessed from a ski resort. However, it would be great if it replaced the term sidecountry. Sidecountry tends to imply that it isn’t as risky as the backcountry, giving a false impression of safety.
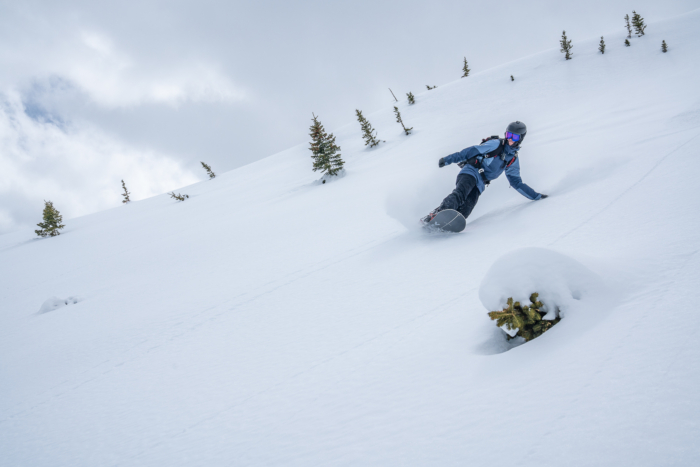
Unlike the board and bindings, you do not need a different or special pair of boots to splitboard in. A note we will make, though, is that splitboarding will wear your boots out significantly faster than resort riding.
The walking motion of splitboarding tends to break down boots at a faster rate, resulting in a softer flexing boot. Many riders just accept this fact and set aside a specific pair of boots for splitboarding. If you’re starting out, see how much you like splitboarding before diving into a second pair of boots. How often you go is another factor.
Certain brands in the industry have acknowledged the additional strain placed on boots by splitboarding and have designed splitboard-specific boots. Boots of this style usually come with a multi-zone lacing system, articulated cuff, and beefier outsole. In some instances, boots are designed to accommodate crampons better than others. Some designs have an uphill mode to provide calf relief and textile technology that helps retain heat.
These additional features come at a premium. A few worth mentioning include the ThirtyTwo Jones MTB, Vans Verse, Nitro Incline, Burton Tourist, and Salomon Trek. Don’t forget to check out our GearJunkie Snowboard Boots buyer’s guide to learn more.
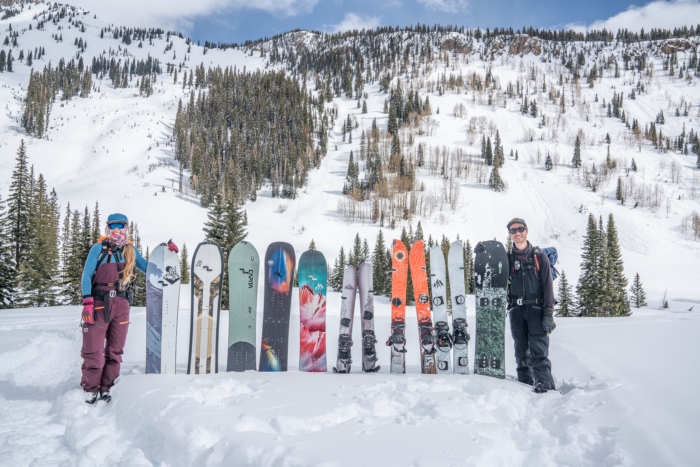
The Best All-Mountain Snowboards of 2025-2026
Our experts tested the best all-mountain snowboards. Top picks include GNU, Burton, and more.
The Best Ski Backpacks of 2025-2026
From small ski packs for lift-access to behemoths built for serious backcountry use, we found the best ski backpacks for every budget.
