Your bike loves you, so show it the affection it deserves! You’ll be done in 15 minutes – that’s all you need to wash your bike.
Step 1 – Soap Up
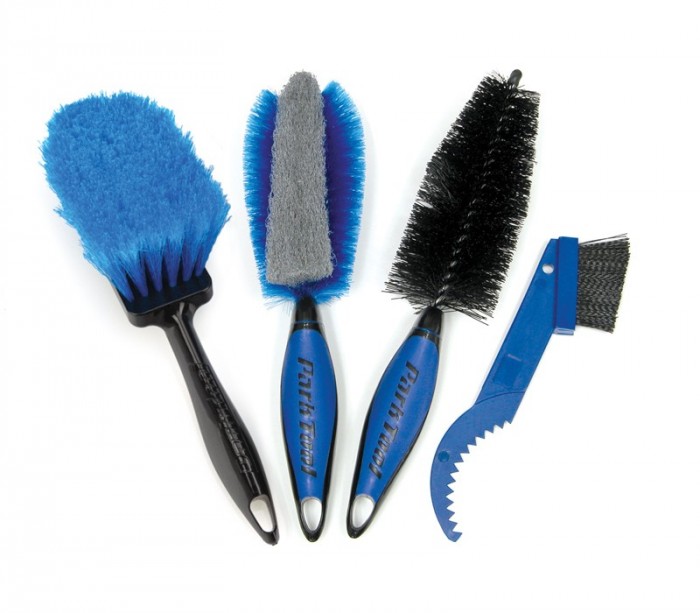
Break out the bucket, sponge, warm water, soap, and some soft brushes. Extra credit goes to those grabbing a second bucket for rinse water. If you don’t have bike-specific soap, just grab some kitchen soap. Heck, really any soap will do. Ideally you have a set of specific bike brushes, but simply using a long bristled kitchen brush will get you well on your way.
Why a bucket and not a hose? Because pressurized water can force dirt and dust into bearings. It can also remove the grease that you want in there for lubrication. If you use a hose with no sprayer, a gentle flow, that’s fine. Just control your urge to blast or the next thing you’ll hear is your mechanic telling you that your frame has water in it, your cables are rusty, and your bearings are dry.
Step 2 – Brush From Top Down
Start at the top tube and go down, with your drivetrain last. Keep the water flowing and the suds copious. You’re not saving it for later, let’s get it on! On the first pass we are removing the big chunks (the cyclocross contingent knows what we’re talking about) then perhaps a second pass to make it pretty. It does not have to be perfect — we will get the dust and details with our cloth when we start drying.
Step 3 – Drivetrain And Wheels
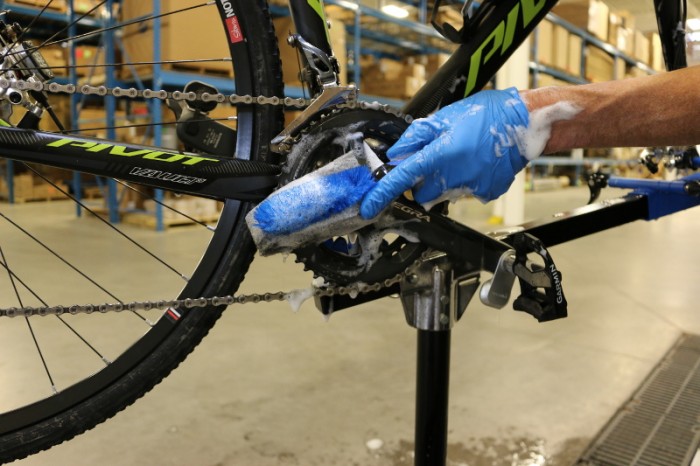
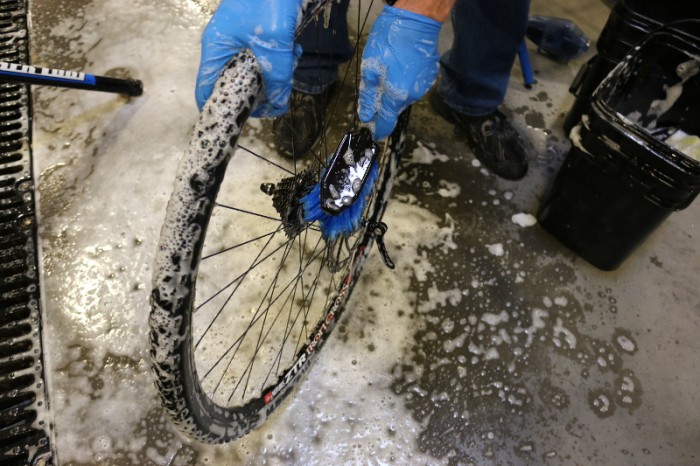
That’s the cranks and the cassette and the chain. This is the most important area to clean correctly, as most of your moving parts are here. Keeping your chain clean protects it and prolongs the life of your chain rings (those big gears on the front) and the cassette (the little ones in back). We won’t get all of the dirt off the chain now, degreasing it after we wash the bike. (Note: It’s not necessary to pull your cassette off but for maybe once a year, just get between the cogs with a brush; see image below.)
Step 4 – Take The Wheels Off
Get in and behind the cassette all nice like. Check your tires for nicks or deformities. Tip: When you soap up your tires, look for bubbles, a sign of a slow leak.

When we wash our bikes, we are not just cleaning, we are inspecting. We are thinking about how it works, checking in with it. If you talk to it, we won’t judge. This is your time together, your hands, taking care, showing it the service that it shows you.
Step 5 – Focus On The Chain
If you are a boss, throw on your dummy hub to allow you to clean your chain with your wheel off. Want to shift in order to reach into the nook of your derailleur? Yes, that’s fine, the dummy hub enables that.
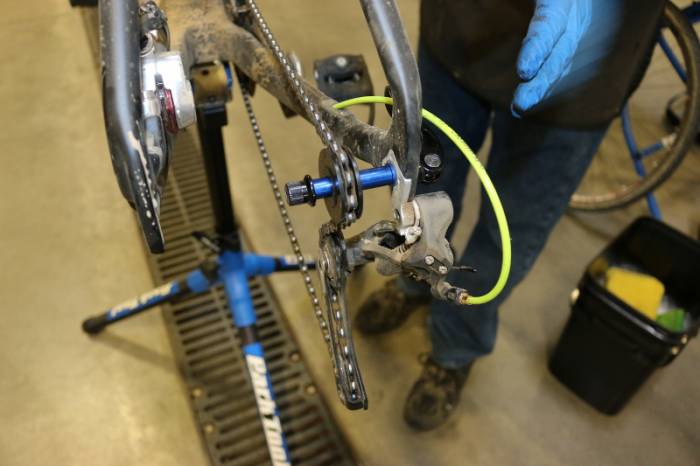
Assuming we are degreasing the chain today, grab your chain cleaner/scrubber thing. Put your chain cleaner solution in there and get to work. If you don’t have a bike-specific degreaser, use kitchen soap. Most automotive degreasers are OK, too.
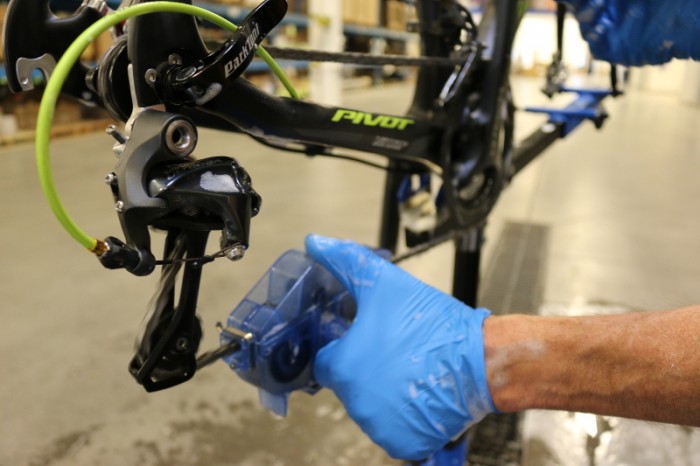
Did you know you can set the chain scrubber down, wait for the dirt to settle, and then pour off the top of your degreaser solution and reuse it? Yeah, it’s not crazy, that’s why there is a magnet in the bottom on your scrubber. Keep a mason jar on your work bench and pour off the top after all of the dirt and metal has settled to the bottom.
Keep cleaning until most of the grit you hear between the links goes away. Run some water over it to help the last of the fine grit rinse away.
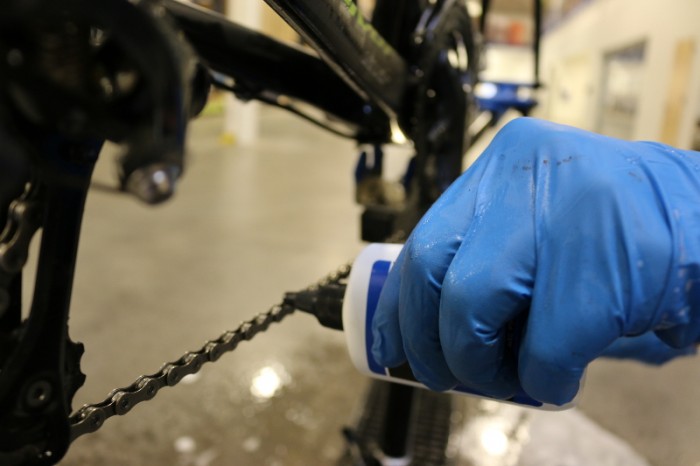
Lastly, and do this religiously, grab your chain lube. Apply liberally, then wipe off the excess.
A Final Dry
Go over the frame, cables, nooks and crannies with a soft cloth to remove any last bits of dust and help dry water spots. Give the bike some love. Reassemble wheels or other parts you removed and give it a quick roll along the floor, double checking the quick releases, brakes, and shifters. Beautiful, isn’t it?
FINISHED. Now don’t you both feel better?


