Not everyone has the time and luxury to get out to a campsite every weekend. But learning how to build a fire pit can bring the outdoorsy camp feel to any backyard.
Building a fire pit yourself can be daunting. However, with a few safety measures in place and an afternoon on hand, you can complete a DIY fire pit and have it ready by the evening for the whole crew to enjoy.
How to Build a Fire Pit
A fire pit can add value and enjoyment to your yard or property. However, be sure to check out local ordinances before building. Some cities, such as Denver, don’t allow outdoor fires except for cooking due to air quality concerns. Also, be sure to keep an eye on fire restrictions before using your fire pit.
1. Find the Right Spot
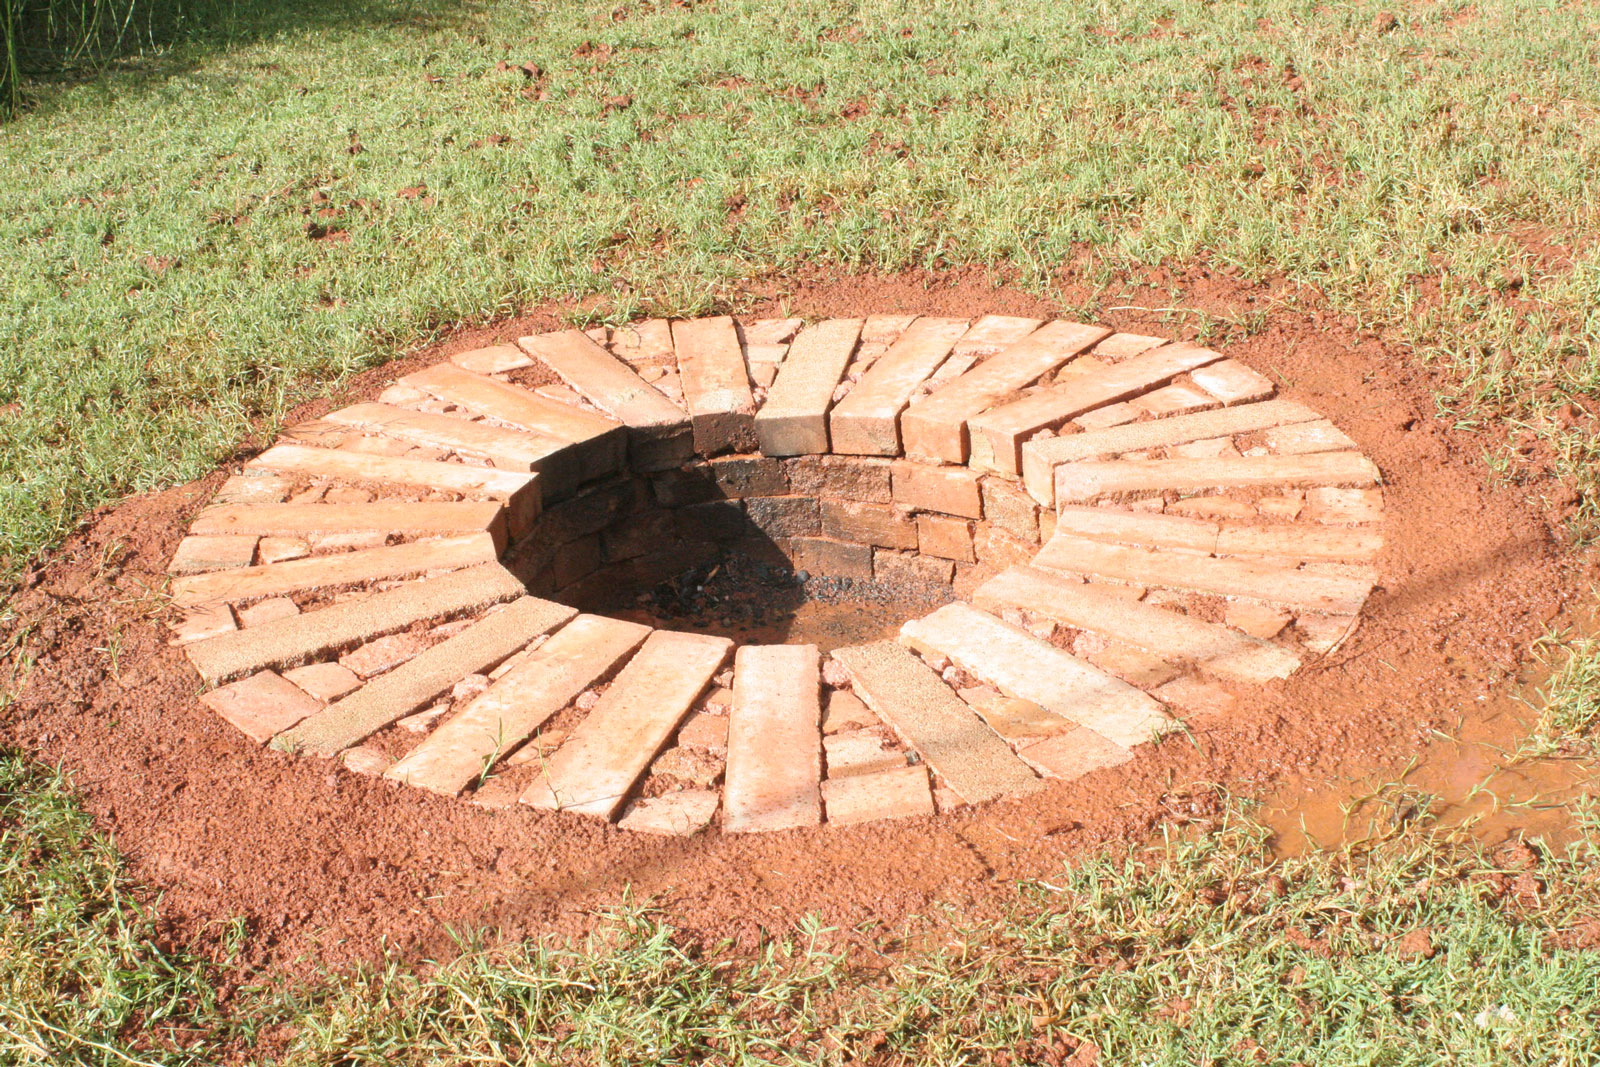
The best placement of a fire pit provides a safe place for the fire to burn and a comfortable area for everyone to be around it.
The golden spot for a DIY fire pit needs to be level and appropriately spaced from the house. A level spot will help keep burning logs in place and provide a stable base for benches or comfy camp chairs.
Fires will give off small sparks and a large amount of heat that can put trees and structures in jeopardy. An area with plenty of room to spread out around it and a clear sky above it will help keep everything and everyone safe.
2. Lay a Foundation
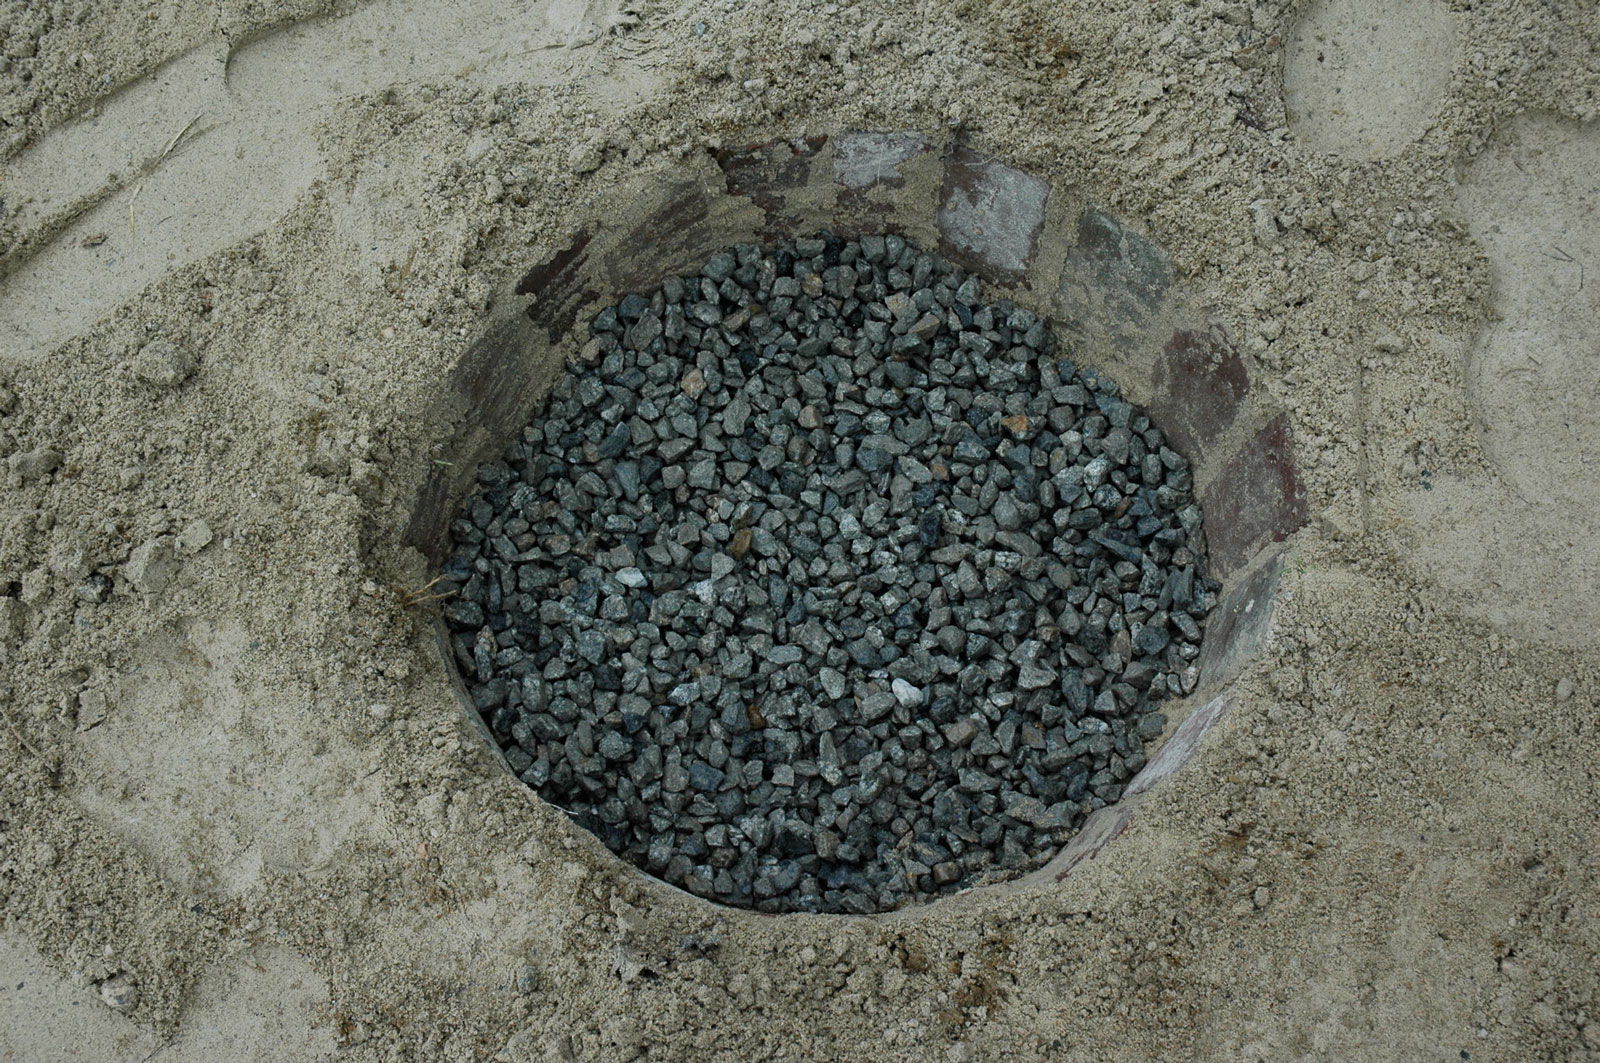
While fire and its heat move upward, protecting the ground underneath is incredibly important to safety and plant health. Fires can slowly burn downward, with the possibility of burning roots and even killing a garden.
To avoid a fire scar of great proportions, a foundation of stone or poured cement is key to keeping the fire inside the pit. To do this effectively, clear out any grass or other plant life in the space where the fire pit will be. Once at the soil, use river stones or mixed cement to cover the ground thoroughly.
A fire pit is sure to be safe with a proper foundation to avoid leaving damage on the lawn underneath.
3. Build Up the Walls

The next step will have the most aesthetic effect on the entire project. The way you choose to build up walls can give a rustic, campground look, a modern appeal, or construction-site chic. This is the great part of getting creative — making something uniquely yours.
The most important part of the walls surrounding the pit will be the fireproof layer closest to the fire. Average bricks will not be rated at a high enough temperature for this. Fire bricks, on the other hand, are made for the task. A premade, metal fire pit can also be surrounded by a beautiful wall to give it a DIY fire pit look and feel.
The key here is to ensure that there is enough airflow for the fire to stay alive and blaze brightly throughout the night. If it is suffocated, it will die out and need much more attention.
Try leaving small spaces for ventilation between the bricks, or even a direct airflow corridor dug in the bottom. These spaces should be large enough for air to come in, but small enough so the fire cannot exit.
The outer wall is where your creativity comes into play. From retention bricks to smooth marble slabs, anything is possible — even within a budget.
4. Clear the Surroundings

Fire can be tricky and can travel even when trapped inside the walls. To maximize safety, add a ring of more fire resistance outside the wall.
Smooth river stone can add color and eye-catching appeal to the fire pit as a great touch. Alternatively, you could simply extend a concrete foundation past the walls for a functional fire pit.
The area doesn’t need to be giant. Provide about a foot of space leading up to the pit. This also ensures that any fallen logs won’t catch any grass on fire.
Keeping space around the fire pit clear also allows for comfortable and spread-out seating options. You can build benches, arrange camp chairs, or place an array of blankets and outdoor patio furniture around it. This is a spot to make special. The more comfortable it is, the more inviting it will be to draw people in and provide a place to laugh, talk, and relax around a fire.
5. Reap the Benefits

Finally, it’s time to invite friends over for the grand unveiling of your new backyard DIY fire pit! Show off your fire-building skills, and be sure to prepare by learning how to start a fire.
With a beautiful fire pit crafted by your own hands, cold nights will become cozy — after all, those brisk autumn evenings always pair well with a blanket and comfy seat next to a fire.

