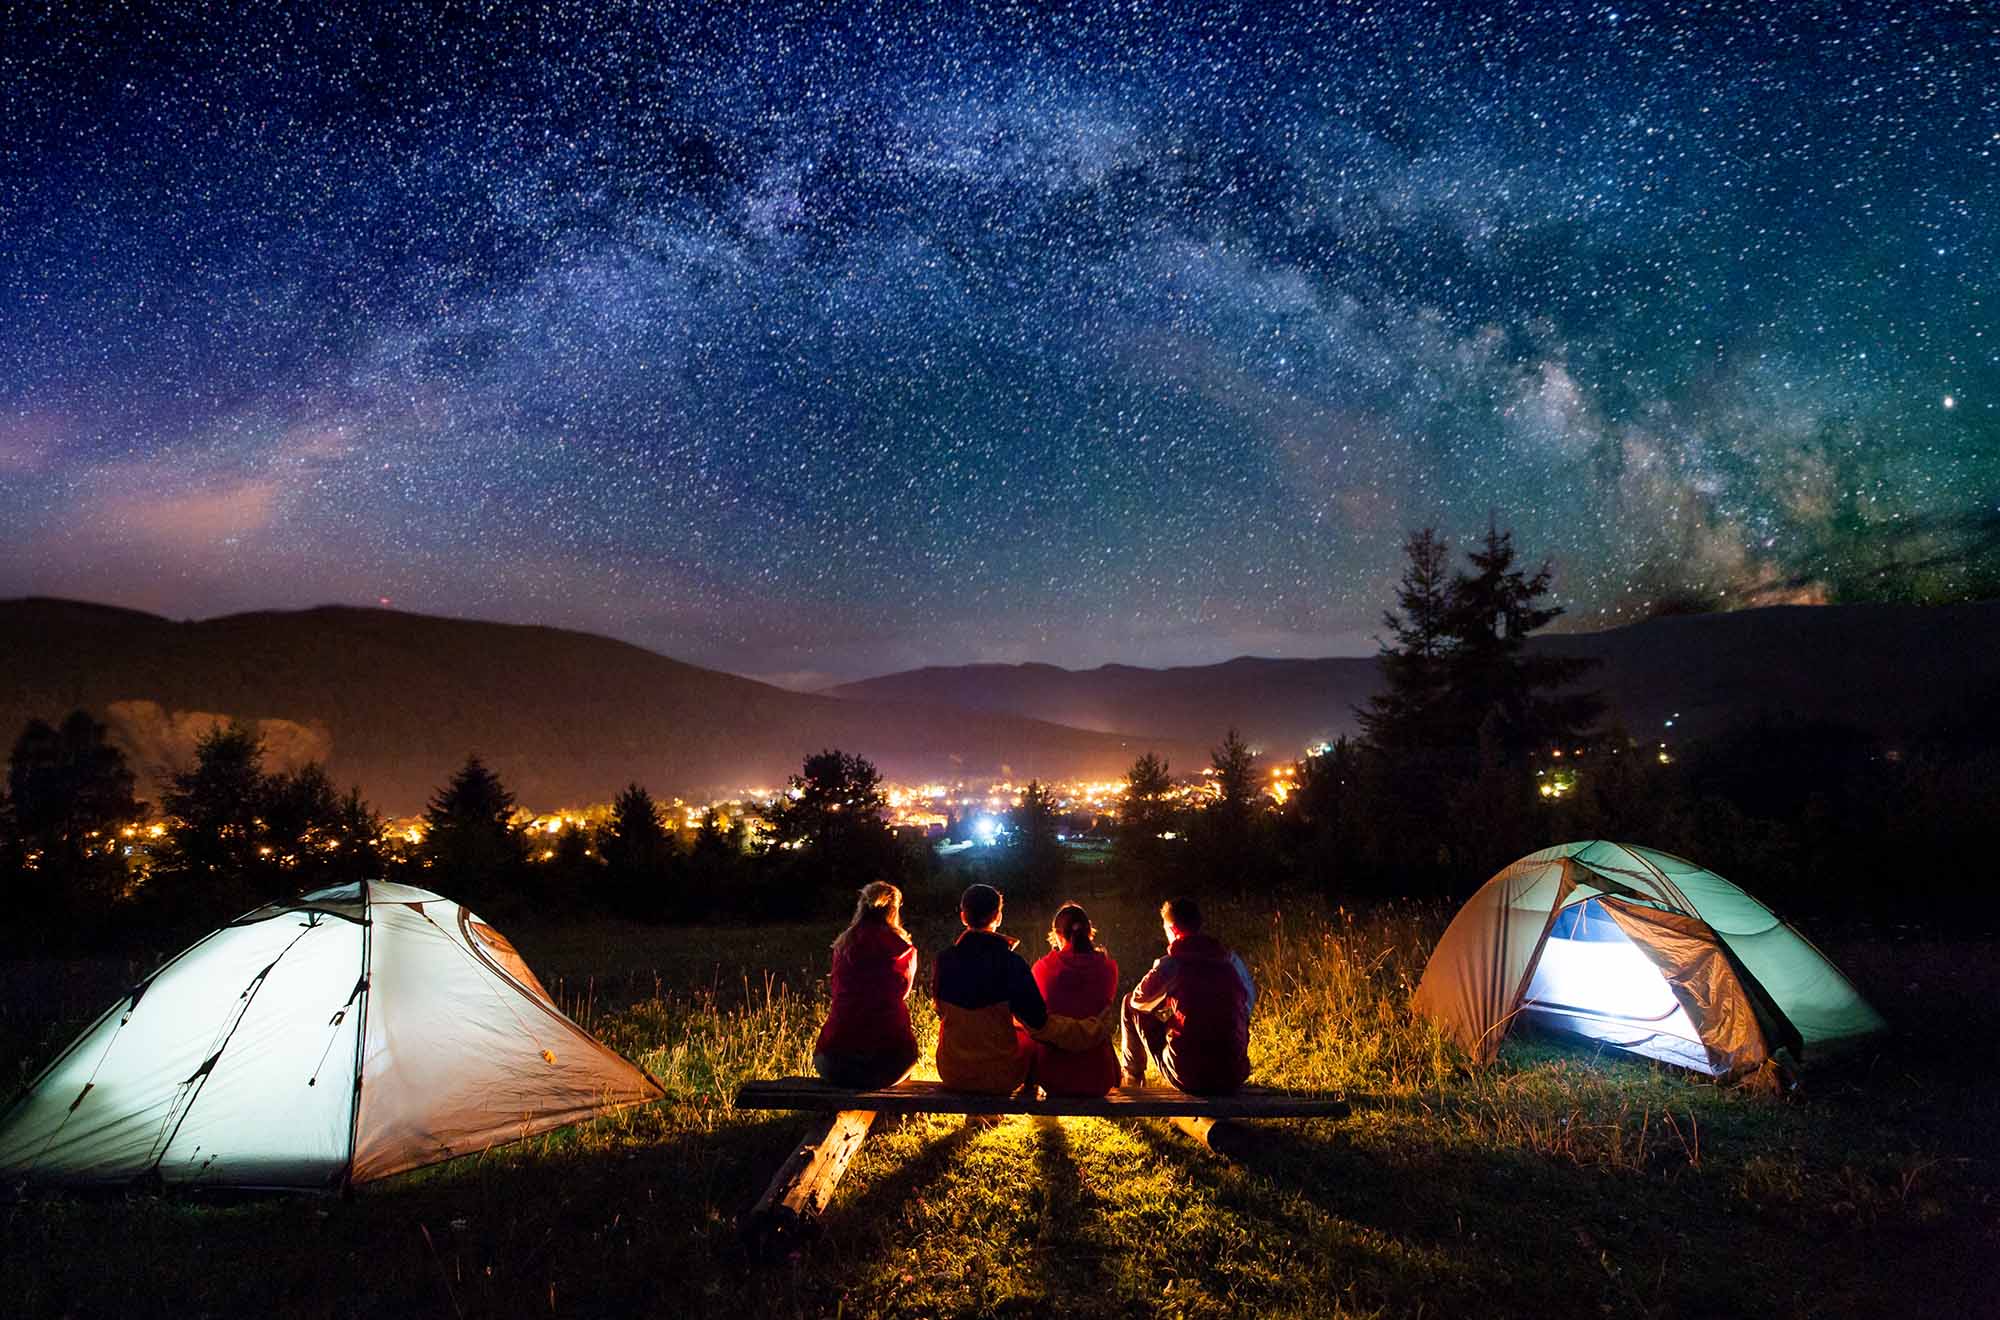
Spring is in the air. The snow is melting in the high country, daily temps are rising, days are stretching longer, and short sleeves and sandals are emerging in the wild from hibernation. These are all signs that one of the best times of the year is right around the corner. The days of car camping, backpacking, tent pitching, fire tending, and outdoor cooking are upon us — we’ve been waiting.
It’s camping season!
Whether you’ve got a stacked calendar of adventures ahead of you or you’re just starting to think about and plan your trips, there’s always a list of things to take care of ahead of spring before you take to the hills and start sleeping outside — the “Pre-Season Camping Gear Prep and Planning Checklist,” as I like to call it. Depending on how much gear you have, it might take you a couple of hours, a day, or even a week to work through.
But it’s time well spent. When you’re set up with a view, feet up on a cooler, fire crackling beside you, beverage in hand as you watch the sunset over your first successful outing, you’ll no doubt agree. It’s incredible how much more prepared you are when you front-load your camping season with a bit of extra elbow grease.
In short: That’s why we’ve compiled this handy, dandy prep and planning guide for preseason campers who want to get ahead of the game. It’s a rough and dirty compilation of things to do and think about, tips, tricks, and hacks to ensure that you hit the road running with everything you need.
Step One: Get Organized!
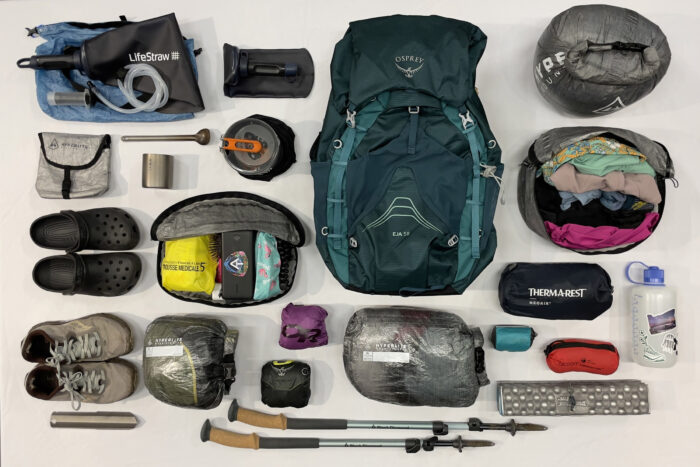
If you’re anything like me, your camping organization is always better going into a trip than it is coming back. I’ll have everything neatly packed up when I’m setting out, but by the time I come home, it’s all gone to pot, and everything is everywhere all at once.
The same is true for the camping season: I tend to be more organized initially. That’s why I need to start the season at a high watermark — from experience, I know it’s all downhill from there.
So, get it together. Drag your camping gear into the living room, garage, or yard, and start laying things out. Make a neat spread of your kitchen gear, sleep systems, tents, packs, lights, electronics, and outerwear. Unpack your tent and assess whether or not it needs to be cleaned or waterproofed. The same goes for your sleeping bag, sleeping pad/air mattress, and bag liner.

Some people use an actual list for this. It’s an efficient way to run inventory and ensure everything is accounted for. If you have it in a spreadsheet, you can make notes about repairs that need to be made, what needs to be cleaned, when warranties are up for specific pieces of gear, and so on.
Many campers (myself included) aren’t that organized. But it would streamline the process of prepping for camping season.
Tent Care

Tents are expensive and require love and attention to extend their lives. Always dry your tent before packing it up and storing it for any extended period. Mildew can be a real challenge if your moist tent sits in a stuff sack for too long.
Pre-camping season, pull your tent out and set it up. If you can, give it some time to air out in the sun and let that ultraviolet light work its disinfecting magic. Check the zippers and seams for weak points or loose threads. If there is any damage you didn’t notice last year, buy a patch kit and get to work.

Check out GearJunkie’s comprehensive guide to spring tent care. It covers everything from how to clean a tent to patching holes and even waterproofing a tent if its DWR treatment or other waterproofing is wearing off.
Consider taking your tent to a local repair shop if it has severe damage. It might void the brand warranty, but local shops are your next best option if you don’t have time to send it to the brand. If you need to buy a new tent, consider these tips on choosing one, and check out GearJunkie’s guide to the Best Camping Tents.
(Pro tip: Send your tent — and any other camping gear that needs repair — into warranty at the end of the camping season. That way, it has all winter to get processed.)
Sleeping Bag Care

Like the feeling of slipping into a bed with fresh, clean sheets, few experiences rival the feeling of zipping into a clean sleeping bag. It smells nice. It feels better. And it helps make your sleeping bag last longer when you clean it here and there. GearJunkie has a great guide on How to Wash a Down Sleeping Bag. I would highly recommend reading it.
During the off-season, you should try to keep your sleeping bags in the large storage stuff sacks they usually come with. Those help the down or synthetic insulation retain its loft so it stays warmer longer. Before camping season, I hang my sleeping bags (preferably in the sun) to let them fluff and air out.
Again, check to ensure there aren’t any new holes or broken zippers from last season. If repairs are needed, see the recommendations from the previous section on whether to send it to a warranty or take it to a repair shop.
Apparel, Footwear, and Outerwear Check

Camping is hard on footwear, outerwear, and apparel. Sift through your camping clothes and footwear and check that they’re all still wearable and functional.
Rain jackets and pants can lose their waterproofing over time. If yours do, companies like Nikwax sell waterproofing solutions that you can use to wash your jacket or rainfly to re-up its waterproofing. Hiking boots can also be re-waterproofed, typically with a spray-on solution.
Similarly, if you often use a fleece or down jacket for camping, check for holes or damage. Address them as you find them. If you want to wash your down jacket before camping season, see GearJunkie’s guide on How to Wash a Down Jacket.
Camp Kitchen Care

On several occasions, I have been at a campsite early in the season, getting ready to cook dinner, only to open up a kitchen pot or bag of plateware to discover it hadn’t been cleaned at the end of last season. And let me tell you, campsites are not great places to engage in hardcore dishwashing.
So, take inventory ahead of time. Make sure you’ve got all your mugs, cups, plates, bowls, silverware, coffee pots, tea kettles, pots, pans, and skillets — and that they’re all clean.
Camp stoves tend to get dirty and go unwashed. So double-check that yours isn’t caked in grease or food splatters, and clean it if it is. If you need a new stove, consider those that GearJunkie included in its Best Backpacking Stoves and the Best Camping Stoves, depending on your intended activities.
Finally, check your fuel. Shake your fuel cans to gauge how much you have left in each. If you have a bunch, it can be helpful to organize them so you know which has more and less fuel. If you have a tool like FlipFuel, you can consolidate fuel from two partially empty cans into one.
Clean Water
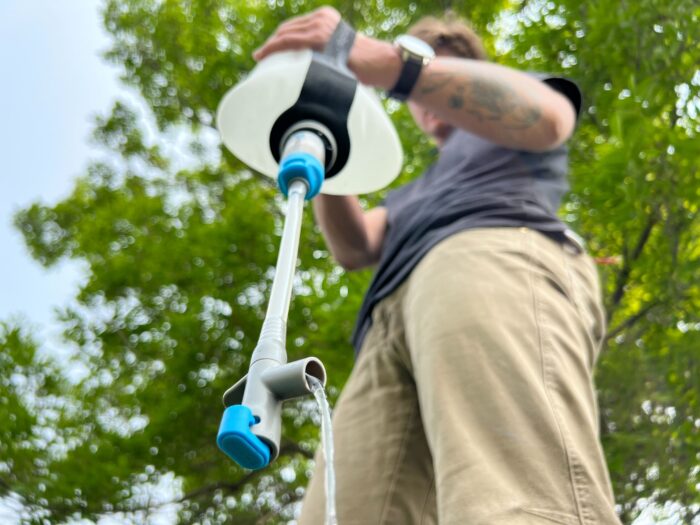
If you use iodine tablets or another form of chemical purification, check to ensure you have enough, and if you don’t, add it to the purchase list.
If you use water filters (gravity, squeeze, or pump style), clean your filter so you’re headed into the season fresh and ready to go. Most filters can be backwashed easily. Just run clean water backward through the filter so it flushes out any captured particulates or sediment. It’s easier to do with a sink, but it’s usually possible on the trail or at a campsite.
For car camping and road trips, I always rinse out my 10-gallon water jugs before filling them up regularly for the season. It doesn’t hurt to rinse them a few more times throughout the season.
Check Food, Replinish Supplies

My pantry has a shelf dedicated to trail snacks, backpacking meals, and camp food. Most of the stuff there has a long shelf life. But before I dive into it at the beginning of the season, I scan the expiration dates quickly to make sure I’m not going to poison myself or my partner unintentionally.
(Pro tip: Throw out the bad stuff and organize the rest according to expiration dates so you can work through it in order of what will expire sooner.)
Also, take this opportunity to restock any dwindling medicines or first aid supplies. Bandaids, antiseptic creams, gauze, ibuprofen, and moleskin tend to get used up over a season of camping and backpacking adventures. Replenish all that so you’re prepared to handle cuts, scrapes, blisters, and more.
Start Planning Trips!
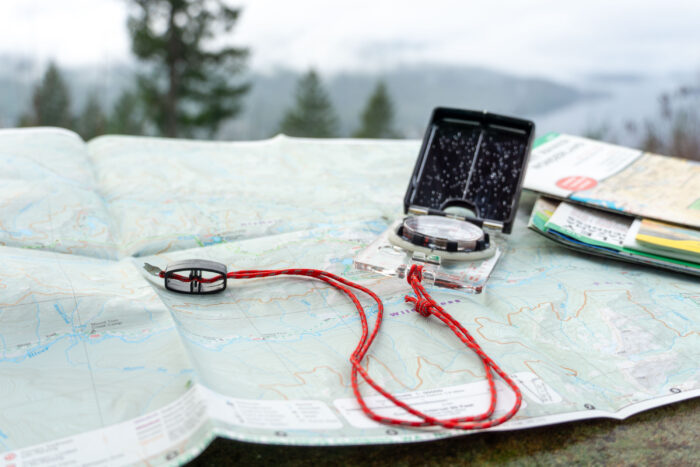
While spontaneous camping trips are a lot of fun on the fly, planning trips out makes it easier to know what gear you’ll need to bring and how to prepare it. It’s also the only way to plan a camping trip somewhere that requires permits.
So, take an evening, sit down, and consider where you want to go. It doesn’t have to be this camping season — brainstorm, dump ideas, and make a list. Then, you can tentatively pick a few to work toward this spring, summer, and fall.
Hit your camping partners up. Ask them what trips they’ve got in mind. Just get the wheels turning, and you’ll be amazed at what kinds of adventures manifest.
Frequently Asked Questions
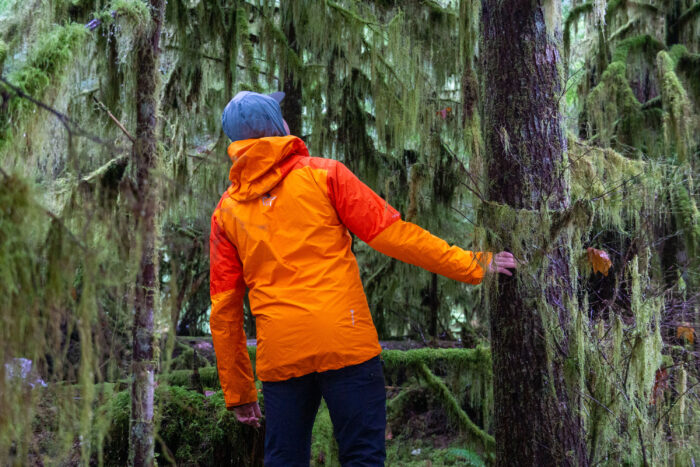
You should always be prepared to camp in the rain, as it’s a distinct possibility whenever you go out. Bring a rainfly for your tent. Don’t forget your rain pants and jacket. Have some warm clothes to layer with in case the temperatures drop. Have cold soak meals and snacks ready if you can’t start a fire or stove.
If it’s really coming down, make sure your tent is positioned out of the grass and somewhere water won’t pool. If you did your homework and prepped pre-camping season, the waterproofing on your rain fly and outerwear should be refreshed. And expect to get muddy if you go out for a hike.

It depends on the chair. Most of them are easy enough to spray down with a hose in the front yard. I have had incidents where food or drink has spilled on my favorite Kelty camp couch and left stains. In my experience, it’s possible to spot-clean your camp chairs and furniture using a hand towel or sponge and some dish soap or laundry detergent.

The best way is to do it frequently. But if you’re looking for a play-by-play, here’s how I do it with my Coleman: Break the stove down. Take out the burner grate, the stove basin, the gas canister connector, and any other removable pieces.
Hand wash every single one of them with soap and water. Wash the stove, wiping down any grease and grime, and drain it so no standing water is left inside. Let everything dry.
When all the water has evaporated, reassemble the stove. And it never hurts to test-fire it up. The last place you want to realize your stove is broken is out at the campsite when it’s your only food source.
