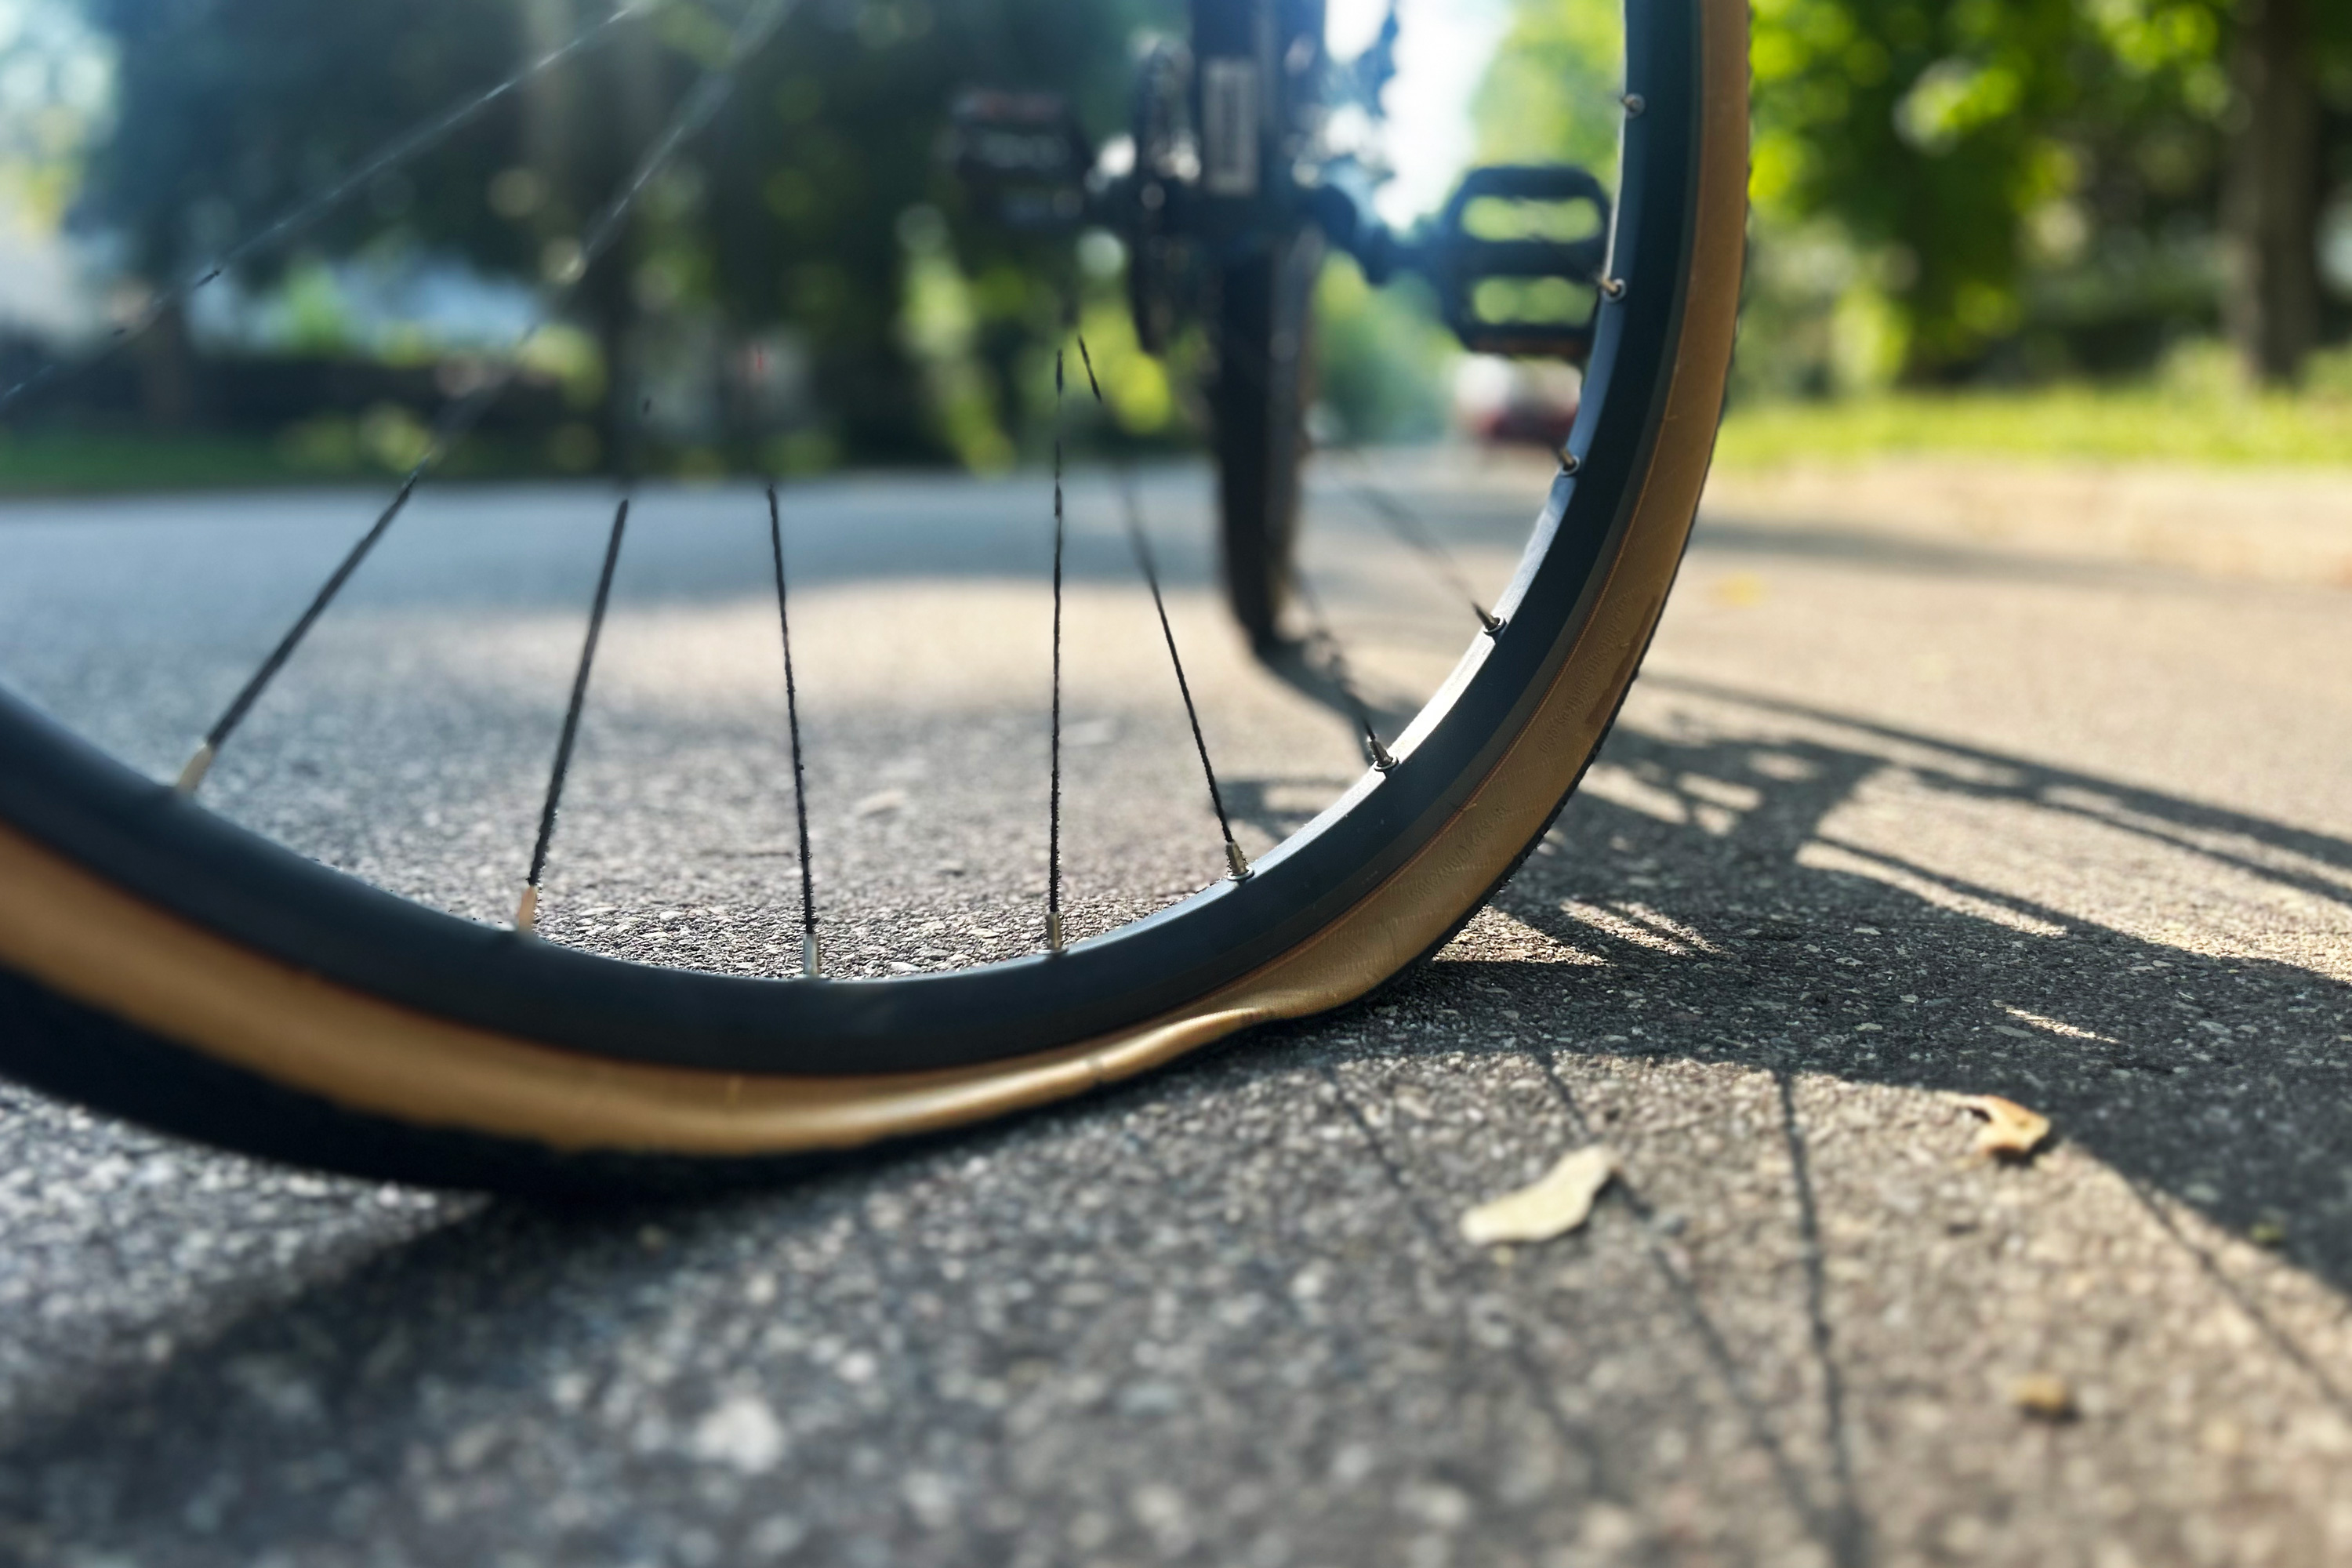
Punctures, pinholes, pinches, and the infamous slow leak — flat tires come in many forms. And it’s OK. In fact, many consider it a badge of honor; something that affirms your dedication to the wonderful world of cycling.
That is, so long as you know how to fix it. Whether you’re facing your first flat, or brushing up on best practices, you’ve come to the right place. With a couple of simple tools and a bit of know-how, you’ll find it’s simple enough to replace your tube and get back on your bike.
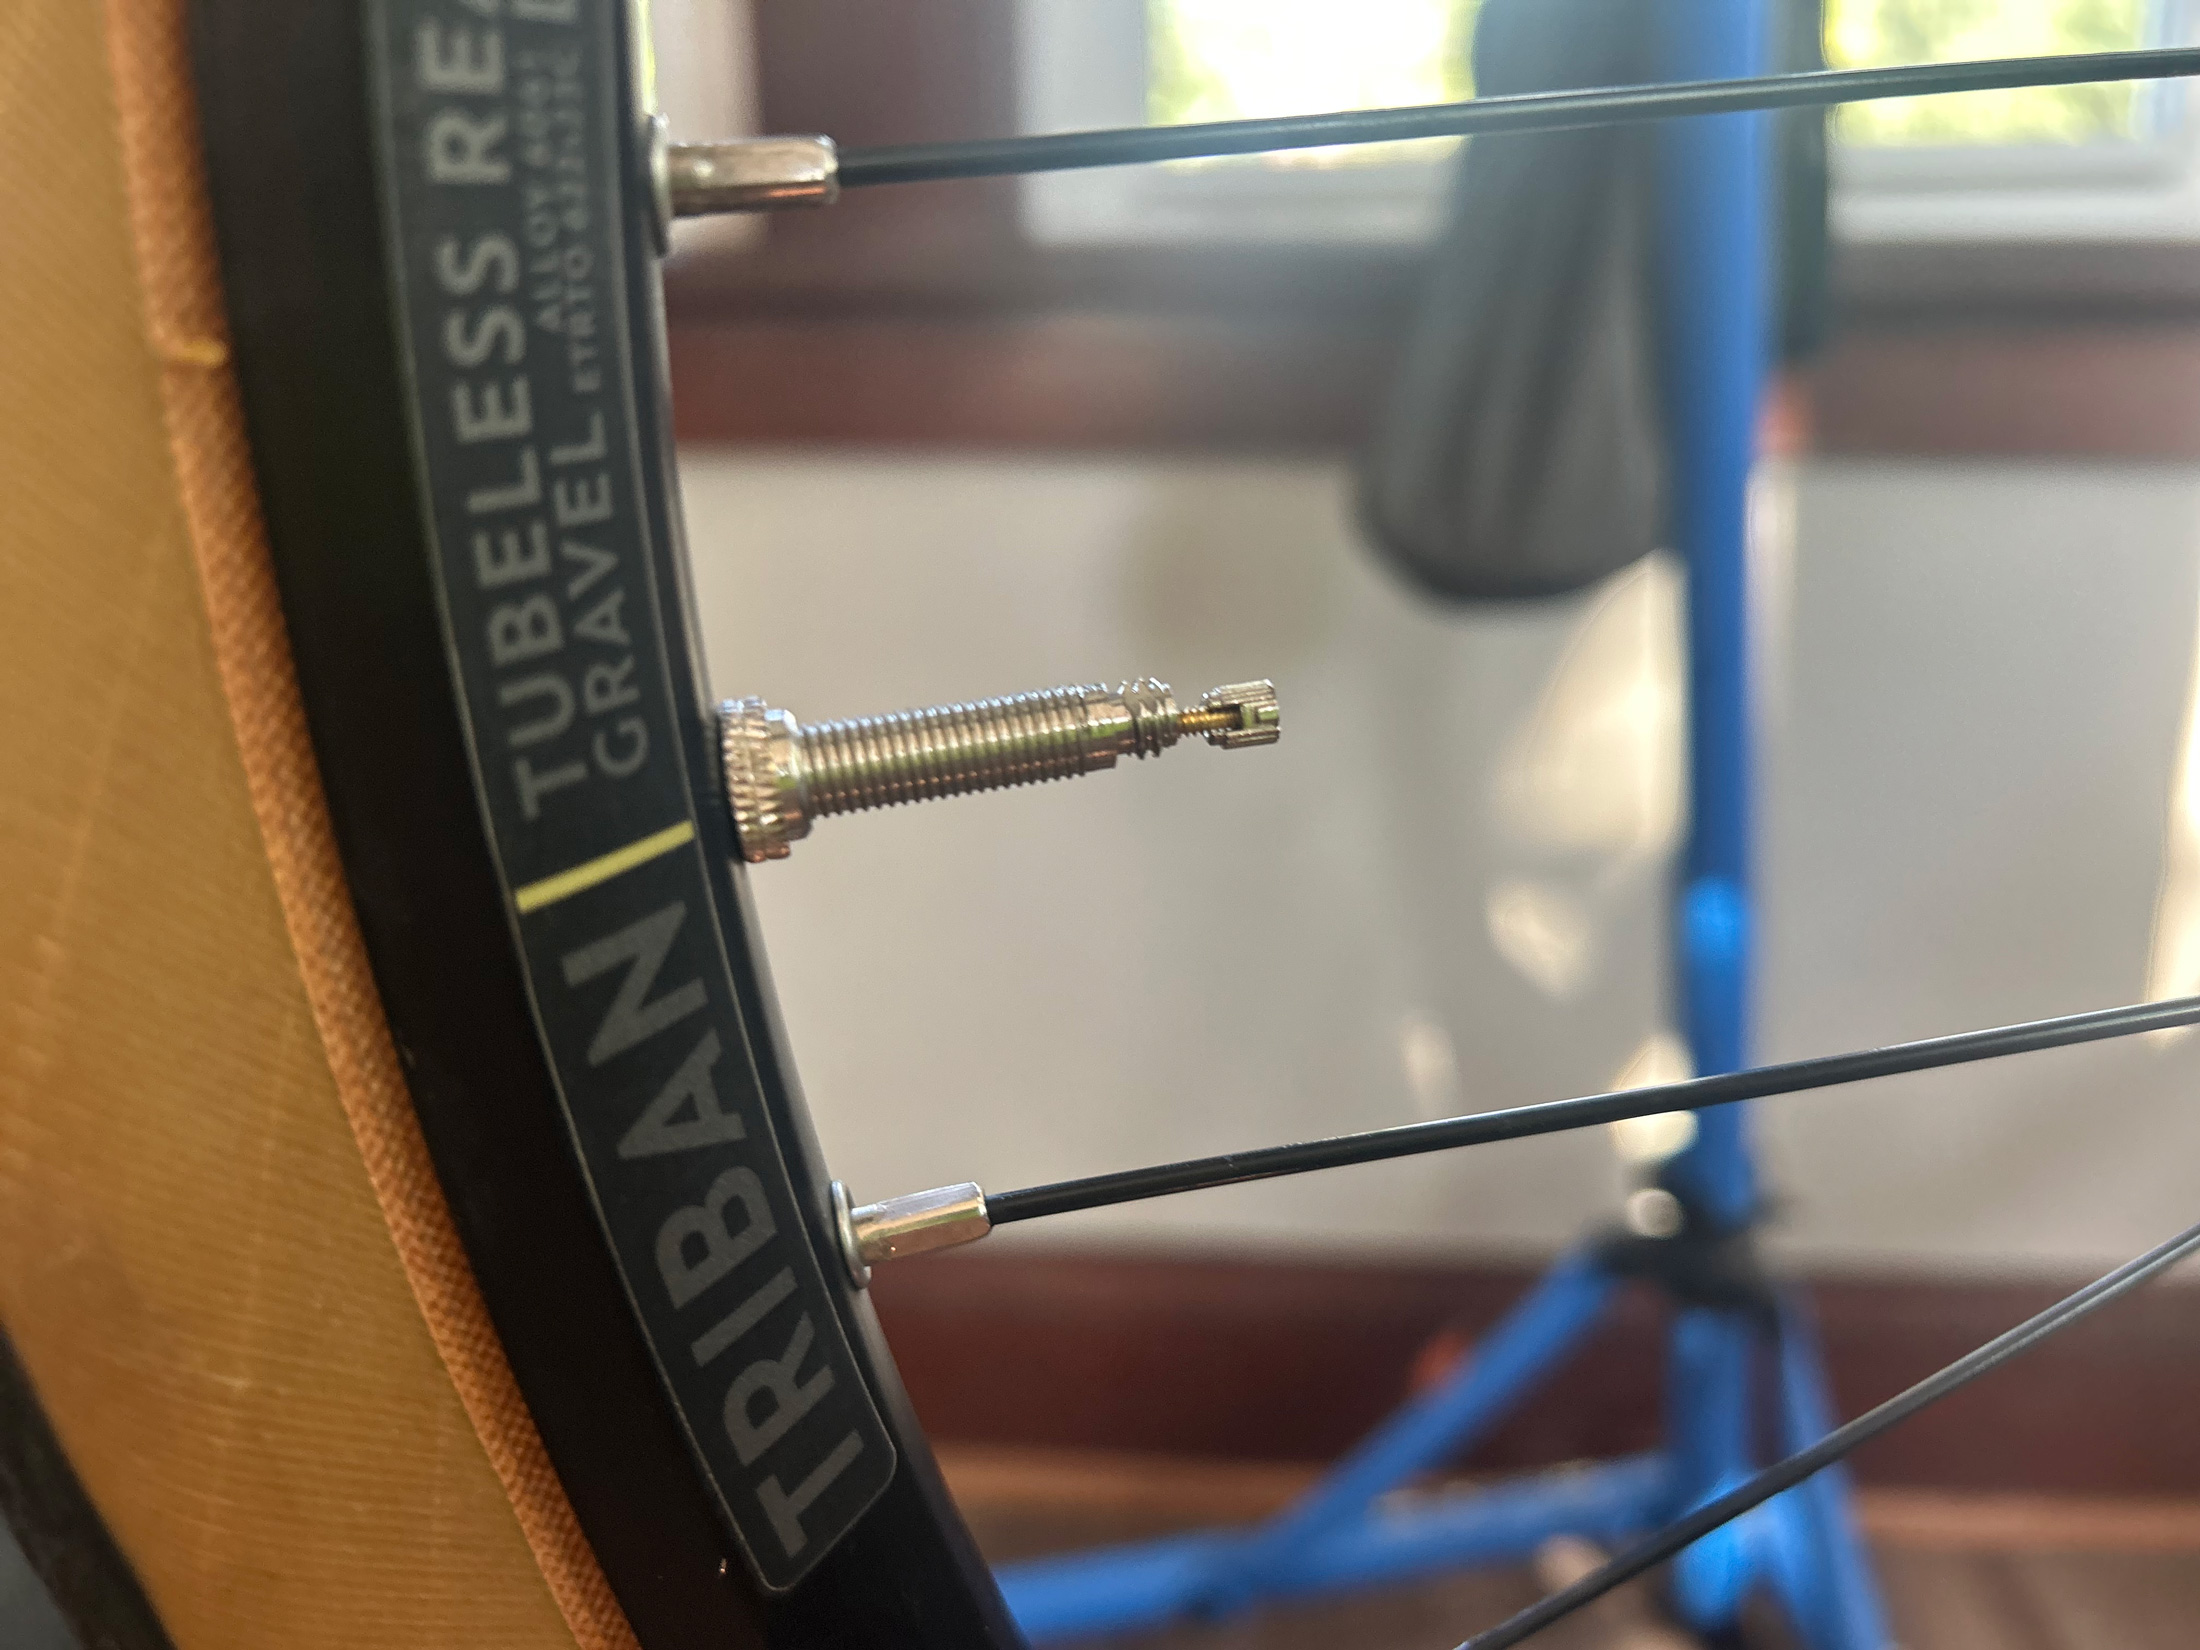
Here, we cover what tools you’ll need and outline seven easy steps for how to change a bike tire. Note: This post covers how to change out a typical tubed tire. it is not a step-by-step guide to managing other types of bike tires, like tubeless.
Tools You Need to Change a Flat Tire
Whenever you go for a bike ride, you should carry these tools with you. Without them, you risk being stranded halfway through your ride.
- A spare tube: Make sure you have a tube of the right size for your wheel. There will be two numbers to look at: the diameter and the width, such as 29 inches and 2 inches, respectively. Your tire will have this printed on the sidewall, so purchase a tube of corresponding size (many tubes accommodate a range of widths). Among the most common diameters you’ll see are 29″ (sometimes written as 700c on road bikes), 27.5″ (650b on some road bikes), or 26″. Widths vary greatly and will be listed in inches or centimeters. Some examples include: 29 x 2.5 (inches) or 700c x 32c (centimeters). In a pinch, you can make a size off work (so a 27.5-inch tube could fit either a 26-inch or a 29-inch wheel), but generally having the right size spare tube will make the process much easier.
- An inflation device: You can carry a handheld pump on the bike, or if you’re changing your tube at home, you can use a floor pump. Alternatively, you can use a CO2 cartridge and inflator to quickly fill your tube. These canisters are smaller and easier to carry than a hand pump and do the job a lot quicker, although some people find that CO2 doesn’t last as long in your tires as normal air does. No matter what type of inflation device you use, make sure that it’s compatible with your valve type. The majority of tubes use either Presta or Schrader valves. Schrader valves are what most cars and motorcycles use, and Presta valves have a nut that needs to be loosened before you put the pump on it.
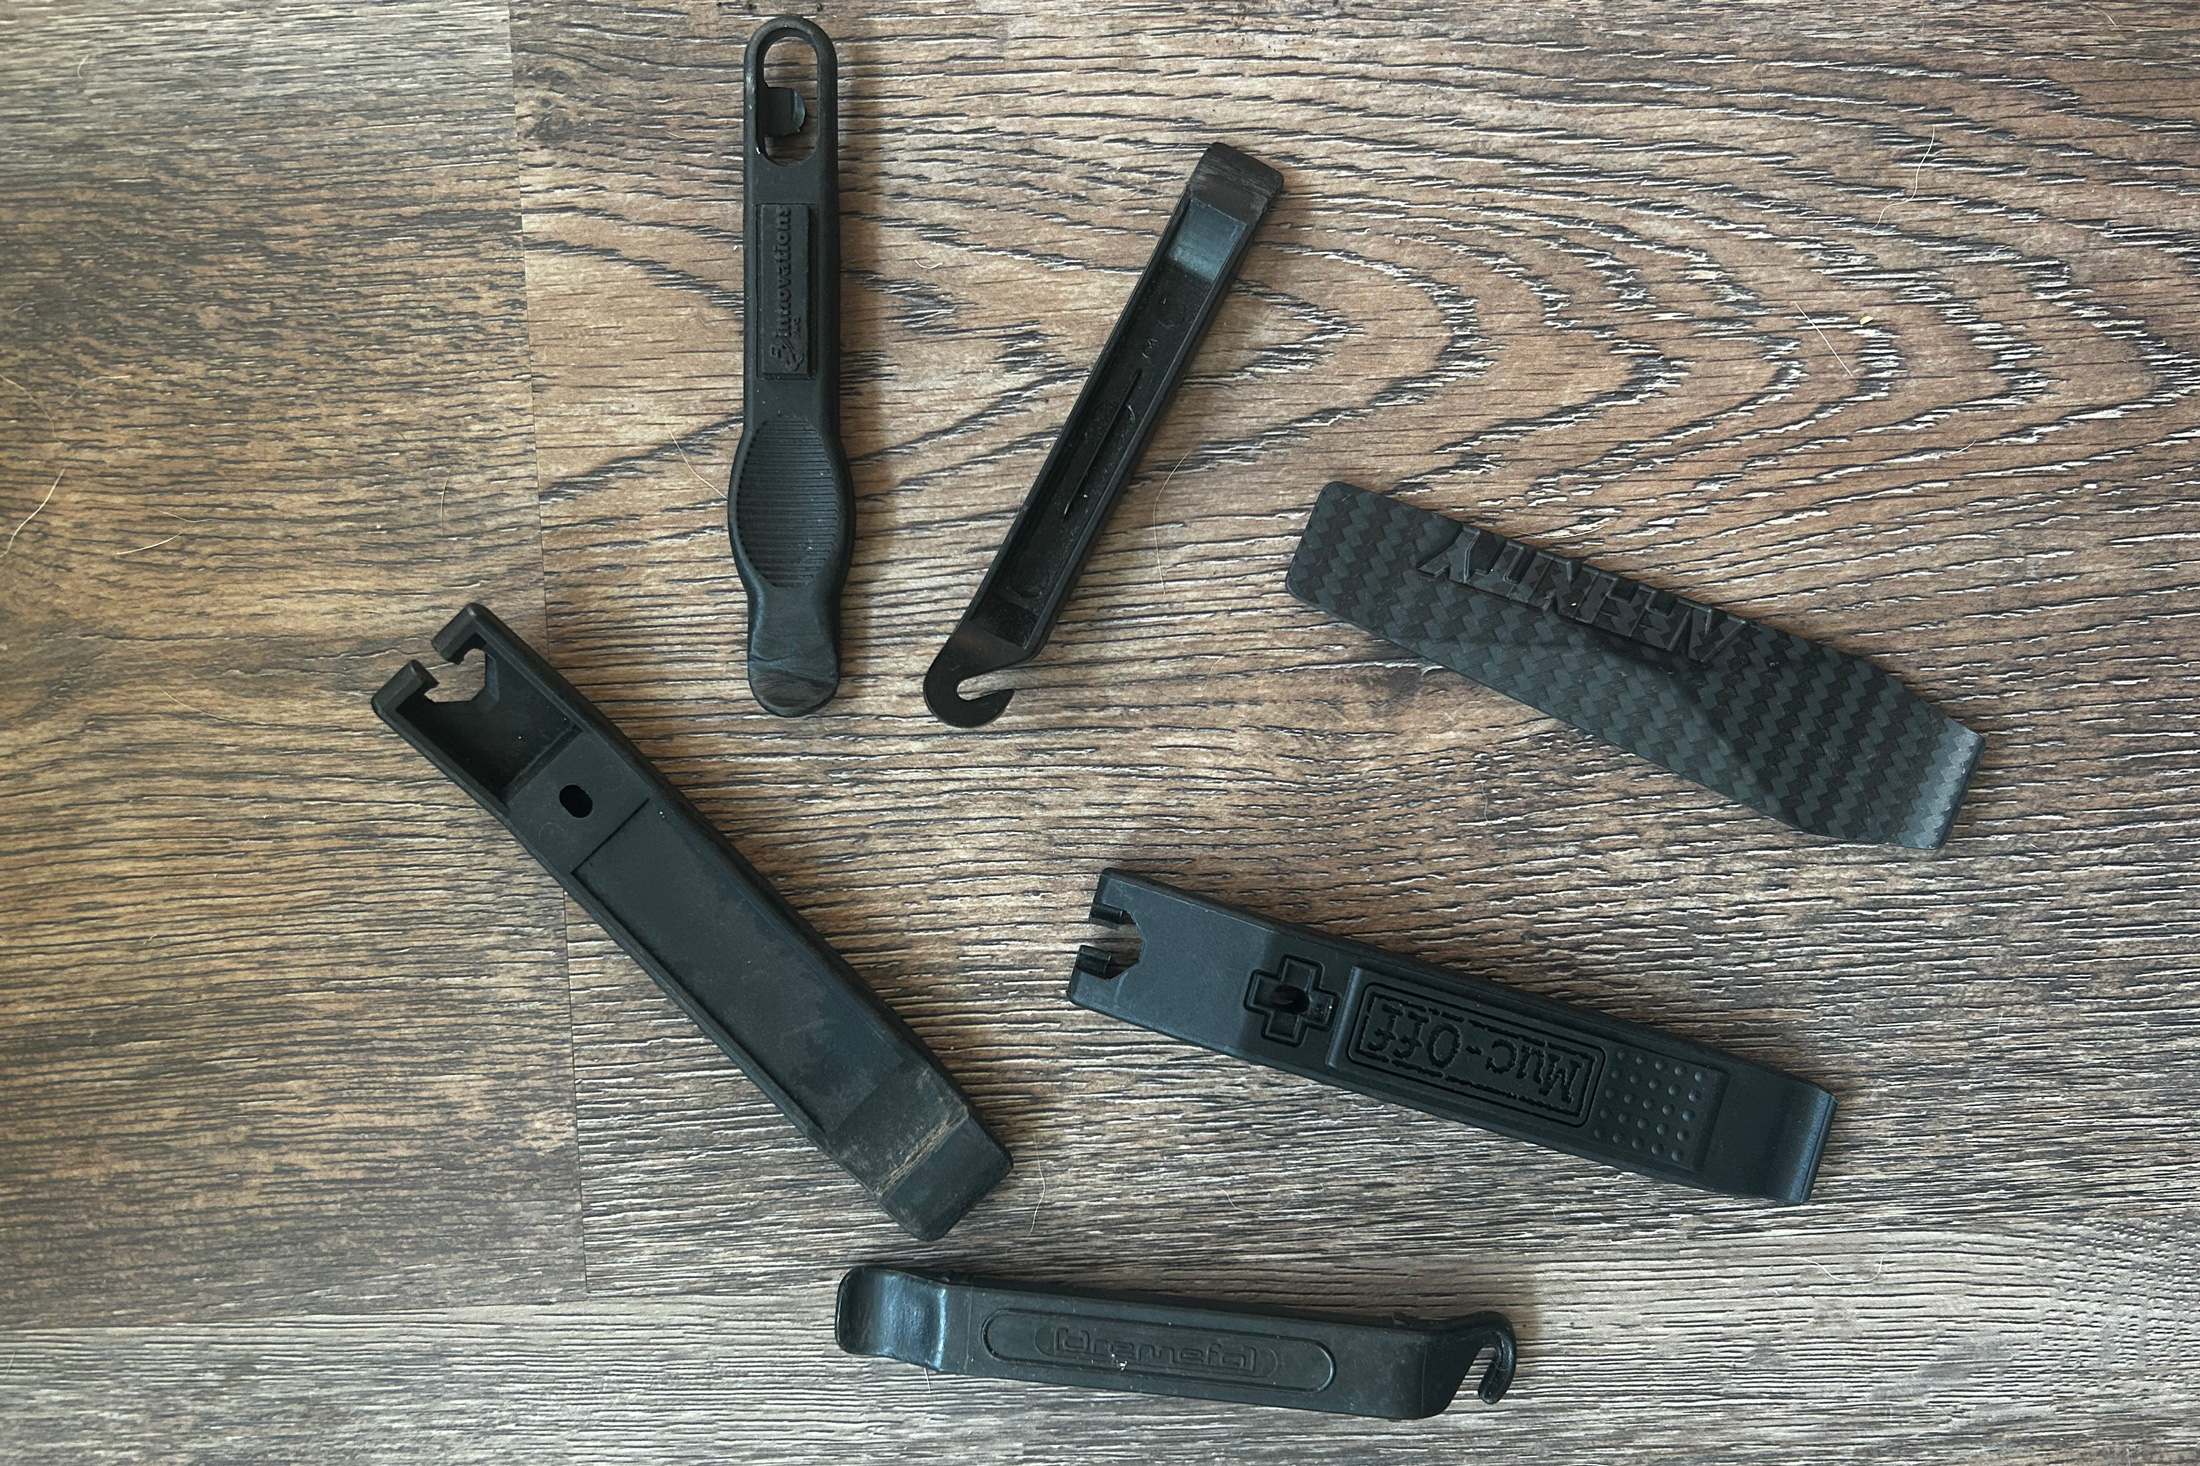
- Tire lever: This is a small, easy-to-carry tool that’s a huge help when you go to remove the tire. You can change a tube with one lever, although some people prefer to use two.
- Patch kit: This one is optional, but nice to have if you forget your tube or get multiple flats on your ride (it sucks, but it happens).
- A wrench/bike tool: If you do not have a quick release to remove your wheel, you likely need a wrench to undo the bolts. Or if you have theftproof skewers, you’ll need special tools to undo them.
How to Change a Flat Tire on a Bike
1. Remove the wheel
If you wake up to a flat tire at home and you have a bike stand, you’re on easy street! However, flats often occur mid-ride, and many folks don’t have the luxury of a bike stand. So, step one is to flip your bike upside-down.
If your wheel has a quick release, open the lever and unscrew the skewer (and make sure to catch whatever random springs or washers fall off).
Or, if your bike has bolt-on or theftproof skewers, make sure you have the appropriate tools to remove them. Set the skewer aside and pull your wheel free.
If you have rim brakes (the ones that stop you by clamping onto your rims), you may have to unhook those to get the wheel off.
If you’re taking off your back wheel and you have gears, it helps to shift to your highest gear, so that your chain is on the smallest cog of your rear cassette. This will give you a bit more slack and room to maneuver as you lift your tire clear of the chain and rear derailleur.
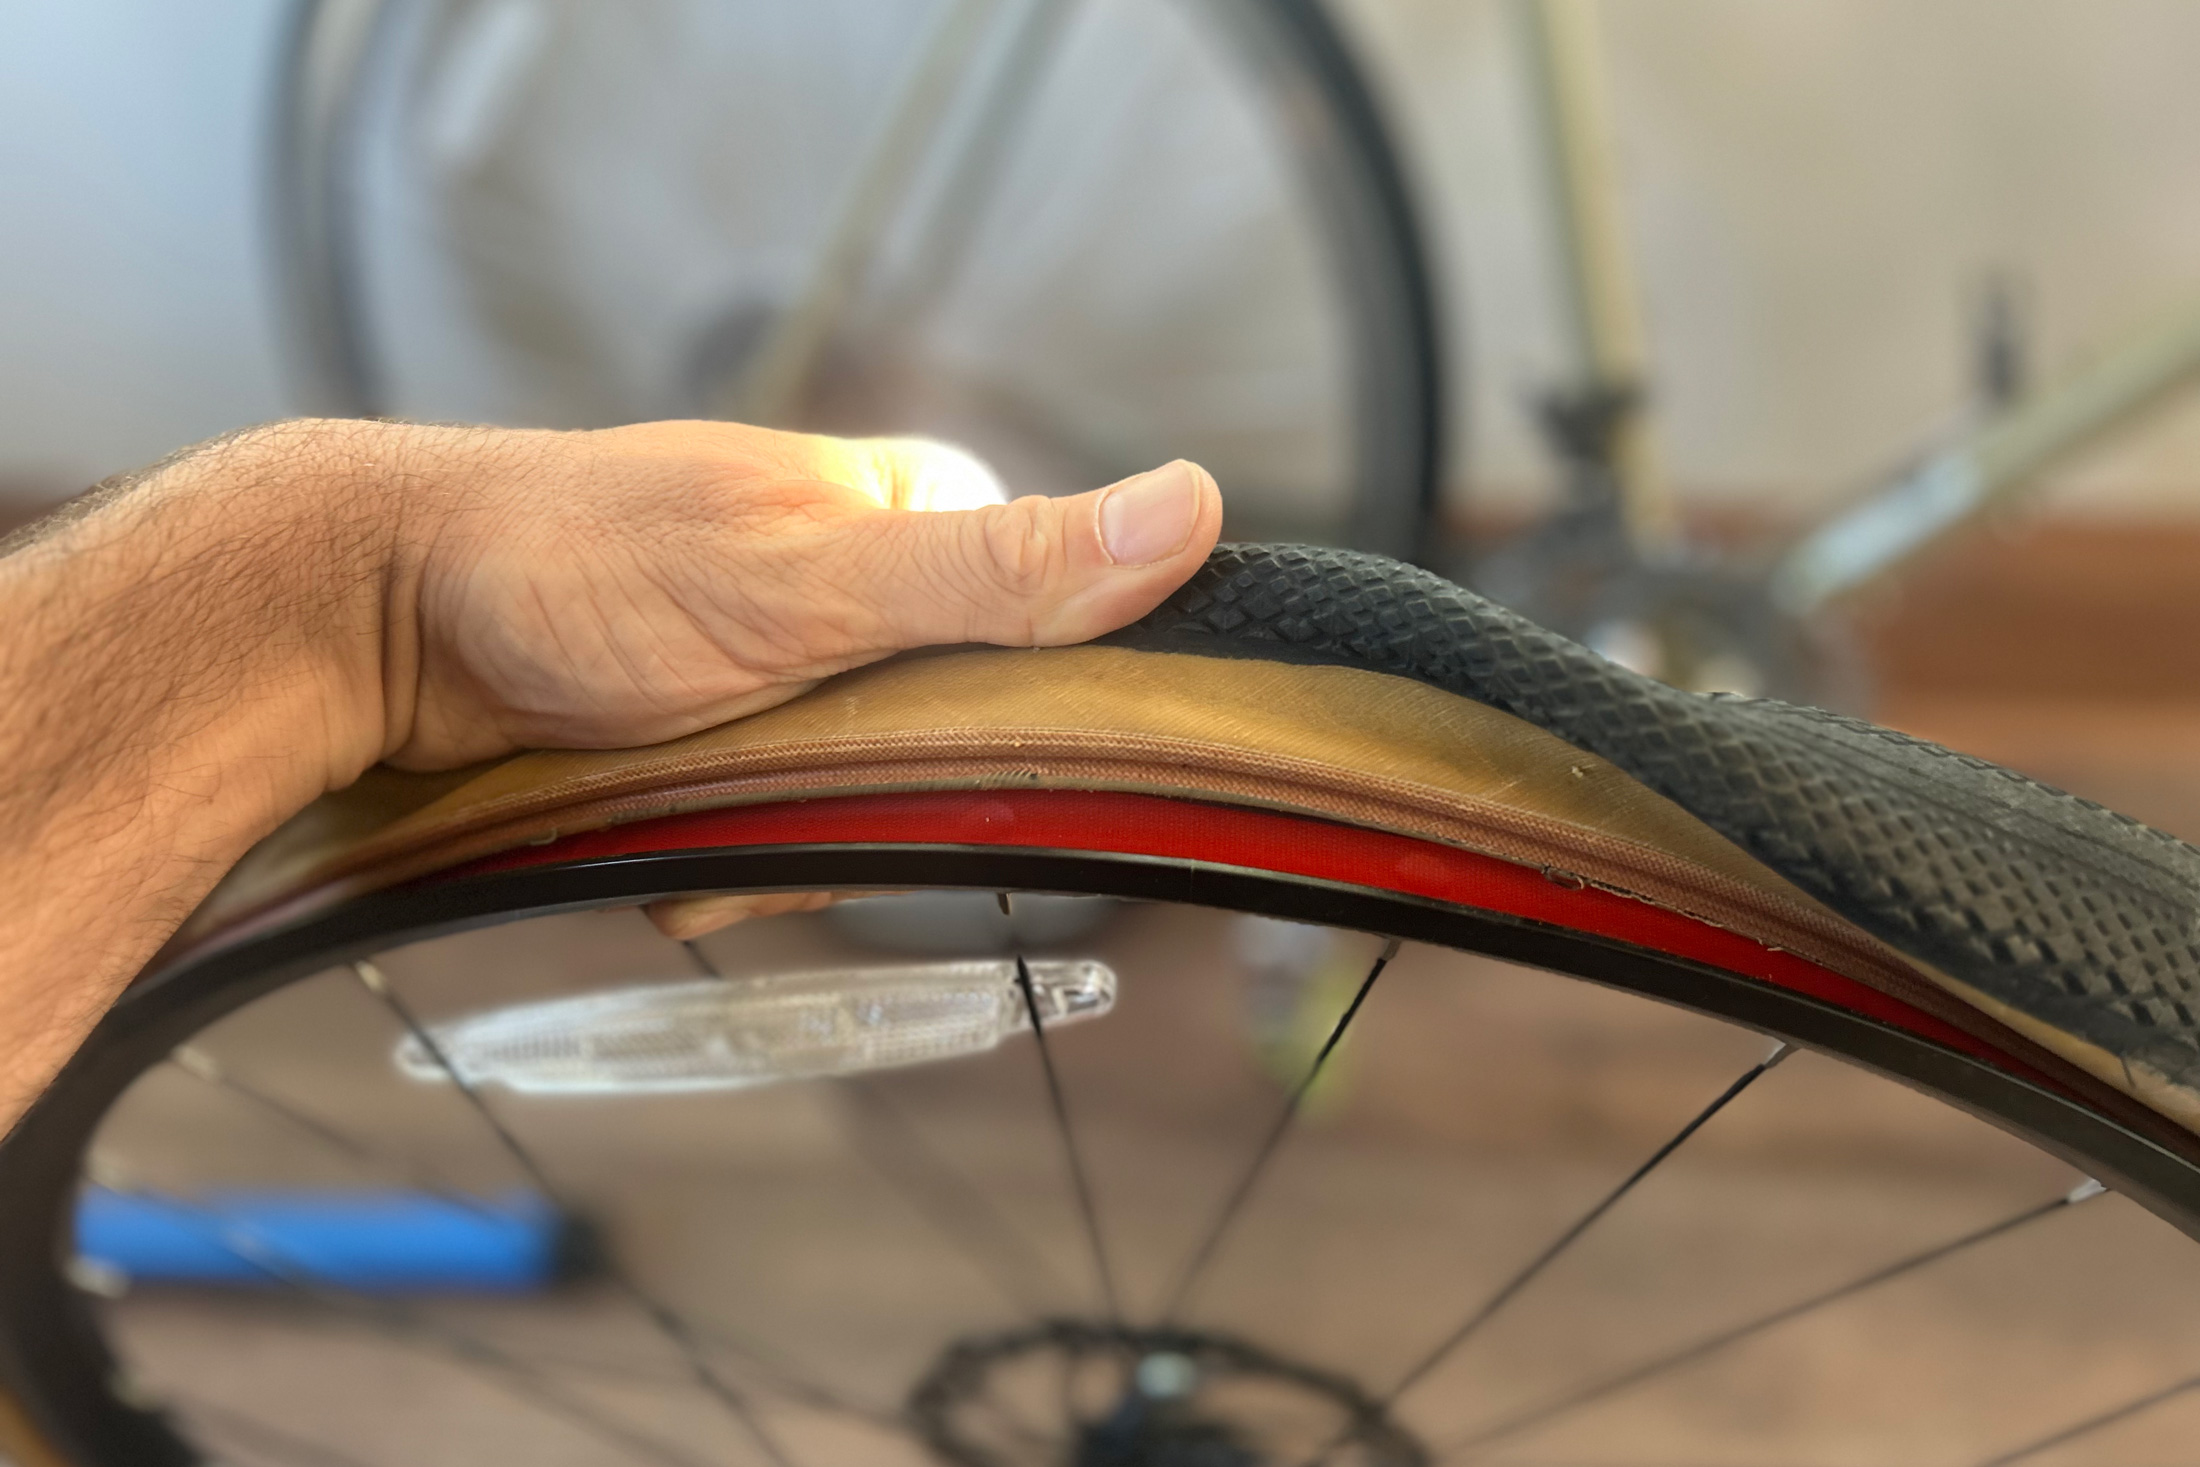
2. Remove one side of the tire
Next, let out the rest of the air from your tube to make tire removal easier. For a Presta valve, simply unscrew the tip and then press down. For Schraeder valves, use your thumbnail or a tool with a strong, fine tip to depress the inner needle.
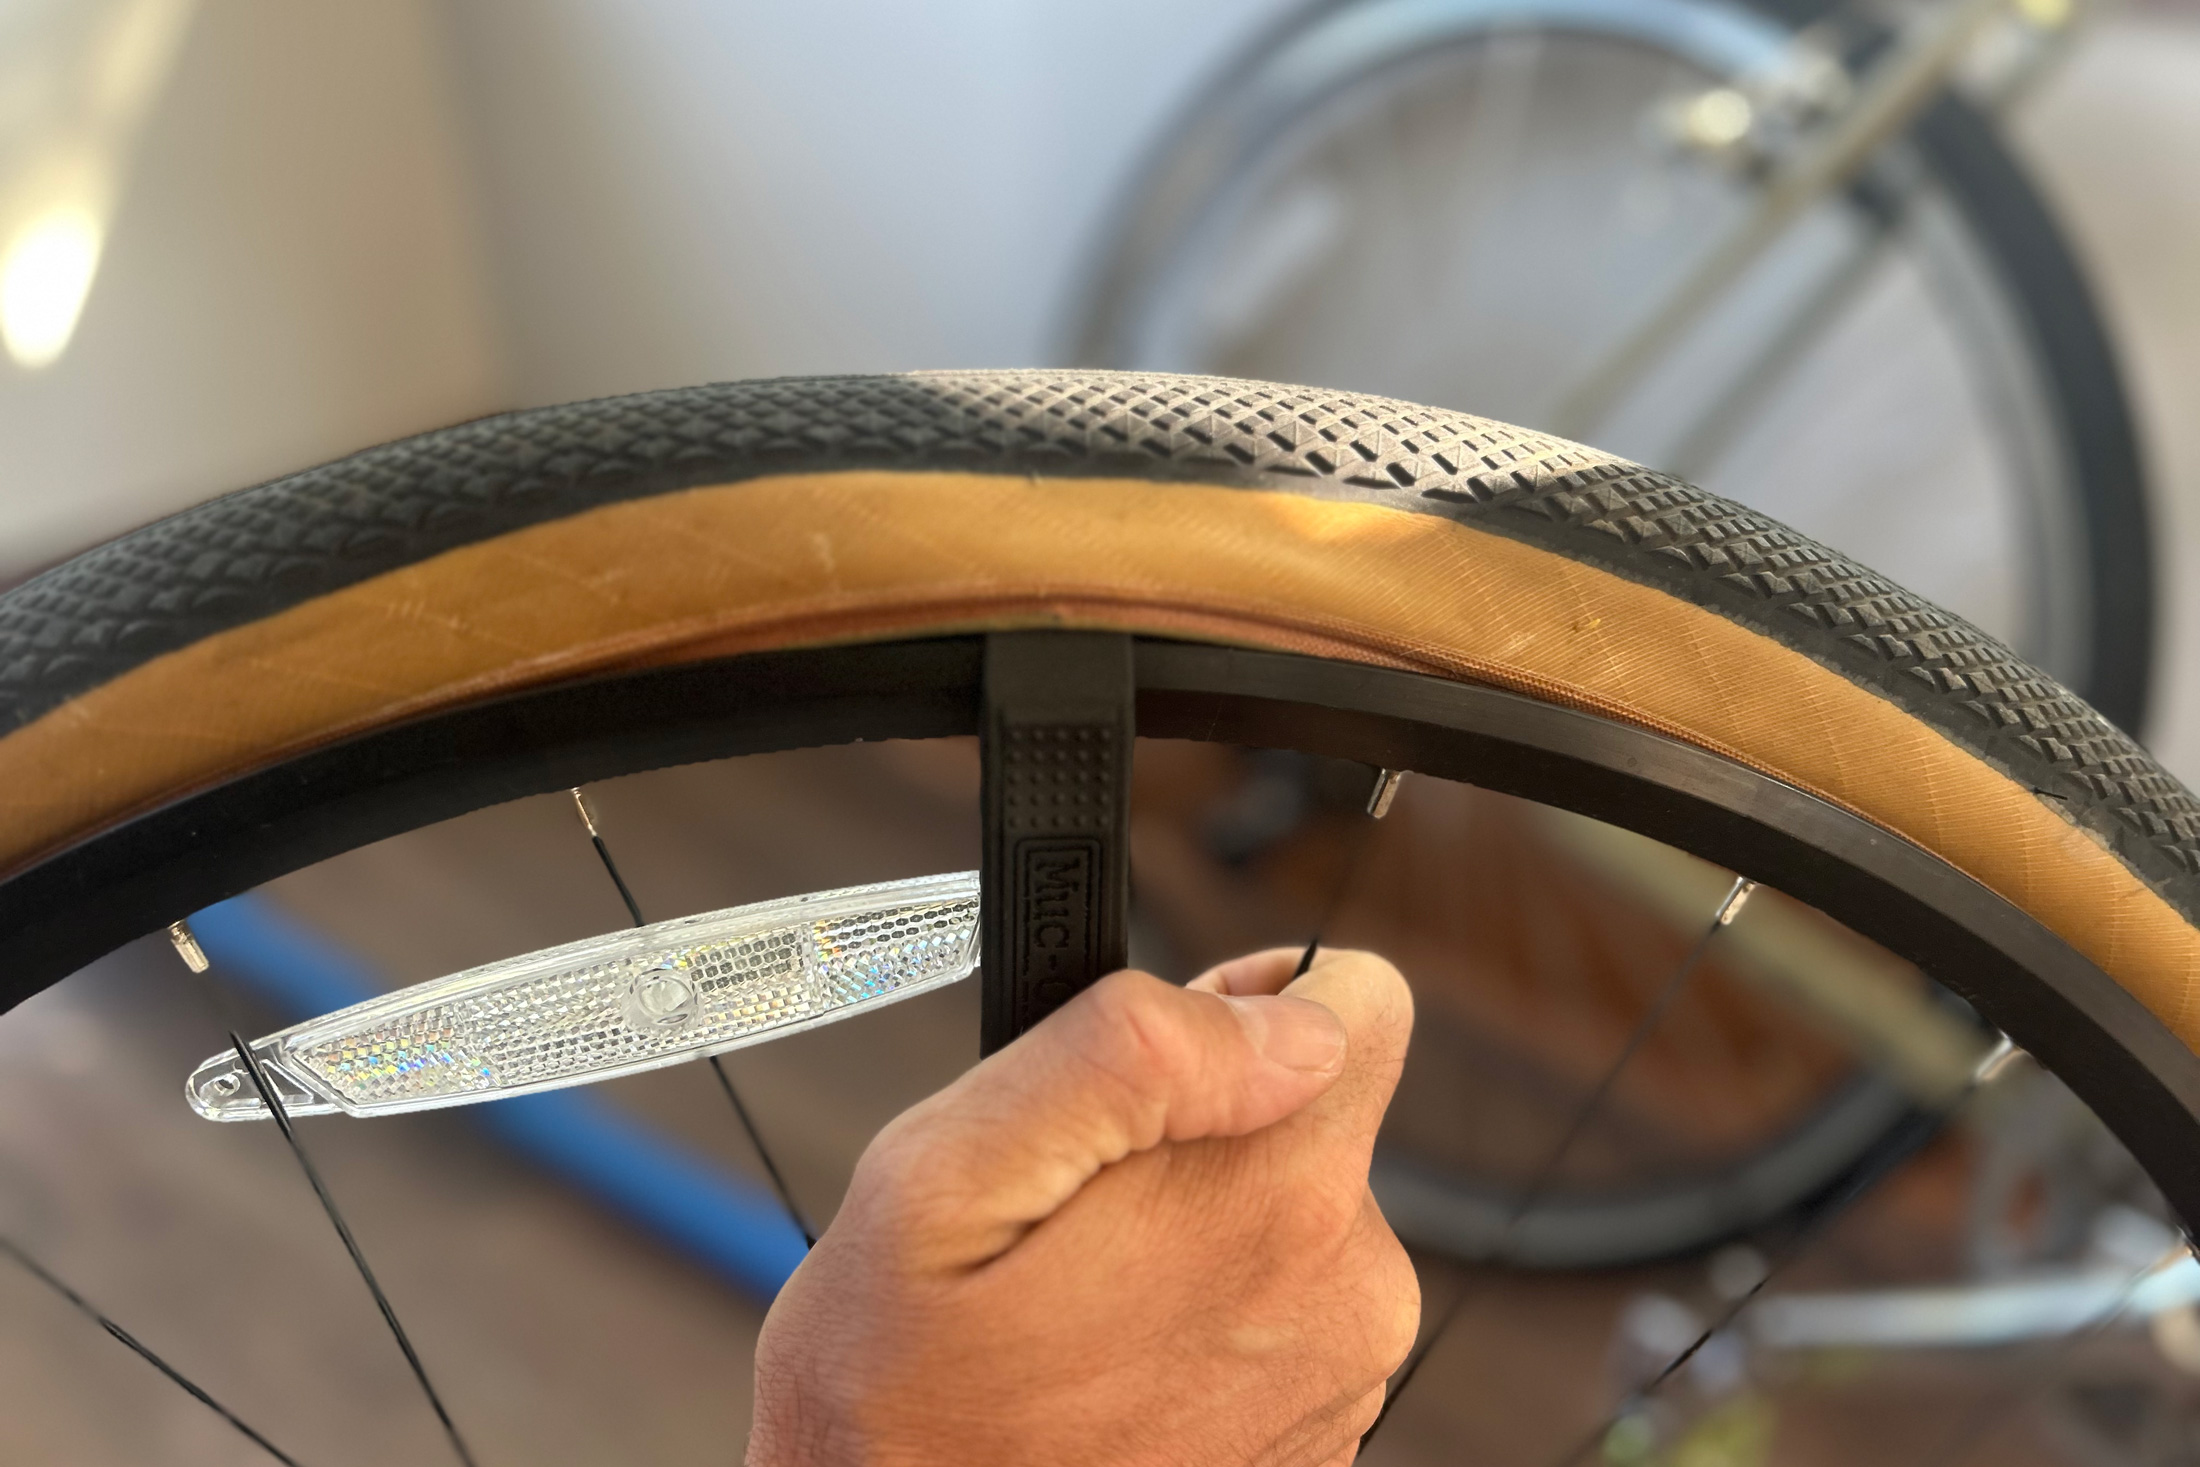
Now it’s time to use that tire lever! Hook the lever under the bead of the tire, just inside the rim. Pry the tire over the rim by bending the lever downward. Once you’ve opened the bead over the rim, slide the tire lever along the rim. The rest of the bead will come free as you go.
If you haven’t changed many tire flats before, repeat this step on the opposite-side bead. This will allow you to remove the entire tire from the wheel. You can replace a tube without removing the entire tire, but it requires a practiced hand.
Important note: Before removing the tube from the tire, align the valve at the 12 o’clock (or 6 o’clock) position. Once you find the hole in the tube, you can quickly find where to look on the tire for the pokey culprit.
3. Find the puncture
If you have a floor pump or mini pump, add some air to the tube to help find the leak. More than likely, the hole will be difficult to see, so you should listen or feel for air. The more air you pump into the tube, the easier it will be to hear or feel the leak. Once you find the hole, reposition the tube with the valve in the same 12 o’clock or 6 o’clock position as before, and you’ll know where along the tire to look for the original puncture.

First, check the tread (and sidewall) of the tire for anything sharp — a thorn, staple, or pointy rock are common offenders. If you find it, remove it. If the tread looks clean, you’ll need to check the inside of the tire. Gently run your finger along the inside of the tire to feel for anything poking through. Be careful — if it can puncture a tube, it can cut your finger.
If you find it, pull it out. You may need a small pliers or small tool to lift it free.
If both side of the tire look good, you may have old or faulty rim tape — a strip of tape that goes along the inside of your rim. If this has shifted or torn, it may expose the spoke holes, which can wear out your tube. If that happens, try to push the tape back in place. Once you’re home, you’ll want to fully replace the tape.
4. Replace the tube
If you’re using a patch kit, apply the patch according to the instructions. You’ll rough up the area around the hole with sandpaper to help the patch stick better. Then, spread glue on the area (if it requires glue) and place the patch.
Alternatively, you can change out the old tube for brand-new tube.
Put a little air in the new tube to make it easier to handle. Tuck the tube into the tire, and then place the tire-tube setup onto the wheel. Start by putting the valve stem into the designated hole on the rim. Make sure the valve seats in straight; if it’s at an angle, there will be too much pressure on its base and it could tear the tube.
As you begin to replace the tube, you’ll have one side of the tire bead inside the rim, and one side out of the rim. Go all the way around like this, carefully situating the tube onto the rim.
If there’s a lock ring for the valve stem, screw it on now to keep the valve in place.
5. Reset the tire
You can usually get the tire fully reset using just with your hands, but you can use the tire lever to help. To seat the overhanging bead, start at the valve. Push it up slightly to create room inside the rim for the bead. Once it’s in, use your thumbs or the bottoms of your palms and work outward around the rim, pressing the bead into the rim as you go.
Oftentimes, the last section of tire proves a bit more stubborn. If you can’t get that last section seated, you can remove a little air from the tube to create more wiggle room. If you’re still having a tough time, use a tire lever — this time pressing up and in instead of pulling down and out.
6. Air up the tire
Perhaps the most important part of replacing a tube is properly reinflating. Ideally, you should gradually air up the tube a little at a time, deflating and reinflating to help the tube situate itself. Doing so will help prevent the possibility of a pinch flat, which can happen if there’s a twist or and area where the bead is pinching the tube against the rim.
The wall of your tire should have a recommended psi, to which you will inflate your tube to match. If you have a Presta valve, open it by unscrewing the top nut. Place the inflation device on the valve according to the instructions and air up the tire.
If you have a pump, begin by inflating about a third of this psi, and then deflate it again. Then inflate to half the recommended psi, and again deflate. Finally, inflate the tube to the full recommended psi and you should be set!
If you’re using CO2 cartridges, follow the instructions with the inflator. Charge the tube partway and stop to inspect and ensure that the tube isn’t bunched up or pinched anywhere. If it is, deflate the tube enough to reseat it. Finish charging the tube to the recommended psi.
7. Replace the wheel
Put the wheel back on your bike, slide the skewer in place, and tighten it. If you have a quick release, it should be a little difficult to close, but you don’t want to have to wrestle with it. If you have rim brakes, reattach them.
Give the wheel a spin and make sure it spins smoothly. If it does not spin freely, or if the brake is rubbing, your wheel may be on crooked. Reposition as necessary.
Once everything is aired up and spinning freely, flip that bike right-side up, and finish your ride!
Flat Tire FAQ
Do I need to replace my tire?
When you have a flat, you know you’ll need to patch or replace the tube. But what about the tire? Check your tire when it’s off the bike and inspect it. If the tire was significantly compromised by a large, sharp object, you should replace it as soon as you can. Any hole provides an open channel to your tube.
Also, if your sidewalls or tread look dry and cracked, they’re old and need to be replaced. Older rubber becomes more brittle and less able to resist punctures.
How do I use a patch kit?
Bicycle patch kits come in a few iterations. Some are as simple as peel and stick, but many include a patch, abrasive, and glue. The most important note is to follow the instructions on the kit you have.
Remember, a patch — like a spare tire on a car — is not designed to be a long-term fix. A good patch will hold air to help get you home so you can replace the tube.
How do I fix a tubeless flat?
As the name suggests, tubeless tires have no inner air-filled tube. Instead, the tire adheres directly to rim and holds air inside. This also typically pairs with a liquid sealant that coats the inside of the tire, so that if there’s any puncture, it will instantly fill the hole and harden.
However, it’s not impossible for a tubeless tire to go flat. If you do spring a leak and the sealant won’t stop it, you’ll need a plug. Think of a plug as the tubeless equivalent of a patch kit. These come in a variety of iterations, but all work basically the same way. A tool is pressed into the hole to deliver a plug material. When the tool is removed, the plug is left behind to block the leak.