Across North America, the mountains are showing all the telltale signs that winter is right around the corner — and you know what that means? You’d better know how to wax your skis!
Each year it seems like the approaching ski season catches people off guard, leaving passionate skiers scrambling to make sure they’re set for opening day. In this scramble, the waitlists for a quality ski tune at shops across the country can be intolerable. This season, take matters into your own hands by learning how to wax downhill skis at home.
This article focuses on waxing downhill skis, and the process is pretty much the same for snowboards. Waxing cross-country skis is a more complex process and is outside the scope of this article.

Specialty Gear
To achieve a professional-quality wax, stock up on a few pieces of specialty gear. None of it is terribly expensive. And if you wax your skis at home even multiple times, the price will be far less than multiple visits to the ski shop.
Ski Wax
You have many choices when it comes to wax. Ski racers often analyze snow temperatures and gradients. Then, they find a wax to match to get the best performance out of their skis. For a recreational skier, however, an all-purpose wax will generally suffice.
An industry leader, Swix has a tool on its website that will help you choose the right wax for your region. At the end of each season, you should adequately prep your skis with storage wax. When winter arrives the following year, your performance wax will take to the bases better and last longer.
Ski Waxing Iron
Any iron will work for waxing your skis, but a designated waxing iron is best. It’s easier to maintain temperature consistency with these irons. Plus, the flat solid base prevents it from clogging up with wax, which might happen with a standard household iron.
Of course, if you’re on a budget, you can grab an old iron from a thrift shop. Just don’t plan to use the same iron as you use on your clothing!
Ski Scraper
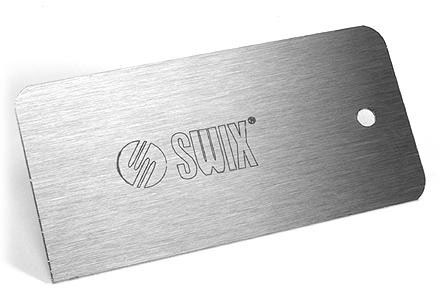
Scrapers are cheap, necessary, and can be found at any ski shop. This tool is used to remove melted wax from the ski’s base.
Finishing Brush
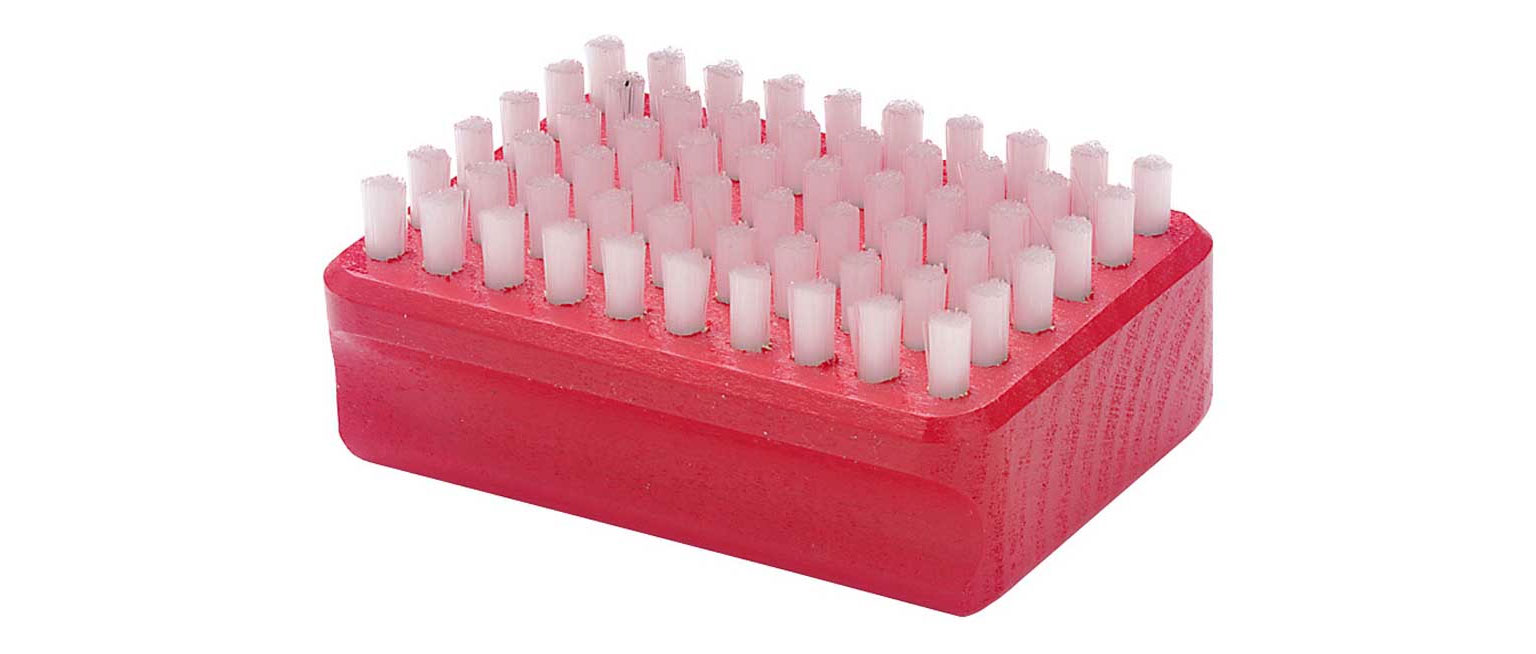
A scraper will remove most of the wax, and a finishing brush can penetrate a porous ski base to remove whatever is left. Expert ski tuners will have an army of brushes, from metal to horsehair. Feel free to build an arsenal if you desire, but generally, a specialized nylon ski brush will do just fine.
How to Wax Downhill Skis: A Step-by-Step Guide
Preparing Your Skis and Station
Before you start waxing, prepare your work station. Working outside or in a garage is best, but be cognizant of temperature. Waxing in a cold garage is one of the most common ski waxing mistakes. You want your skis, and your work environment, to be at a comfortable room temperature.
Once you have chosen a location, lock your ski brakes out of the way by placing a rubber band over the brake arms and over the top of the heel piece. Place your skis upside down and secure the toe piece of the binding into a vice, if available, to keep it in place.
Removing Residual Wax
If you were on top of it at the end of last season, you took the time to give your skis a nice storage wax before locking them away for the summer. Now, with winter upon us, that wax will need to come off. If you didn’t add a layer of storage wax, you’ll still want to scrape off any of last season’s winter wax.
Working from the tip to the tail of each ski, use your scraper to remove as much wax as possible. Sharpen your scraper, and do it all over again. When doing so, pull the scraper toward you. Pushing the scraper away from you will often add unneeded pressure onto your bases and could damage your skis.
It’s worth noting that ski edges are quite sharp. Be careful not to cut your fingers during this process. We’ve done it, and know that ski or snowboard edges can result in nasty cuts!
After all the wax is removed, wipe down the base with a dry rag to make sure it’s clean of all debris.

Adding Wax to the Ski
Most wax containers provide information about the ideal temperature at which wax should be melted onto your ski. Adhere to this advice but, if nothing is listed, 140 degrees Fahrenheit is generally ideal.
Carefully hold your wax against the iron and drip it in an S pattern over the entire base of the ski. If working in a more confined space, consider throwing on a respirator to shield you from some of the fumes.
Melting Wax on the Ski
Now that you have added wax to the ski, you need to make sure that the entire base is covered. Using your iron, slowly move back and forth down the ski’s length from tip to tail. Avoid stalling in one spot, as that could burn your ski.
This step is complete when the entire base is covered with wax. When finished, remove the ski and let it rest for at least 30 minutes at room temperature. In the meantime, you can begin waxing your other ski.

Scraping Your Skis
Once the first ski has been given ample time to cool, and the wax has had a chance to penetrate the base fully, it’s time to start scraping. Use your scraper to move as much wax as you can — tip to tail — working toward you, not away. You may need to go over each ski a few times to remove all the wax.
Repeat the above three steps a couple of times to fully saturate your bases and get the best performance out of your skis.
Brushing Your Skis
Finally, once you are done adding wax and scraping, use your brush to remove the last of the wax. Always work from tip to tail, and give your brush a few passes.
If you have multiple brushes, work from the coarsest to the finest bristled. The more passes you can give your skis with a brush, the better!

That’s about it! Now get out your boots and ski clothing, and get ready to hit the slopes!


