Elk hunting is hard. Period. It doesn’t matter if you come West toting a bow, muzzleloader, crossbow, or rifle. Downing a bull on public land in a unit where tags can be purchased at the local Walmart is as tough as it gets.
A native of Colorado, I see the wapiti dreams of many blacktop burners become nightmares every fall. The list of reasons why is long. It includes a lack of physical preparation, inadequate gear, and research failure, among other things.
Over-the-counter (OTC) elk tags are available in quite a few states, but the pressure is often high in those areas. It takes a lot of preparation to notch a tag in these units, especially for a new or out-of-state hunter.
To come are 10 tips — tips you can trust and put to practice — that might just help you come out of the woods with a meat-laden pack.
1. Choose the Right Unit

Take a state like Colorado, where well over half the state’s units and tags are of the OTC variety. You have some filtering to do, right? Luckily Colorado, along with other state game and fish websites, has done a fantastic job at beefing up content that helps hunters.
My first look is always at hunter success rates and current herd populations within individual units. Print these pages out and place them side by side. Your mission is to identify units that contain a robust elk population and a hunter success rate at or over 10 percent.
Another tip — and one I use often — is to locate units with high elk populations but low hunter success rates. These areas tend to have minimal hunt pressure when compared to those with solid populations and decent hunter success rates.
Of course, you also want to locate units with a good mix of national forest, wilderness access, and BLM ground. Public access is key.
2. Learn to Cow Call and Bugle
Each fall, more than 90 percent of hunters we hear in the woods sound really, really bad on their calls. Why? Most popped them out of the package during the trip.
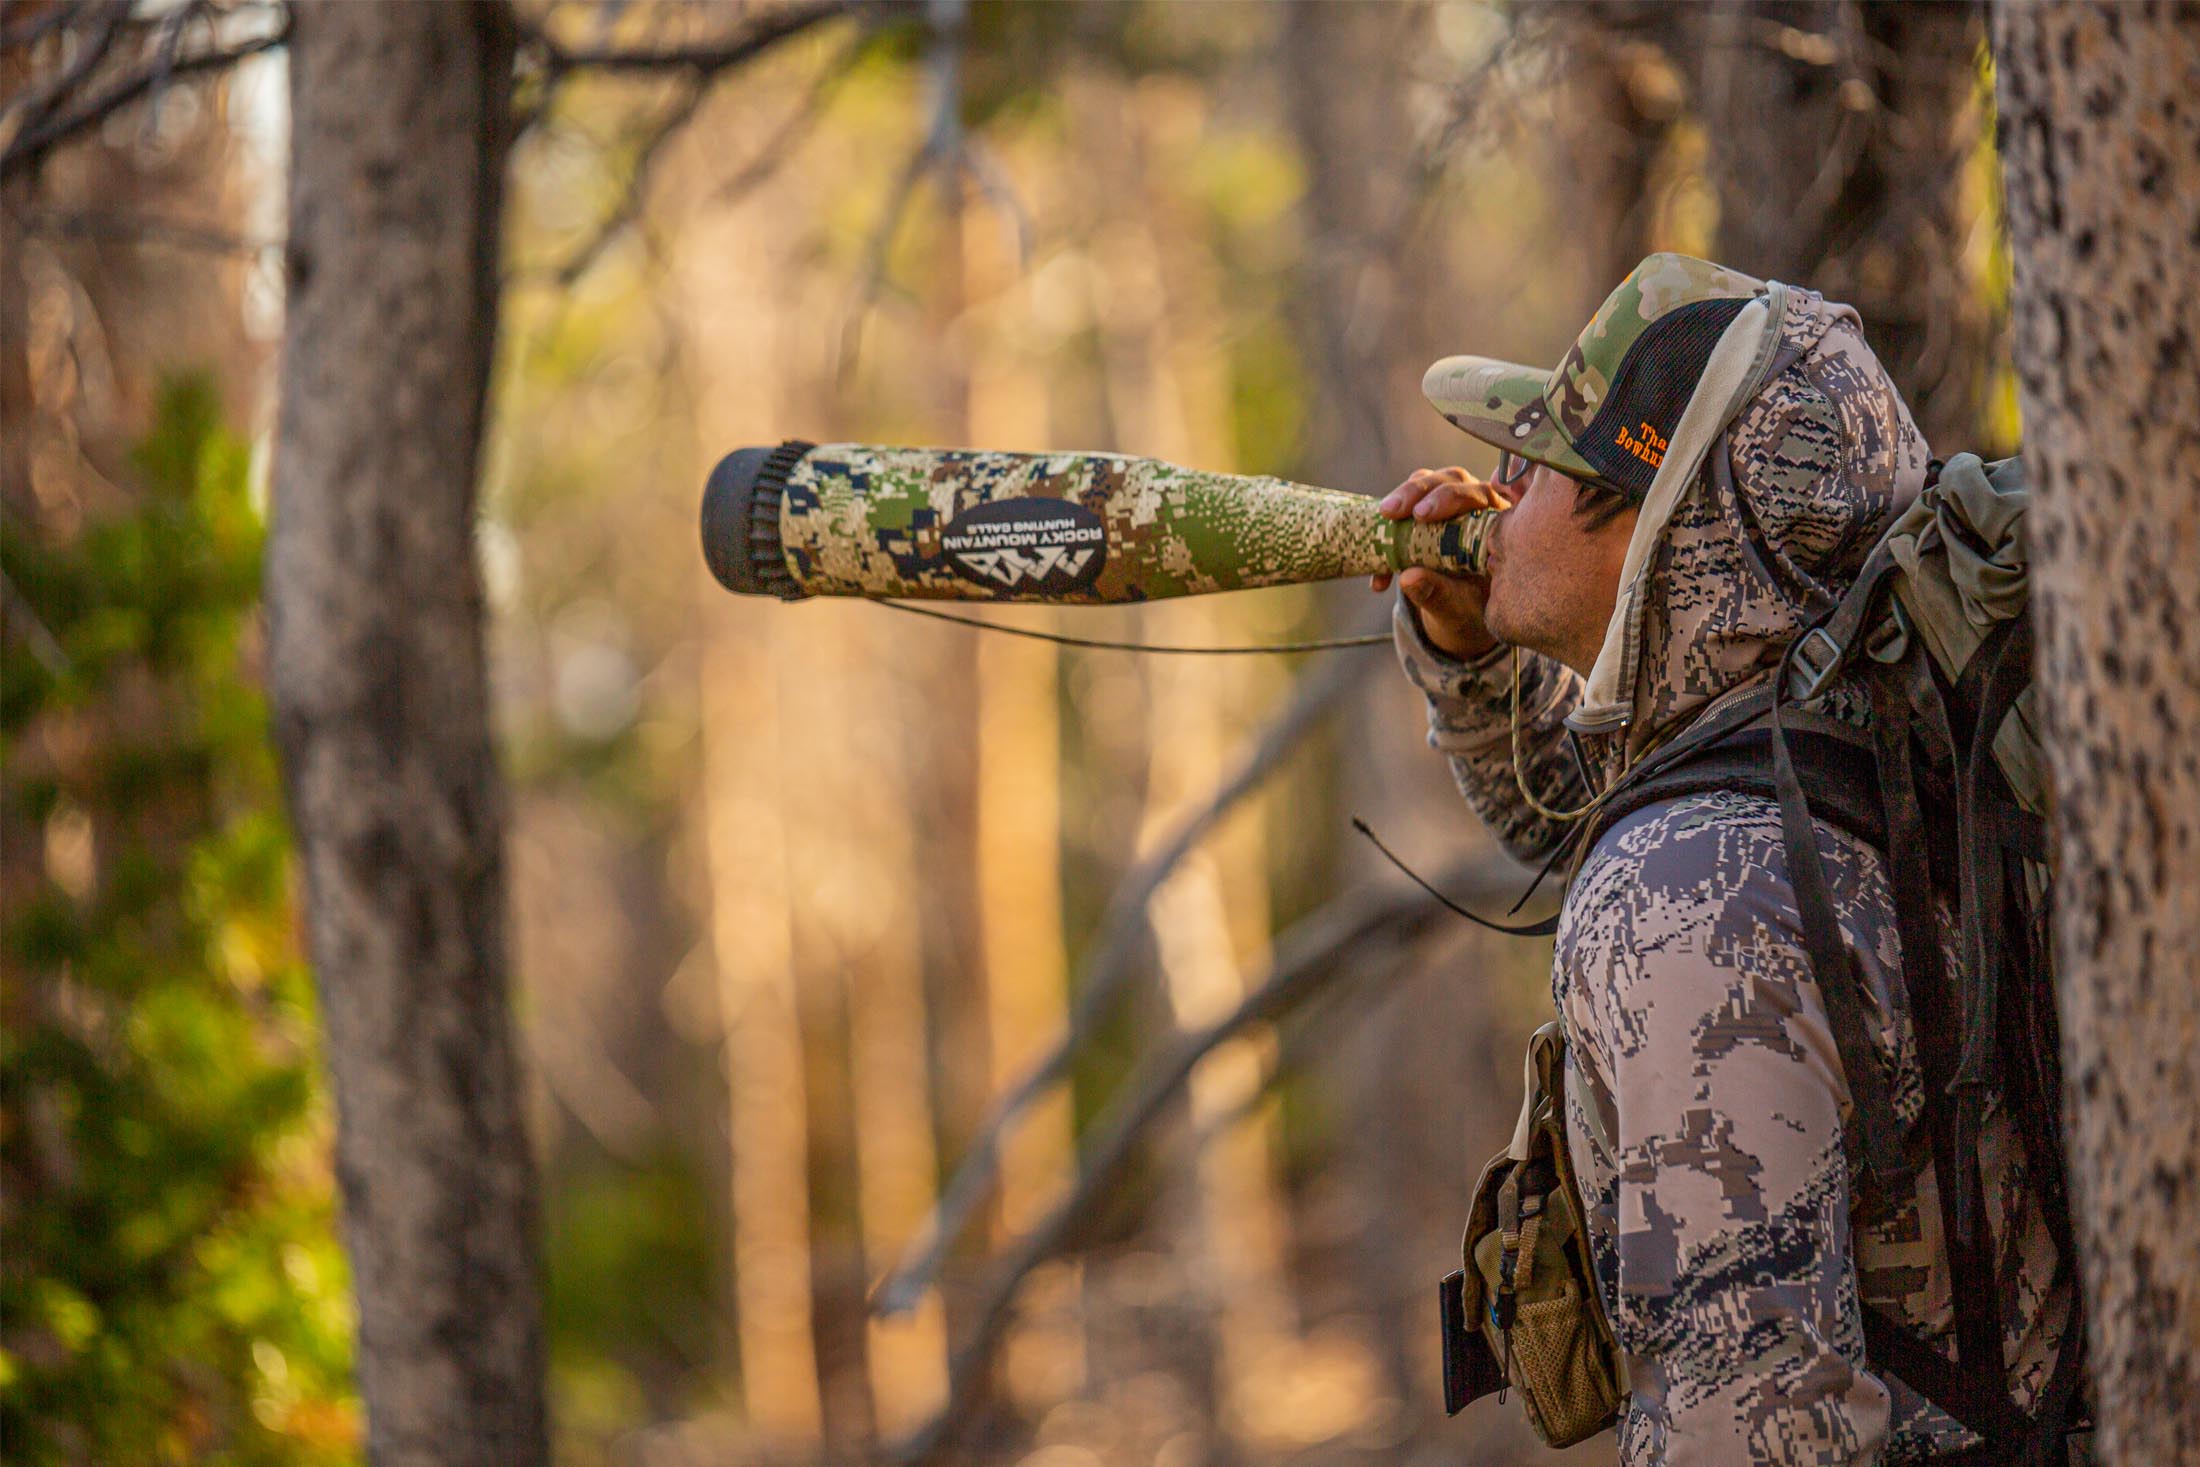
If there’s one way to set yourself apart from the crowd, it’s through calling. Purchase some quality diaphragm calls like those from Rocky Mountain Hunting Calls or Phelps Game Calls. You’ll also need a quality bugle tube that isn’t a flute. Take it from me: Flute-style bugles suck.
Next, go to YouTube and listen to top-tier callers like Rockie and Corey Jacobsen. It also helps to listen to live elk sounds. Try to learn and mimic the sounds you hear. Record yourself often and play your recordings back.
Effectively calling elk is an art that must be perfected. If you want to hear elk talk in pressured OTC units, you’d better be able to sound like one.
3. Add onX Hunt to Your Kit
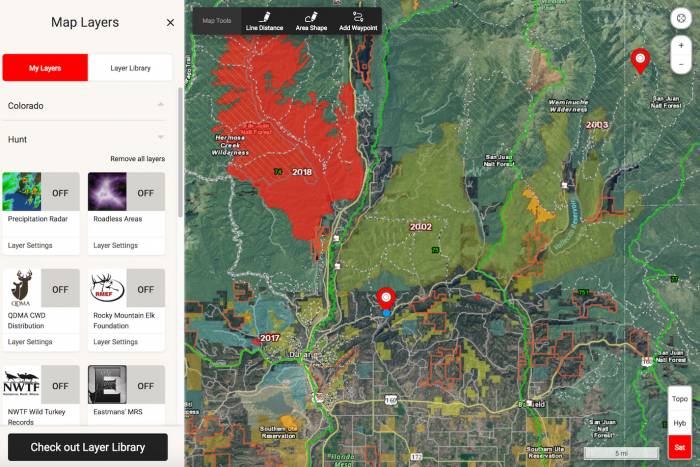
I know Western sojourns are expensive, but you can’t skimp on digital mapping. The onX Hunt app is my trusted system. This handy app can be downloaded to all your smart devices including your phone. At $30 per state and $100 for an Elite membership, it’s not too out of reach from a budgetary standpoint.
Not only does it show exact public/private land boundaries, but it also provides topographical, aerial, and hybrid views of your hunting grounds. There are a ton of different layers you can add for understanding your hunting landscape.
Also, onX Hunt allows you to pre-mark areas you plan to hunt, save maps for offline use, track your movement as you hunt, and mark waypoints along the way.
4. Narrow Down Possible Elk Habitat
Now that you’ve decided on a couple of OTC units — nice! — the next step is to pull up onX Hunt or Google Earth to start locating likely elk haunts. Keep your eyes peeled for deep, dark drainages with flat areas (what hunters call “benches”) between them. It’s also a good idea to locate water sources as well as small, secluded meadows in the dark timber.
My hunting partners and I like to start by marking access areas. Look for locations off main roads that require a strenuous uphill or downhill trek. This will discourage the masses.
No, you don’t have to hike 5 miles into the backcountry to find good elk hunting. Mark as many of these off-road locales as you can; this way you can bounce in and out of areas quickly.
It’s also a good idea to hunt a unit with a wilderness area inside of its boundaries. Wilderness areas restrict traffic to foot and horseback only, knocking a lot of wheeled competition off your list.
While I do believe the go-deep drum of elk hunting has been beaten too hard, if off-main-trailhead and main-road areas aren’t producing, a wilderness area provides the option to dive in deep.
5. Create a List of Possible Campsites
This step gets overlooked a lot. You’re so excited to get to your hunting grounds that you forget to locate possible camping spots before you leave home. There will be other people in your area, and the last thing you want to do is waste a half-day circling the mountain looking for a place to put down stakes.
My recommendation is to list out at least five spots for potential campsites. Believe me, you won’t regret it once you realize the first three are full.
6. Go With a Group
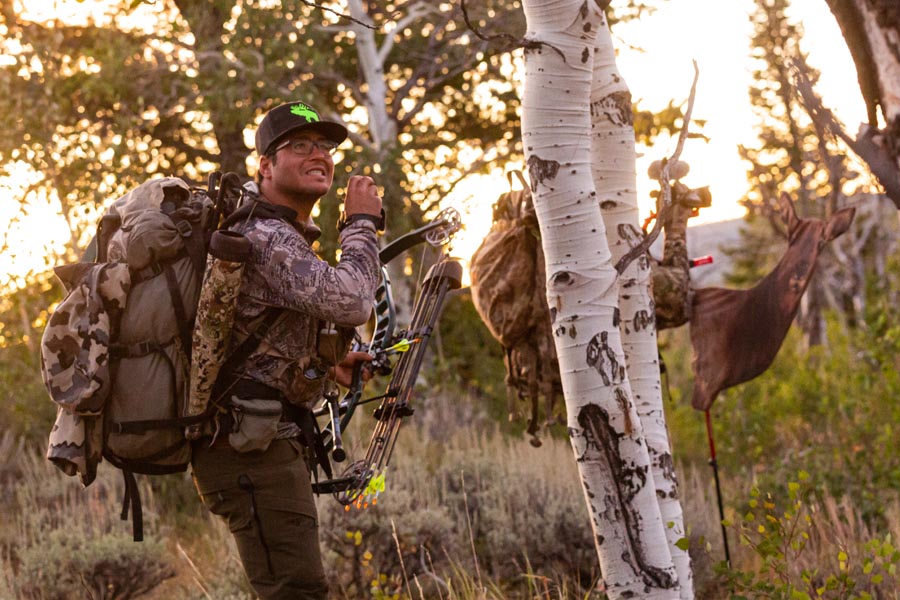
There was a time in my life when I preferred to hunt alone. Not anymore. Elk hunting is so much more fun with a trusted group of buddies.
Our system is a three-man approach. We simply rotate days. On each day we have a shooter, caller, and someone running a camera and holding a decoy.
It’s a great system. Morale is always up, and when a bull hits the dirt, we divide the weight and get the bull out in a single trip.
7. Upon Arrival, Take a Human Inventory
Expect people. If you think you’re going to be the only one your OTC unit, you’re in for a rude awakening.
After setting camp, my hunting partners and I drive access roads and check main trailheads. Our goal is to see how many people are in the area and take note of where they’re likely hunting.
After we take inventory, we meet back at camp, pull up onX, and locate areas pressured elk are likely to go. Locate the steepest and roughest terrain near the people, and go check these locales.
8. No Elk? Change Your Plan
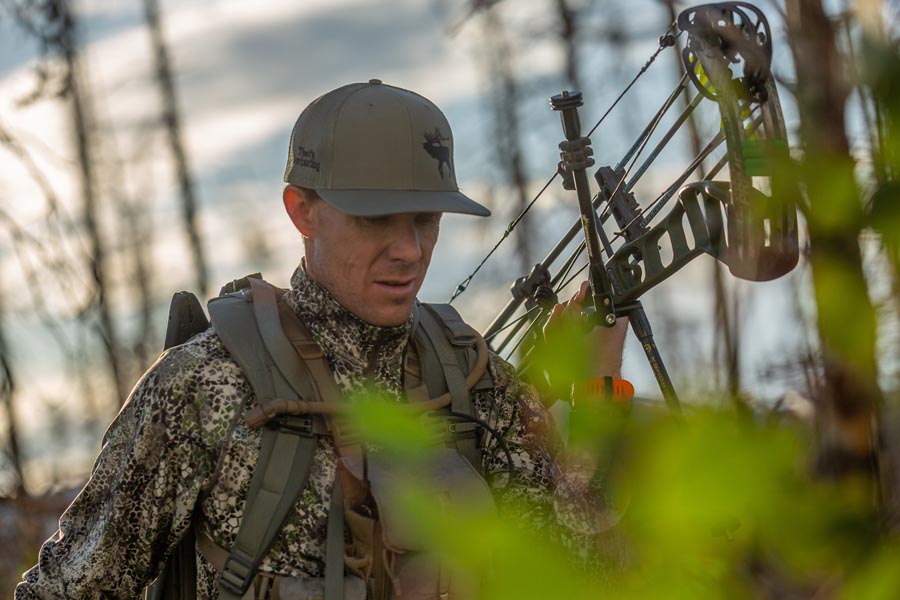
Elk move. If you’re hunting an area that looks amazing, but you aren’t seeing fresh rubs, greasy poop, and lots of tracks, move. Don’t get hung up on an area just because it seems like it should hold elk.
If the elk aren’t there, go find them. This is where having lots of locations pre-marked on your onX Hunt app really helps.
9. One Foot in Front of the Other
“You can’t ever quit. Even when it sucks, you just gotta keep putting one foot in front of the other,” my hunting partner and hardcore elk nut J.C. Navarro once told me.
“The public-land elk hunter has to have heart: heart to outwork others, heart to climb the next ridge even when the legs and the back ache horribly. Those that keep going are the ones that will punch their tag. It only takes one cooperative bull to turn a hunt around.”
This September, after not hearing a bugle for 2 full days, my hunting partners and I killed three bulls in less than 48 hours. Be patient. Keep going. You’ve got this.
10. Take Care of Your Body
Elk hunting is a grind like no other. Go hard but take care of your body at the same time.
Be sure to stay hydrated throughout the day. We all carry a 2L hydration bladder in our packs as well as a 32-ounce bottle on our pack’s waist belt. In the bottle, we have a mixture of either Wilderness Athlete, MTN OPS, or some other flavored drink mix that contains a mix of electrolytes and necessary vitamins and minerals.
During the day, it’s also necessary to snack and nap. The average elk hunter will burn between 4,500 and 6,500 calories per day. If you don’t replace spent calories, you’ll be coming off the mountain long before you want to. My hunting partners and I pre-pack quart-sized Ziploc baggies that contain packable food items that provide 2,000-2,500 calories per day.
And because we prefer to camp off main roads and day hunt from camp, we make sure to eat a solid meal each night and get a lot of good rest. Sleeping on a padded cot is a heck of a lot better than sleeping on a pad on the ground.
Bonus Tip: Be Prepared to Seize the Moment
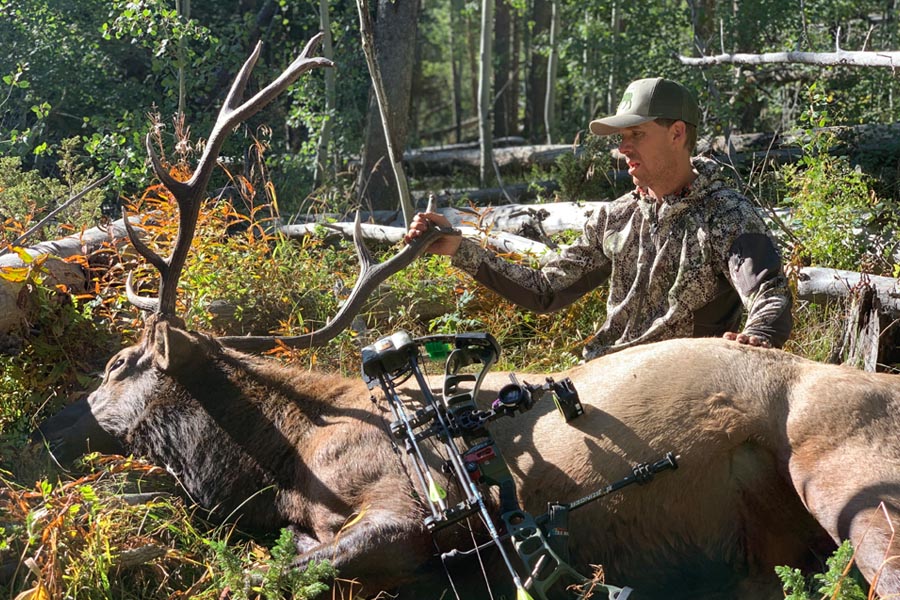
Take the shot! It doesn’t matter what your weapon of choice is: If you don’t make good on your opportunity, all that hard work and effort will be for naught. Be sure to familiarize yourself with your weapon long before your hunt and be able to execute shots at different angles and distances.
Remember, your elk hunt starts long before the season begins. Your level of physical fitness, shooting confidence, and research are vital ingredients to helping you notch your tag and fill your freezer. Good luck and straight shooting!
