Exploring Patagonia is an adventure of all adventures, a premier spot for virtually every type of outdoor activity you could imagine. This region, located at the tip of South America, spans both Chile and Argentina and has rivers, mountains, vistas, and glaciers that are inscribed in the brains of dirtbag climbers and bucket-list travelers alike.
But logistically, exploring Patagonia (and the surrounding area) is far from convenient. Flights into the region are sparse, and the bus systems, while perfectly nice, take a long time and can be tricky to book. Cell service is even more unreliable. Exploring between both Chile and Argentina also requires border crossings (of course), currency exchanges (bring plenty of high-value USD bills), and a lot of squandered plans due to bad weather.
Regardless of inconveniences, one of the region’s most popular areas for recreation — Torres del Paine National Park — draws visitors of all walks of life to its entrance. The park, located in Chile, is markedly different from what you might find in U.S. National Parks.
Instead of a network of roads, there is a hiking loop spanning the majority of the park, creating a broad O shape. To see the whole expanse of the park, hiking the O Trek is the only way to do so, beyond getting a permit to rock climb some of the park’s famous peaks.
But for most, devoting dollars and logistics to an international climbing expedition is out of the question. Luckily, hiking the O Trek is accessible to a wider swath of outdoor recreators, with gear rentals and hostel stays available along the trail.
Guide to the ‘O Trek’ in Los Torres National Park
What Is the O Trek?
Put simply, the O Trek or O Circuit, is a trail that loops within Torres del Paine National Park (also known as ” Los Torres”). Visitors must book campsites in advance and walk counter-clockwise on the loop.
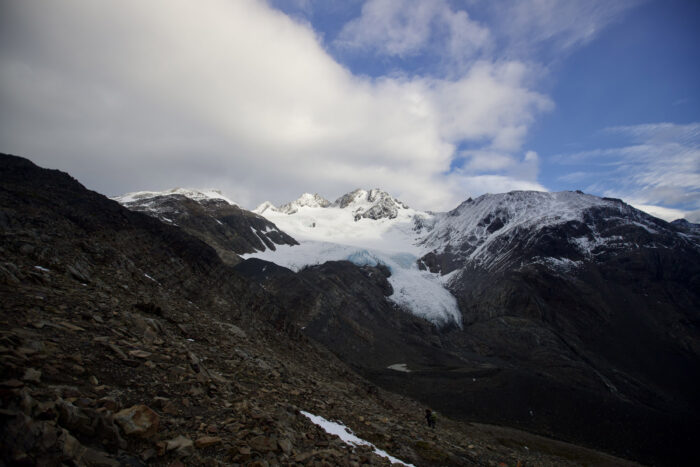
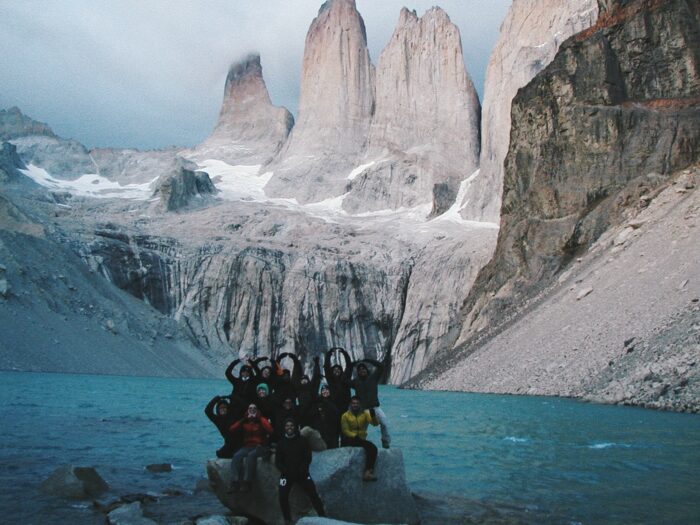
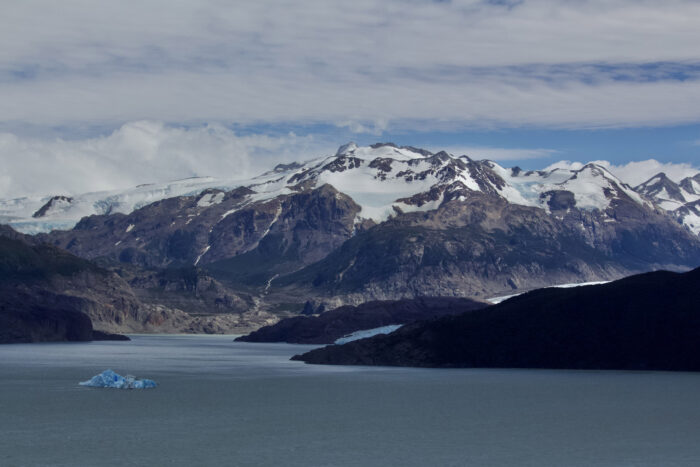
Most folks hike the trail in 8 days, offshooting to include famous lookout points like the Mirador Britanico and Mirador Base de Las Torres. One of the trail’s most famous and the most difficult sections, Los Perros to Glacier Grey, is a beautiful stretch with spanning views of the Southern Patagonian Icefield.
Overall, Torres del Paine is one of the largest and most popular national parks in Chile — and the O Trek is the picturesque, full treatment of what the park has to offer.
The trek also coincides with a shorter section of trail called the “W trek,” this section (the lower part of the “O”) connects Guardería Glacier Grey with Guardería Torres, the starting and ending point of the trail. Visitors can hike in either direction on the “W,” as a ferry services Refugio Paine Grande. This also means that visitors can hike the upper part of the “O” and end early at the ferry for a 5-day loop.
When to Go
The best — and only — time to complete the O Circuit is in the Chilean summer, from late November to mid-March. Travel in the winter months is limited, but guided trips in the winter along the W-Trek are possible.
Getting There
The easiest and most direct way to get to Torres del Paine is by flying from Santiago, Chile, to Puerto Natales, the closest town to the park. From there, the bus ride into the park is about 2 hours to the Laguna Amarga ranger station, where you will pay your park entry fee (bring cash). From there, a small bus (bring cash for this, too) will take you to Hotel Las Torres/Ecocamp Patagonia where you will start the trek to Campamento Serón.
To clarify, there are no cars inside the majority of Torres del Paine National Park. Driving is limited to the hotel area near the Las Torres trailhead, and a small section near the O Trek start. Unlike what you might find in most U.S. National Parks, you will not be able to tour the loop by vehicle. It is highly suggested you take a bus into the park. It is far cheaper and almost everyone does it, especially other trekkers.
In our experience, the bus system in Patagonia was nice and reliable once there, although making reservations can be difficult. Busing from other destinations like El Calafate and Punta Arenas to Puerto Natales is possible as well. The day before our trek we flew into Puerto Natales and checked into our hostel. Our reservation was with Bus Sur, so we went to the Bus Sur office to get our tickets. Booking at the main bus depot is also an option.
Day-to-Day on the ‘O Trek’ Trail
The O Trek is a 7-night route that covers roughly 80 miles with roughly 13,000 feet of elevation gain. If you plan to hike to Mirador Las Torres, plan to tack that onto your last day (day 8) before departing for your bus: it’s an early wakeup but well worth it. Note that posted distances (especially on the trail signs in the park) are often inaccurate, which makes for a fun guessing game while you hike!
The O Trek route is simple to book and follow for the first 4 days. There are only a select number of sites to camp at and no variations when hiking the first section of the trail, unless you stay an extra day at a refugio or decide to combine 2 days. (Hiking from Portería Laguna Amarga to Refugio Dickson, for example, would be a long day, but definitely feasible.)
Booking can get complicated when the O Trek begins to overlap with the W Trek. Here, a higher number of refugio options vary the distance that travelers may hike per day. The variations here are not drastic, but note that camping at Refugio Chileno on your last night will add elevation to your backpacking distance, but shorten your morning hike to Mirador Las Torres.
The most difficult day is from Refugío Los Perros over John Gardner’s Pass (the highest point of the loop at 4,000 feet) to Refugio Grey. The total day is roughly 15 miles with an elevation gain of roughly 700 feet and elevation loss of roughly 2,000 feet.
The climb is hard but steady; the descent is muddy and brutal. Hiker beware, there are three bridge crossings that’ll get your heart rate going, especially if you are scared of heights.
But while braving difficult terrain and weather, you will find a trail community on the O Trek like no other. I will always be grateful for the smattering of hikers from around the world who we met. Informally, our trail group would cook together and hike sections together. We still have a GroupMe chat to this day.
The first 4 days of the O Trek bonds folks. So, if you plan to hike solo, know that there will be plenty of other folks on the trail and at the campsites with you, but not such a large amount to make the experience crowded or unenjoyable.
Accommodations and Food
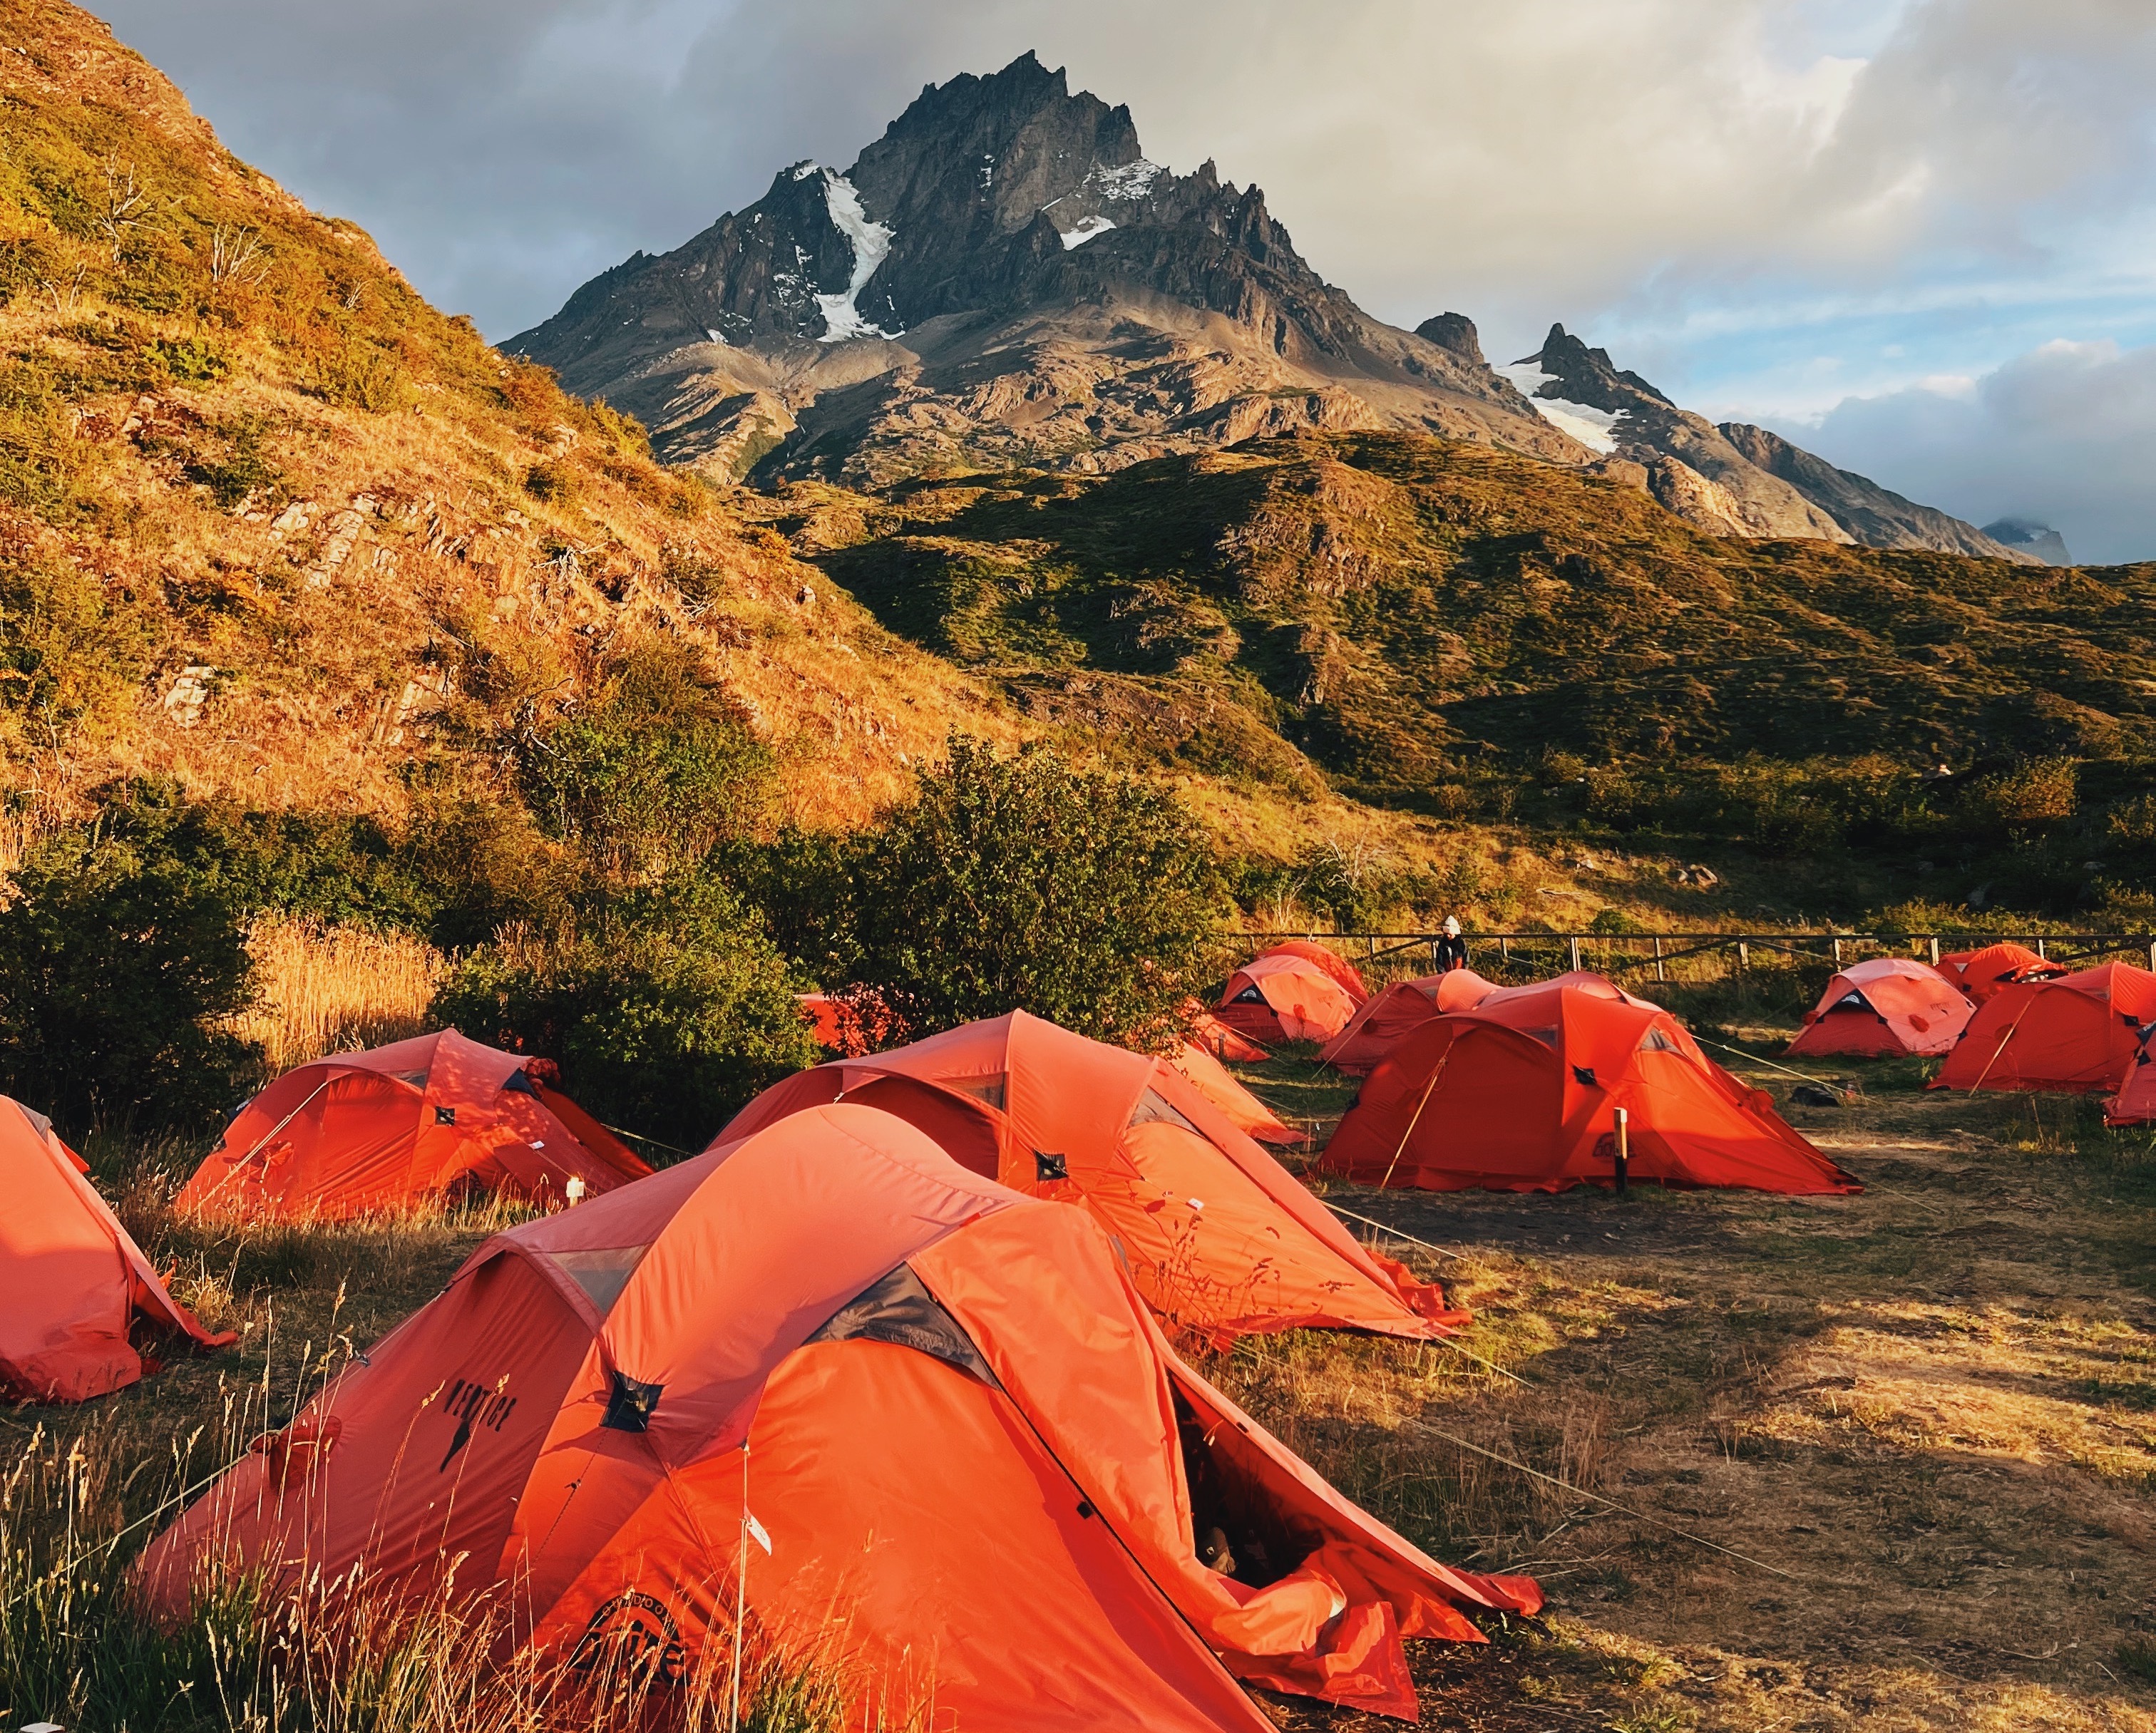
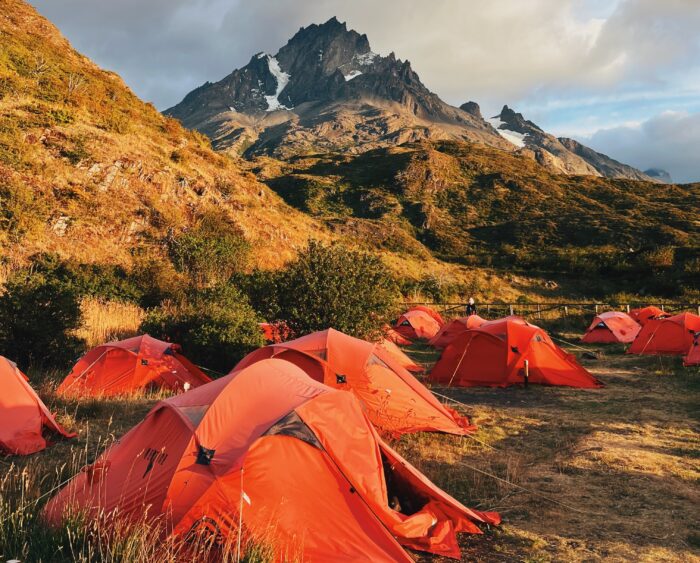
At every stop along the O Trek there are “refugios” — think mountain huts and small ski lodges with bathrooms and small markets attached. Each site has a base price for folks who plan to set up their own tent and cook their own meals. Enclosed cooking huts are provided.
From there, hikers can upgrade and rent pre-erected tents, domes, hostel beds, and more depending on each site. Sleeping bags can also be rented at refugio sites.
Both my hiking partner and I were shocked by how well-stocked the refugio markets were. Even the most “rugged” hut (Guardería Los Perros) had basic items, like ramen and energy bars, stocked. This was the only hut without showers. Other huts provided beer, pizza, hamburgers, pay-for-Wi-Fi, and more.
Packing out enough food for 7 days is not necessary if you are willing to spend some money (roughly moderate ski lodge prices) for a meal or snacks here and there. Cooking-wise, a small canister of gas and a pocket rocket-style stove is ideal. We used an MSR International Stove. If you plan to pack out all of your own food, plan to shop in Puerto Natales; the grocery store is picked over but fine. We personally lugged our food in from Santiago, which was overkill.
Gear
The great thing about the O Trek is that gear is readily available for rent and purchase in Puerto Natales. For peace of mind, reserving gear in town (like tents and sleeping bags) before your arrival is easiest. Or, opt to spend more money and have a sleeping bag waiting for you at each refugio along the way.
We brought an MSR fuel canister along with us from Santiago, unsure of what options would be available in town. This was unnecessary; there were abundant fuel canisters (and stoves) for purchase at many stores in Puerto Natales.
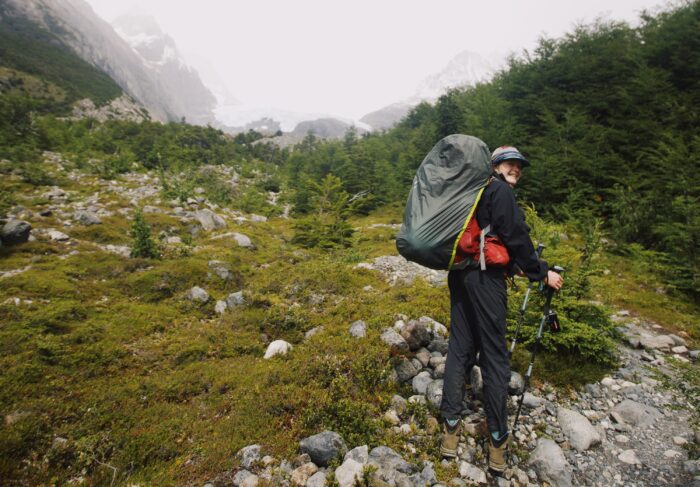
Weather shifts fast in Patagonia. If you are hiking the O Trek, expect to brave torrential winds and all weather conditions. The westerly gales are often referred to as “Escoba de Dios” or God’s Broom. Have full rain gear (pants and jacket), layers, and a sturdy tent ready for wind gusts.
If you are unsure if your tent can take the wind, rent an appropriate one in town. We saw enough tent disasters on the trail to know that taking a poorly built tent on the O Trek isn’t worth it. During the day, the weather can get hot, so a T-shirt and shorts are also nice to have.
Booking & Cost
Ready to take the plunge? Our total booking cost was $507 for two people and 7 nights of camping. This cost did not include groceries and food, our park pass, or travel to, or accommodations in, Puerto Natales. Booking in advance is highly recommended, especially if you want to camp. Booking last minute is possible, but there may only be expensive lodging options (like a hostel bed) left.
The easiest way to book your campsites is through the site Booking Patagonia. Two different vendors operate the campsites within the park, which makes booking independently tricky and confusing. Booking Patagonia automatically checks availability at all of the campsites to create your itinerary on the loop. The site also books your bus ticket from Puerto Natales.
Ultimately, we never received a departure time so we went to the bus depot in person to solve the issue. Additionally, the booking site doesn’t include the shorter bus ride from the ranger station into the park. Bring extra cash for this and for snacks in the refugíos (the cheese empanadas in the park are *chef’s kiss*).
‘O Circuit’ in Torres del Paine, Patagonia: Can I Do it?
Broadly, if you are fit and have backpacked before, this loop is for you. You will also need the proper gear. We saw several people on the W Trek with traditional duffel bags and school backpacks. You will be miserable (and unable to hike the O) if you approach terrain like this without proper gear. It doesn’t need to be fancy, but backpacking-specific gear is a must. If you don’t know if your gear will work, rent in town.
Additionally, this loop is not for folks who refuse to brave bad weather. John Gardner’s Pass is no joke, especially in wind and rain. Plus, once you are on the loop, you are on the loop. Few rangers exist in the park, so if you get into trouble, it is not easy to get help. Know your limits. Opt to carry less and pay for gear at the refugíos if you are nervous about how much weight you can carry.
Overall, if you have the time and funds, definitely opt for the O Trek over the W Trek. The views from John Gardner’s Pass are worth it alone. Plus, the limited crowds on the O-Trek-only sections make the backpacking experience well worth the advance planning.
