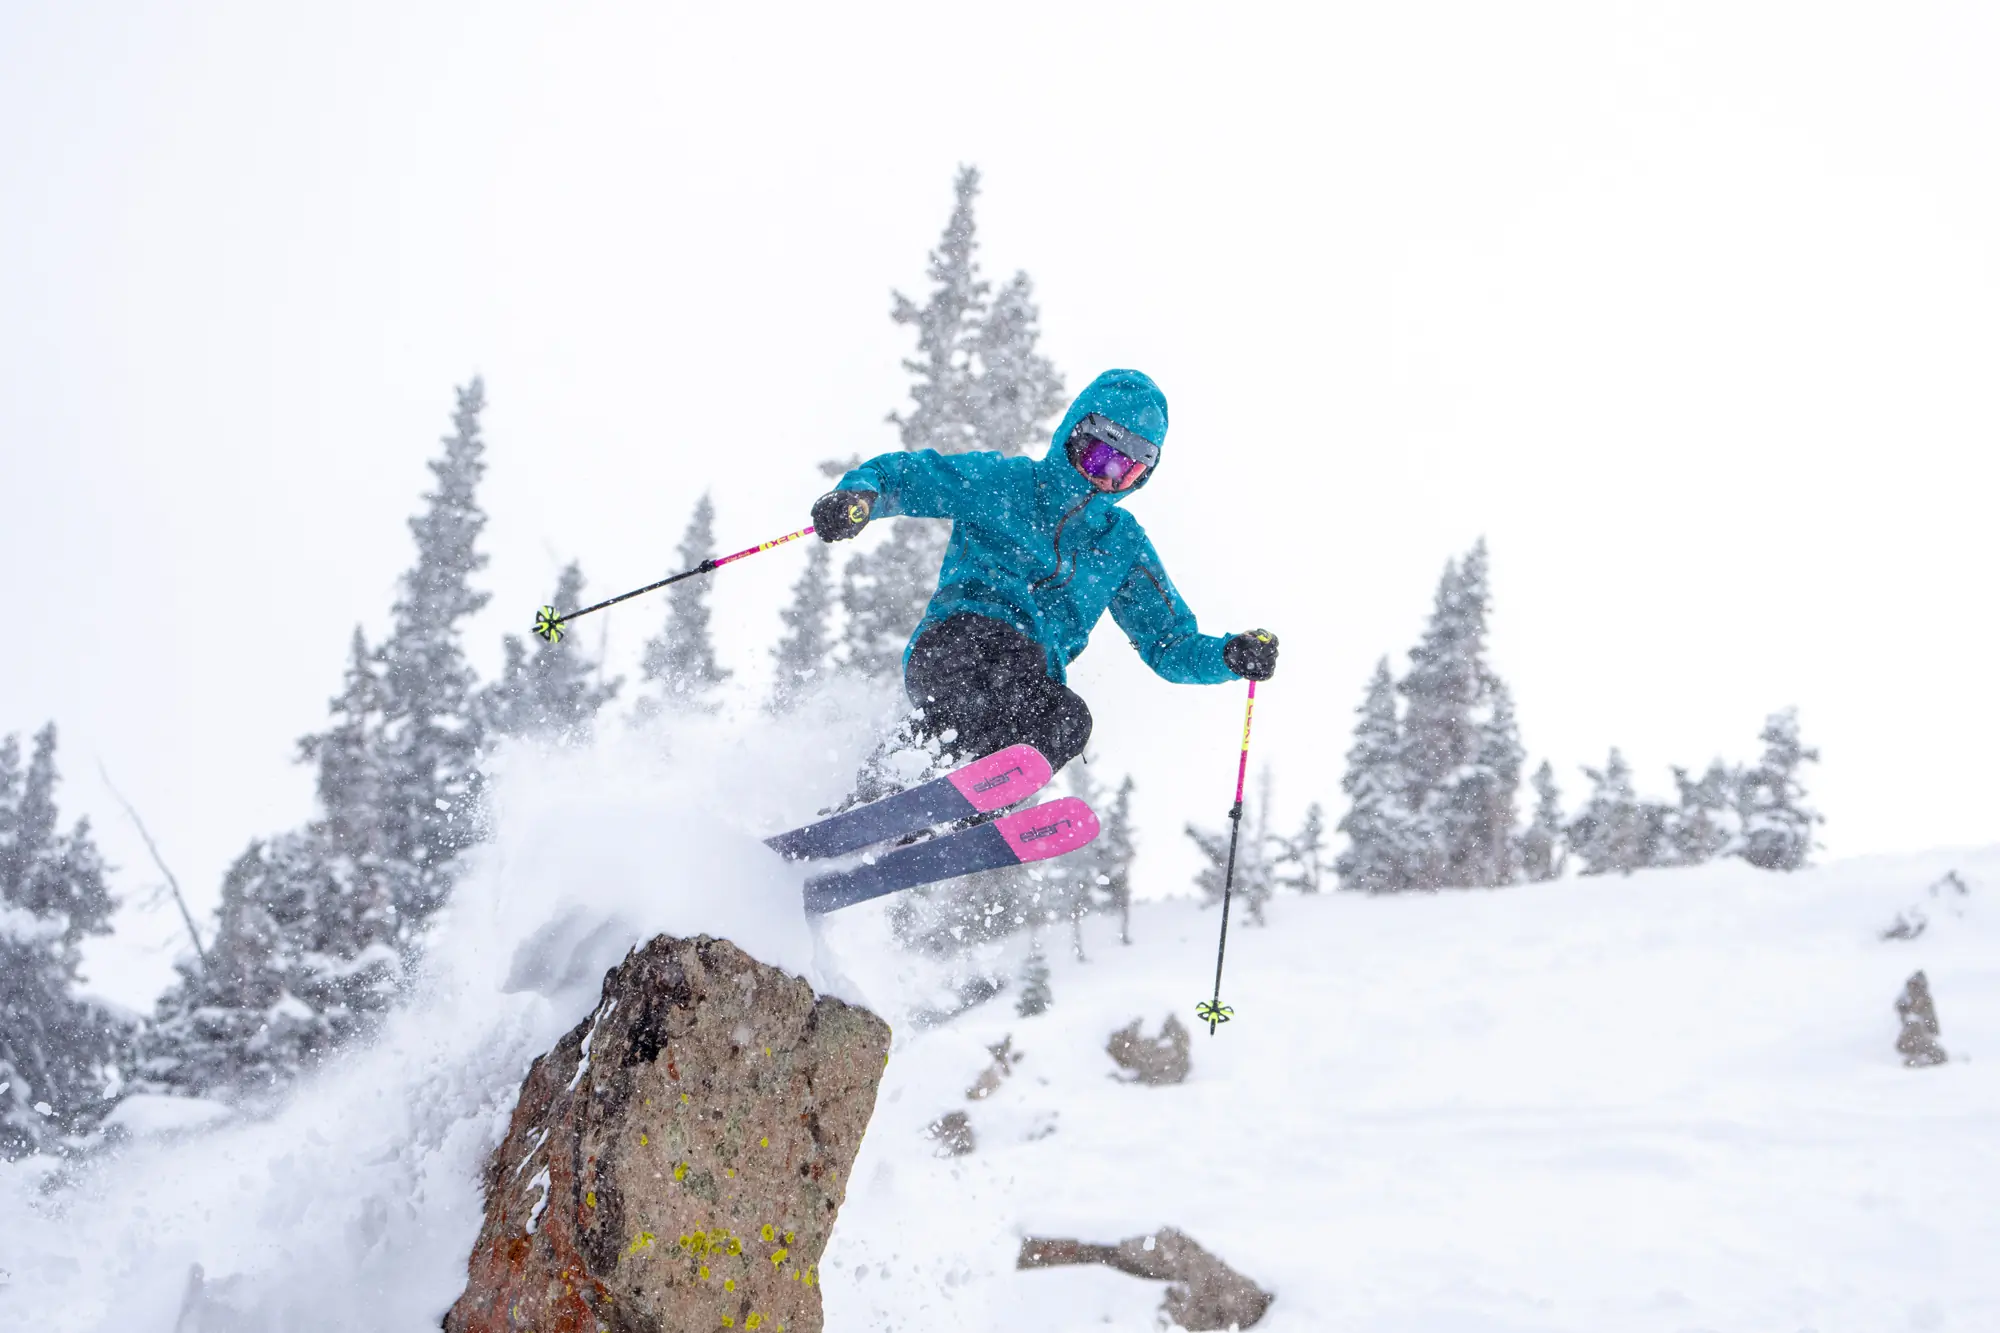
Above photo credit: Arc’teryx
Skiing and snowboarding are eye-catching activities for photography. But it’s tricky to carry an expensive camera with you on the wet and cold slopes. Use one of these five methods to carry a camera while skiing to get the perfect powder shot.
“If you’re going to drop into this slope, you can’t fall,” a ski guide instructs me. “You need to be confident enough to ski this and ski it well.” We’re standing on the lip of a mid-30-degree slope that is avalanche-prone. Of course I want to ride it!
I drop in. And almost immediately, my camera bag flies off. Now I have to play rescue with my camera on an avalanche-prone slope. Not to mention everyone is watching.
Halfway down the slope, I ride up next to the somersaulting camera bag, pick it up, and carry it to the base of the run. Catastrophe aside, I had a blast snowboarding that line.
But the episode left me wanting a more reliable way to carry my camera while skiing and snowboarding.
Over the course of many winters, I’ve spoken to ski professionals and professional photographers for brands big and small to learn how the pros carry a camera while skiing.
5 Ways to Carry Your Camera While Skiing
1. Conventional Carry: Camera Backpack
During the Arc’teryx Backcountry Academy in Jackson, Wyo., three other amateur photographers and I spent a day shooting Arc’teryx athletes with Angela Percival, the brand’s senior outdoor photographer. It was an incredible experience (and open to the public). We spent the whole day setting up shots, telling athletes exactly where to slash or jump.
With walkies, we told the athletes to drop in at specific times when we were ready. The photos that resulted were ideal, and we had plenty of time to set up the composition prior to the subject entering the frame.
The majority of photographers on this tour, in addition to Percival, used a conventional camera backpack to carry their cameras.
“I use a backpack 100 percent of the time. Specifically, an F-Stop backpack with a rear-entry zip combined with an ICU insert for quick, easy access to all of my camera gear,” said Percival.

“I might be alone in not carrying it on my body, but seeing as I work for Arc’teryx, I shoot in a lot of bad (think wet, snowy, cold, frozen, foggy, damp, humid) weather. So keeping the camera protected inside a bag versus out on my shoulder strap or hip belt getting wet or frozen is my top priority,” said Percival. “I’ve also mastered the ninja move of getting the camera out of the pack in mere seconds, even when it’s on my back.”
For optimal camera protection and photoshoots where you have time to set up shots, the conventional backpack carry works best.
2. Quick Capture: Shoulder Clip Carry
“Basically, a camera in your pack is one you’re less likely to use,” begins Kyle Frost, photographer and creative director for The Outbound.
Frost’s carry style first struck me during a Pursuit Series event at Berthoud Pass in Colorado last year. He kept the camera on his shoulder strap the whole day. And the resulting images were candid and sharp.
“Having the camera super accessible on the clip makes it easier to have a run-and-gun style in the backcountry, and catch more candid/quick moments,” said Frost. “Plus, no one really likes waiting for photographers to get their shit together, no matter how good the pics turn out. Especially on a pow day.”
Frost recommends the Peak Designs Capture Clip for camera carry. He calls it the gold standard.

“If you’ve never used one before, it will change the way you shoot. I primarily shoot with the Sony a7rii or a6300 while skiing,” Frost said. “And the small form factor/weight on the mirrorless cameras makes it pretty easy to have it on my backpack strap without too much discomfort.”
Not surprisingly, you won’t want to fall with the camera on the clip. If you’ve got a mellow day of skiing ahead of you, or don’t fall often, this carry method enables photographers speedy access to candid photos.
3. Fast Shots & Protection: Waterproof Hip Pack

Admittedly, after I dropped into the line and played rescue with my fanny pack, I didn’t switch up the carry method. I just got a new hip pack. It was the clip that broke.
A hip pack enables me quick access to my camera during outdoor activities. I can shoot friends and subjects in their natural habitat for the most part — which is what I’m after.
The hip pack carry isn’t as quick as a shoulder clip or action camera, but the pack offers a substantially larger amount of protection from the elements.
I’ve used a fanny pack with a camera for multipitch rock climbing, backpacking, and snowboarding. I try not to fall when boarding with a camera, and if I do, I notice the majority of snowboard falls are on my butt as opposed to my front.
Mountainsmith markets the Dry Tour Lumbar Pack for fishing or more aqueous adventures. But I think it shines on snowy mountains and outside the water as well.
It has waterproof zippers and enough storage for a full-frame camera, spare lens, and some batteries.
If documentary photography is what you’re after, yet you still want to protect your camera, a hip pack grants users the best of both worlds.

4. Gear-Free: Use Your Hands!
Weston Backcountry hired photographers for a day of backcountry snowboarding on Vail Pass this past January. Dag Larson rode up next to me, camera in hand, and my jaw just about dropped. Duh!
Here I am thinking ski photography needs special equipment, and Larson comes forth with the most simple option.

“I was riding with my camera in my hand without a strap or tether,” said Larson, a photographer for The Public Works in Denver. “It made the most sense since we were doing hot laps with snowmobile bumps to the top of the run. The snow was awesome, but the terrain was mellow, so I didn’t worry about taking a fall.”
As a snowboarder, you’re free to use your hands for a camera — assuming you won’t fall or don’t drag your fingers in the snow.
“Sometimes when you’re running and gunning, having the camera out and ready to grab quick shots is the best plan of action,” said Larson. “You can move quickly, capture those in-between moments, the lifestyle shots that quickly pass, and digging a camera out of a bag would result in a missed opportunity.”
Yet when his photoshoots require more coordination, he opts for a backpack.
“On higher-end shoots where we are working for the ‘hero turns,’ communication is more detailed; riding is slower, more planned; and the terrain is steeper, more technical. Depending on the riding, I will stow the camera in my bag so I can safely navigate,” said Larson.
Above all, Larson recommends getting insurance on your gear so you can afford to take risks with both your gear and photography.
5. Ski Video: Action Cameras Are Built for Impact
All of the above options are for high-end cameras with large sensors and a slew of lenses. Kirk Warner, GearJunkie’s video producer, suggests action cameras as an option for skiing photography.
GoPros, Rylos, and other small cameras are built for impact; can mount to your helmet, chest, or skis; and are by far the least intrusive photography option. Just don’t expect as high-quality images compared to DSLR or mirrorless cameras.
“If you’re not a professional and you’re not looking for special shots with different focal lengths or depths of field, action cameras are made for that,” said Warner.
Granted, he approaches the situation from a video perspective. But his suggestion is warranted. Action cameras are tiny and affordable.
“It’s hard for me, without a huge rig and my camera, to get good trailing shots that are any better than a GoPro or a Rylo,” Warner said.
With an action cam, you can fall as much as you want without worrying about breaking your gear. Action cameras may be the best option for aspiring on-slope photographers, especially those who dabble in video and aren’t ready to invest as much as required for other options.


