Time to rethink your camping or backpacking shelter of choice. Move on from a standard tent for the relaxing luxury of hammock camping.
While we’re likely familiar with hammocking in a cool summer breeze enjoying a midday nap, a hammock can make for the perfect overnight camping experience. Still, many things can go wrong if you don’t know how to hammock camp.
From knowing how to secure the hammock to the additional gear required to allow for a good night’s sleep, there’s more to hammock camping than strapping a hammock to some trees.
Hammock Camping Gear
You have two choices for a hammock camping sleep setup:
- DIY a setup with the gear you already have
- Purchase a hammock tent or sleep system

Whichever route you choose, these items need to be included:
- Hammock
- Suspension system with straps
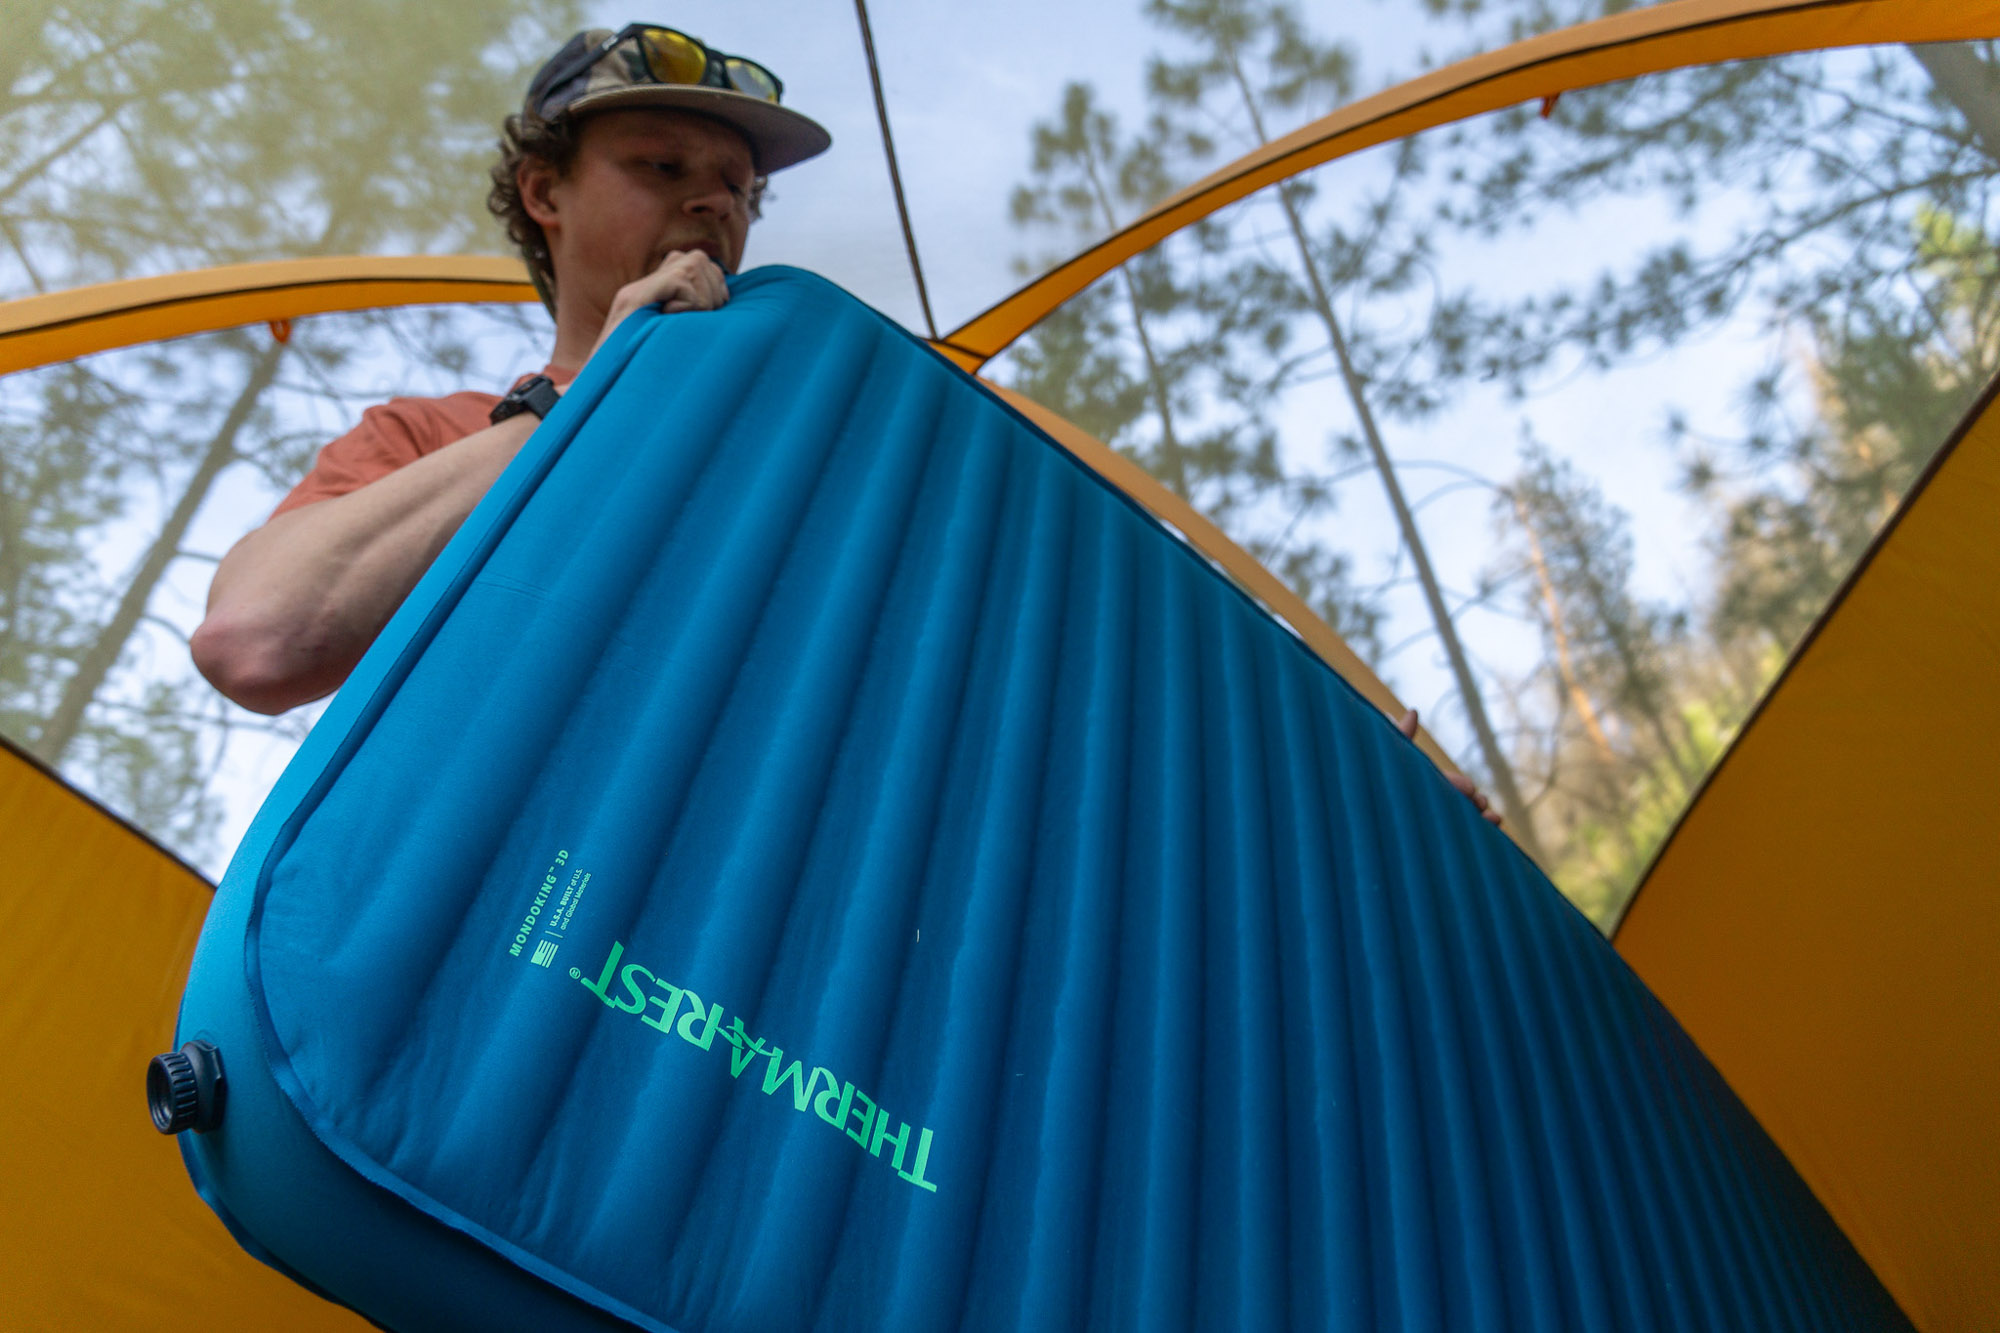
- Underquilt or sleeping pad
- Top quilt or sleeping bag
- Rain tarp or rainfly
- Bug net
- Ridgeline
- Optional: Pillow
How to Hammock Camp
Setting Up the Hammock
Having the right gear is one thing, but knowing how to set it all up is another. An improper hammock camping setup is a recipe for a cold night of tossing and turning and some tree damage from your suspension system.
First, find the perfect spot. Be aware that not all areas allow the use of hammocks because of the possible damage to trees. Other things to keep in mind when choosing a hammock location:
- Leave no trace — hang your hammock at least 200 feet away from all water sources and only camp in designated areas.
- Pick healthy trees that are at least 6 inches in diameter.
- Check trees for widowmaker branches or branches that may fall in high wind. Also check for signs of animal nesting, and if there are signs of wildlife inhabiting that tree, find a new one.
- If there aren’t enough trees, find other connecting points like a vehicle or building.
- Have the distance between trees align with the length of your suspension system.
Second, set up the hammock suspension with the right angles. Make sure that the straps used to attach to the trees are 1.5-2 inches wide to prevent damaging the tree bark. Some parks have specific requirements, and the closer to 2 inches you are, the better.
Rigging up the angle you want may take some trial and error, but there is a method to the madness. If the hammock is too flat, it will bunch and crease. If the hammock is too angled, your butt is going to be too low. In an ideal hammock camping setup, the suspension straps will be at a 30-degree angle opening toward the tree. You can adjust slightly from there to find your perfect angle.
Lastly, fix the height. The lowest point of the hammock (the middle) should be around 18 inches off the ground. This can take a few times to gauge because that measurement should be when you’re lying or sitting in the hammock.

Setting Up the Rainfly
To set up the rainfly or rain tarp, you need a ridgeline. The ridgeline is the line that runs above the hammock to hold the tarp. If you bought a hammock tent package, the ridgeline is included. Otherwise, use paracord or rope that is longer than the hammock itself. The line should have enough extra length to secure around both hammock anchor points.
How high you should set the ridgeline depends on the weather. If high winds and rain are expected, set the ridgeline lower. If the weather is calm and pleasant, set the ridgeline up as high as you please.
When attaching the tarp to the ridgeline, follow the manufacturer directions. Most models have slightly different instructions, much like different types of tents would. Typically, tie the two anchor ends and keep tension where the tarp touches the ridgeline. Then, stake along the perimeter of the tarp.
Adding a Bug Net
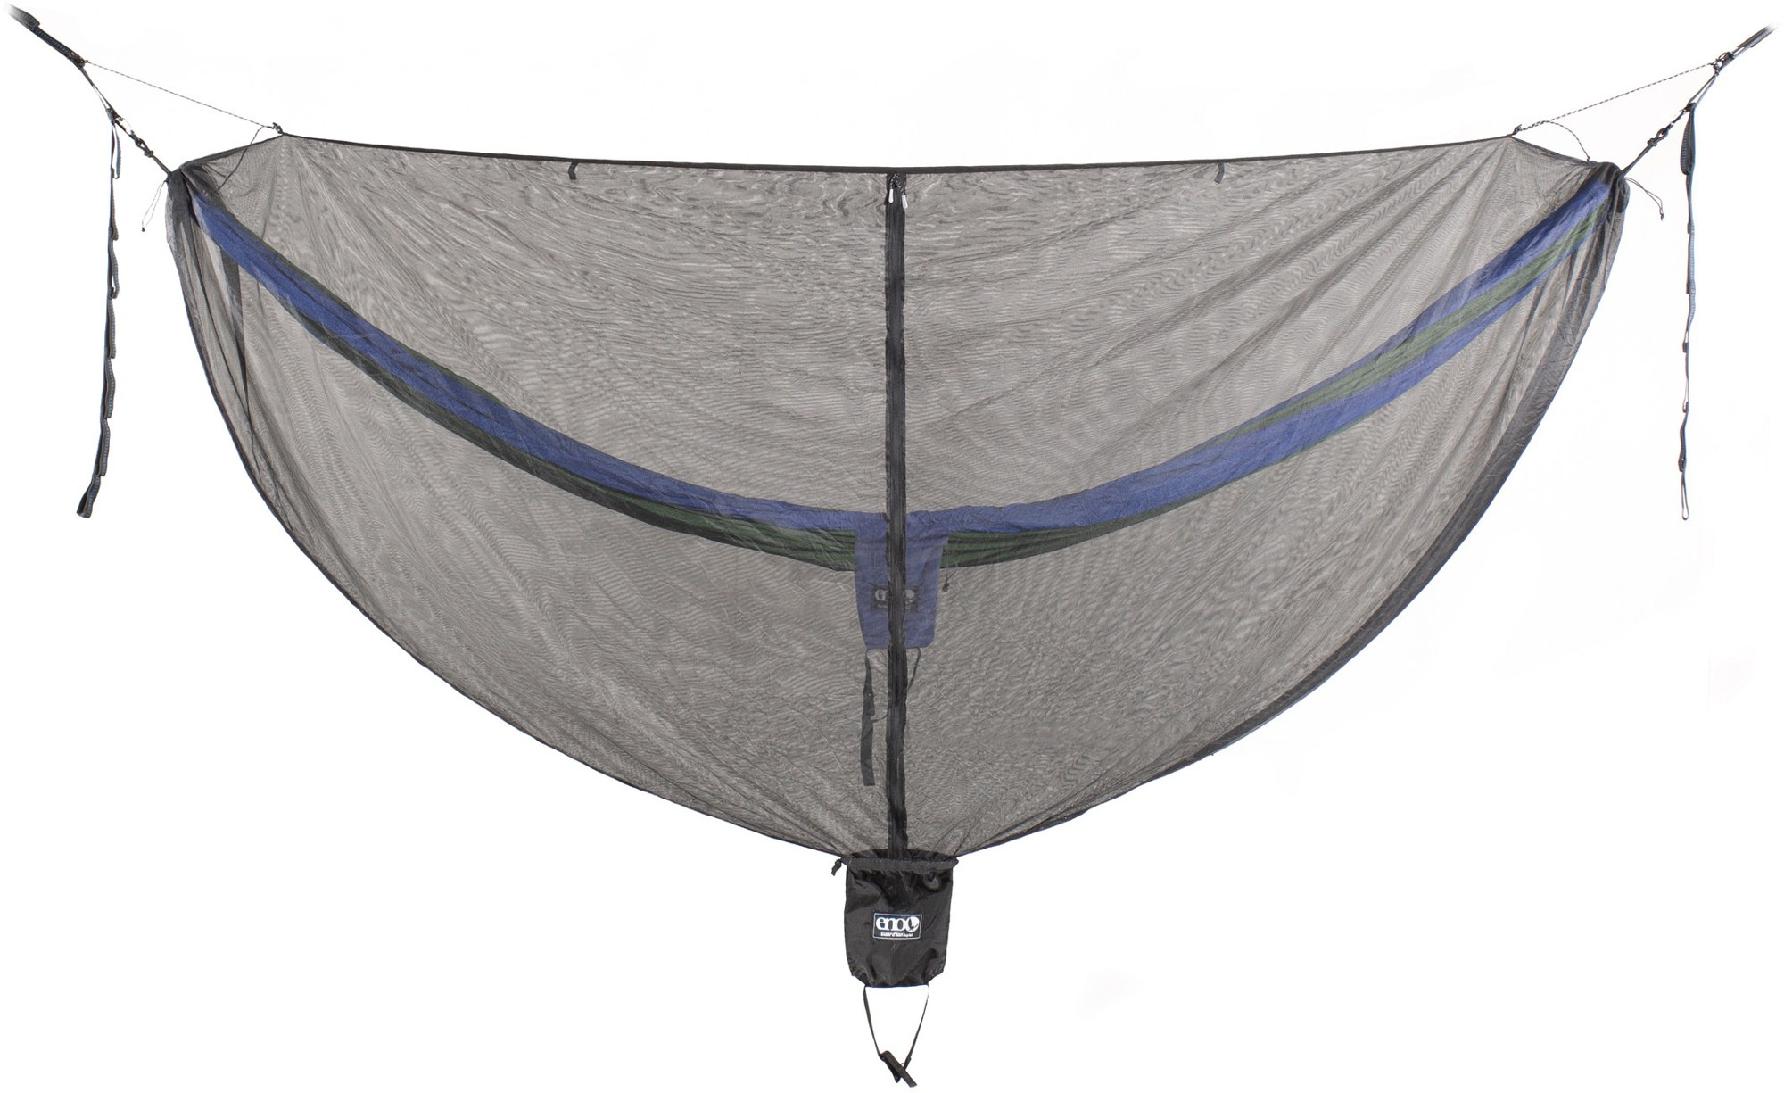
If your hammock camping setup comes with a bug net, then instructions are included. In most cases, the bug net will also connect to the ridgeline to keep it off your body. However, if the bug net wasn’t explicitly designed for your hammock camping gear, then you may have a slide-over bug net, also called a cocoon-style bug net.
Unclip one end of your hammock, slide the bug net over it, and reattach the hammock. You can either add another ridgeline or attach it to the existing one. There should be a zipper on the net that allows you to enter the hammock.
Setting Up the Rest
If you’re using the slide-over bug net, before you attach it to the hammock, put on the underquilt. Because you’ll be suspended in the air, a lot of heat will escape from the bottom of the hammock. While a sleeping pad will provide some heat retention, the underquilt is outside the hammock, so it doesn’t compress, holding in more heat. Plus, most people find an underquilt is more comfortable.
You can get by with just a sleeping pad, but in colder conditions, an underquilt is well worth it. If it’s really cold, you may need to use both.
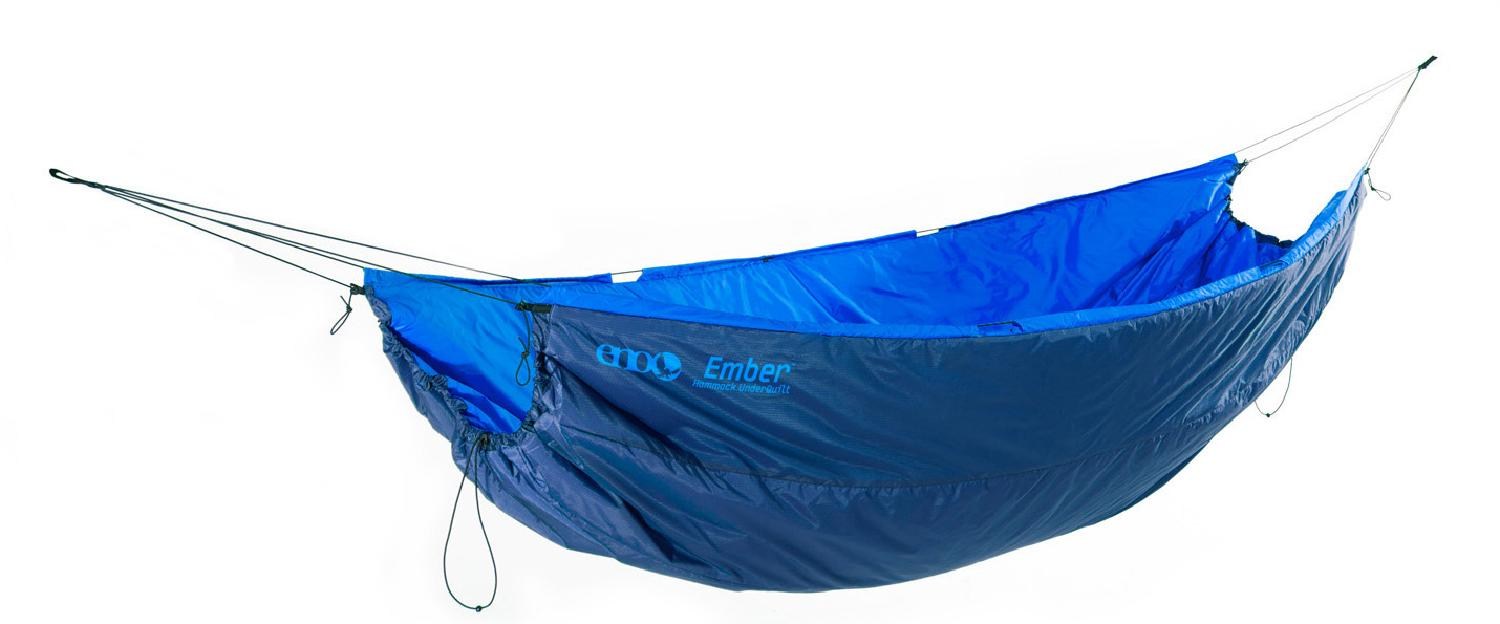
Finally, you have the choice of a top quilt, sleeping bag, and a pillow. A top quilt is by far the best choice to keep the front of your body warm. Quilts don’t have zippers and make entering and exiting the hammock a lot easier. A camping or backpacking quilt would work just fine.
If you already have a sleeping bag, you can use that as well. Using a mummy-style sleeping bag is ideal for the shape of the hammock and heat retention. A pillow isn’t required, but it can be a cozy addition.
To lie flatter and more comfortably, do your best to lie at an angle in your hammock. It seems odd, but it works. Instead of climbing in and lying in a straight line between the trees, shift your head to the left and your feet to the right (or vice versa). You’ll be surprised at the difference it makes.
To guarantee a more than successful experience, make sure to check our article on how to avoid these 10 common hammock camping mistakes.


