For backpackers, going ultralight is easier (and less expensive) than you might expect. We stepped back to give tips on reducing pack weight for weekend backpacking trips and thru-hikes alike.
Every ounce you cut from pack weight will make you faster and more comfortable on a backpacking trip. But switching to a lighter setup can be daunting, and commercially made ultralight gear is not cheap. After years of honing my kit, I have a few ideas on what to bring (and what to leave behind) before hitting the trail.

Ultralight Backpacking Kit: Tips to Cut Weight & Be Prepared
Skip the Stove, Eat ‘Cold’
The easiest way to drop weight from a “kitchen” setup is to simply leave the stove at home. In summer, it’s not that bad. Eat cold food, including reconstituted meals like oatmeal or simpler items such as summer sausage, hard cheese, nuts, and even packed sandwiches. I drink coffee cold, too, using Starbucks Via packets in a mug.
Tip: Those “add boiling water” dehydrated food pouches? Many can be prepared with cold water — aka “cold soaking.” You simply need to let the H2O sit for 30-45 minutes inside the packet to slowly “cook” the meal.
Use a Minimalist Alcohol Stove
Not ready to leave fire and warmth behind? Search the recycling bin for another option and turn a soda can or cat food can into a mini stove. (Instructions to make ultralight alcohol stoves are available at pages like thesodacanstove.com and andrewskurka.com.)
You can purchase these simple stoves for about $15 as an alternative to making them yourself, including stoves like the Toaks Siphon at REI and the Trangia Spirit.

Backpacking Stove
Add a few ounces (but a lot of convenience) with a made-for-backpacking ultralight stove. I like the Ion Micro Titanium Stove and MSR’s Pocket Rocket.
You need to bring a fuel canister and a small pot, but these setups get your food warm fast without much of a weight penalty.
Find your perfect stove in GearJunkie’s guide to the Best Backpacking Stoves.
Skip the Cooking Pot
Heating or boiling water does not necessitate a traditional cooking pot. I put my 600mL Snow Peak mug, which is made of titanium, right onto the stove flame.

I can then heat water and drink or eat from the same small vessel. A cheaper option, for less than $10, is a Grease Pot from Walmart.
Ditch the Nalgene, Go With a ‘Disposable’ Bottle
Though standard on many trails, a 1L Nalgene bottle weighs 6.3 ounces empty. A lighter option is a 750mL plastic bottle from your local gas station; it weighs a mere 1.3 ounces.
Powerade or Gatorade bottles work great. They have wider mouths and are a bit sturdier (but also a bit heavier). The iconic Smart Water bottle is lightweight and slim enough to fit in almost any pack bottle pocket. You can use these “throwaway” bottles dozens of times.
Upgrade to a Platy Bottle for the commercial option — these 2L soft bottles have a threaded cap and weigh almost nothing in a pack.
Water Filtration Options
My two favorite options for getting water outdoors include the Sawyer Squeeze, which gives immediate access to drinkable water (either straight from the Sawyer or as an in-line to a bladder), and Aquamira tablets, which require a brief wait time, but no squeezing.
Tip: If you choose the Sawyer Squeeze, get rid of the pouches (they’re hard to fill and tear easily). Replace them with a light plastic bottle for straight-from-the-bottle drinking.
Check out even more lightweight water filtration options in GearJunkie’s Best Backpacking Water Filters guide.
Clothes: One Outfit Only
Extra clothing weighs many backpackers down. Wearing a good top and bottom layer for hiking, and packing some “sleep clothes” (which double as cold-weather layers) means no need to pack multiple outfits.
For a three-season kit, include a midlayer, rain layers, and a light down jacket. Add a light fleece hat or Buff, too, to keep your head warm at night.
2 Pairs of Socks
Two pairs should do the trick. Keep one as your hiking pair and one as your camp/sleep pair. I like merino wool.
Check out more in GearJunkie’s Best Hiking Socks roundup.
Trash Bag Trick
A pack cover is not necessary to keep my gear dry. Instead, I use a trash-compactor bag, which costs just a couple of dollars per box. Put one in your pack for all of your “must not get wet” items, twist it closed, and done. It’s cheap, waterproof, and durable.
Tape Stick
You don’t need the whole roll. Take what you need and wrap it around a cut-down straw.
Ground Sheet
Tyvek, a thin industrial tarp material available on Amazon, is a great barrier between you and the ground for sleeping (tent or bivy) or simply sitting. It is strong, lightweight, and cheap.
Ziploc Bags
A cheap waterproof option? Look no further than a Ziploc bag if you need to protect a phone, key, ID/bank card, or cash (no need to carry your whole wallet).
Basic First Aid
There’s no need for one of those premade medicine kits with 30 things you’ll never use. Grab a Ziploc bag and head to the pharmacy section.
Pick out the items that are important to you, such as ibuprofen, stomach medicine, medical tape, and other blister treatments.
Safety on Trail
Going lighter doesn’t have to mean sacrificing safety gear and essentials. In fact, going lighter will improve balance and relieve pressure on joints and bones, decreasing muscle fatigue and conserving energy.
Go with lighter shoes (trail runners as opposed to hiking boots), and you’ll have a better feel for the terrain and a decreased chance of blisters.
You’ll also have an easier time hiking to safety with a lighter pack when that unexpected thunderstorm is bearing down.
Follow these tips to keep the wind in your sails and the weight out of your pack.
Leave the Pillow
Stuff your extra layers or puffy jacket into a stuff sack and use it as a pillow. No need for inflatable or foam pillows.
Tracking Gear Weight
Use a spreadsheet or apps like LighterPack.com to list all your gear and monitor its weight. It’s eye-opening to see where you can save the most.
DIY Stuff Sacks
Repurpose old clothes or mesh laundry bags as ultralight stuff sacks instead of pricey brand-name ones.
Use a Poncho, Not a Rain Jacket
A poncho can double as a rain shelter, ground sheet, or pack cover. Plus, it’s lighter and cooler than a jacket.
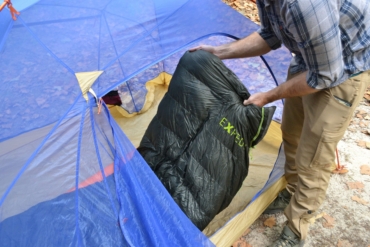
Sleep System: Quilt, Not Bag

Traditional mummy sleeping bags are heavy and bulky. Ultralight quilts save weight by cutting out the underside insulation you compress anyway.
Brands like Enlightened Equipment and Outdoor Vitals specialize in them.
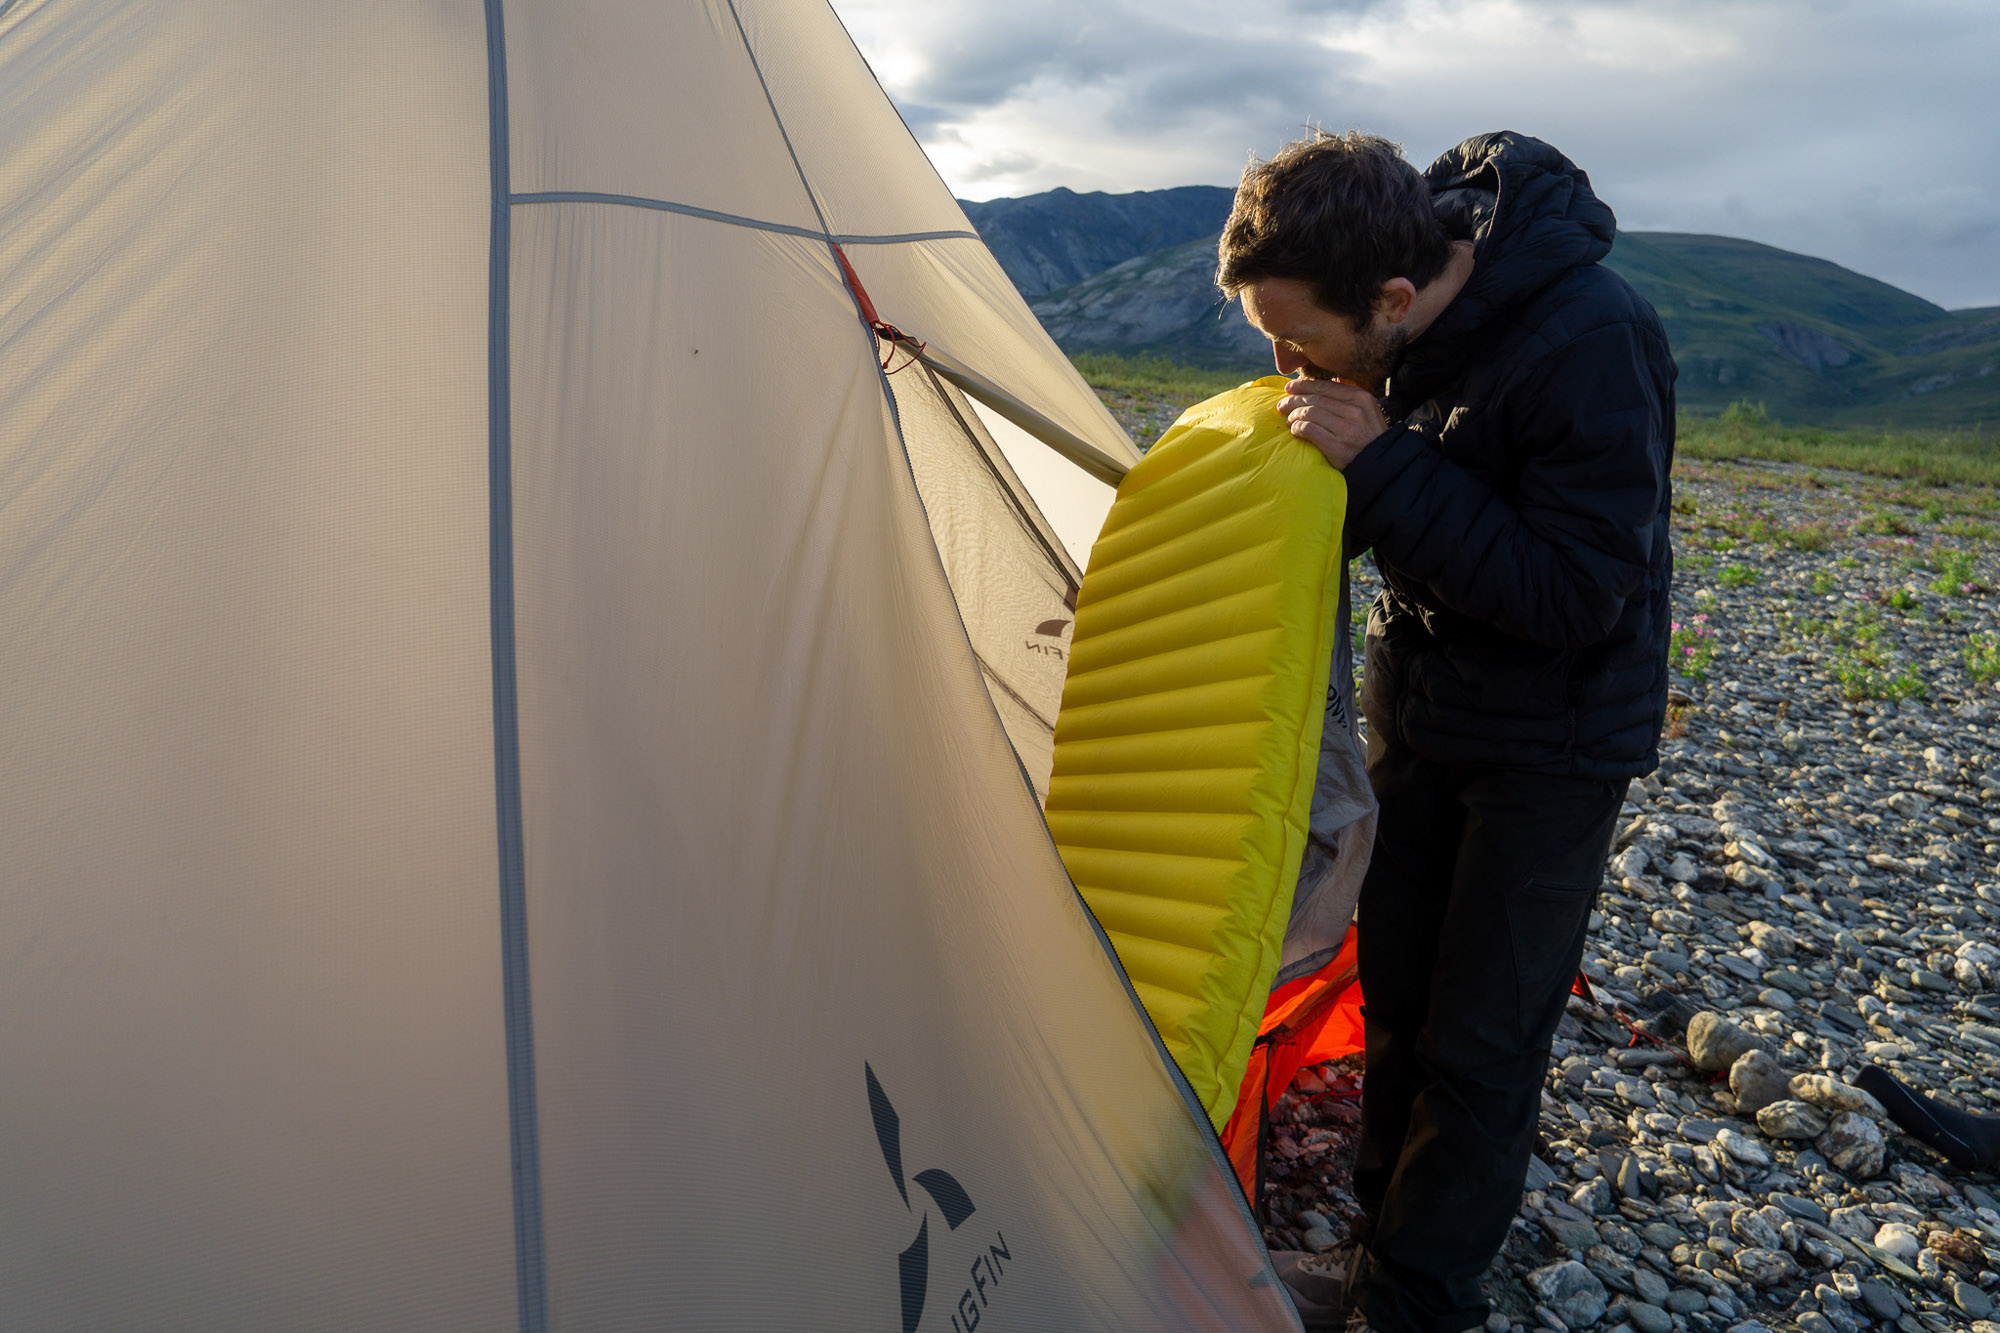
Foam Pad
Foam pads like the Therm-a-Rest Z Lite or Gossamer Gear Thinlight weigh less than inflatables, won’t pop, and double as sit pads.
Share Gear When Possible
Hiking with a partner? Share the load. You only need one stove, one water filter, one map, etc. Divide the weight.
Cut Off All Tags
Yes, even cutting tags can help. It’s a gram here, a gram there — but it adds up when applied across all gear.
Eat High-Calorie Foods
Choose calorie-dense meals like peanut butter, trail mix, nuts, cheese, and olive oil. You’ll carry less food weight overall.
Leave the Book, Use Your Phone
Books are heavy. Save weight by reading digitally or listening to audiobooks downloaded to your phone.
Multiuse Gear Is King
A bandana can serve as a towel, pot holder, sweat rag, or even first-aid dressing. Think versatility for everything you pack.
Navigate With Apps
Use Gaia GPS, FarOut, or AllTrails (download offline maps) to save weight over carrying paper guidebooks or maps.
Dry Feet Daily
Remove socks at lunch and let your feet breathe. Dry feet prevent blisters and keep morale high.
Cowboy Camp
If the forecast is clear and bugs are mild, cowboy camp without a shelter. It’s liberating and saves weight.
Switch to Trail Runners

Trail-running shoes dry faster, weigh less, and are more comfortable than heavy boots. Your legs will thank you.
Find the perfect fit in GearJunkie’s guide to the Best Trail Running Shoes.
No Deodorant
Hygiene on the trail matters, but deodorant isn’t necessary. Baby wipes or a quick rinse are all you need.
Pack Trowel
If you’re pooping in the woods, you need to dig a cathole. The Deuce of Spades trowel is ultralight and tough.
Lightweight Headlamp
Some headlamps weigh over 4 ounces. Consider a Petzl e+LITE (under 1 ounce) or use a rechargeable keychain light.
Trim Toiletries: Essentials Only
Bring travel-sized toothpaste, cut your toothbrush in half, and skip the extras. A tiny drop of Dr. Bronner’s soap goes a long way.
Minimalist ‘Wallet’
No need for your full wallet. Bring just your ID, insurance card, and one credit card in a Ziploc or rubber band.
Camp Shoes: Skip or Skimp
Some ultralighters skip camp shoes to save weight. Others bring Crocs or 2-ounce sandals for comfort. Decide what’s worth it to you.
Use a Short Sleeping Pad
A torso-length pad under your shoulders and hips can work great. Put your backpack under your feet for insulation.
Cut Pack Straps
Snip off unused straps or buckles on your backpack. You can often save 2-5 ounces this way.
Ultralight Packs
Try packs from brands like Gossamer Gear, Hyperlite Mountain Gear, or Zpacks — many weigh under 2 pounds.
Tarp or Bivy
Instead of a tent, a simple tarp and bivy system can weigh less and provide flexibility in how you camp.
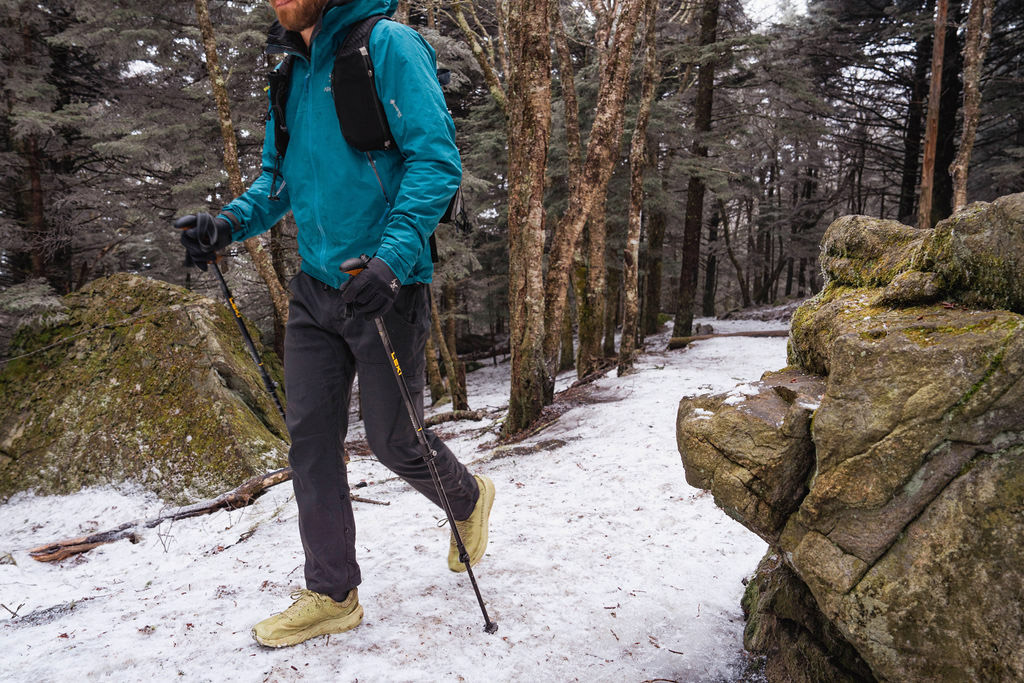
Ultralight Trekking Poles
Carbon fiber trekking poles from brands like Gossamer Gear or Black Diamond save weight and reduce fatigue on steep terrain.
Emergency Cash
Keep a $20 bill somewhere waterproof. It’s light insurance for emergencies like hitching into town.
Repackage Everything
Take food out of boxes and repackage into Ziplocs. Cut down the bulk, save space, and reduce trash weight.
Mail Yourself Supplies
For thru-hikes, mail drop boxes with resupply items like food and batteries. You save weight by not carrying it all at once.
Time Water Carries
Know where water sources are and how much you need between them. Don’t carry 3 liters when you only need 1.
Test Gear at Home
Before a trip, set up your tarp, cook with your stove, and sleep outside. Know your system well to avoid surprises.
Plan Food: Calories Per Ounce
You want 120-150 calories per ounce ideally. Olive oil, nut butters, and dense bars are winners here.
Leave Behind ‘Just in Case’ Items
If something doesn’t serve a reliable purpose, don’t bring it. Most “just in case” items go unused and add weight.
Embrace the Sufferfest (A Little)
Ultralight means tradeoffs. You’ll get cold sometimes, or hungry. But you’ll move faster and feel freer.
Clean Gear After Each Trip
Keeping your gear clean improves durability, helps you spot damage early, and makes packing for the next trip quicker.
Take Notes After Returning
What gear did you use? What stayed in your pack? Each trip teaches you what’s worth bringing — and what’s not.
Practice Mindful Packing
Lay everything out before packing it. This helps you stay honest about what’s essential.
Respect Your Limits
Going ultralight shouldn’t compromise your safety or comfort to the point of danger. Know your personal limits.
Make a Spreadsheet
It’s definitely nerdy, but if you’ve made it this far into the article, you can probably geek out on ultralight data.
Create a spreadsheet listing each piece of gear, its prices, and, most importantly, its weight. This will help you visualize and easily tabulate how much you’re carrying on the trail, where you shave ounces, and what you can afford to bring more of. Integrate the notes you took after your last ultralight backpacking trip to refine your gear and packing strategy.
Ultralight Backpacking FAQs
What’s considered “ultralight”?
A base weight under 10 pounds (not including food, water, fuel). Sub-5 pounds is “super ultralight.”
Is ultralight more expensive?
Not always. DIY gear, secondhand purchases, and minimalism can make it budget-friendly.
Can I go ultralight on winter trips?
It’s harder but possible. You’ll need more insulation and safety gear, but you can still trim fat.
What’s the first place to cut weight?
The “Big Three” — shelter, sleep system, and pack. These usually make up the most weight.
What’s one thing most ultralighters still carry for comfort?
A sit pad or inflatable pillow. Small luxury, big morale boost.