For many hunters, utilizing as many parts of their harvest as possible is an integral part of the overall experience. For a successful bear hunt, this can include rendering the fat for use in the kitchen.
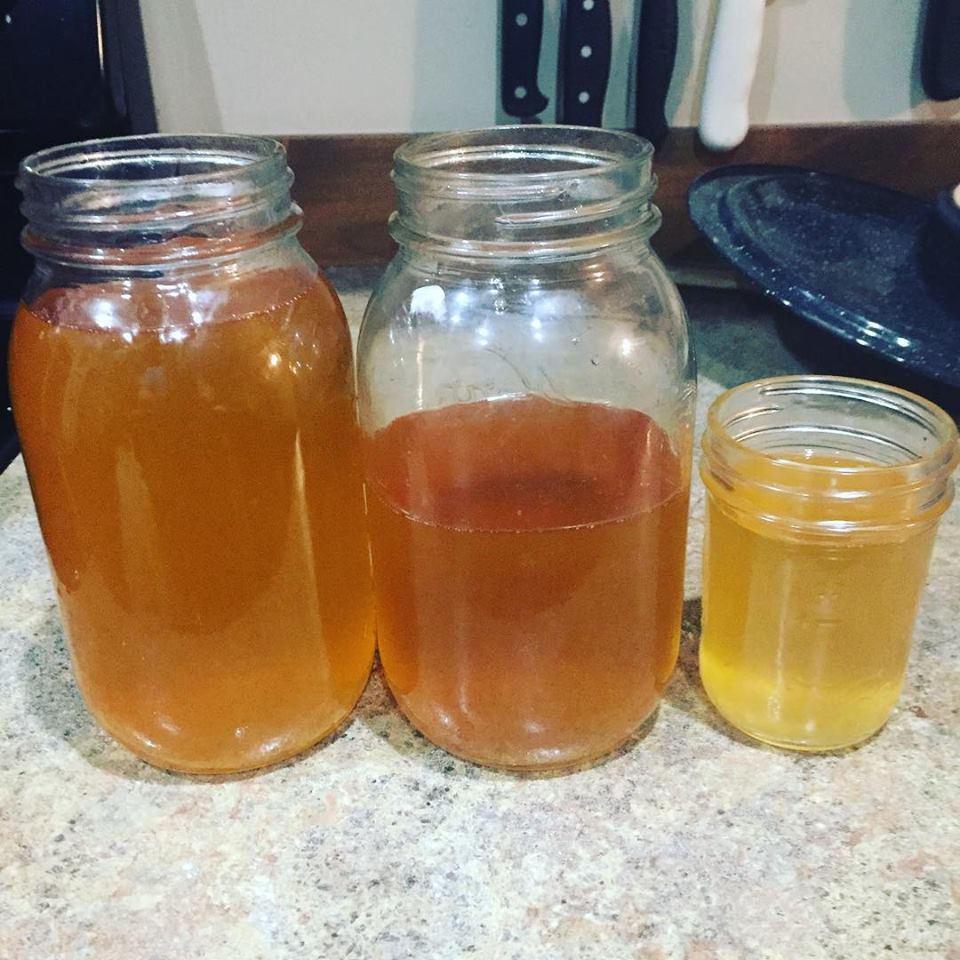
Fall bear season is coming to a close here in southwest Montana. My attention now turns to the contents of my freezer. While I was unsuccessful in harvesting a bear this fall, I was fortunately gifted a rear quarter of a black bear. There are many different uses for the results of a successful bear hunt (or gift!), and one of these is rendering the fat for use as a substitute for lard in the kitchen or oils and butter in the frying pan.
What Is Bear Fat Used For?
The gifted bear ham had a fairly thick cap of clean, white fat covering a majority of the outside. Of course, I could have left the fat on for roasts. But I chose otherwise.
Bear fat is a hot commodity for a wide variety of uses. Once rendered, the fat is a culinary dream for making pastry crusts, homemade tortillas, or use in the frying pan for breakfast potatoes and eggs.
Bears, like many other animals, can carry the flavor of their diet in the fat they store. A fall bear here in Montana will gorge itself all summer long on blueberries, lending its fat a slight purple tinge and exceptional flavor.
Post-Hunt Field Care

Once you’ve harvested a bear, it’s time to understand what you have and how to care for it. Be absolutely sure to keep the meat clean and free of dirt, grass, hair, and other debris.
Get it cooled down as quick as you can. Bear fur is an excellent insulator, and it’s imperative that you remove the skin. It’s also preferable to debone the meat and fat to assist in the cooling process (in accordance with local game laws).
Use breathable game bags to store the larger quarters of the bear and keep dirt and flies away while allowing the meat to cool. Place game bags into a cooler as quickly as you can. Meat that has gone bad will have a noticeable odor and some discoloration.
Fat is usually one of the first things to go bad. Treat it accordingly.
Preparing to Render Bear Fat
There are a few common kitchen items needed to render fat. I prefer a high-sided stockpot, a fine mesh strainer, some cheesecloth, and an additional container to strain the fat into. Mason jars make dandy containers for fat straining and storage.
The hard, white fat from the rump is the portion you want to key in on. Take the time to carefully trim this fat away from the meat. Take care to not include any of the meat. You can include fat from other parts of the bear, such as the shoulder and belly, but stick to the more firm pieces.
Rendering Bear Fat: What You Need
- High-sided stockpot
- Fine mesh strainer
- Cheesecloth
- Mason jars (or other receptacles)
How to Render Bear Fat
The process of rendering fat is fairly simple, though time-consuming. The fat I rendered had a strong, gamey odor. I recommend rendering outside or in the garage if possible (I know I will next time).
Here’s how to do it:
- Take the time to really clean the fat. Make sure to remove any leftover debris like hair or grass that may be tagging along.
- Cut the fat into roughly 1-inch cubes — smaller if possible.
- Add the chunks of fat to your stock pot along with about 1 inch of water. The water will help keep the fat from burning and will burn off as the fat renders.
- Set the pot on medium-to-low heat, stirring occasionally over the first few minutes to keep it from burning.
- Once the water has boiled off, you’ll be left with a cloudy liquid and plenty of chunks of fat. Let this continue to simmer on low. The fat will soon gain a certain clarity.
- When clarity in the fat is achieved, it’s time to start straining off the rendered fat. This is an iterative process:
- Strain off liquid fat.
- Leave the solid chunks in the pot to render down until it’s time to strain again.
- This will prevent the fat chunks from deep frying in the collected fat.
- Once you’ve strained the bear fat through your strainer and cheesecloth, pour it into your jars for storage. It will keep in the fridge for a few months (if it lasts that long!) and indefinitely in the freezer. You will know if your fat has gone bad if it has a distinctly rancid odor.
Homemade ‘Bear Fat’ Tortilla Recipe
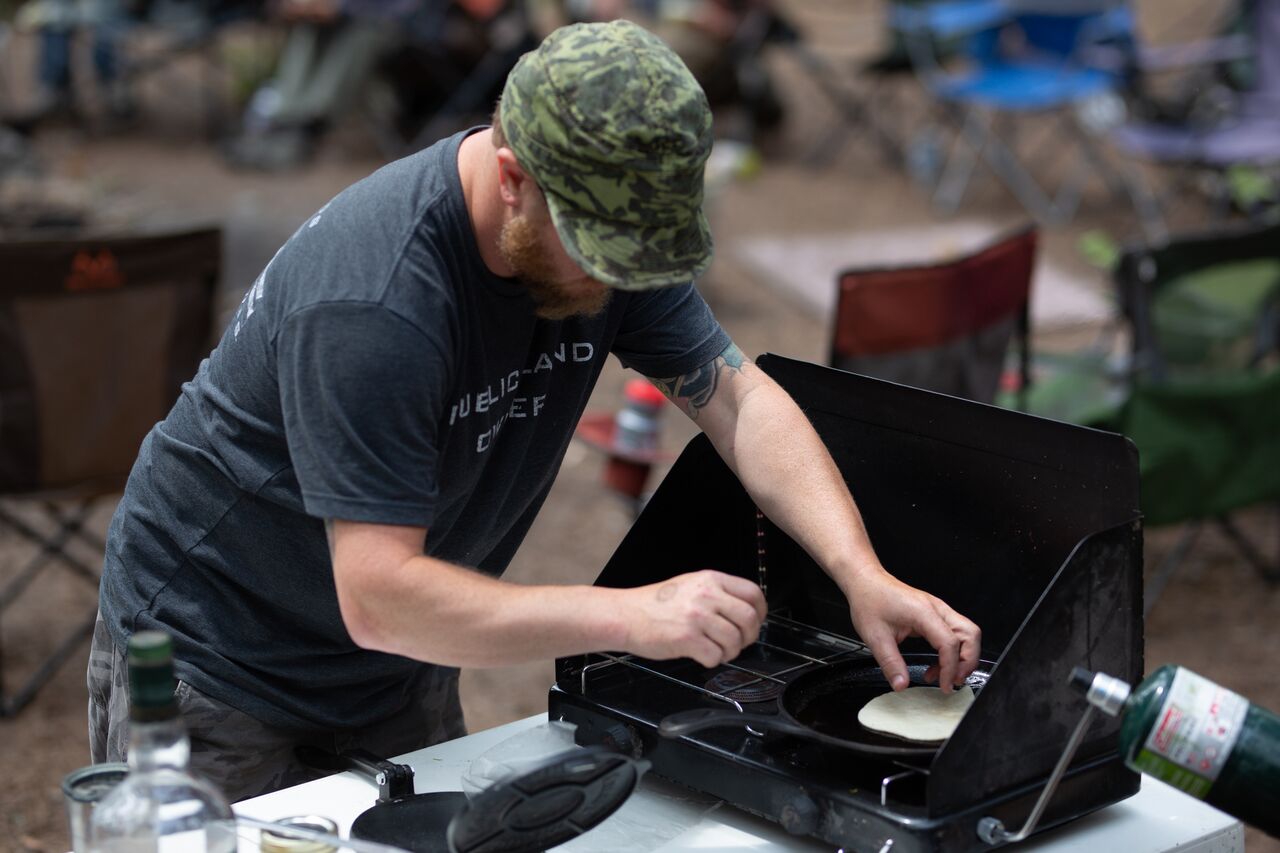
I have many culinary plans for my rendered fat: flaky pie crust for freshly picked huckleberry pies, shallow-fried breakfast foods like eggs and potatoes, and my specialty of homemade tortillas. Every Tuesday at my house is Taco Tuesday.
Simple Homemade Tortilla Recipe:
- 1½ cups all-purpose flour
- 1 teaspoon salt
- ¾ cup warm water
- 3 tablespoons of solid rendered bear fat
Mix the flour salt and bear fat in a bowl, adding the rendered fat in small quantities. This makes it easier to combine with the flour. Once the fat is evenly dispersed throughout the flour (use your fingers to squish the fat and get it evenly coated in flour), add the warm water.
Mix the combination into a dough ball, then move it to a floured cutting board. Adding flour to the board keeps the dough from sticking. Knead until a consistent texture is achieved. If the dough isn’t firm enough, add flour in small quantities until you have firm (but not dry) dough. Let the dough rest for 15 minutes covered with a kitchen towel.
Divide the dough into 16 equal pieces and roll out to about 6 inches in diameter. I personally use a tortilla press to get a consistent size and thickness. A pie crust roller will work as well. Roll the tortillas out.
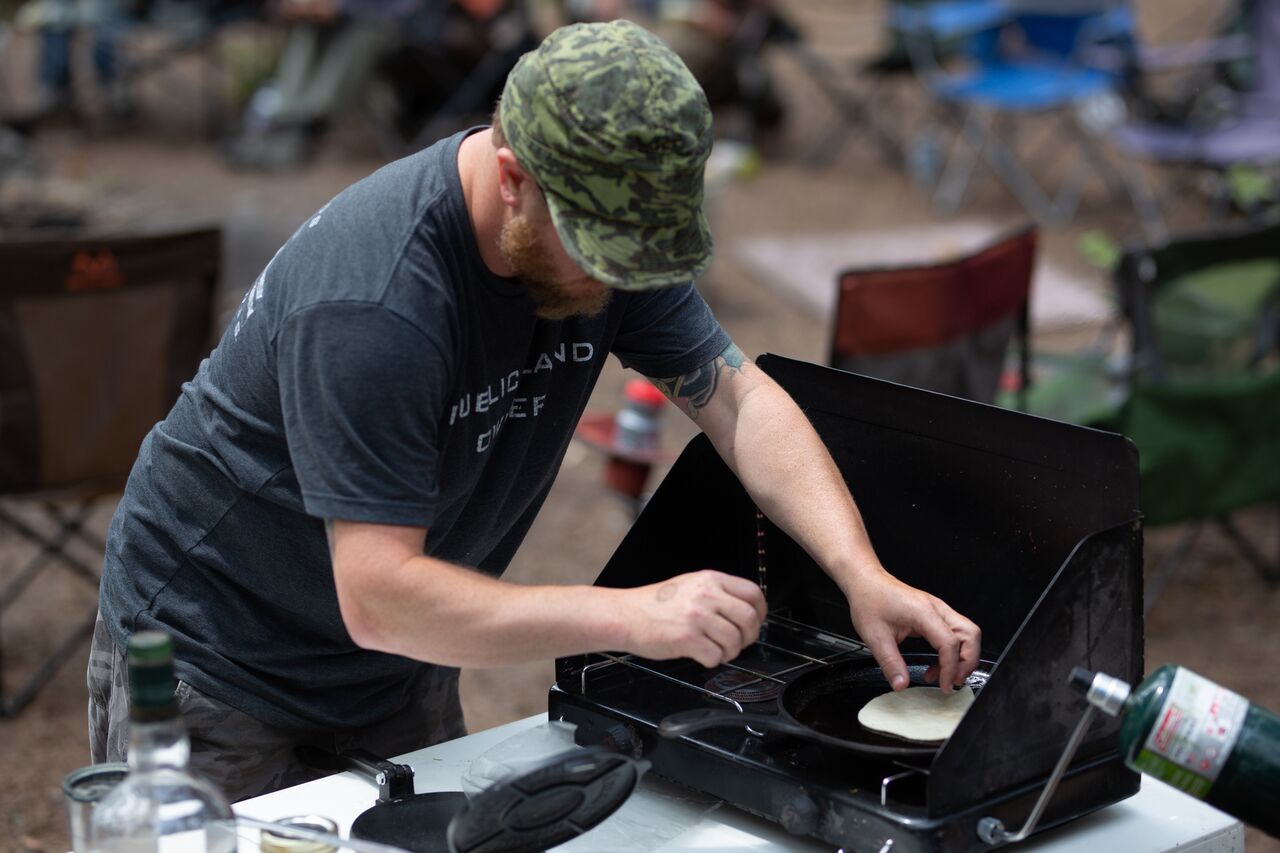
Cook the tortillas at medium heat in a pan that’s lightly coated with some of the rendered fat. Set finished ones off to the side or in a warm oven and cover with a moist paper towel. These tortillas likely won’t make it past taco time. In the case of leftovers, they will keep in the fridge for a few days.
Hunting Etiquette: Honor the Animal

In order to better honor the life of an animal, it’s important to make the most of what they provide for us. Rendering bear fat is a great way to do this as well as add an extra dimension to your cooking with a rich, flavorful fat. It keeps processing and cooking techniques interesting.
Rendering the fat from a bear has been a rewarding process for me and gives me a greater level of satisfaction knowing that the animal is being used to its fullest extent. For me the hunt doesn’t end when an animal goes down — that’s just when the real work begins.
Sharing these tips is important to me, allowing others who chose to source their own meat to reap the rewards.
