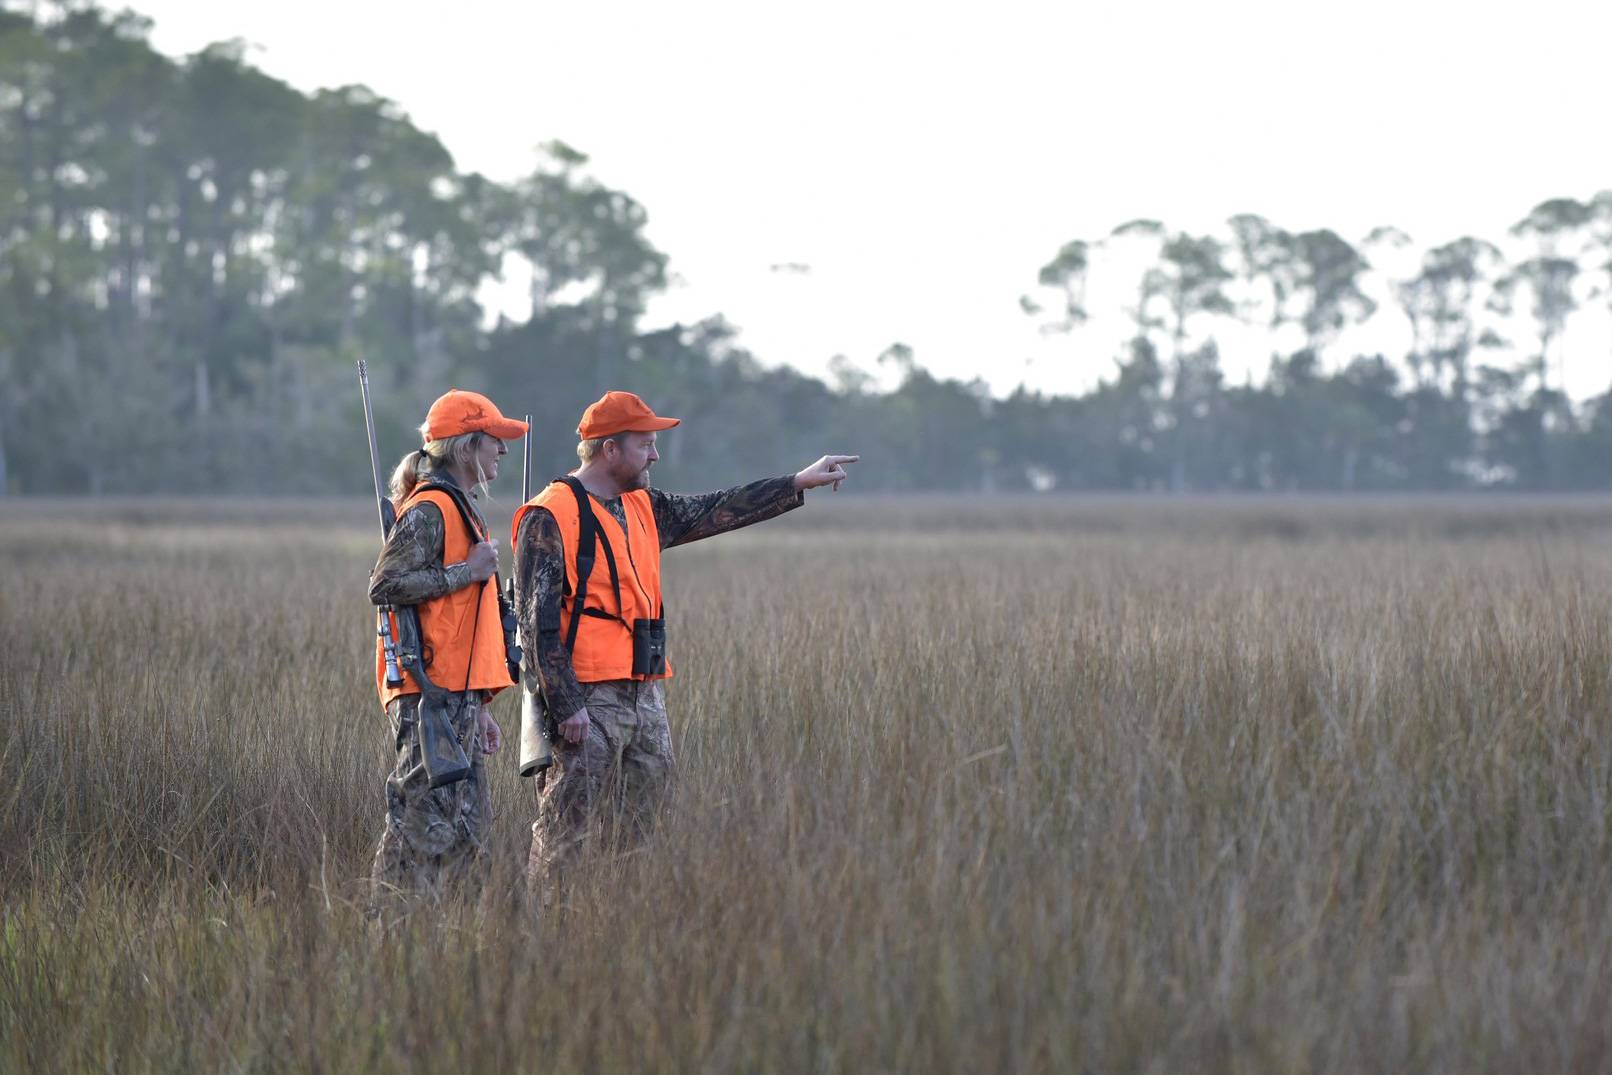
The difference between recovering or losing an animal often comes down to your ability to track it. Here are some tips to keep meat in your freezer rather than out in the ether.
You made the shot, but the work isn’t over yet. Your prize has run off into the woods after being hit, and you need to track its route to recover the animal. Sometimes, a deer, elk, or other prey will drop 100 yards away, sometimes a half-mile or more.
Luckily for us, following a trail of blood is an art we can all master if we know some basic tactics to track down your buck. If you’re a newer hunter or an experienced one, we have a few tips to help you out.
How to Blood Track a Deer
Before moving, remember that the last thing you want to do is spook your deer. This will make your blood trail difficult to follow.
If you know you made a good shot with a bow, wait for a minimum of 30 minutes before following the trail.
If your shot was questionable, give it 30 minutes and then very quietly look for your arrow. If you see signs of a good shot (bright, bubbly blood on the arrow), start trailing cautiously. The same is true with a gun.
1. Where Did Your Shot Land?
It’s best if you know where you hit the animal at the time you make the shot. To do this, maintain focus and hold attention on the flight of your arrow or bullet while shooting. If it’s legal where you’re hunting, try using lighted nocks and filming your shots. For reference, Idaho is the only state in which lighted nocks are currently illegal.
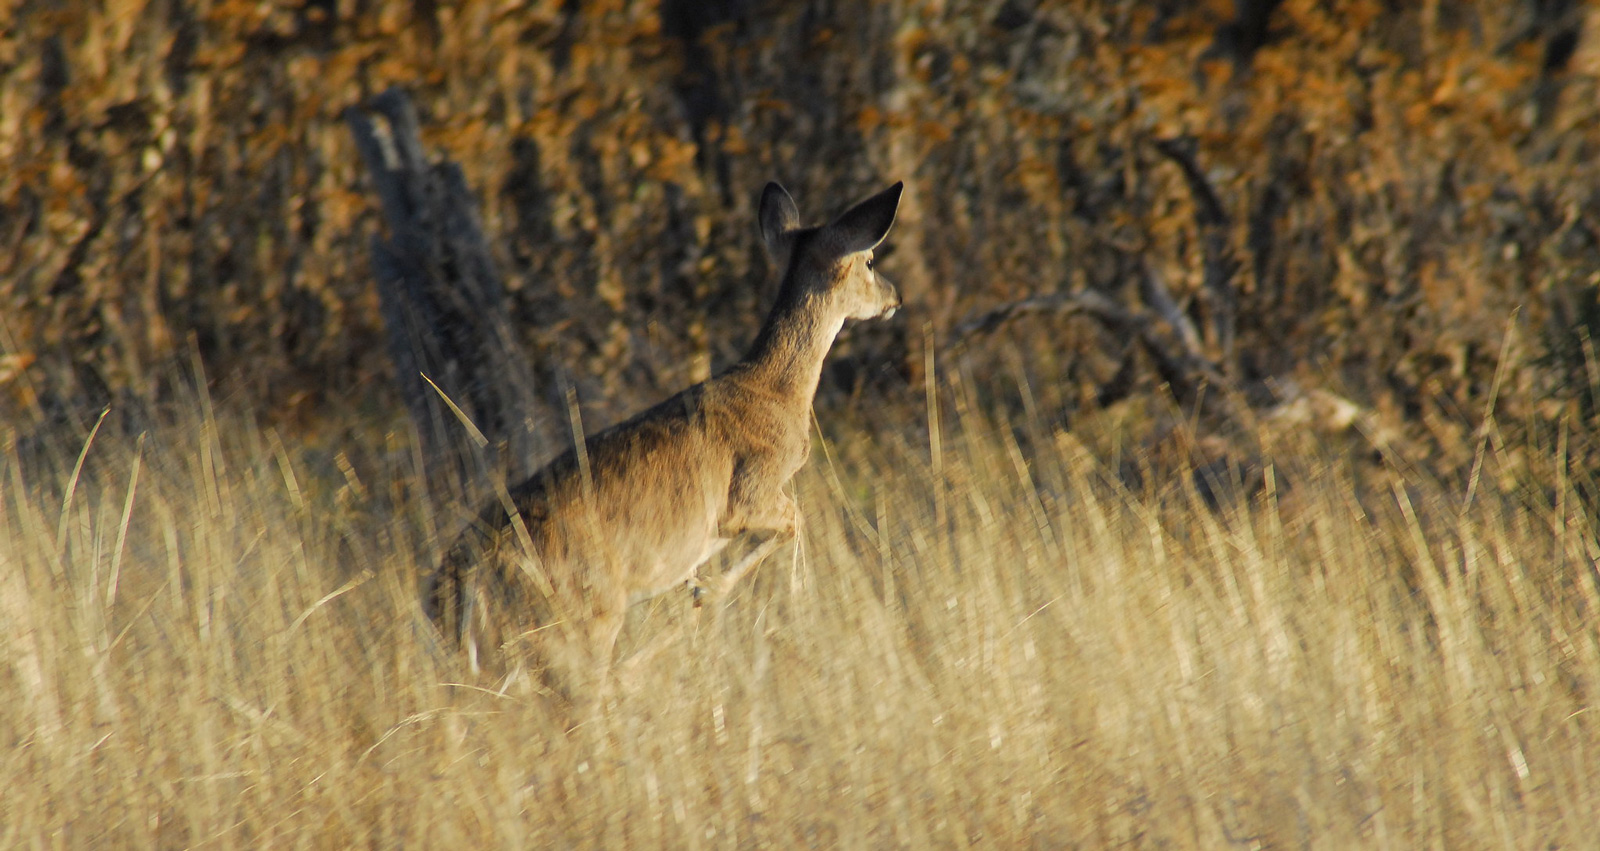
If you know where the arrow struck, a lot can be interpreted about the trail of blood. Blood trails differ according to where the deer is hit. For example, if hit in the heart or other areas where several blood vessels meet, look for a heavier flow of bright-red blood.
Pink, frothy blood indicates a lung shot. This usually means your shot was fatal, and the deer is close.
Liver or kidney shots will produce a much darker, deeper red blood. These shots indicate that you should wait 2-3 hours before following the deer’s blood trail.
Lastly, blood trails from stomach wounds will often have a greenish tint, or green flecks of plant material, and a foul odor. In the end, this hit will be lethal, but you will need to wait a minimum of 5-10 hours before pursuing.
Many animals will lie down close to where they were shot but will get up and run if you press them too soon. Of course, consider the temperature (meat will spoil faster when it’s warm) and any expected rain or snow that could obliterate the trail.
2. What Is the Landmark Closest to Where the Deer Was Hit?
Is there a tree? A path? A rock? This is where your second hunt will begin. If you don’t see any blood from your vantage point, don’t immediately assume the deer wasn’t hit.
Before leaving the point where you took your shot, mark its location. Use a bit of brightly colored surveyor’s tape (carried for this purpose) or a bright piece of clothing. Then, walk to the point where you expect the animal was hit and mark that point with another piece of surveyor’s tape. This is your starting point of the blood trail.
Some wounds won’t start bleeding right away, and this is where you can use the rest of what you know. Locating the closest landmark — and potentially the first bit of blood — makes finding the start of the blood trail much easier.
3. Which Direction Did the Deer Go?
If you’re unable to find a blood trail at first, this will be the best chance you have of finding the first indications of a successful hit.
Finding first blood can prove to be difficult. Knowing which way to go can narrow your search field and get you to a trail sooner.
Use other signs to help lead you to success with finding a blood trail. Listen closely when the deer first runs and note the direction the sound moves. Then look for vegetation that shows signs of being moved through; following these can take you possibly all the way to the deer.
4. What Was the Behavior of the Deer?
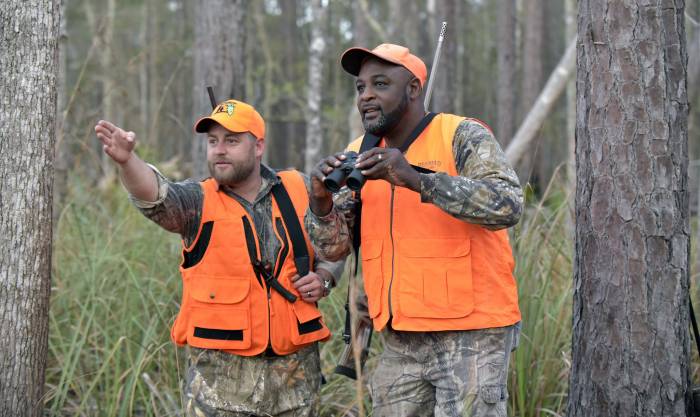
When the deer runs or stumbles off, the way it moves will point more toward where the deer was shot and how long to wait before moving forward with your hunt.
A stumbling deer indicates a much more lethal shot. You know it will drop sooner rather than later.
A limping deer means you have possibly hit the leg.
If it was hunched, the deer probably has a stomach wound.
5. Now, You Wait. Do Not Skip This Step.
Noticing all four things listed above leads us all to the same place — waiting.
Depending on where the deer was hit, the length of time you wait could be anywhere from 15 minutes to 5 hours or more for larger animals.
Finding and Following a Blood Trail
At this point, you’re done waiting. Now it’s finally time to find the blood trail and hopefully locate your deer at the end of it.
Finding and successfully following a deer blood trail has been known to take a long time, so be patient. It’s not always a 100% success rate in following trails of blood.
Here’s how to get on the right track:
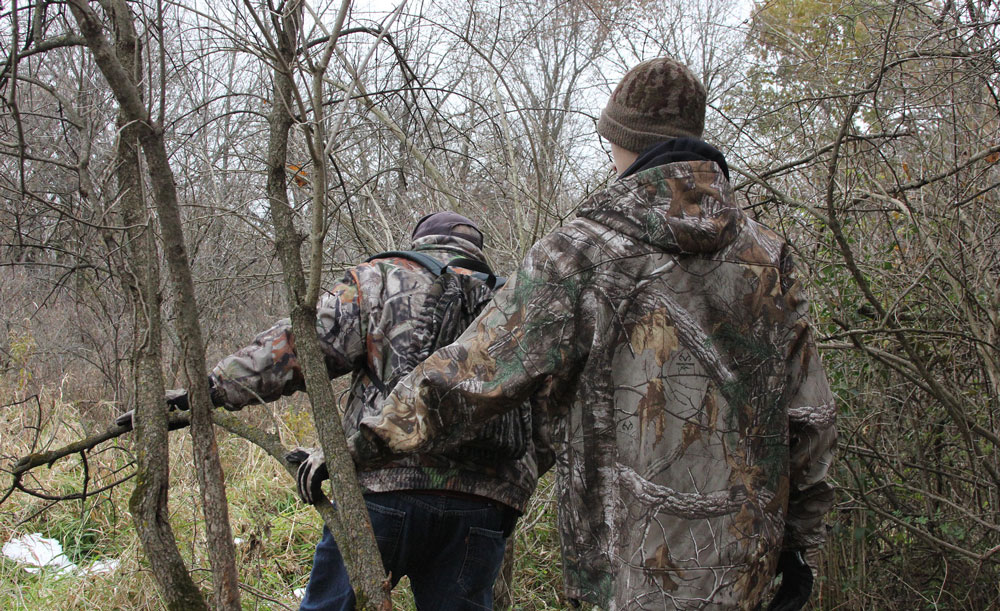
- Bring a friend or two.
- Go to your landmark. Mark the shot area with flagging tape, waypoints, or something you’ll be able to find.
- Look in the direction your deer ran.
- Get low to the ground.
- Use wide arcs to find the first sign of blood.
- Mark your trail. Mark each spot of blood you find with surveyor’s tape.
What to Look For
Other than looking for obvious signs of blood, it’s about all the other things the blood can tell us that will make this pursuit a simpler task.
Once you have found the trail, move from speck of blood to speck of blood. If you made a good shot, the trail will likely be easy to follow, and you can move quickly.
But if the trail is sparse, move very carefully as to not destroy the sign. You’ll have to look closely. If you see a fleck of red on a piece of grass, rub it with your fingernail to see if it scrapes off — a sign it is blood. You may even have to get on your hands and knees. But don’t give up on a weak trail.
Direction of Movement
When you find blood, the fingerlets of splattered blood will point in the direction the deer is moving. Also, remember to look for signs of disturbed vegetation that can provide more insight.
Type of Blood Trail
Fine droplets sprayed on both sides of the trail, or often high up on vegetation, will signify a highly lethal shot.
Spots found 50-75 yards down the trail but not at the site of the shot often indicate a stomach wound, and blood signs will decrease as you move on.
Most other wounds, leg, cavity, large muscles, will show a large amount at the sight of the shot and give a steady trail, only stopping when the deer lies down.
Deer’s Behavior
A perfectly round, continuous pattern shows that the deer is still walking. When it becomes more erratic, the deer is stumbling, and you may be getting closer.
Losing the Spot
If you ever think you’ve lost the blood trail, return to where the last bit of blood was found (that’s why you marked it with surveyor’s tape).
Start walking in wide, arcing circles around this spot looking for more signs of blood. Slowly expand the arc of your circle, as you may not find blood until you push further.
Once you pick up the sign, mark it again. You should eventually be able to surmise the direction of the animal with your flagging tape trail behind you.
Sometimes it will feel like forever following a blood trail. It’s a tough job, but it’s your responsibility to see it to the end.
Soon, you should see your animal down on the ground. However, in some cases, the animal may still be alive and require another shot to finish it. Be on the lookout for its head poking through the grass looking at you, and be ready for a final shot.
Once you’re sure the animal is dispatched, it’s time to get to work gutting your deer. Make sure to finish that job well and then clean up the surveyor’s tape you used to mark the trail. You’re now one step closer to putting that meat in the freezer.
