All photos in this story credited to Stefan Myers
One of the best-kept secrets in Colorado is hiking Rattlesnake Arches from the Colorado River. See sights as grand as a national park but without long lines or congested parking.
Arches National Park is amazing. But have you ever wanted to enjoy the serenity and the majesty of your own private arch experience? If you can make it to Colorado, you can.
For quite a while now, I’ve always wanted to do two things on the Uncompahgre Plateau, located outside Grand Junction, Colo. One is to raft the full 26 miles of the Ruby-Horsethief Canyon. And the other is to see the second-largest concentration of arches in all of North America on the hike up Rattlesnake Canyon in the Black Canyon Wilderness.

When I got the opportunity to head out on a private 4-day rafting/whitewater trip down the Colorado River from Ruby-Horsethief Canyon to Westwater, Utah, I had the chance to do both in the same trip.

Between the float on the river and the hike to the arches, this proved a proper adventure. It provides an amazing payoff and a great opportunity to put gear to the test. Here’s what you need to know.
Rattlesnake Canyon Arches: Quick History
Over the eons, this area has changed considerably. At various times, mountains, deserts, lakes, seas, and swamps have covered the landscape. All these changes have left indelible scars on the surrounding rocks in the form of erosion.
Ancient sand dunes turned to stone, 1.7 billion-year-old rocks protrude from the Earth’s crust, and upheavals of tectonic plates leave impressions for you to admire all over the canyon.
Meanwhile, fossil remains from some of the largest land and sea dinosaurs dot the landscape. It’s a dream vacation for archaeologists and geologists alike!
Ruby-Horsethief Canyon: Rafting Permit
Beginning in 2013, the Bureau of Land Management (BLM) required permits to raft down Ruby-Horsethief Canyon and camp at the specifically designated camps. Fortunately, visitors can nab these permits year-round.
May through September is the most popular stretch here, and getting a permit can be difficult because they’re lottery-based. As always, you’ll need to comply with the BLM’s pack-in-pack-out philosophy and other river conservation techniques. This includes using fire pans, water strainers, and a portable restroom when nature calls.
If that’s not your thing, there are also several rafting companies that provide trips through the canyon in Fruita and Grand Junction.

Pro tip: Apply for several dates through the BLM and be flexible enough to change your plans. And with a little luck, you might get a spot.
Ruby-Horsethief Canyon Float
The float down Ruby-Horsethief Canyon comprises 26 miles of mostly flat water with a few class I and class II rapids to deal with. It’s ideal for rafting, kayaking, and canoeing, although you should abstain from the latter two when the water levels are low.
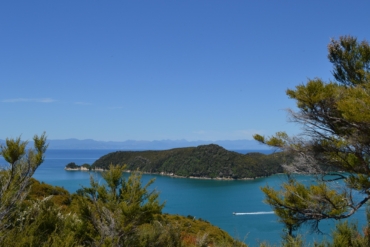
The scenery is amazing, and the canyons and sandstone walls envelop you at every corner. But once you start, there’s no backing out. There’s only one put-in before the canyon starts and no way out until you reach the famed Westwater Canyon in Cisco, Utah.
Setting out from the boat launch in Fruita, we began our trip down the Colorado River into Ruby Canyon toward our campsite at the mouth of Rattlesnake Canyon. We settled in for an 8-mile paddle on the calm, silt-laden water, and in no time we came upon the towering sandstone walls of Ruby-Horsethief Canyon. Once upon a time, only the native Ute people explored this place — and settlers never inhabited it.

Rattlesnake Arches: What to Pack
The hike through Rattlesnake Canyon is a rugged, poorly marked, relatively difficult ascent. Plan to pack light, but be safe.
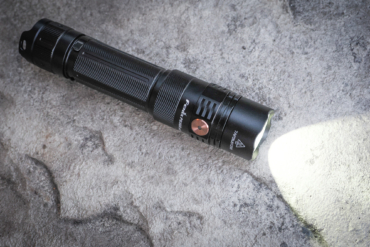
Whether with a group or by yourself, having a reliable GPS is a must. I carry a Garmin inReach Explorer+ that not only has the ability to track waypoints via GPS but also has global emergency SOS and messaging features built in.
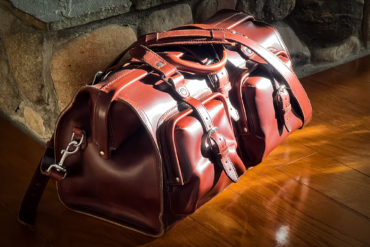
A few other necessities vital to the hike include at least 2 liters of water, sunscreen, a first-aid kit, a multitool, warm clothes, snacks, and a firestarter (just in case).
Rattlesnake Canyon Hike
Leaving at dawn from our campsite, I picked up the small trail that works its way up the drainage toward the heart of the canyon. Sections of the trail weave in and out of a small stream that flows through in the early part of the year. There’s always a chance for flash floods in areas like this, so be cautious if you’re unfamiliar.
After a mile or so, there’s a bit of a scramble up a beautiful slot canyon, rich with life and crystal-clear waters. Various kinds of algae and moss grow in the shallow pools formed over time. Their green tint provides a stark contrast to the predominantly red canyon walls.
The trail disappears again before coming to a fork in the canyon. Go left here and look for the trail to reappear shortly ahead.

I knew from my research the climb to the top would be difficult. Even with the aid of a crude trail map, the only way to find my way up the ledges to the nearly 1,000-foot shelf above was to follow rock cairns set out by previous intrepid hikers. The path appeared to end at the bottom of the canyon, but I made my way through the next mile, slowly hunting for the trail the entire way.
This section has a lot of exposure and loose rock, so be sure to watch your footing. After what seems like an eternity, the trail from the river meets up with the main Rattlesnake Arches Loop trail. At this point, you’re only about a quarter-mile from the first arches.
After you round the corner of the dome-covered sandstone shelf, you’re greeted by a multitude of alcoves, spires, and arches that reside in the desert-patinated rock. Now the sights begin!
Rattlesnake Canyon Arches
The first sets of arches are giant alcoves high above the trail with several holes worn completely through, creating gaping arches. The most notable is the 40-foot-high expanse sometimes called Hole-in-the-Bridge Arch.

Several of the arches here either have various undocumented names or no name at all. In fact, the BLM only has names for the two largest in this area.
The trail continues, flanked on the left by the bench that contains the arches, and on the right by the expansive Rattlesnake Canyon.

I continued down the path to see the remaining five arches. Early-morning backlighting obscured a few, but others were accentuated in exquisite ways.
I passed another unnamed arch inside a large alcove, followed by one called Overhang Arch (for obvious reasons). Next came the main attraction: Akiti Arch.

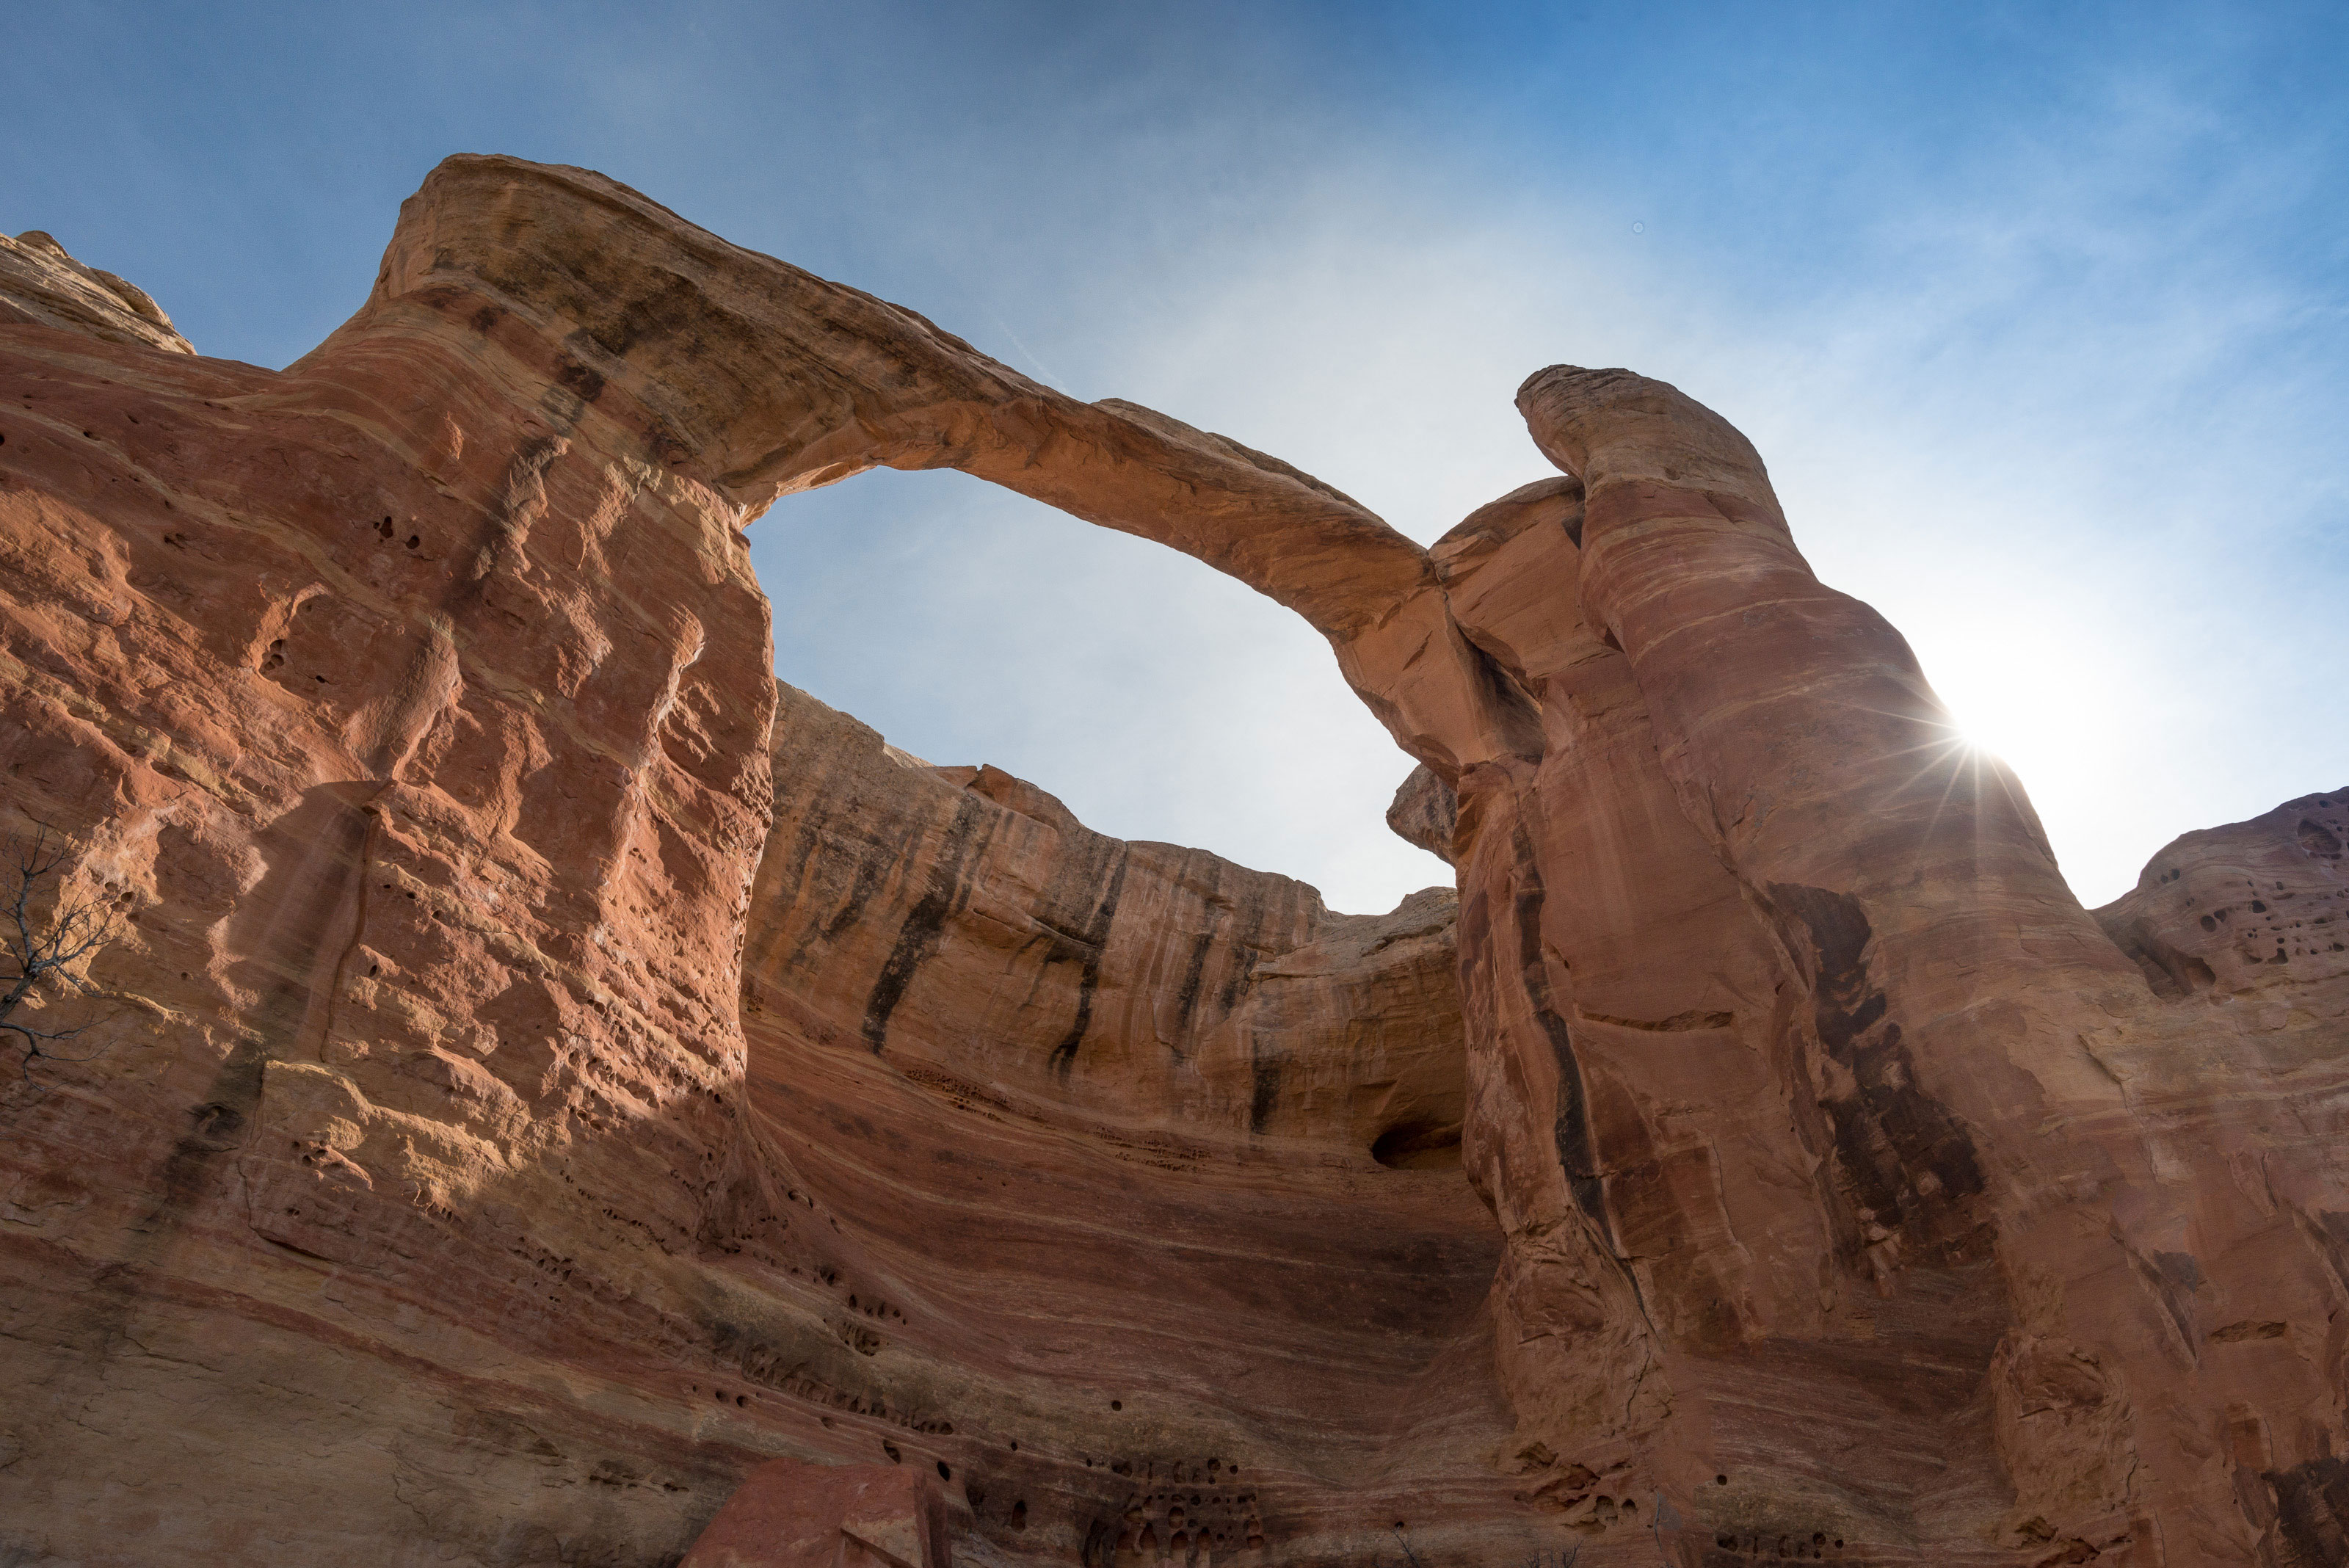
By far the largest and most impressive in this area, Akiti spans more than 40 feet wide and juts almost 140 feet straight up. It’s so large, in fact, you could fit two of Utah’s famed Delicate Arch — stacked on top of each other — inside it and still not touch the top!

The sun appeared along the spire holding up the colossal arch and gently illuminated its frame. Past Akiti Arch, I spot what’s called the Eye, another, smaller window punched through the delicate rock high above the trail.

Just after that is the trail spur that leads to the impressive Trap Arch. Then it’s back on the main path to the final arch, engulfed by massive towers and wind-worn rock.

Cedar Tree Arch, aka Rainbow Arch, is the final stop on this trail. A looming expanse, Cedar Tree Arch spans 76 feet, with a 40-foot opening at the top.
There’s a way to scramble up the arch and make it to the top, but I was told that by no means should you attempt to climb down the same way you go up. While the sandstone gives you cat-like traction going up, the trip down is very dangerous. This is considered by most to be a class III or IV scramble.

Rattlesnake Arches: The Trip Out
After spending as much time as I could in the area, I prepared to make the 4-mile trip back to the campsite from the last arch.
After mapping it on my GPS, it was much easier to trace my way back. Without it, I would’ve easily gotten lost coming off the rock shelf, as the trail was almost invisible coming down the sketchiest parts of the canyon. Keep this in mind as you embark.
All told, the journey takes about 4.5 hours of hiking there and back, covering almost 8 miles. Not up for the raft and hike adventure? No problem! The BLM lists alternative access routes to visit the arches. Check them out here.