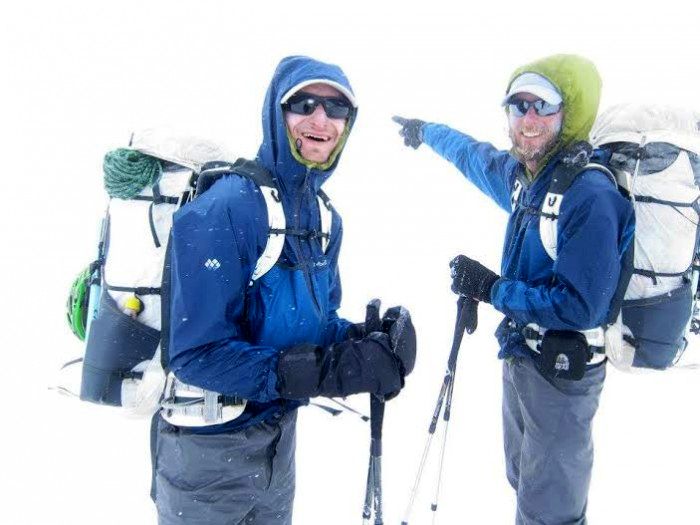
On March 1, Justin Lichter and Shawn Forry — trail names “Trauma” and “Pepper” — arrived at the southern terminus of the 2,663-mile Pacific Crest Trail. With their final steps to the Mexican border, they became the first people to complete the PCT in a winter thru-hike.
In the process, the duo faced deep snow, harsh temps and strong winds for weeks on end. GearJunkie contacted Lichter to learn about the gear that made the epic hike across the United States in winter possible.
“We thoroughly tested and researched all of our gear before the trip,” Lichter said. “As a result we greatly minimized our gear failures. We went into the trip with a good feeling that our equipment would succeed. We had two failures and they were both because of our oversight.”
This is Lichter’s explanation of the 13 most important pieces of gear used on the trip. The team’s oversights are listed at the end.
See page 2 for a couple failures encountered during the hike, and page 3 for a complete gear list.
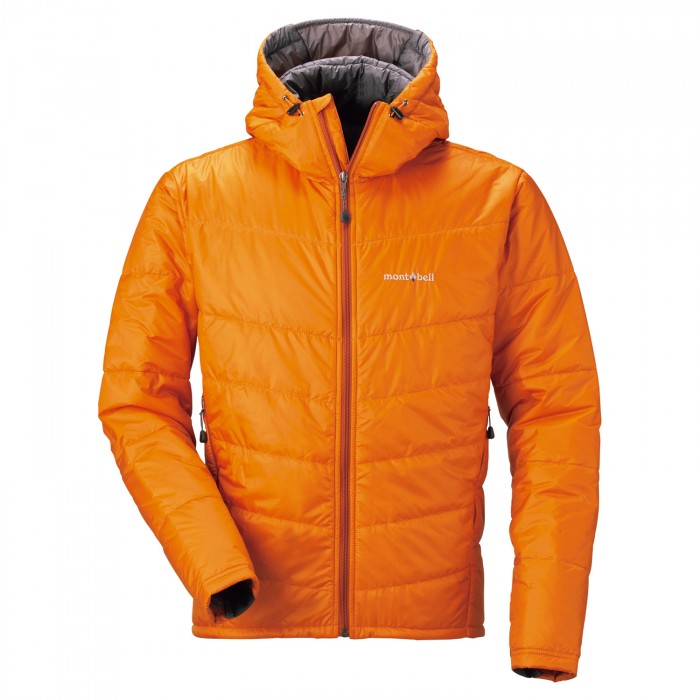
1. Montbell Thermawrap Pro Parka – These super versatile layers are very warm for their weight. We carried these synthetic layers most of the trip because they were safer than down with all of the wet weather we encountered.
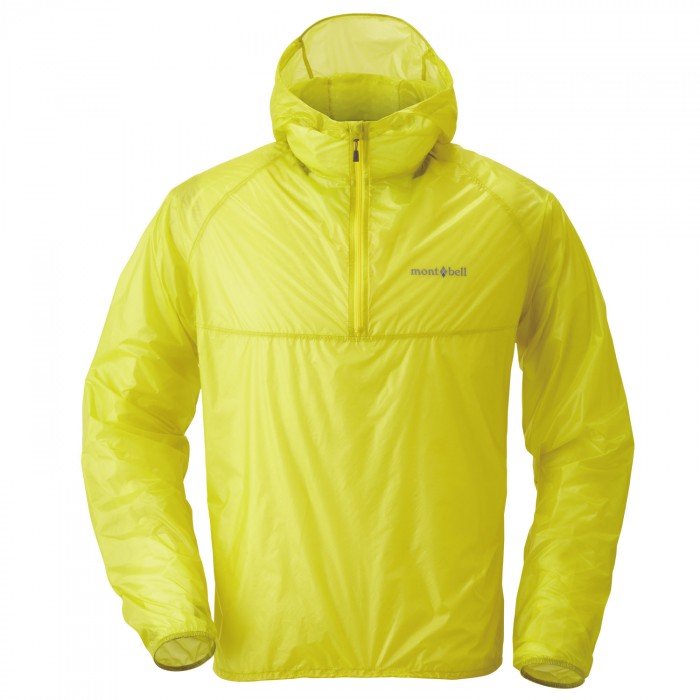
2. Montbell Tachyon Anorak – The Tachyon is an amazingly versatile layer for practically no weight. This was always our go-to layer on top of our base layer.
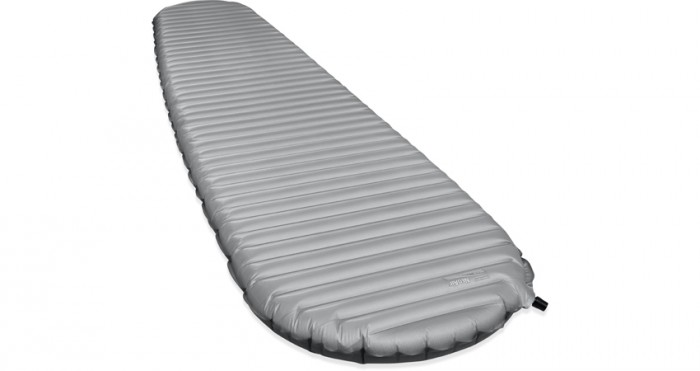
3. Thermarest Neoair xTherm – A good sleeping pad makes a huge difference on how warm you sleep. This pad has one of the highest R-values on the market at a relatively low weight.
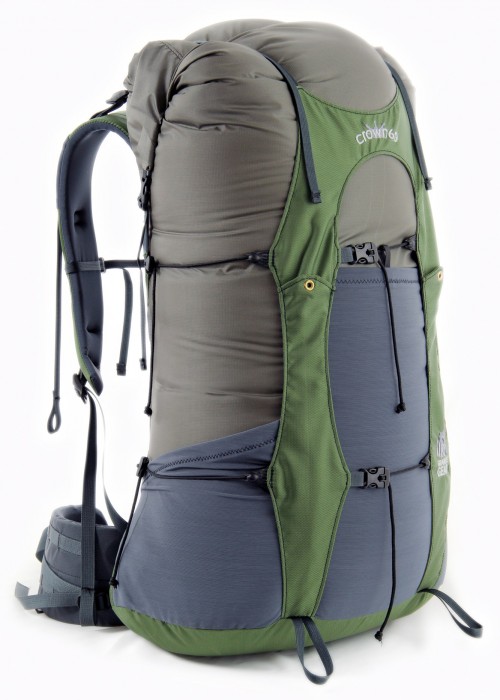
4. Granite Gear Crown VC 60 and Leopard AC 58 – The foundation of backpacking, a good comfortable backpack is the key to a successful trip. We switched to the Leopard AC 58 for the High Sierra since we knew that we would need more volume and load carrying capacity with the additional food and avalanche equipment we were carrying.
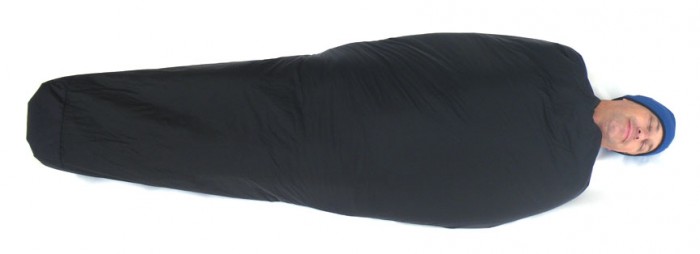
5. Mountain Laurel Designs Spirit Quilt – We used this synthetic quilt as an over-bag for our sleep system, with a down sleeping bag on the inside. In the winter you constantly need to dry gear. This combination helped make our sleep system versatile and prevent the down bag from accumulating condensation. In the winter because of the temperature differences, water vapor will typically condense somewhere inside your sleeping bag. This system kept our down bags lofty and dry and prevented us from losing performance and getting cold. The quilt also has a slit in the center, allowing it to be used over the head as an extra layer in camp.
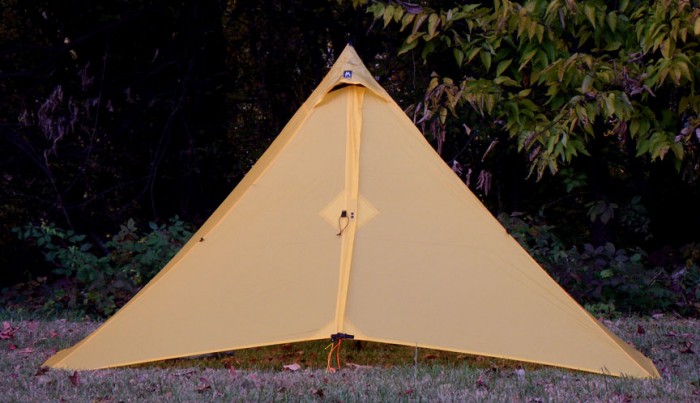
6. Mountain Laurel Designs Duomid or Duomid XL – We used the Cuben Fiber Duomid on the entire trip (note: standard Duomid pictured above). We have used this same tarp for thousands of miles, including on the Great Himalaya Trail. We have complete confidence in this tarp in all conditions. It worked well in the snow in conjunction with deadmen for our stake-out points. We had planned to switch to the XL version to get a little more room during snowstorms, but never made the switch.
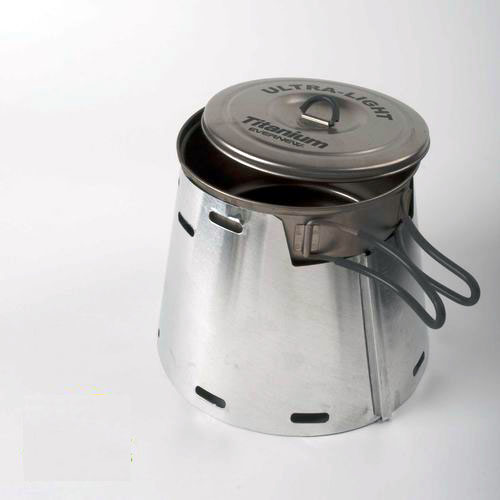
7. Trail Designs Caldera Cone – We each used this alcohol stove the entire trip. It is a very efficient alcohol stove and handles well in the wind. We melted snow to cook and for drinking with this stove. It is slower than a canister or multi-fuel stove to melt water but is a lot lighter, more compact, and simpler. Sometimes canisters can have trouble in cold weather, too, so this was the ultralight solution. Time was not an issue since we had 11+ hours of darkness each night.
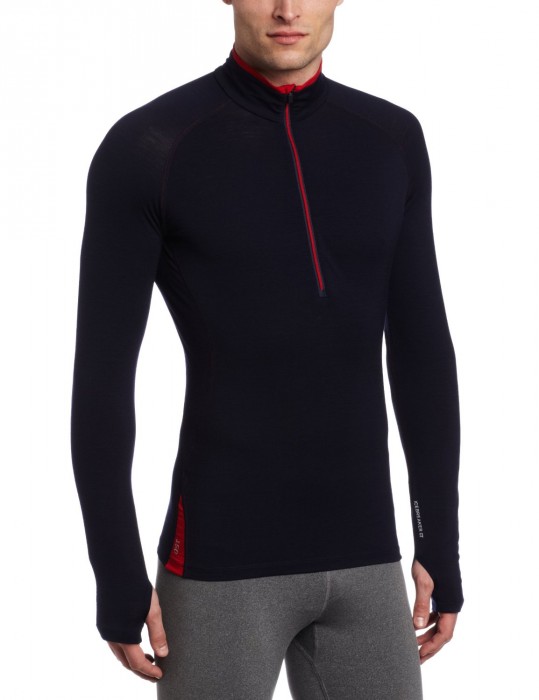
8. Icebreaker 150 long sleeve half zip shirt – A great base layer that doesn’t hold much odor and is warm when wet so you don’t chill too much. The high collar was helpful in the cold weather.
9. MSR Lightning Ascent Snowshoes – These snowshoes were great. We snowshoed about 650 miles and didn’t start seeing wear until they had 600+ miles on them. We definitely weren’t kind to them either since we would bash on rocks with them instead of taking them off each time snow got thin. The biggest factors that separate these snowshoes from others are the strap system is really good and the frames also have traction cleats so you don’t wash out when you are side-hilling or in icy conditions.
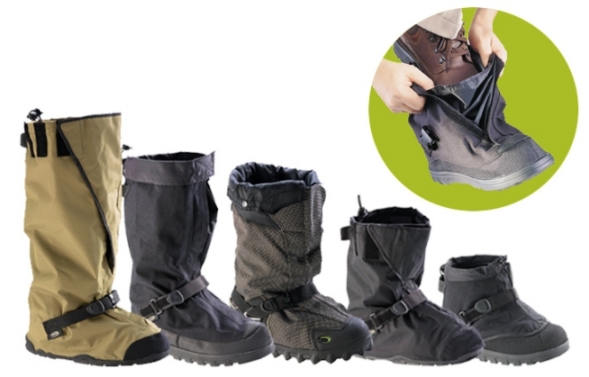
10. NEOS Overboots – The NEOS overboots were part of our revised footwear system after we got frostbite. We wore them with Gore-Tex lightweight mid high shoes underneath when we were wearing the snowshoes. The extra layer was helpful to keep our feet warm and dry.
11. Voile Vector BC Skis – Great lightweight skis with a mid fat waist. They handle all types of ski conditions really well. The biggest bonus is that they have a patterned base which helped to save us time since we wouldn’t have to transition on and off with skins in rolling terrain.
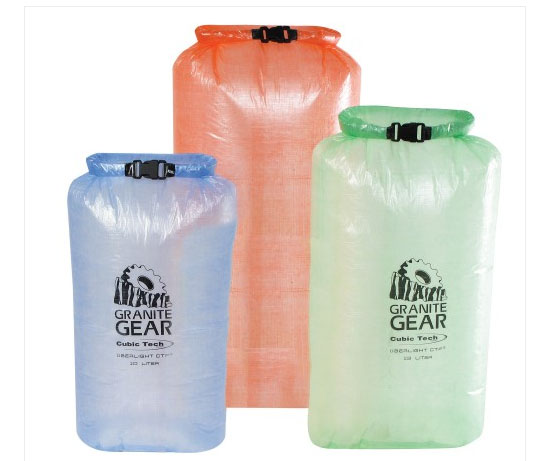
12. Granite Gear eVent Uberlight Stuff Sack – Super lightweight, we used these to keep our sleeping bags dry. If your sleeping bag gets wet you are screwed.
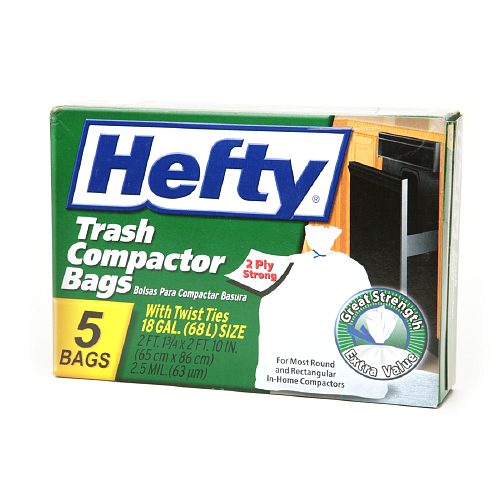
13. Trash compactor bag – Simple and functional to line our packs and keep our gear dry.
It’s always good to learn from mistakes, yours or those of others. Check out page two for a couple mistakes that made the hike more difficult than necessary.
