Zoom with your feet, ditch your buddy, delete the sky — the keys to taking great pictures may sound strange, but they can save you from dumping money into expensive gear you don’t need.

The temptation to invest in high-end photography gear leads most people to carry more camera than they need.
The good news is you can simplify your gear, save money, and skip the big lenses and heavy luggage. Spending time with your camera and working on technique are a much better investment.
We gathered tips from a recent event with Canon Explorer of Light Adam Jones and learned how to elevate your photos without contracting “Gear Acquisition Syndrome.”

Get Up Early & Stay Up Late
Full sun makes most subjects look their worst.
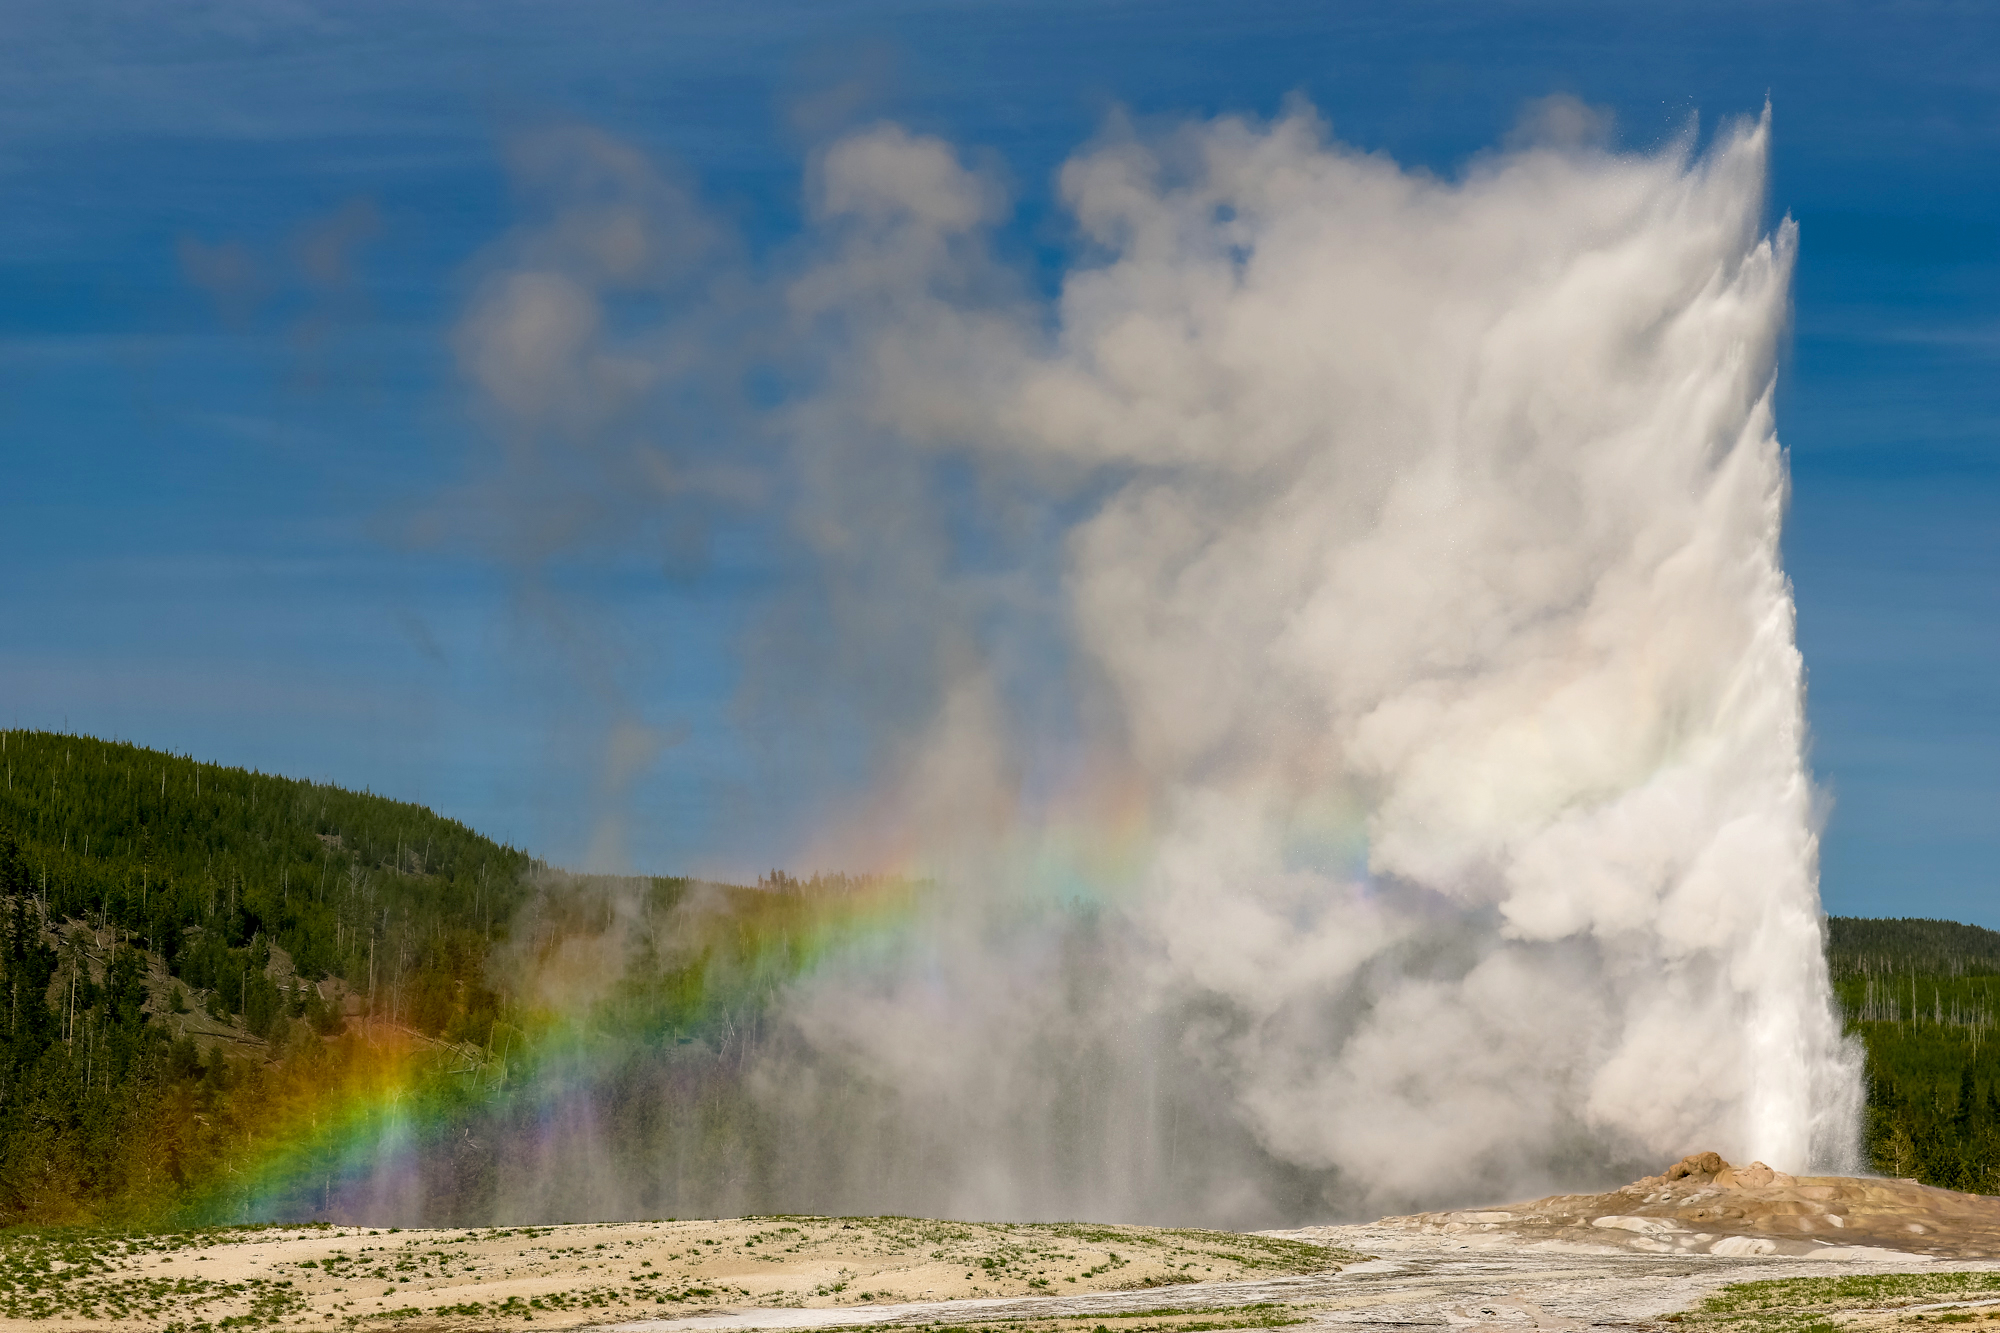
The sun’s light has a distinctly warm glow during the hour after sunrise and the hour before sunset. Known as the “Golden Hour,” the sun’s light is also more diffuse, reducing hard shadows and blown-out highlights.
Landscapes, outdoor portraits, and wildlife photography all benefit from the early and late sun. Skies are often dramatic, and it’s the best time to capture wildlife. Dynamic photographs like sunrise spires and long-exposure night shots are simply impossible to get during the light of day.

Get Away From the Tourists
If you’re out before dawn or after dark, you’re halfway there — most tourists aren’t out on the trails first thing. Getting off the beaten path and asking the locals for advice are great ways of finding solitude and pristine shots.
Put the Light Source Behind You
Having the sun in the frame will leave you with a washed-out sky and dark shadows — especially with lower-end cameras that don’t have the dynamic range of pro rigs.
If you align the camera between the light and your subject, and make it the best-lit object in the frame, you’ll see better tones across the image.
Minimize the Sky

Similarly, reducing the amount of sky in the frame can help balance out highlights and shadows. Unless you compensate by adjusting settings, your camera is going to balance the brightness of the sky with the darkest parts of the image — often with poor results.
Zoom With Your Feet
Let’s face it, we can’t all shoot with a Canon 100-400mm f/4.5 USM II. Realistically, most of us are shooting with phones, point-and-shoots, or kit lenses on DSLRs. That means you’ve got to get close the only other way you can: with your feet.
Within the margins of safety and rules (which are probably there for your safety), move around to get the best composition for your scene.
Look for Lines and ‘Flow’

Find lines that aim toward your subject or flow through the frame of your photograph. Imagine lines in the scene flowing into or out of your frame.
Try to put these lines in the corners of your images, or align them to the thirds of your image. If your camera has a built-in level, use it to make sure your shots are perfectly horizontal.
Use Reflections and Water

Water is a gorgeous part of outdoor scenes, and using the reflections in natural bodies of water can have a range of beautiful effects. Of course, rivers and lakes are unpredictable, and reflections can be elusive. But whether it’s a perfect mirror or a broken reflection, the surface of water can add a lot of drama.
Look for the Little Things

When shooting outdoors, it’s easy to fall into the trap of looking for stunning vistas and beautiful sunsets. But there are often small-scale subjects that are even more interesting. Find scenes within scenes and unique views of familiar subjects; it can help you out of the trap.
Take Your Time

Sometimes, it’s just not time. Sit down, observe your surroundings, and find a new subject. Wait for the light to change or a critter to appear. While you wait in silence, birds get their nerve back and start going about their business.
Get Out There!
You’re never going to get the shot if you’re not out there with your camera. Have a bag ready with your go-to rain gear, whatever camera system you like, and some snacks and water.

