When you look at the tent market, it’s easy to feel overwhelmed by choices. The variety of styles, types, sizes, and functions is so vast that even if you think you know what you want, you might end up paralyzed by choices you didn’t know you had.
That’s totally normal. Just stay calm and remember: The right tent is out there waiting for you — you just need to know how to choose it. Which is exactly what this guide is meant to help with. Follow these tips, and you should have everything you need to choose a tent that will serve your adventures, match your budget, and hopefully last for many years.
Once you know what kind of tent you want and need, check out GearJunkie’s guides to the Best Backpacking Tents, Best Ultralight Tents, Best Canopy Tents, Best Rooftop Tents, and Best Camping Tents. The options spotlighted in those guides are a great place to start shopping.
How to Choose the Right Tent

Step 1: Assess how you will use your tent. Be honest with yourself. Will you roll it out of the minivan? Or do you need to haul it deep into the backcountry? If so, how many miles? While a 2-pound tent is reasonable for a weekend backpacking trip, you may want to go lighter for long-distance hikes. Or, if you will only use it car camping, weight won’t be a significant concern — go for comfort.
Step 2: Consider the weather where you camp most of the time. If you camp mostly in the heat of the summer, ventilation is a primary concern. Even if you camp occasionally in cold weather, choose your tent based on the majority usage. Three-season tents fit most people’s camping and backpacking needs.
But, sometimes people like to camp in the snow — for skiing, hunting, or cinematography — in which case, a four-season tent might be necessary.
Step 3: Think about capacity. How many people will you be sharing this tent with? Each person needs at least 2 feet of elbow room. Big and tall folks will want more width and a longer tent. Will you bring a dog? What about kids? Most tents come in two- and three-person sizes. Some come in four- and six-person sizes, and there are even tents out there big enough to sleep eight or more.
Choose your tent size based on who you will share a tent with most.
In-Store Evaluation: Ask Yourself Questions

At the store, even if the tent is already set up, request to set another up. Is it intuitive? Do the poles snap together easily? Will you be able to set it up in the dark, with cold fingers, in the wind or rain? Most sales associates at outdoor stores will be psyched to let you set up a sample tent and will be more than willing to help if asked.
Once you’ve set the tent up, crawl inside and stretch out. If your head or toes touch the ends, you’ll want a larger size. Try sitting up in the tent to ensure you have enough room to dress and undress in it. When you wake up in the night to answer nature’s call, will you disturb your tentmates when you try to get out?
Evaluate the doors and ventilation, too. Make sure the tent has adequate ventilation for the conditions you’ll be using it in. If there’s condensation (there likely will be) consider where it will drip or pool. You need to be able to fit your party inside, in sleeping bags, without touching the walls. That will be the first source of moisture.
Pick a Camping Tent
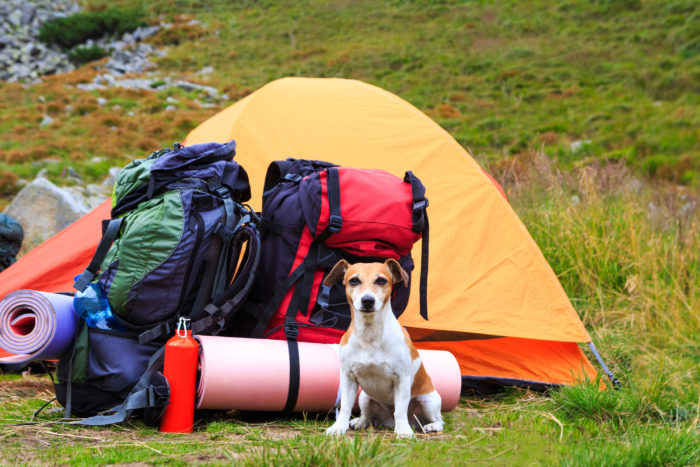
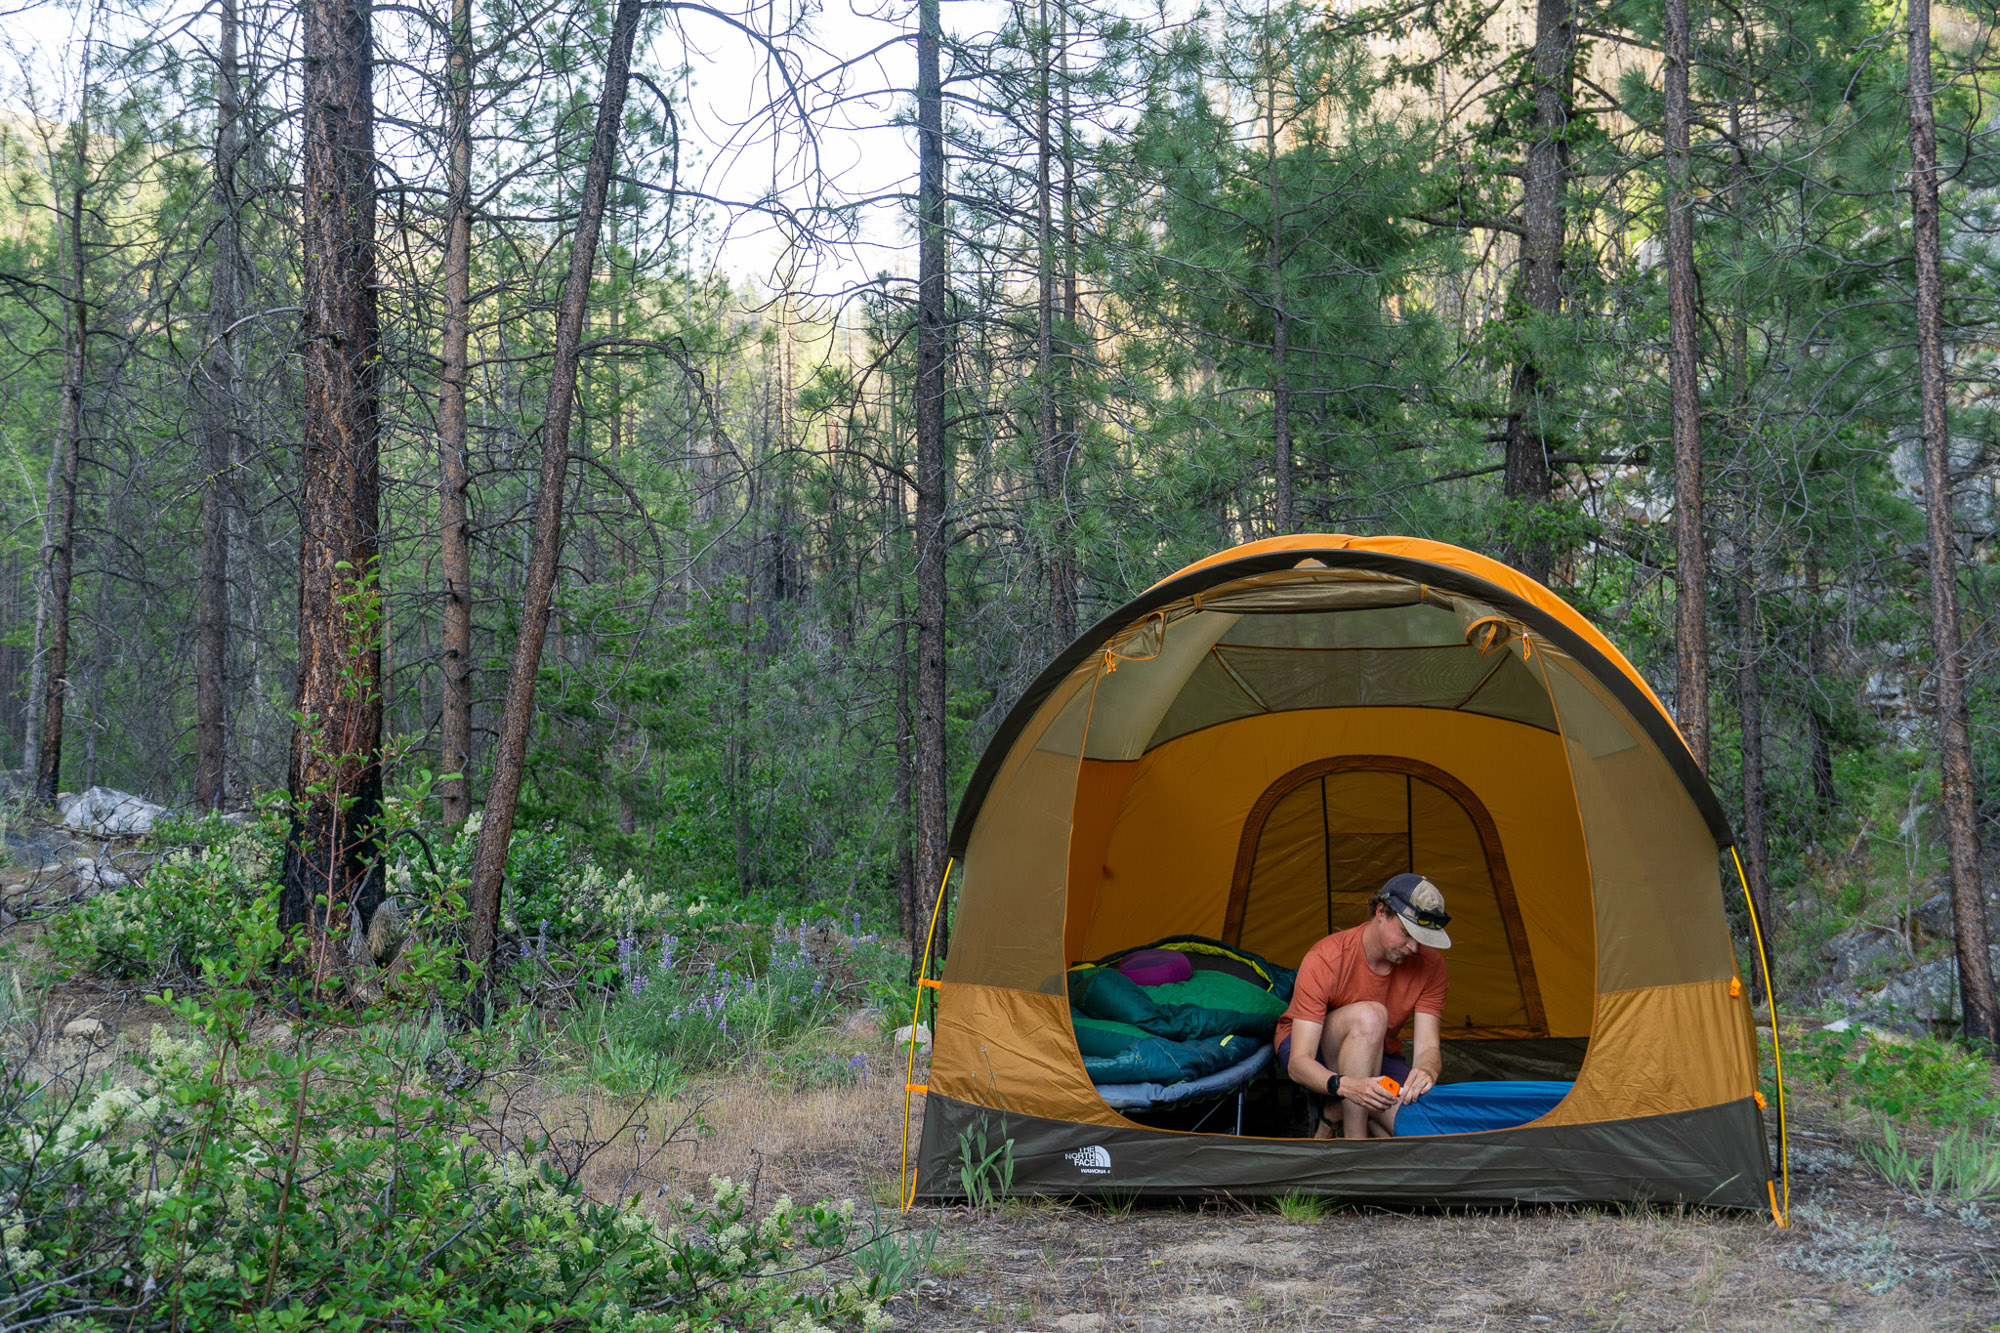
The camping tent is somewhere between a group hunting canvas tents and ultralight backpacking tents. This is the most popular tent style. It includes models like the iconic REI Half Dome 3 and the Mountain Hardwear Meridian 2.
Many of these tents tend to be light enough to carry for an overnight or weekend backpacking trip. But they’re not ideal for long-distance hikes. Some of them will be too heavy to carry beyond a car camping site.
For those who car camp regularly but want to hit the trail from time to time, a lighter camping tent is a strong option. Two- and three-person tents weighing 4-6 pounds will work for almost anyone who just wants to drive to a campsite for an evening or a few.
Backpacking Tents: How to Choose

If you’re carrying your tent more than a few hundred feet from the car, you’ll appreciate something lighter than a regular car camping tent. That’s where the backpacking tent comes in clutch.
Backpacking tents prioritize weight and packability over interior space. However, forward-thinking engineering also includes pole configurations that pop out the walls, allowing more livable space than ever before.
Usually touted as three-season tents, backpacking tents balance ventilation and weather protection. These tents are ideal for most backcountry pursuits and provide nearly year-round coverage. Some will be under-gunned for true winter camping, but there are also ultralight hot tents out there like the Seek Outside Redcliff.
Look for tents weighing less than 2 pounds per person for serious backpacking. The lighter, the better. Strong options include the Big Agnes Copper Spur HV UL 2 Tent, which weighs less than 2.5 pounds. The MSR Hubba Hubba 2 is another strong option. It has a pole configuration designed to maximize headspace while still proving light and packable.
Mountaineering & 4-Season Tents
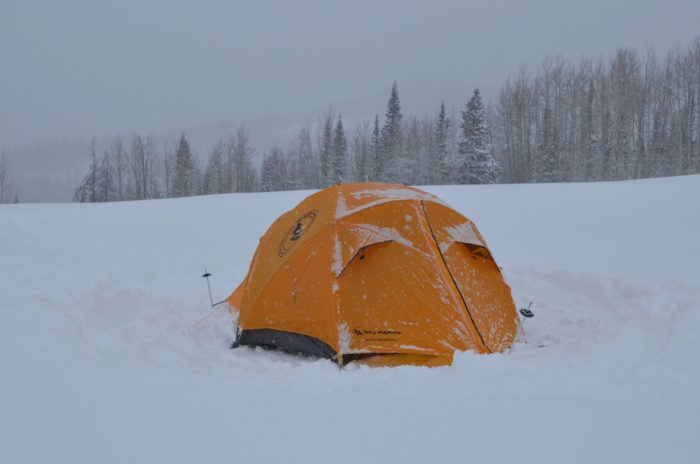
Hiking above the tree line, where wind and snow can unexpectedly crash your party, you’ll want a shelter that can withstand cold winds and winter weather.
Four-season tents are often constructed with additional poles and more durable materials, adding weight (and cost). In turn, these bastions of the high country provide more peace of mind and overall protection no matter what kind of weather you find yourself in. They’re also great for winter campouts at lower elevations.
However, tents come in just as many shapes and sizes as other types. So, when you’re shopping for one, really consider what layout will best suit your adventure needs (more on this later).
Ultralight Shelters
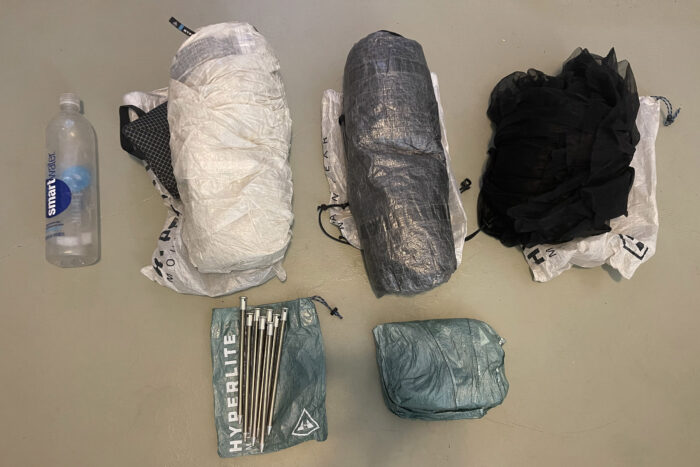
A whittled-down shelter can provide significant weight savings for those with a few miles under their belt and long miles ahead. It’s sometimes a stretch to call these shelters tents. They’ll typically be your second or third “tent” purchase. They’re specifically designed for long-distance, fast-paced adventures. Some are little more than a tarp with guylines and tent stakes.
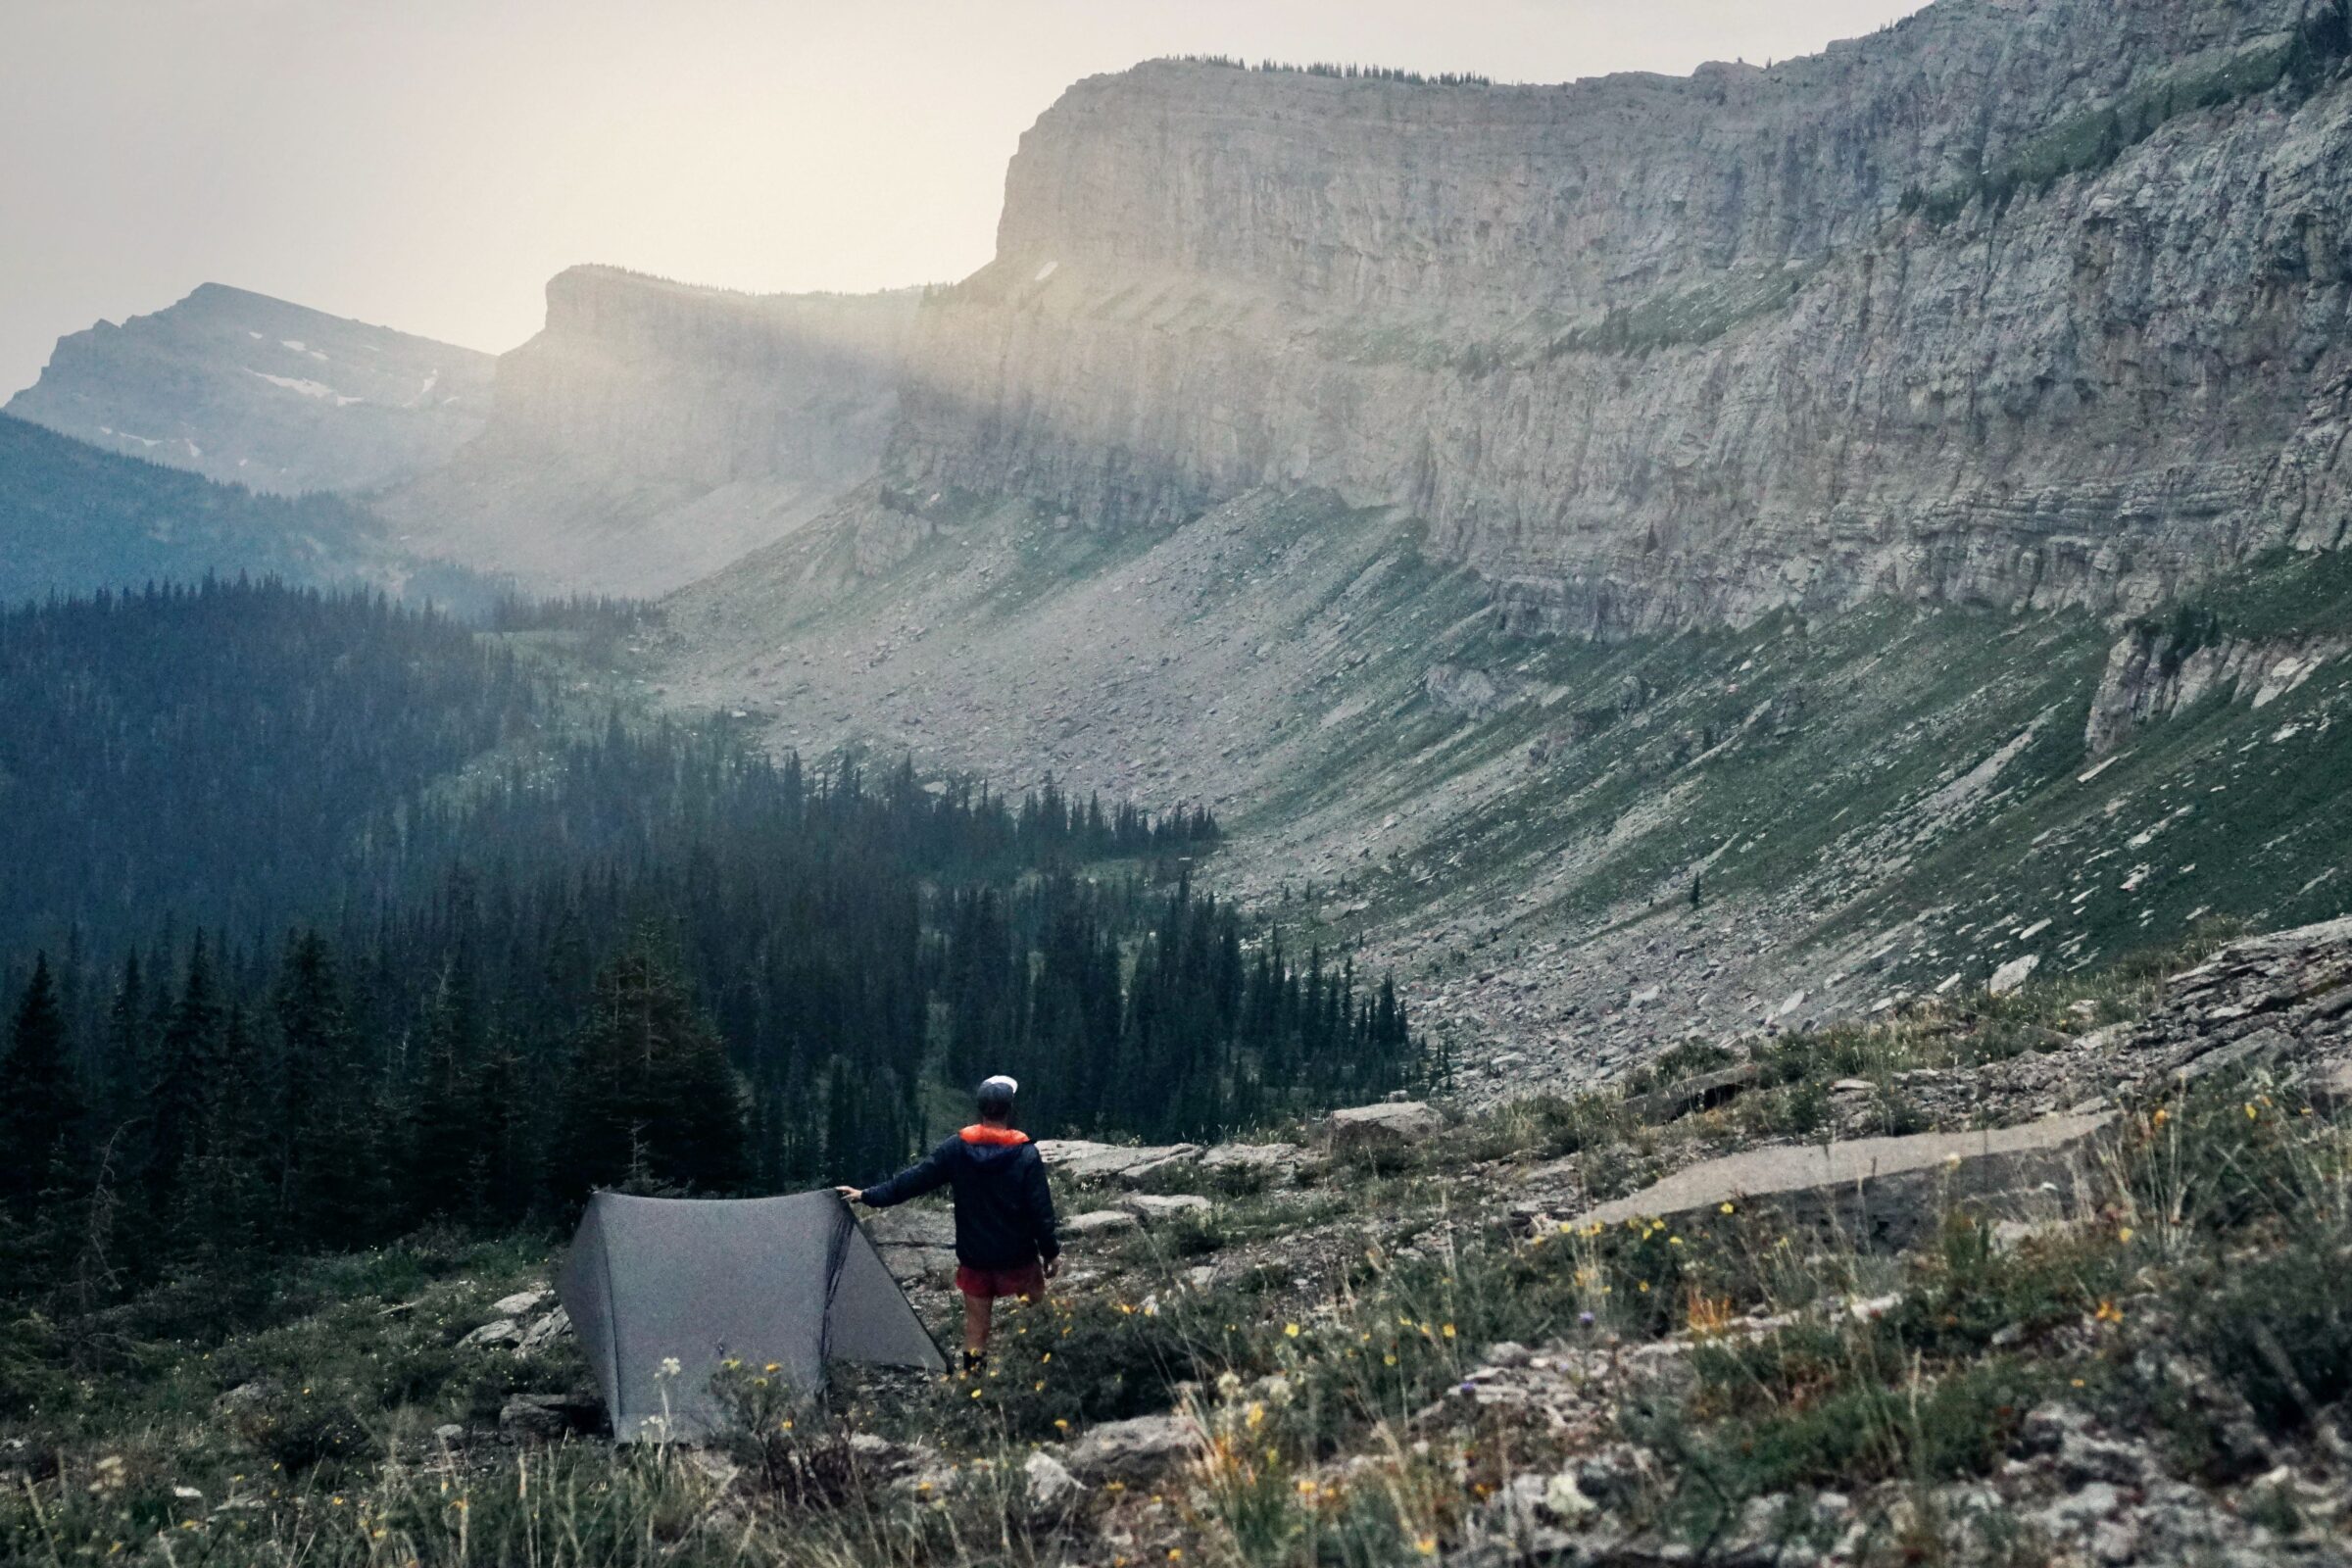
A niche arrow in your backcountry quiver, these shelters often double down using trekking poles as tent poles or eschew the poles altogether. Some tents even allow users to set up the rainfly without the tent body to maximize minimalism.
Just like a mountaineering tent will be overkill for most, on the other end of the spectrum, these ultralight options can leave the unprepared exposed. But with experience, tarps, hammocks, bivy sacks, and pyramid tents can also be pragmatic and very lightweight shelters.
Glossary: Understanding Tent Material Jargon
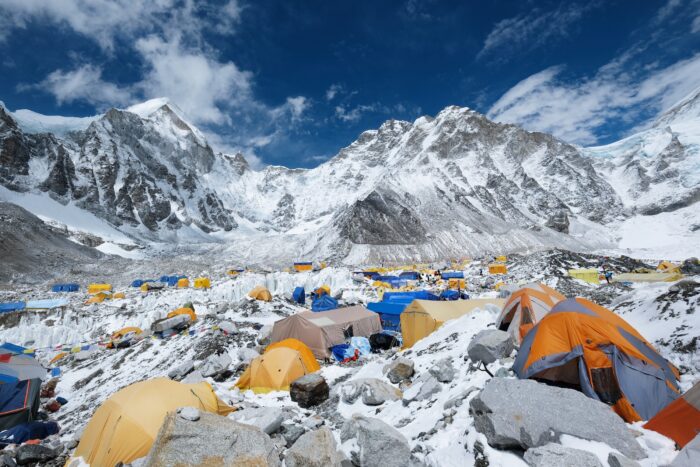
Perhaps no outdoor purchase has more data to sift through than tents. Jargon abounds; it’s helpful to understand what it all means.
Tent Materials
While you can still find canvas tents on the market, most of today’s tents employ synthetic nylon fabric. Measured in denier (grams of mass per 9,000 m of a fabric’s thread), the lower the number, the lighter (and more fragile) the tent will be.
Some ultralight shelters cut weight by using specialty fabrics, like sil-nylon (silicone-impregnated nylon) and Dyneema (military- and maritime-grade fabric).
Single-Wall and Double-Wall Tents
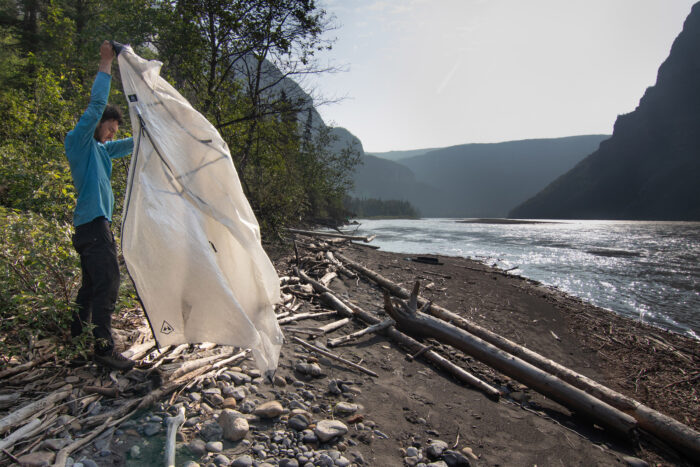
Most of the tents you see in stores or online are double-walled. Double-wall tents have a breathable inner tent overlapped by a waterproof outer rainfly. This configuration allows condensation from your breath to quickly move to the outside layer, preventing the dreaded midnight condensation rainstorm.
A few scenarios make a single-wall tent a viable option. High-alpine environments will freeze any condensation to the tent wall. Tents with enough ventilation will allow moisture to freely escape before condensing. Single-wall tents are also typically easier to set up because they only have one wall and don’t require adding a rainfly.
No-See-Um Netting
No-see-ums are small flies that bite, though the term has become ubiquitous for any small bug that bites. No-see-um netting (mosquito netting) is often used to reduce weight and provide superior ventilation on double-wall tents. With the rainfly removed, the mesh tent can turn your shelter into a hotel room with a 1-million-star view.

Tent Poles
Most tents have aluminum tubing poles connected with an elastic cord. The poles slide through nylon sleeves or into durable plastic clips to loft the tent. At the end of the pole, a pin is inserted into a ringed grommet.
More complex tent designs will color-code the poles with hooks and grommets for an easier setup. Some tent pole configurations come as a single piece with hinges. Others are separate poles that come together to raise the tent. As mentioned, some lightweight tents allow people to use trekking poles for a center tent pole.

Tent Stakes
Tent stakes should come with the tent and match its purpose. Lightweight tents will have lighter-weight stakes, and heavy camp tents will have heavier-gauge stakes. Aftermarket stakes can be purchased to cut weight, add durability, and replace those you lose.
Pro tip: Look for native stakes — rocks, roots, trees — to tie down the tent. And if you lose a stake, look around empty campsites — nine times out of ten, someone else lost one, too.
Tent Vestibule
We all love the great outdoors, but the tent door is where we draw the line. A vestibule is to a tent as the covered porch is to your house — it’s a protective awning to stow your gear and a place to kick off your muddy boots. It’s a space-saving addition that’s worth considering when making a purchase.

In-Tent Storage
The last thing you want to do en route to a midnight bio break is fumble for your headlamp. Pockets and lofts are great ways to keep small sundries and personal items organized and within reach. Many tents come with internal loops to string a clothesline to dry out wet clothes.
Doors
If there’s a chink in the armor of a tent, it’s usually the door. A good one will have a smooth zipper, providing ample room to wiggle out while sealing out the elements. One door can work fine if it exits the front. But a pair of campers might appreciate having separate ports of entry instead of crawling over one another to get out a single side door.

Guylines
Tents often come with a knot of cord. These are your guylines and help draw the tent taut. Some tent shapes, like dome tents, don’t need guylines to keep them pitched. Other designs, like pyramid tents, often require guylines. Either way, it’s a good idea to sling the tent before hitting the trail to ensure that your tent will be camp-ready when you get to your site.
Pro tip: Reflective guylines are easy to spot when hit with a light at night, preventing an accidental fall. If the tent doesn’t come with them, they can be purchased aftermarket. Or you can add reflective tape to your non-reflective guylines.
Tent Rainfly
We’ve all seen it — the dome tent at the campground with the blue tarp draped over the top. Don’t be like that guy. The basic function of a tent is to protect you from the elements. Many rainflies can be peeled back for a night view. Some tents, like Sea to Summit’s Ikos, allow for multiple different rainfly configurations (or “modes”).
Pro tip: Consider the color if you expect to spend several days in a tent. Sunflower yellows will be more cheery for your disposition than dark blues.

Tent Height & Wall Shape
Tents are built around the physical forces of tension and compression of fabric and poles. Like most things, tent form follows function, so consider your needs and the designs will follow suit.
With their vertical walls, family tents allow campers to stand up (or at least sit up) and change, while a low-profile backpacking tent will sling low to the ground to deflect wind and rain.

Tent Trail Weight
Turn over a tent label and you’ll often see two listed weights. The packaged weight is the off-the-shelf weight — cords, repair kit, extra stakes, and all. The trail weight refers to the minimum weight to erect the tent: the tent body, fly, poles, and minimum stakes.
Ground Cloth (or Footprint)
This is the one necessary tent item usually sold aftermarket. If your tent doesn’t come with one, you should seriously consider purchasing one. A ground cloth serves as a buffer between the tent and the underlying rocks and roots, saving wear and tear on the tent floor. Some brands will void their warranty on tents if a footprint isn’t used with it.
Pro tip: Don’t want to shell out for the brand-name drop cloth? DIY with a sheet of DuPont Tyvek from your local hardware store. Tarps can also be substituted in a pinch.
How to Care For Your New Tent
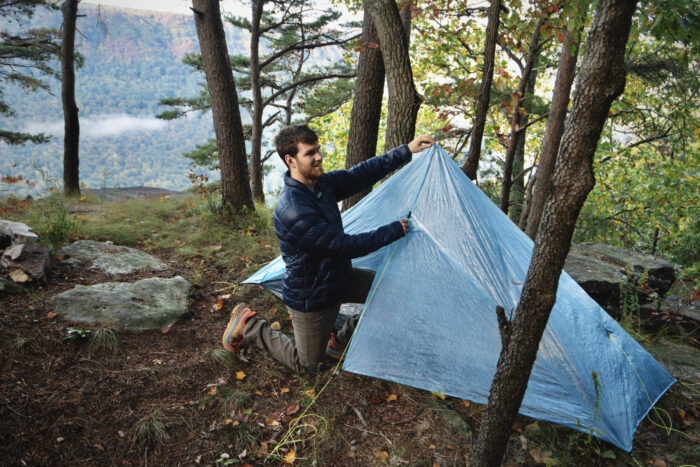
So, you pulled the trigger and bought a tent. Congratulations! Here are a few tips to ensure that it has a long life.
Many tents will come with taped seams. That means the holes caused by sewing are covered or sealed at the factory. But some tents still come with unsealed seams from the store. If yours is unsealed, apply seam sealer to the floor and inside the fly stitching before taking it to the field. Or, if your seams are sealed but they’ve started leaking after years of hard use, seam sealers can save the day.
Rig your tent’s guylines and practice setting up the tent in a park or your yard. Figure out how to stake it out for both fair and foul weather. Check for any manufacturing flaws.
During your first trip with the tent, be sure to stake it down securely. An empty tent is a box kite in disguise — putting a hefty rock, or a filled backpack inside helps weigh it down while you stake it out. Try to keep debris out of the tent.
After each use, remove the fly and let it dry out — hanging on something or laying out in the sun. Before breaking camp, open the tent’s door and shake it out to remove debris.
At home, continue to dry the tent and store it loose (not rolled up tight). Avoid folding your tent, as the creases can wear out the fabric.
After a season, give it a once-over. Repair any small holes with seam sealer. Use mild soap and water to remove any stains. Check the poles and guylines for any damage, and store the tent in a dry area.
Frequently Asked Questions

(Photo/Nick Belcaster)
Choosing a site for a tent is one of those things you get better at over time. The first thing you want to make sure of is that you’re using a flat area. If you set up your tent on an angle, gravity will pull you down the sleeping mat overnight and you’ll wake up crumpled in a corner.
Some people will use a Nalgene bottle as a makeshift level, testing the ground to see if it rolls in any one direction. And obviously, look for tent sites that aren’t covered in rocks, roots, or other obstructions.
It also helps to consider your morning. Are you trying to sleep in? Or do you want to wake up with the sun? If your tent isn’t in a shaded area, the sun will likely wake you as soon as it’s up. If you want to sleep in, pick a spot where you’ve got some good cover.
Many brands sell ground cloths (or “footprints”) specifically made for tent models and sizes. Go to the brand’s website (or REI) and search for the name of your tent plus the word “footprint,” and the right one should pop up. Similarly, if you’re buying in a store, just ask one of the sales associates, and they should be able to direct you.
You can also buy more universal or generic tent footprints on Amazon. They typically come in one-, two-, and three-person sizes and won’t fit your tent’s shape perfectly. But they do the job, and they’re usually cheaper.
If the tent is just for you, you can choose a single-person tent or a bivy. However, if you’ve got a partner or just want a little more room by yourself, get a two-person tent. If the tent is for you, your significant other, and your dog or child, size up and get a three-person tent. Really, this is a matter of preference.
