Want sharp knives? Look no further. This guide gives you the foundational information to sharpen a knife and keep it that way.
We reached out to Work Sharp, the fourth-generation family knife-sharpening toolmakers, to get some edge-ucation. Master these knife sharpening tips top to bottom and never deal with a dull blade again.
6 Knife-Sharpening Tips
1. Determine Your Knife’s Dullness
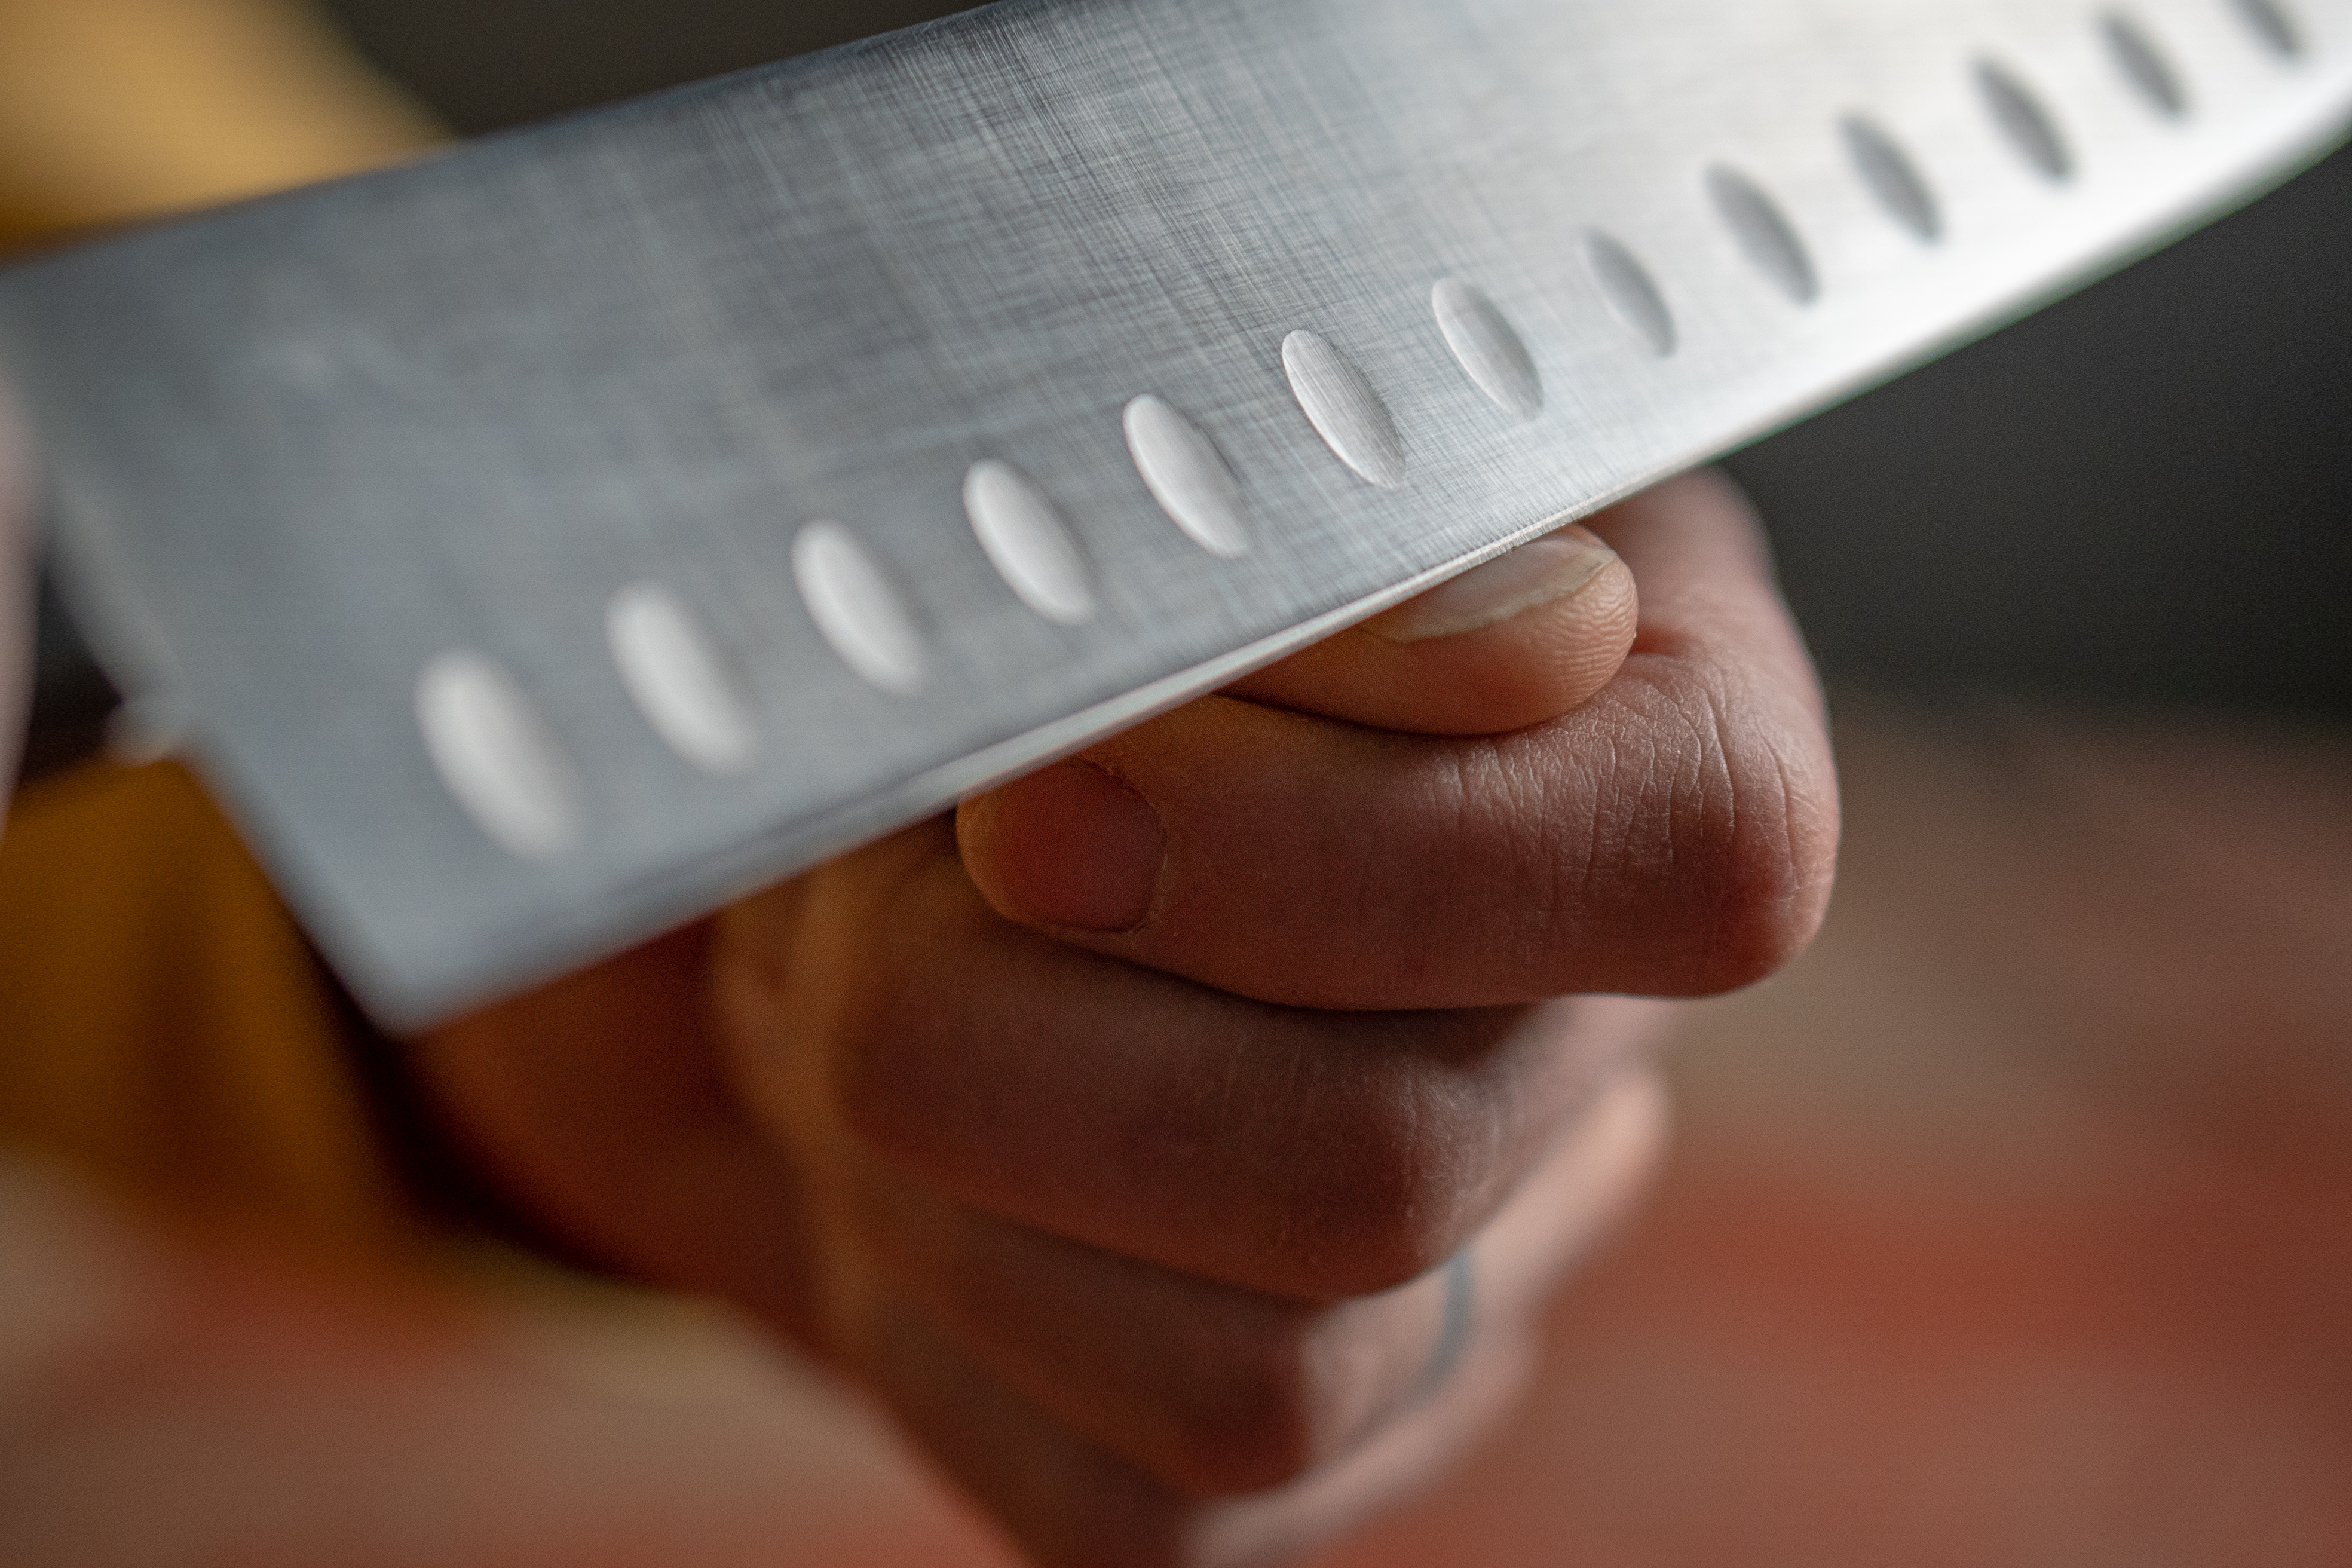
First, look straight down on the cutting edge. It should be “invisible.” If you can see it, the edge is dull. That’s because a sharp edge will come to a fine point that won’t reflect light. If you see a reflection, it’s dull.
Second, test it on a thumbnail. Drag the blade gently on your nail. Does it slide off? Or does it catch? A sharp edge will grab or bite.
Pay special attention to the belly of the knife. That’s the area where the knife bends from the flat area near the handle up toward the point. It’s where most cutting takes place. Most people use knives hardest in the belly.
2. Decide on a Sharpening Angle
If your knife is truly dull, you can reprofile it to any angle you want.
Incredibly keen, polished edges at high angles are very sharp. But they won’t retain an edge very long and will damage easily when used for tough tasks. On the flip side, wider edge angles (think axes) are not as sharp but are much tougher.
With the Ken Onion Edition sharpener, you can make those accommodations.
So decide: Do you require durability or keen edges for the task at hand?
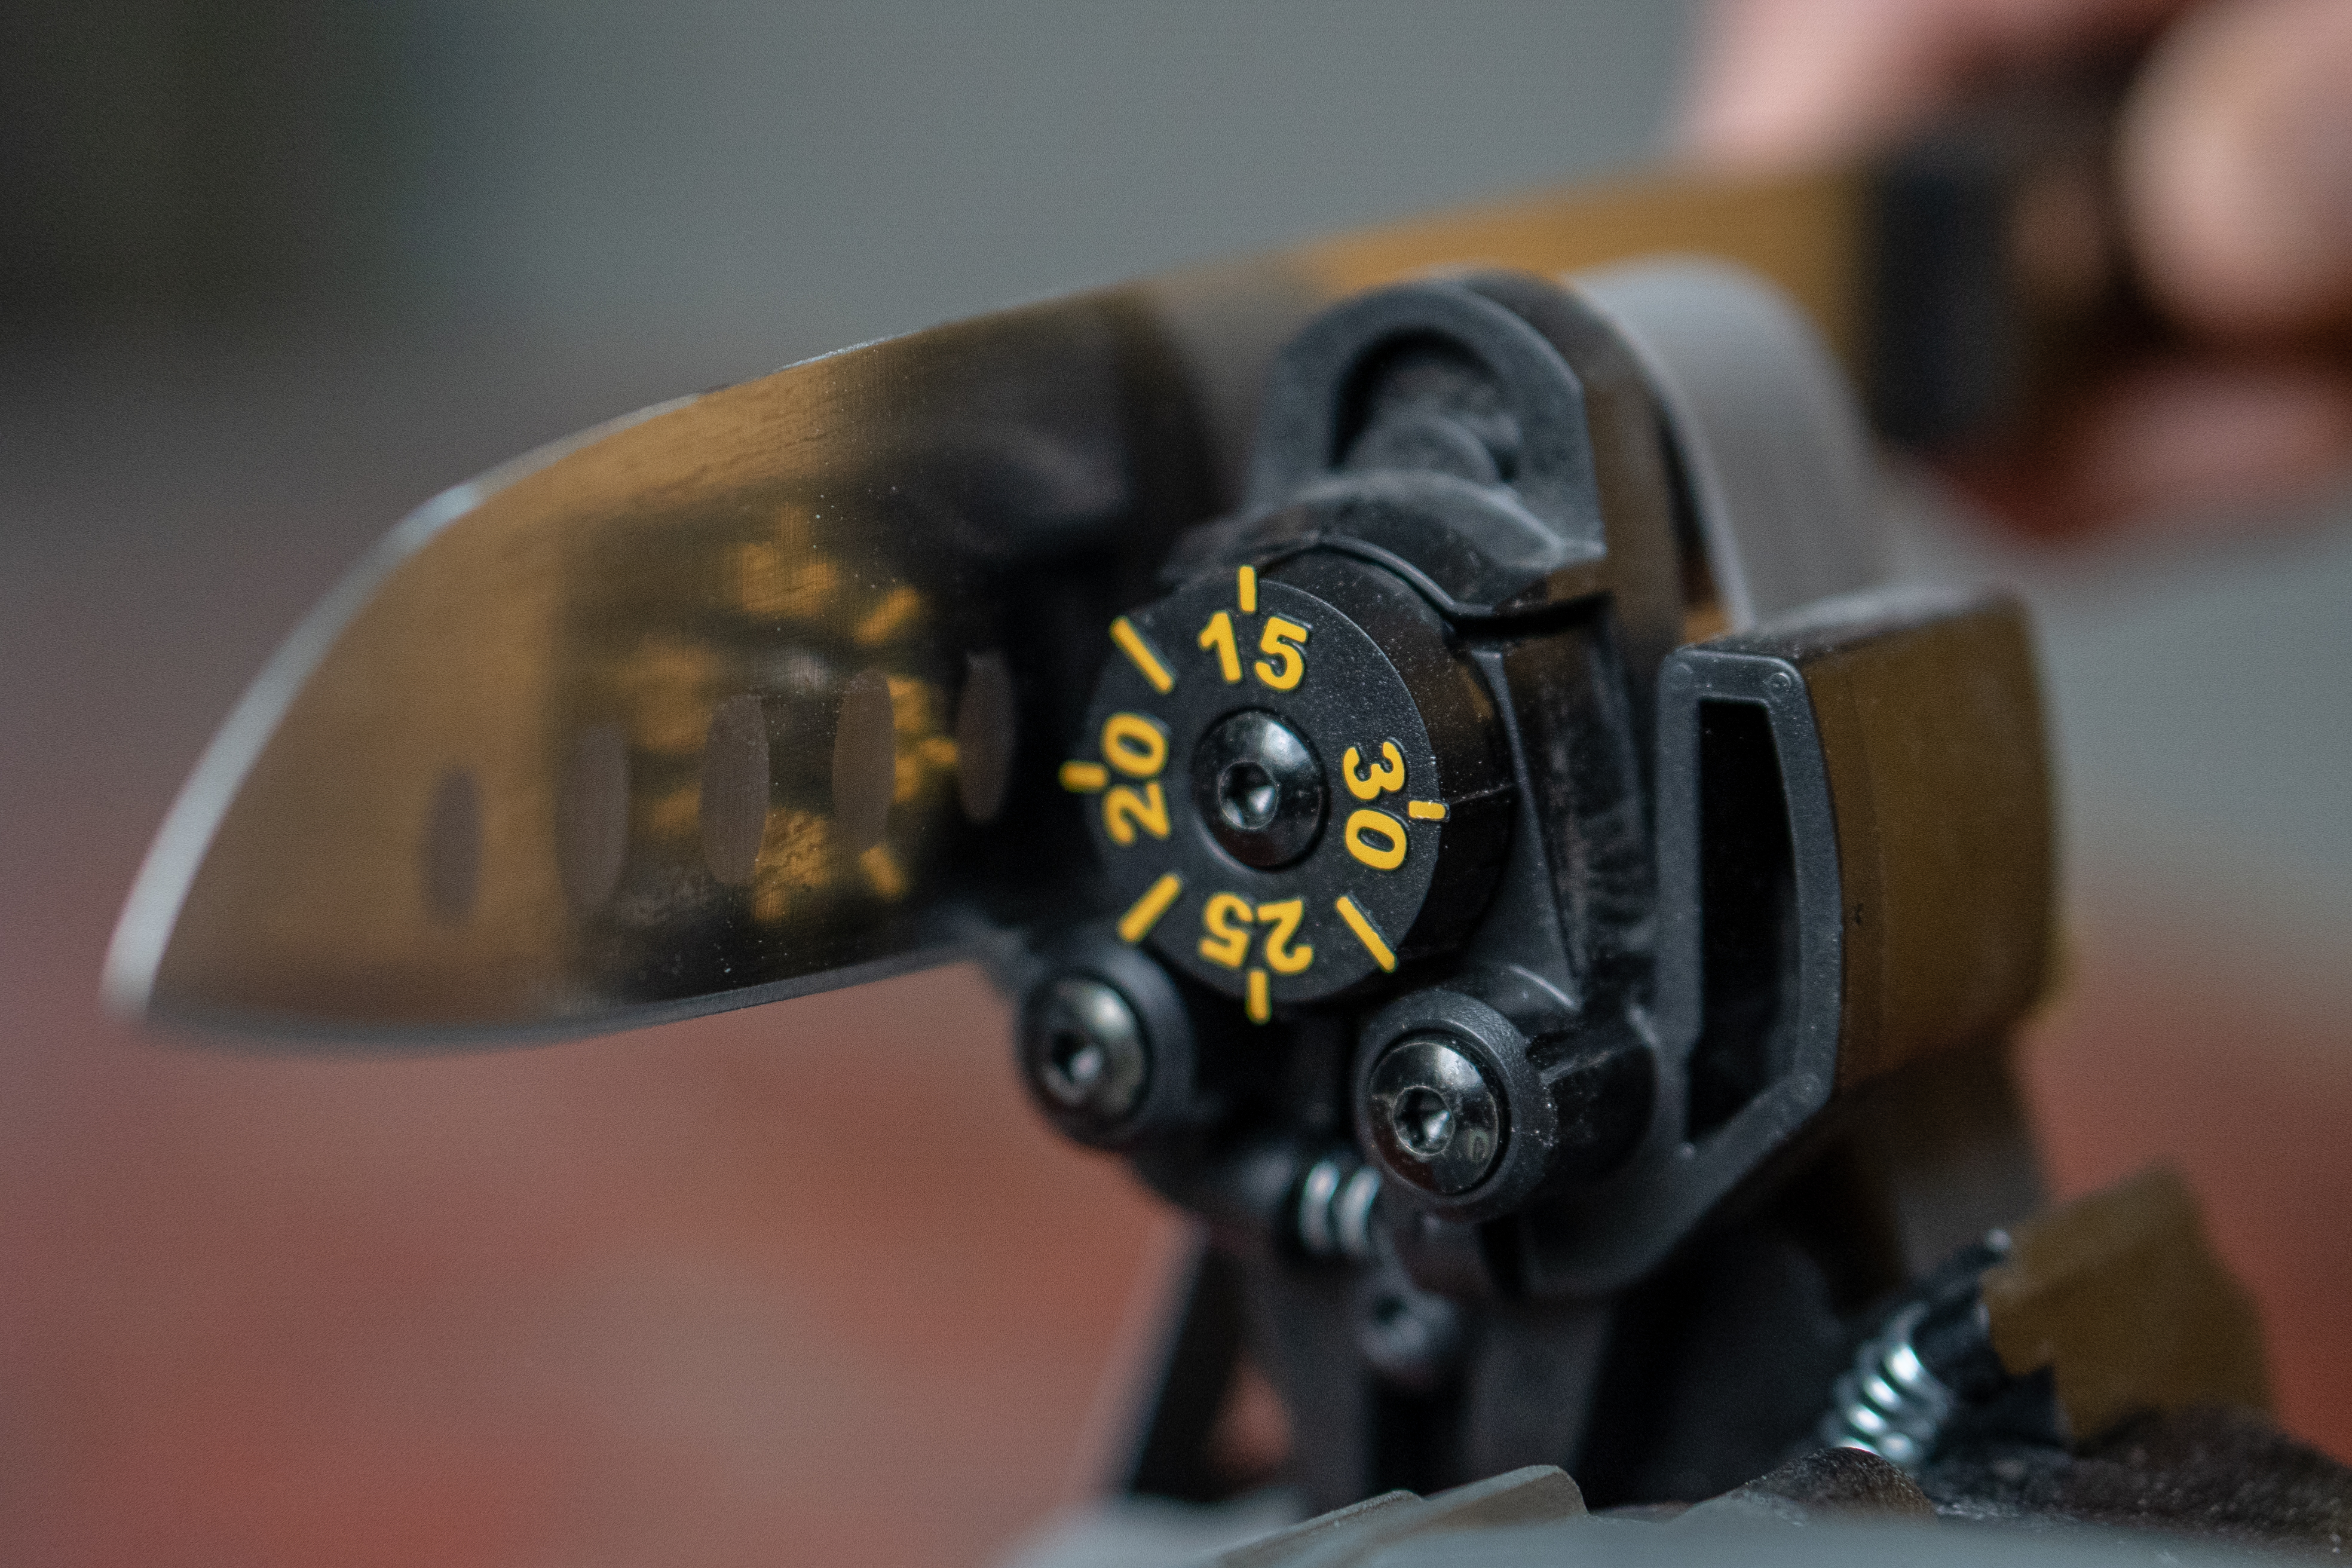
When sharpening, the biggest challenge is finding and maintaining angle control. It doesn’t matter which technique you’re using. Having the proper blade-to-sharpener angle will ensure your edge stays steep and doesn’t “round.”
Use an angle guide. Recommended angles are 14 to 16 degrees per bevel for kitchen cutlery. The average pocket knife should be around 16 to 25 degrees. Hard-use outdoor knives can go to 25, even 30 degrees.
3. Choose the Right Abrasive
If your edge is already at a solid profile, it may require just a minor touch-up. Use a ceramic hone or strop to maintain the edge.
If you need to make bigger edge angle change, reprofile or repair, then use a more abrasive stone or belt.
For example, the 120-micron, extra-coarse belt for the Ken Onion Edition knife sharpener is for tools or repair. It has a lot of abrasive material to remove a lot of metal quickly. Around 65 microns is where you should start for reprofiling. It’s less abrasive and moves more slowly. At the other end, 4 microns is a fine touch up. It will leave a finely polished edge.
Just remember: You don’t want to use a coarse belt if you just need a touch-up.
4. Practice the Burr Technique
To sharpen a knife for more than just a minor touch-up, you must create a “burr.” This is a ridge of metal formed on the opposite side of a blade from your working abrasive belt or surface.
It’s a very tactile experience. The burr should feel like a wire or rough spot on the flip side of the knife you are sharpening. Once you form a burr, switch sides for the same number of sharpening strokes.
Understanding burr is key to being a successful sharpener.
5. Sharpening a Super-Steel Knife
We’re living in an awesome time of blade steel. Gone are the days of old-fashioned 1095 steel that could be easily sharpened by grandpa’s spit-moistened whetstone.

If you have a super-steel blade, you need diamond or ceramic sharpening materials. Anything less just isn’t hard enough to sharpen these modern steels. So learn about your knife steel and choose a sharpener capable of handling your knife.
6. Maintain, Maintain, Maintain
Get a ceramic hone and keep it handy. Use it pretty much every time you pull out your knife. If you use your knife daily, hone it daily. It’s a nice ritual once you get used to it.
This will keep your knives in perfect working condition. Don’t let the edge slowly degrade.
Remember, once a knife is sharp, it’s easier to maintain than to resharpen. Now keep it up!
This article is sponsored by Work Sharp. Check out the Ken Onion Edition sharpening tool here.

