It happens to the best of us sometimes. You accidentally leave your headlights on, your battery loses its charge, and you need to jumpstart your vehicle with jumper cables. Or you have a vehicle battery older than 4 years, and it’s not up to the task of holding a charge. Or, you live in a really cold place and don’t drive your vehicle enough to recharge the battery. The variables all stack up. Either way, you should carry a good set of jumper cables to safely jumpstart your car.
These cables enable you to connect your vehicle’s battery to another power source — typically another vehicle’s battery — to give it an instant power boost. By transferring electrical energy from the working battery to the dead one, jumper cables allow you to start your car and carry on with your journey without delay.
Some sets are heavy-duty, have long 20-foot cables, and have a 2-gauge wire like the VIKING 20 ft. 2 Gauge Super Heavy Duty Jumper Cables, which can be a great choice for bigger, more powerful vehicles and dynamic situations or terrain when you need to reach under the hood. Other choices — at a quarter of the price — are more basic, like the 12-foot-long PITTSBURGH AUTOMOTIVE 10 Gauge Jumper Cables, which are suitable to pair with small to midsize cars and trucks.
To learn more about jumper cables and a more in-depth analysis of how they can vary, check out our Buyer’s Guide or jump to the Price & Value summary. Still weighing your options? Consult our Comparison Chart to see how these cables stack up. Otherwise, take a look at our awarded goods for 2024.
Editor’s Note: We updated our Jumper Cables buyer’s guide on October 30, 2024, to include Price & Value and How We Tested sections.
The Best Jumper Cables of 2025
- Best Overall Jumper Cables: VIKING 20 ft. 2 Gauge Super Heavy Duty Jumper Cables
- Best Budget Jumper Cables: PITTSBURGH AUTOMOTIVE 12 ft. 10 Gauge Jumper Cables
- Best Premium Jumper Cables: Diehard Advanced Power Booster Cable 71303
- Best Practical Choice Jumper Cables: Energizer 6 Gauge Jumper Cables
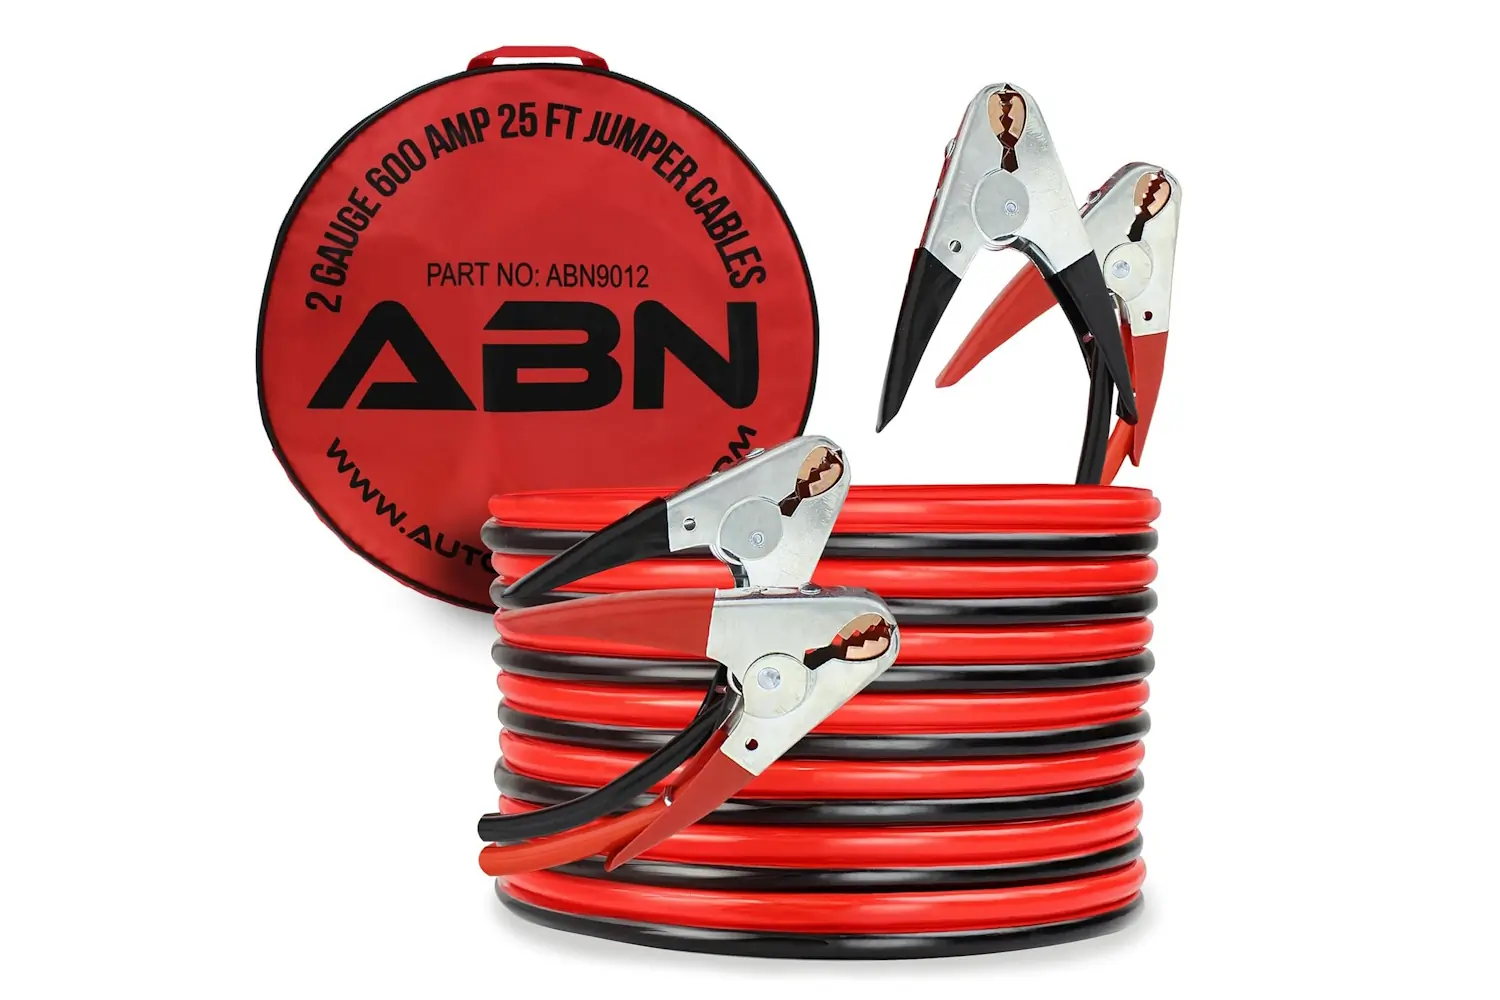
- Best Jumper Cables for Unplanned Emergencies: ABN Jumper Cables, 25 ft, 2 Gauge, 600 Amp
Best Overall Jumper Cables
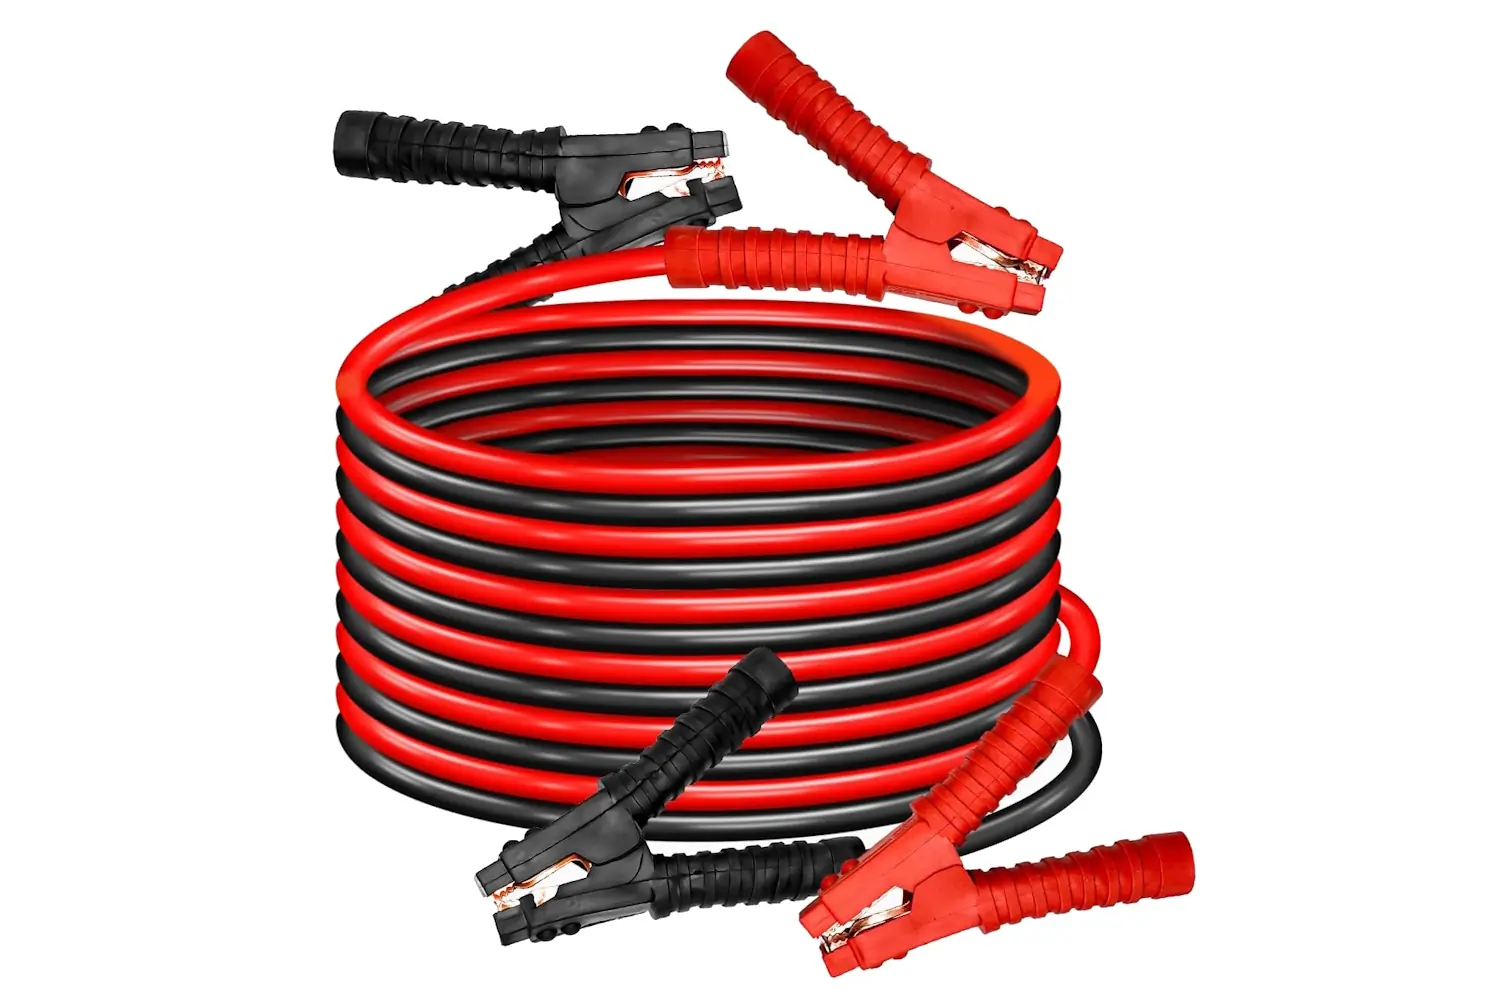
VIKING 20 ft. 2 Gauge Super Heavy Duty Jumper Cables
- Size: 2 gauge
- Amp rating: 420 A
- Length: 20 ft.
- Carrying bag included: Yes, a case
Pros
- Commercial-grade suitable for cars, trucks, and marine vehicles
- Tangle-free flexibility in cold and warm weather
- PVC jacket water-, oil-, and chemical-resistant
Cons
- Big and bulky
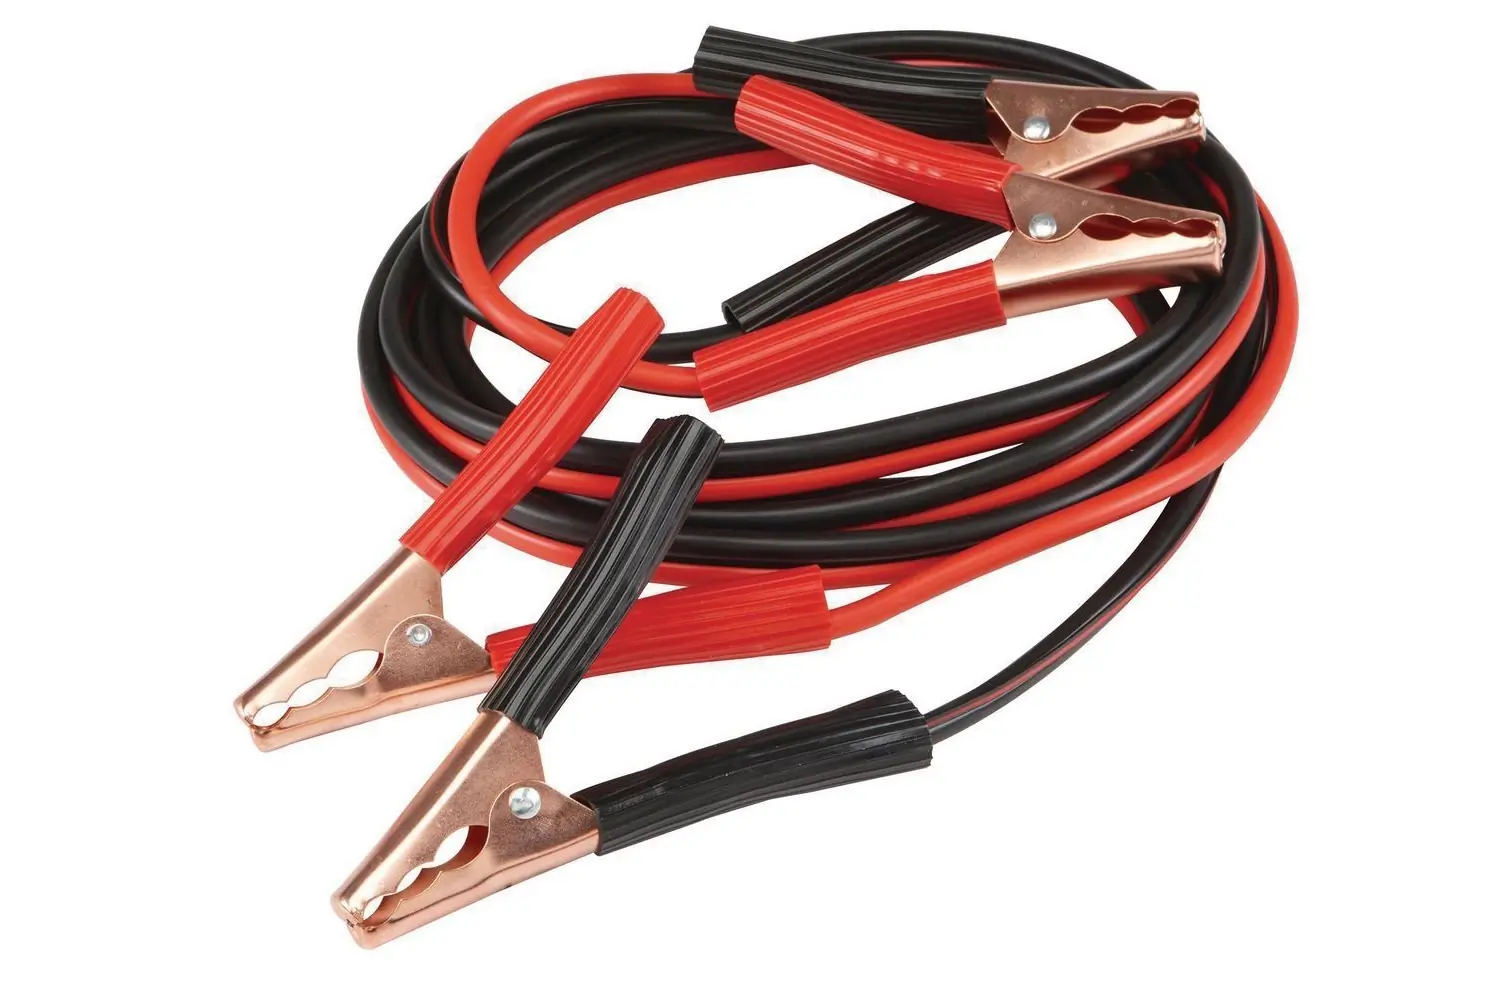
PITTSBURGH AUTOMOTIVE 12 ft. 10 Gauge Jumper Cables
- Size: 10 gauge
- Amp rating: 150 amps
- Length: 12 ft.
- Carrying bag included: Yes
Pros
- Copper-coated aluminum cable and copper-coated steel clamps
- Flexible and easy to store and tuck away
- Use Harbor Freight coupons for more savings
Cons
- Capacity suitable primarily for small to midsize cars, trucks, and crossovers
- Only 12 feet of reach
- Low-quality insulation used on clamps
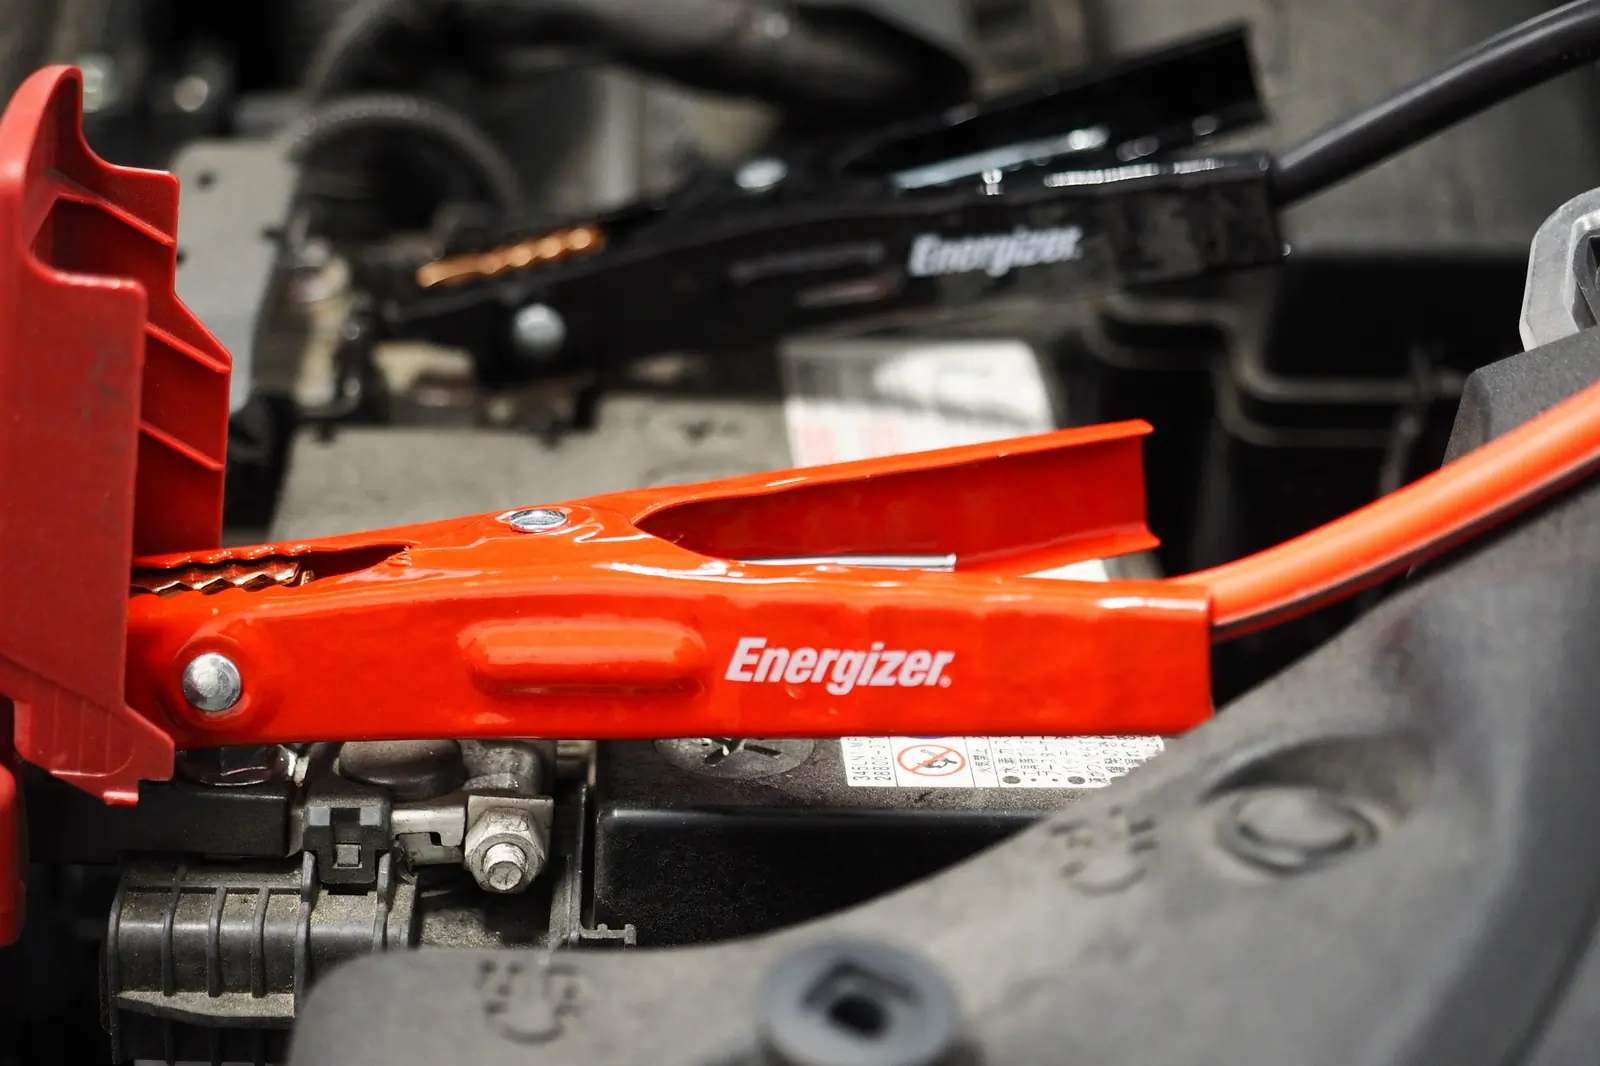
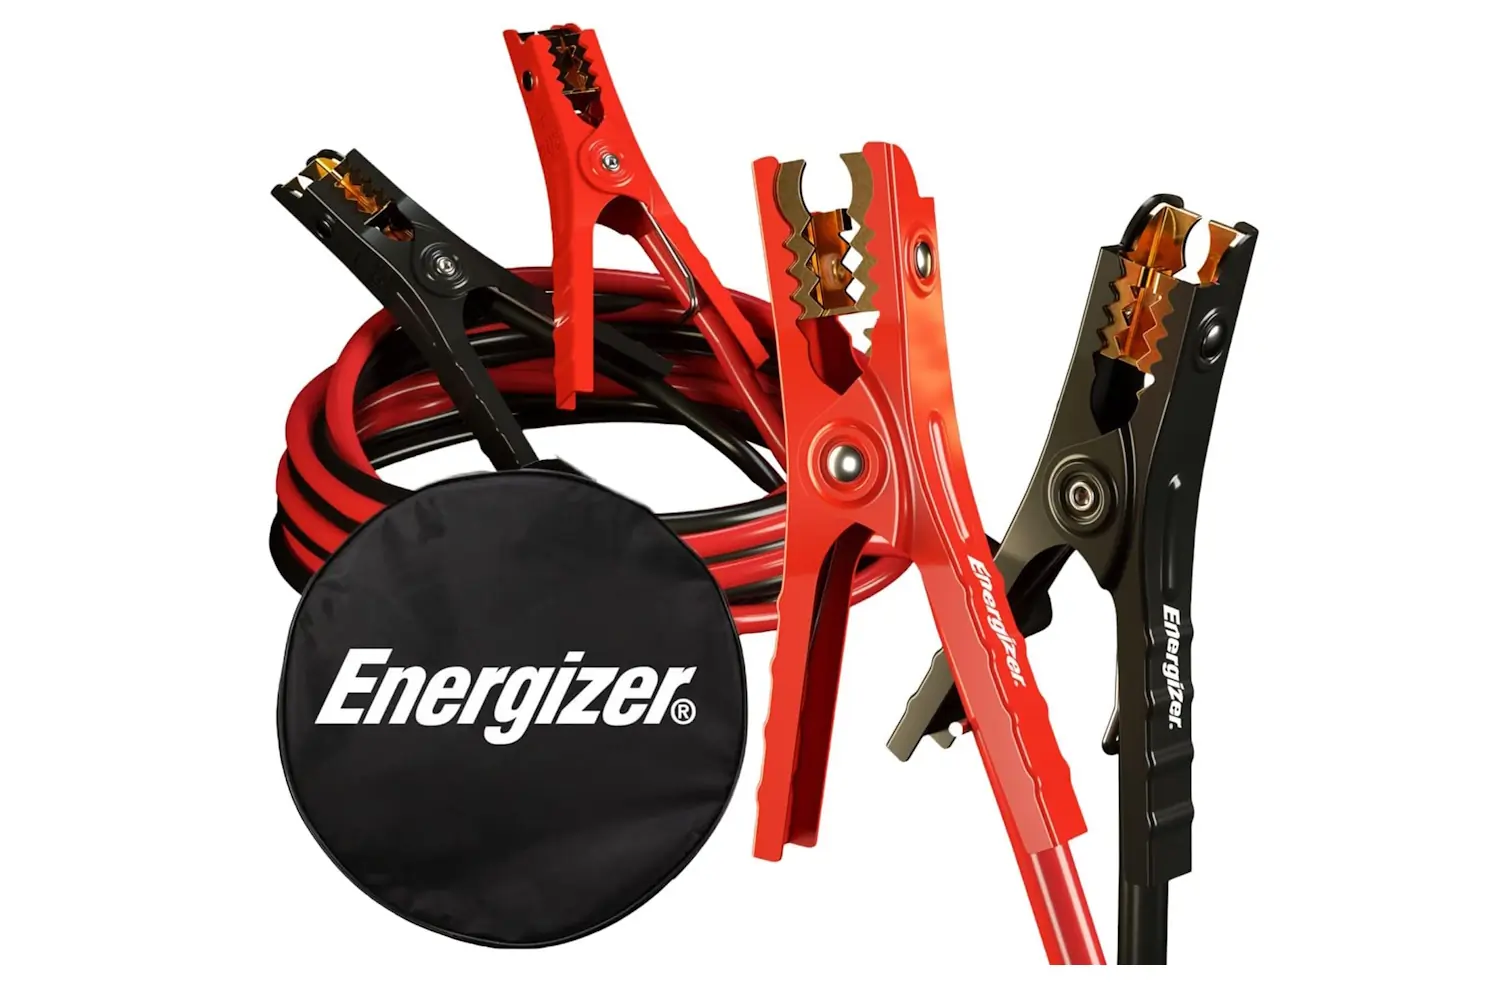
Energizer 6 Gauge Jumper Cables
- Size: 6 gauge
- Amp rating: N/A
- Length: 16 ft.
- Carrying bag included: yes
Pros
- Strong alligator clamps with copper-coated teeth
- Copper-clad aluminum cables
- A protective, thick vinyl wire jacket stays flexible at extreme cold temperatures
- Available in different gauges and lengths
Cons
- 6 gauge is not ideal for large engines
- The thin vinyl carrying case will not last too many years
ABN Jumper Cables, 25 Ft., 2 Gauge, 600 Amp
- Size: 2 gauge
- Amp rating: 600A
- Length: 25 ft.
- Carrying bag included: No
Pros
- Commercial grade suitable for cars, trucks, and marine vehicles
- Tangle-free flexibility in cold and warm weather
- PVC jacket oil- and chemical-resistant
Cons
- The clamp is not fully insulated, which may be a shock and short-circuit hazard
- Big and bulky
Best of the Rest
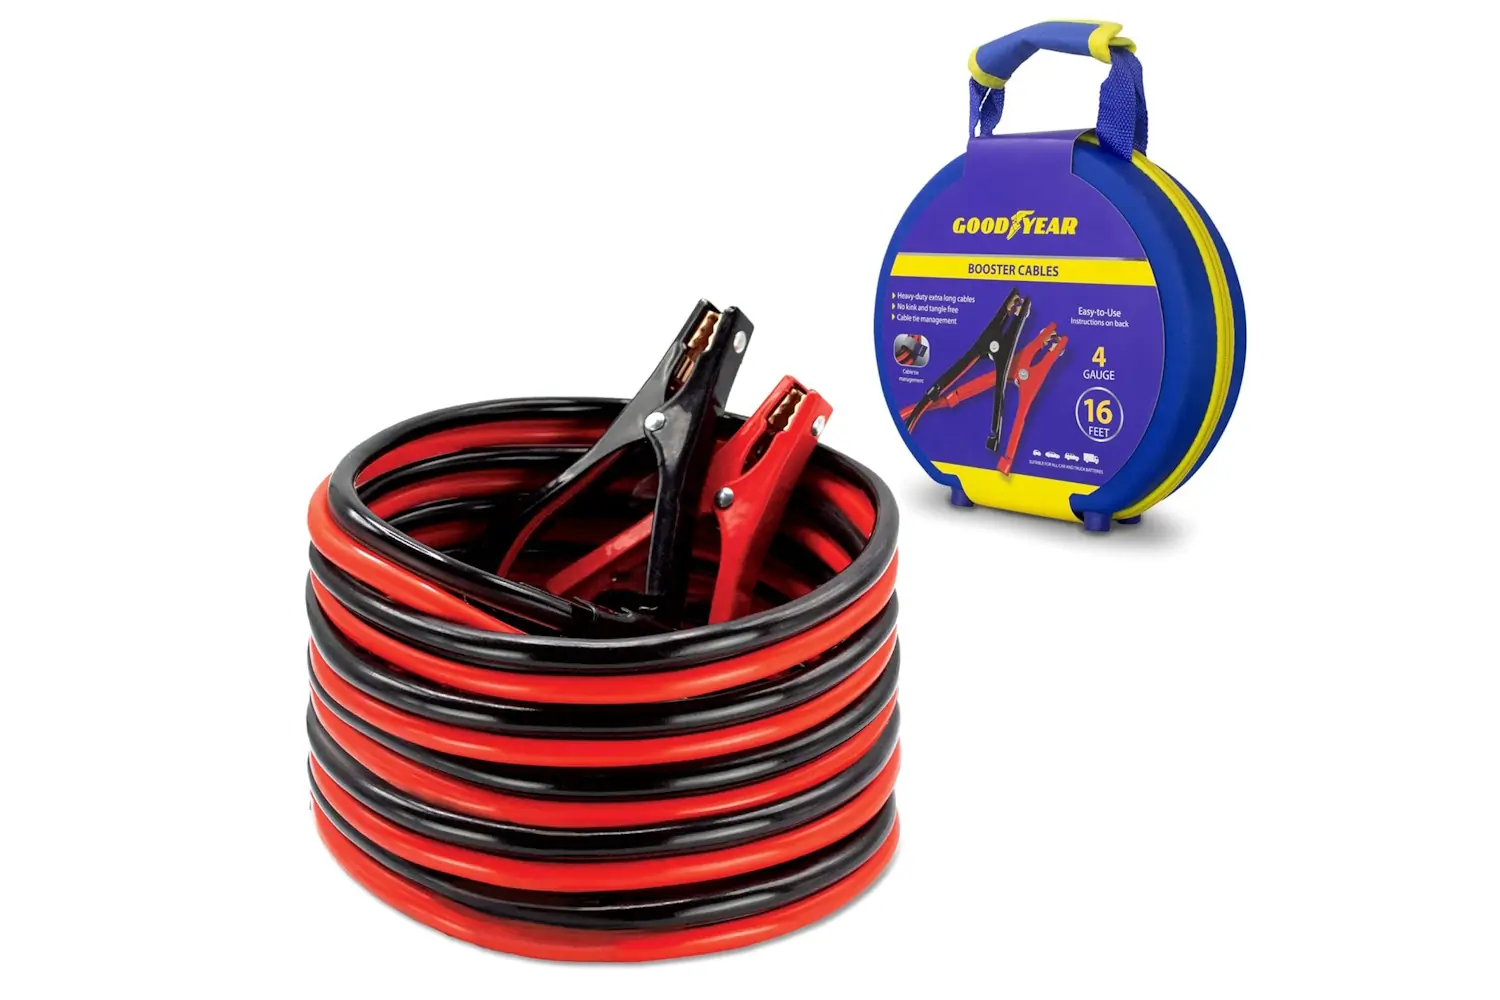
- Size: 4 gauge
- Amp rating: N/A
- Length: 16 ft.
- Carrying bag included: Yes, a hard case
Pros
- Suitable for all cars and trucks
- Strong solid copper parrot clamps
- Tangle-free design
- Cold-weather flexibility
Cons
- Clamps have limited grip and opening width
- The storage case is too small
Jumper Cables Comparison Chart
Scroll right to view all of the columns: Price, Size, Amp rating, Length, Carrying bag included.
| Jumper Cable | Price | Size | Amp rating | Length | Carrying bag included |
|---|---|---|---|---|---|
| VIKING 20 ft. 2 Gauge Super Heavy Duty Jumper Cables | $40 | 2 gauge | 420 amps | 20 ft. | Yes, a case |
| PITTSBURGH AUTOMOTIVE 12 ft. 10 Gauge Jumper Cables | $10 | 10 gauge | 150 amps | 12 ft. | Yes |
| Diehard Advanced Power Booster Cable 71303 | $42 | 6 gauge | 225 amps | 16 ft. | No |
| Energizer 6 Gauge Jumper Cables | $20 | 6 gauge | NA | 16 ft. | Yes |
| ABN Jumper Cables, 25 ft, 2 Gauge, 600 Amp | $39 | 2 gauge | 600 amps | 25 ft. | No |
| Goodyear 4 Gauge 16 feet | $39 | 4 gauge | NA | 16 ft. | Yes, a hard case |
How We Tested Jumper Cables
This guide features a variety of jumper cables for different vehicles and applications, from emergency kit staples to commercial-grade quality. In between, there are several choices for folks who want safe, reliable jumper cables for their car, truck, SUV, or any vehicle with a battery that needs a helping boost to get started.
Our Expert Testers
Our automotive specialist and lead tester of this buyer’s guide, Derek Mau, curated the collection. A regular work day for Mau involves testing almost anything on four wheels, obsessively researching and shopping for the best deal, and writing detailed and informative reviews of all things automotive for GearJunkie.
Our Testing Grounds
Mau is based in Boise, Idaho, where it’s hot and sunny in the summer and gets frosty in the winter, making it an ideal place to test car covers in the full range of elements and weather conditions.
Our Testing Process
Jumper cables are not a complicated tool or accessory. The essential parts are the clamps, the cable wire, and how well the cable is attached to the clamps.
For this guide, we did a close visual inspection, a voltage drop test, a load test, and resistance measurements with a multimeter.
The visual inspection covered the clamps, how well the cables were connected to them, the cables’ flexibility, and the quality of the cable housing.
A voltage test was done by connecting the booster cables to a DC power source and measuring the voltage drop across the wires. If the voltage changed, that indicated resistance in the cable, which could affect the performance.
An additional ohmmeter resistance test showed if the cable was properly carrying the current. Minimal resistance means the jumper cables are in good shape. Too much resistance indicates that the cable is not adequately conducting the current.
Based on the quality built into the materials and construction and customer feedback, as well as hands-on field testing that verified each product, we compiled this list of the best jumper cables deemed worthy of getting you or some unlucky person out of a jam.
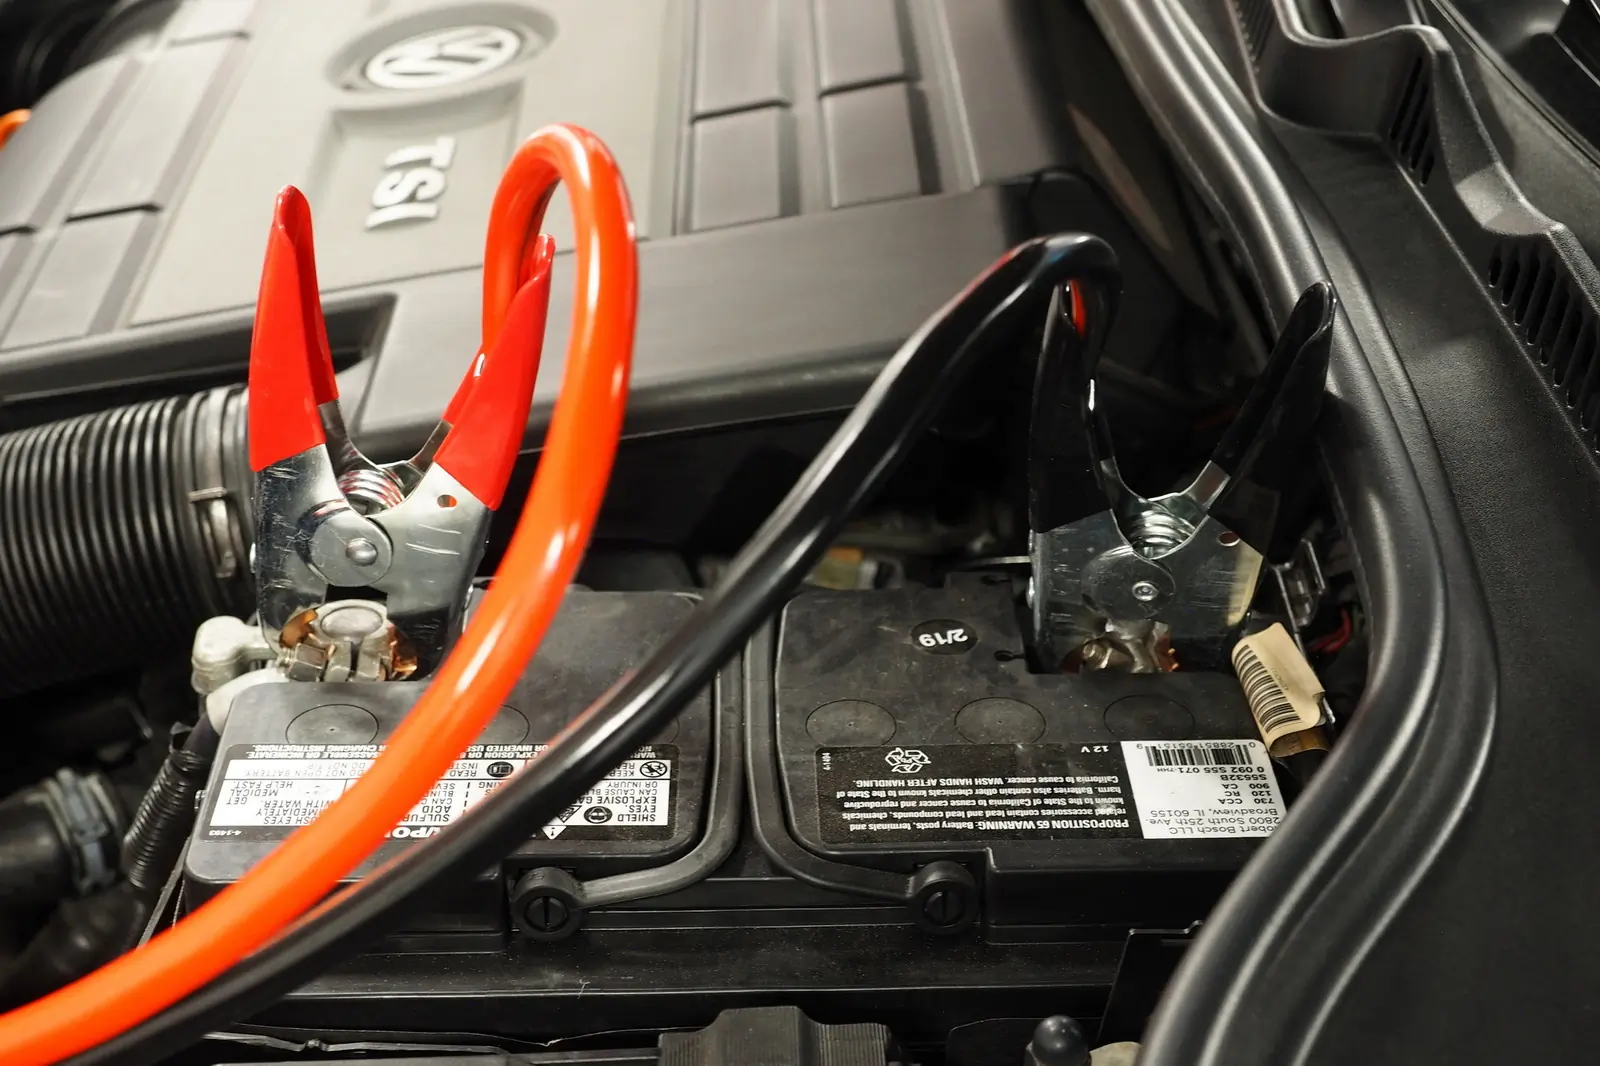
Buyers Guide: How to Choose the Best Jumper Cables
Jumper cables, also commonly referred to as “booster cables,” come in varying degrees of quality, lengths, and details, so you’ll want to make sure you pick the pair that’s right for you.
A quality set of booster cables will get your vehicle started and on your way. The best jumper cables in your emergency kit allow you to bypass the wait for roadside assistance or a tow truck. Shopping for a set of jumper cables shows an overwhelming number of choices with different price points, capabilities, and quality grades.
In worst-case scenarios, when your vehicle’s battery continually falters and cannot hold a charge, it might be time for a new one. Bring the battery to a local auto parts store or service center and ask them to test it for dead or weakened cells — especially if it is over 4 years old.
Wire Diameter
An essential component to consider in jumper cables is the gauge, or thickness, of the wire.
The lower the gauge number, the thicker the wire, which ranges from 1-gauge to 12-gauge. Thicker — or heavy-duty — wires allow more electrical current to pass through.
So, if you have a larger vehicle battery that needs more cold cranking amps to start, you’ll probably want a pair of cables with a lower gauge number. For instance, the VIKING 20 ft. 2 Gauge Super Heavy Duty Jumper Cables set uses 2-gauge wire and is capable of starting big diesel engines in buses or RVs.
The cold cranking amps needed to start smaller vehicles are less than those required for a truck, SUV, or full-size car with a V-8 (or larger) engine. Hence, 8- or 10-gauge jumper cables are sufficient for compact cars, midsize sedans, and up-to-midsize trucks and crossovers. A good example is the PITTSBURGH AUTOMOTIVE 12 ft. 10 Gauge Jumper Cables.
Bigger vehicles with larger engines — for example, full-size trucks, SUVs, and large sedans —understandably need more power and cables of 2- to 6-gauge, like the Energizer 6 Gauge Jumper Cables that uses 6-gauge wire to carry the current without overheating.


Terminal Clamps
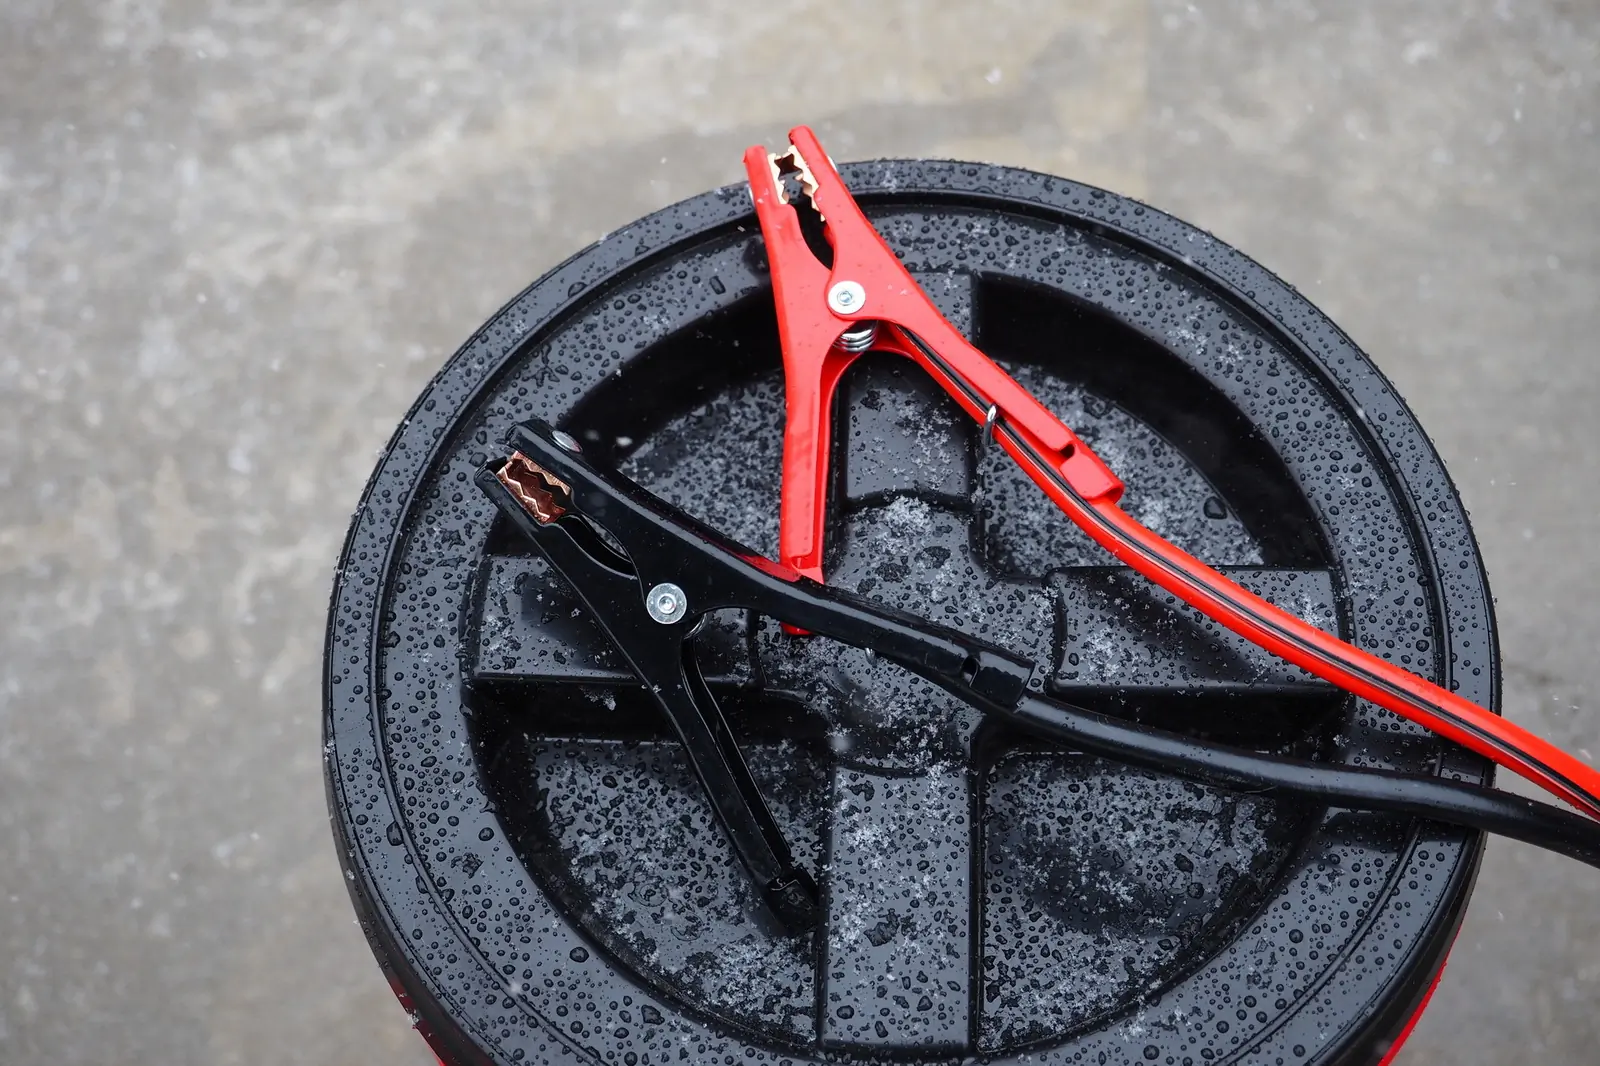
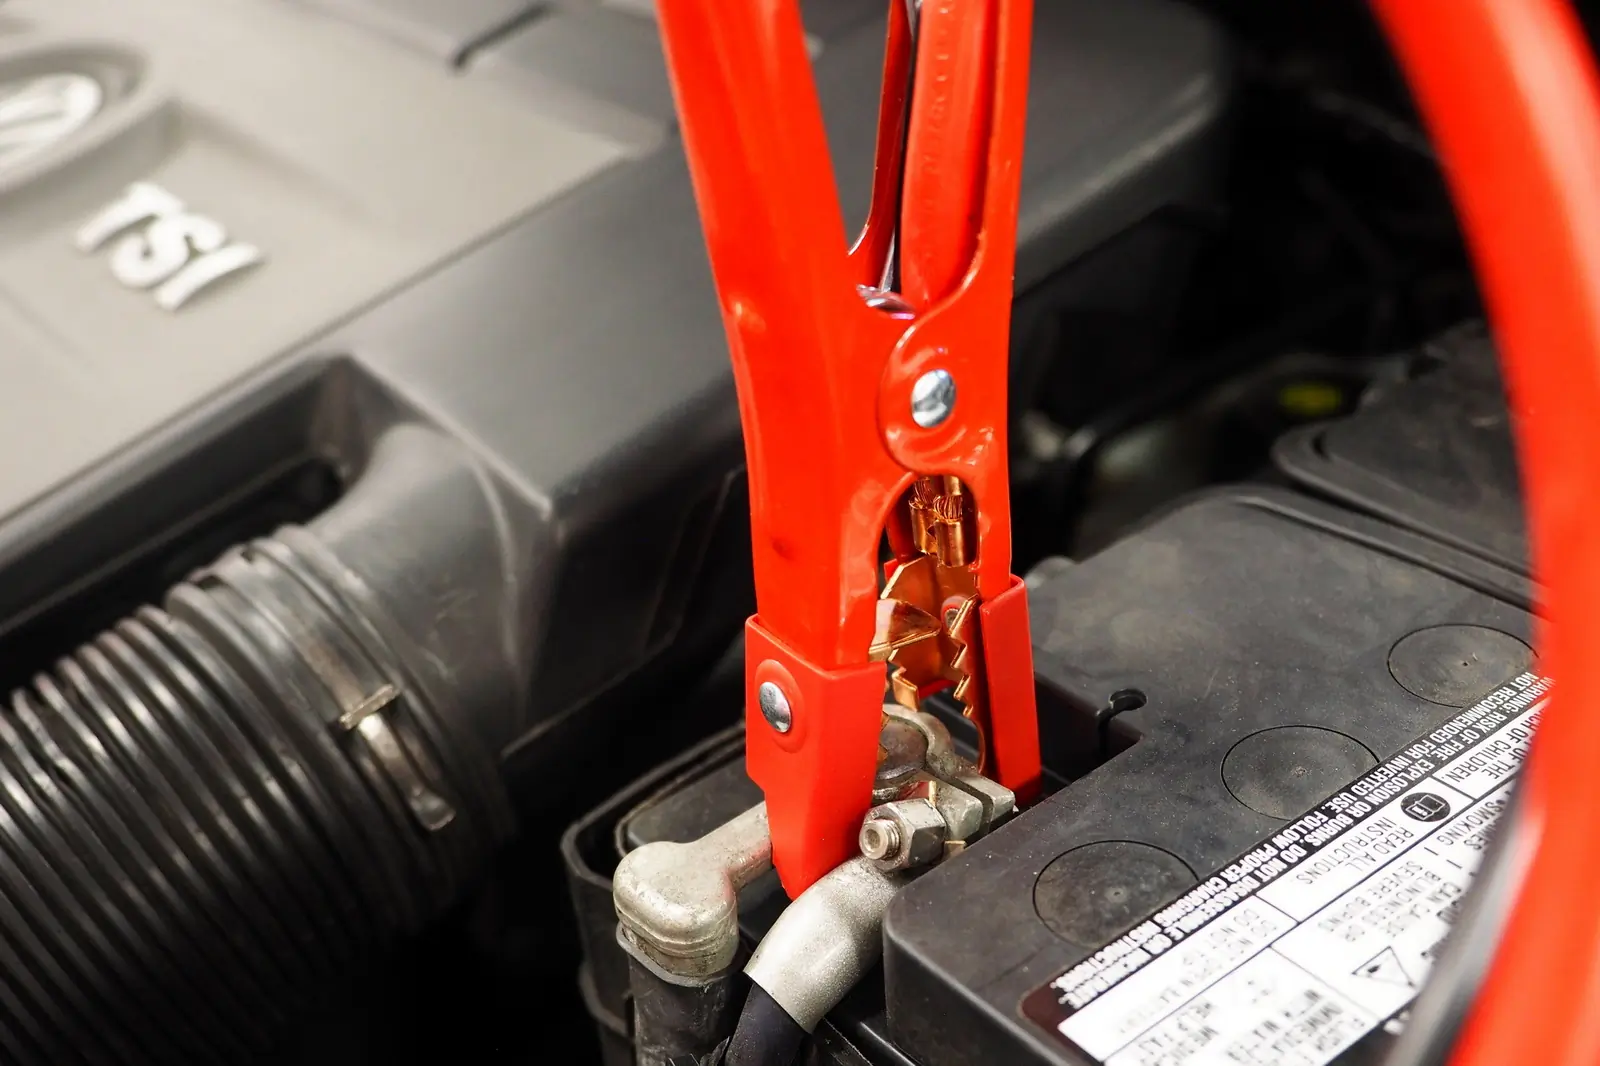
Booster cables can have alligator or parrot clamps. An alligator clamp has two rectangular-shaped opposing sides, and some designs have a silhouette of sharp teeth on the inside. The arching profile of a parrot clamp looks like the smooth, curved beak of a parrot with a point on the end. Inside, the clamp can still have a jagged edge that looks like shark teeth.
Overall, the outline of an alligator clamp looks slightly more linear, like a triangle, with a more pointed end. A parrot clamp is a tad more rounded.
Alligator clamps work well when connecting to battery terminals positioned at the top or side of a 12V battery. Plus, if the jaws have teeth on the top and the inside, they can grab the battery terminal in multiple positions. Parrot clamps are handy when connecting to top post terminals or when space is tight around the battery terminals.
It’s also vital that your cables have insulated clamps with a meaty grip. The attachment point is essential for conducting electricity. Hence, jumper cable clamps should be securely attached, insulated to prevent electrocution and injury, and strong enough to grip the terminal post without slipping off.


Cable Length
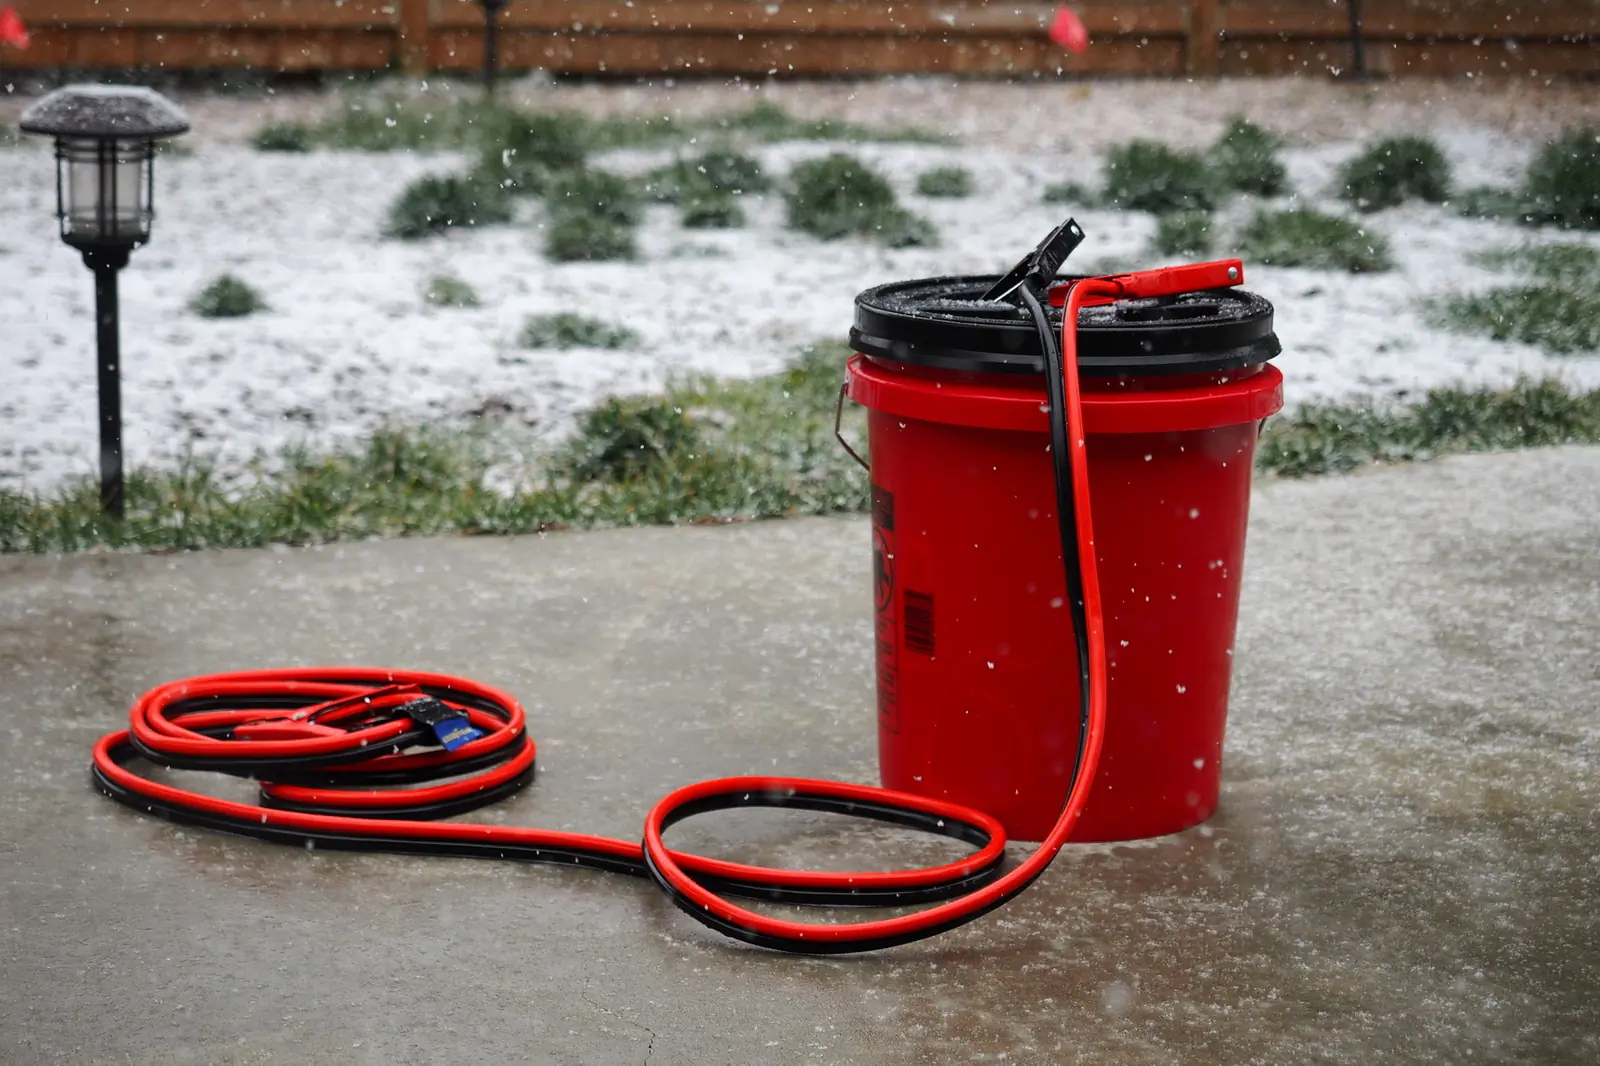
The conditions under which you use them will determine the length of the jumper cables. Since it is hard to imagine when and where you’ll have to use the booster cables, 12-20 feet will work in most scenarios.
A longer length will allow more distance between vehicles in areas with high traffic and limited parking choices. A good example that will have the reach for almost any situation is the ABN Jumper Cables, 25-foot, 2 Gauge, 600 Amp that stretch 25 feet — longer than a full-size truck or SUV.


Wire Composition
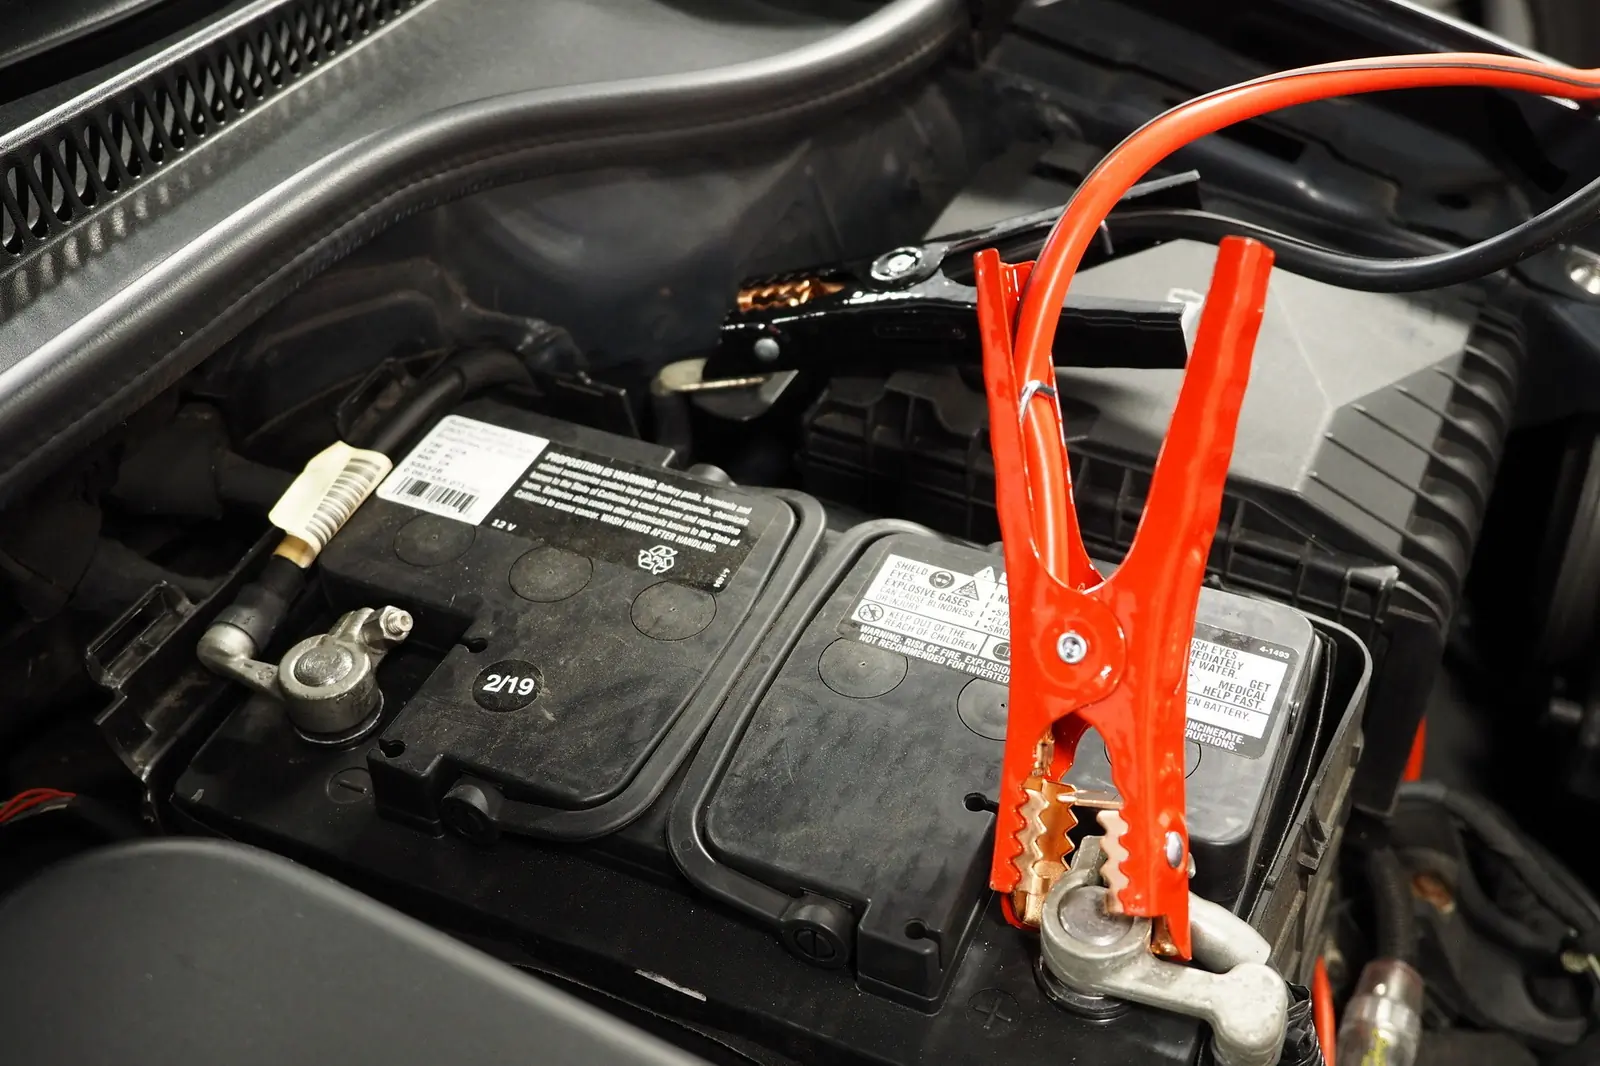
The purpose of jumper cables is to conduct electricity from a donor power source to a tired or weak battery that cannot start a vehicle. Copper is one of the best conductors of electricity, but the disadvantages of using pure copper wire are cost, weight, and strength.
A cost-effective solution is to use copper-clad or copper-coated aluminum wire. Although it has a lower level of electrical conductivity than solid copper wire, it will still carry plenty of juice to revive a dead battery. Two of the best examples we tested that use copper-coated aluminum wire are the Goodyear 4 Gauge 16-foot booster cables and VIKING 20 ft. 2 Gauge Super Heavy Duty Jumper Cables.


Value of Jumper Cables
The amount of money you spend on a set of jumper cables will influence your buying decision. While a budget-priced cable set might fit your allowance, better solutions may be available when your car is distressed and needs a jumpstart.
Fortunately, a wide array of models and prices offer distinctive benefits, for example, the jumper cables from Pittsburgh Automotive and Energizer: the PITTSBURGH AUTOMOTIVE 12-foot 10 Gauge Jumper Cables and the Energizer 6 Gauge Jumper Cables.
Some jumper cables include a case, whether soft or firm, and certain designs are longer than others or have a higher gauge.


How to Safely Jumpstart Vehicles
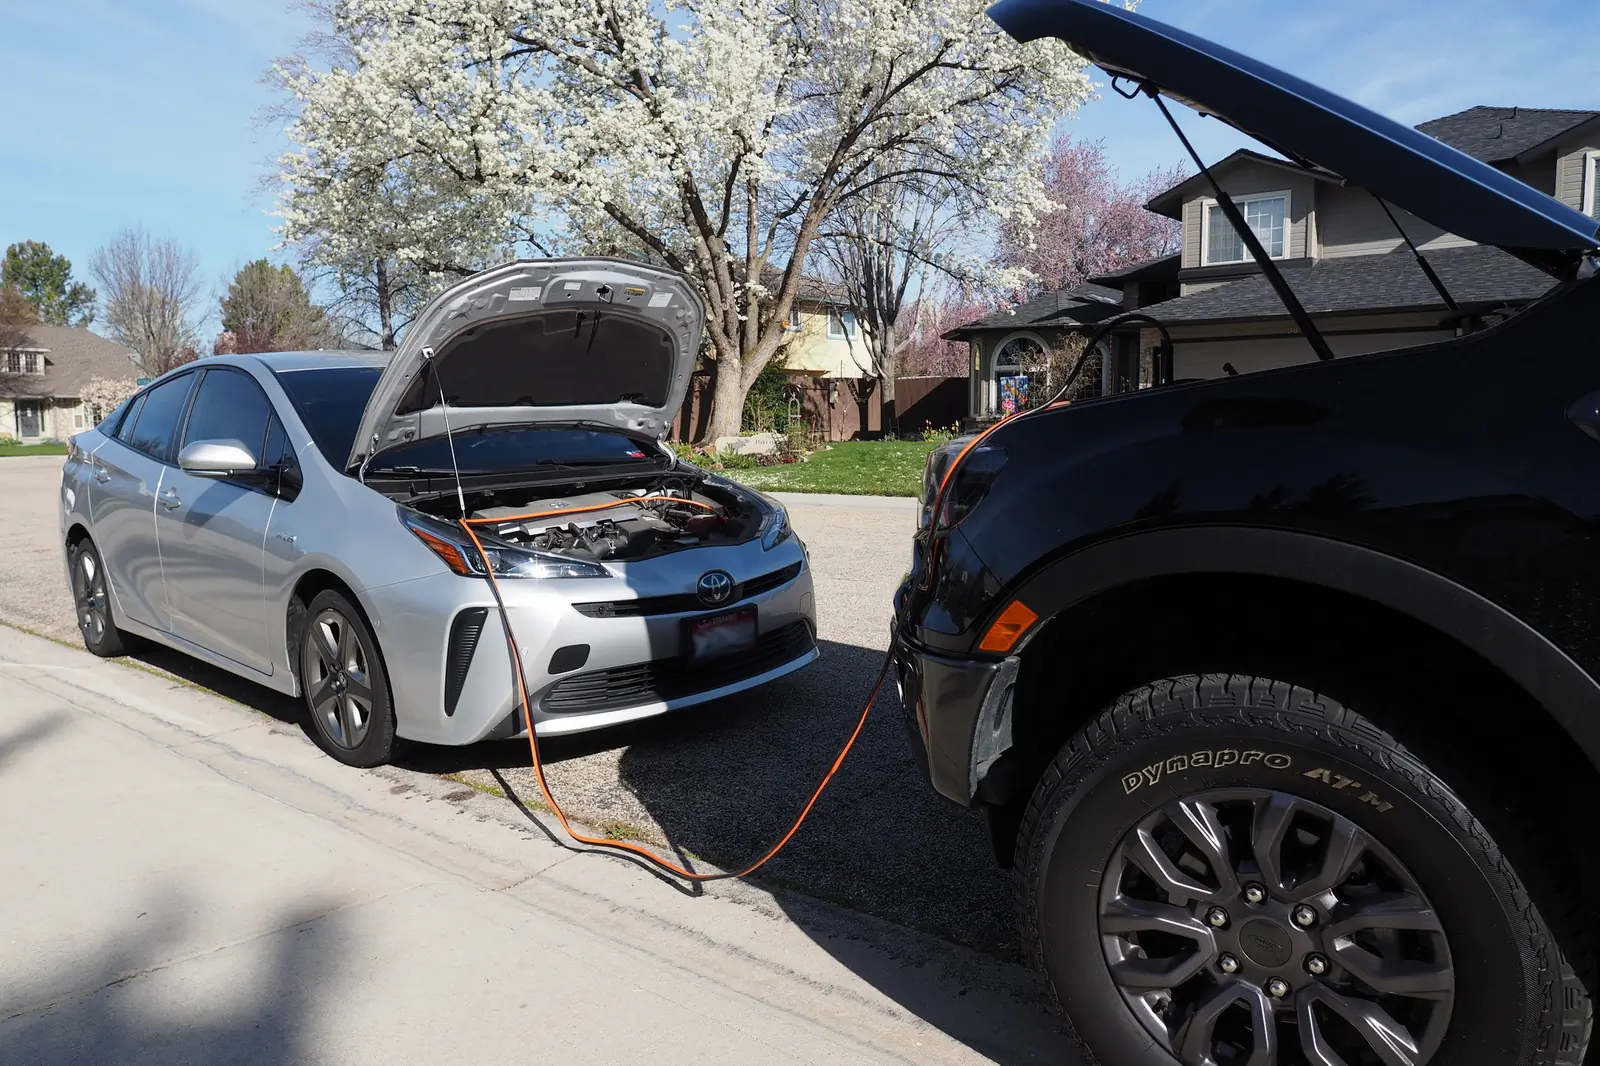
The first step can be intimidating if you’re unfamiliar with jumpstarting a rig. Especially if it’s cold outside, you’ll need to reboot fast: It’s no joke when temps hit the negatives, and GearJunkie Senior Editor Morgan Tilton needs a jumpstart in Crested Butte, Colo. (She always has a pair of winter mittens in her truck).
Here’s a full rundown of the steps you’ll follow to get on the road again:
- Position the two vehicles close enough — but not touching each other — so that the jumper cables reach from the donor battery to the one that needs help.
- Look at the battery and identify the positive and negative terminal posts. The positive side typically has a red cable and a “+” symbol. The negative side has a black cable attached and is marked with a “-” symbol.
- Correctly hooking up the cables will ensure a safe and steady current flow from the donor car to the weak or dead battery.
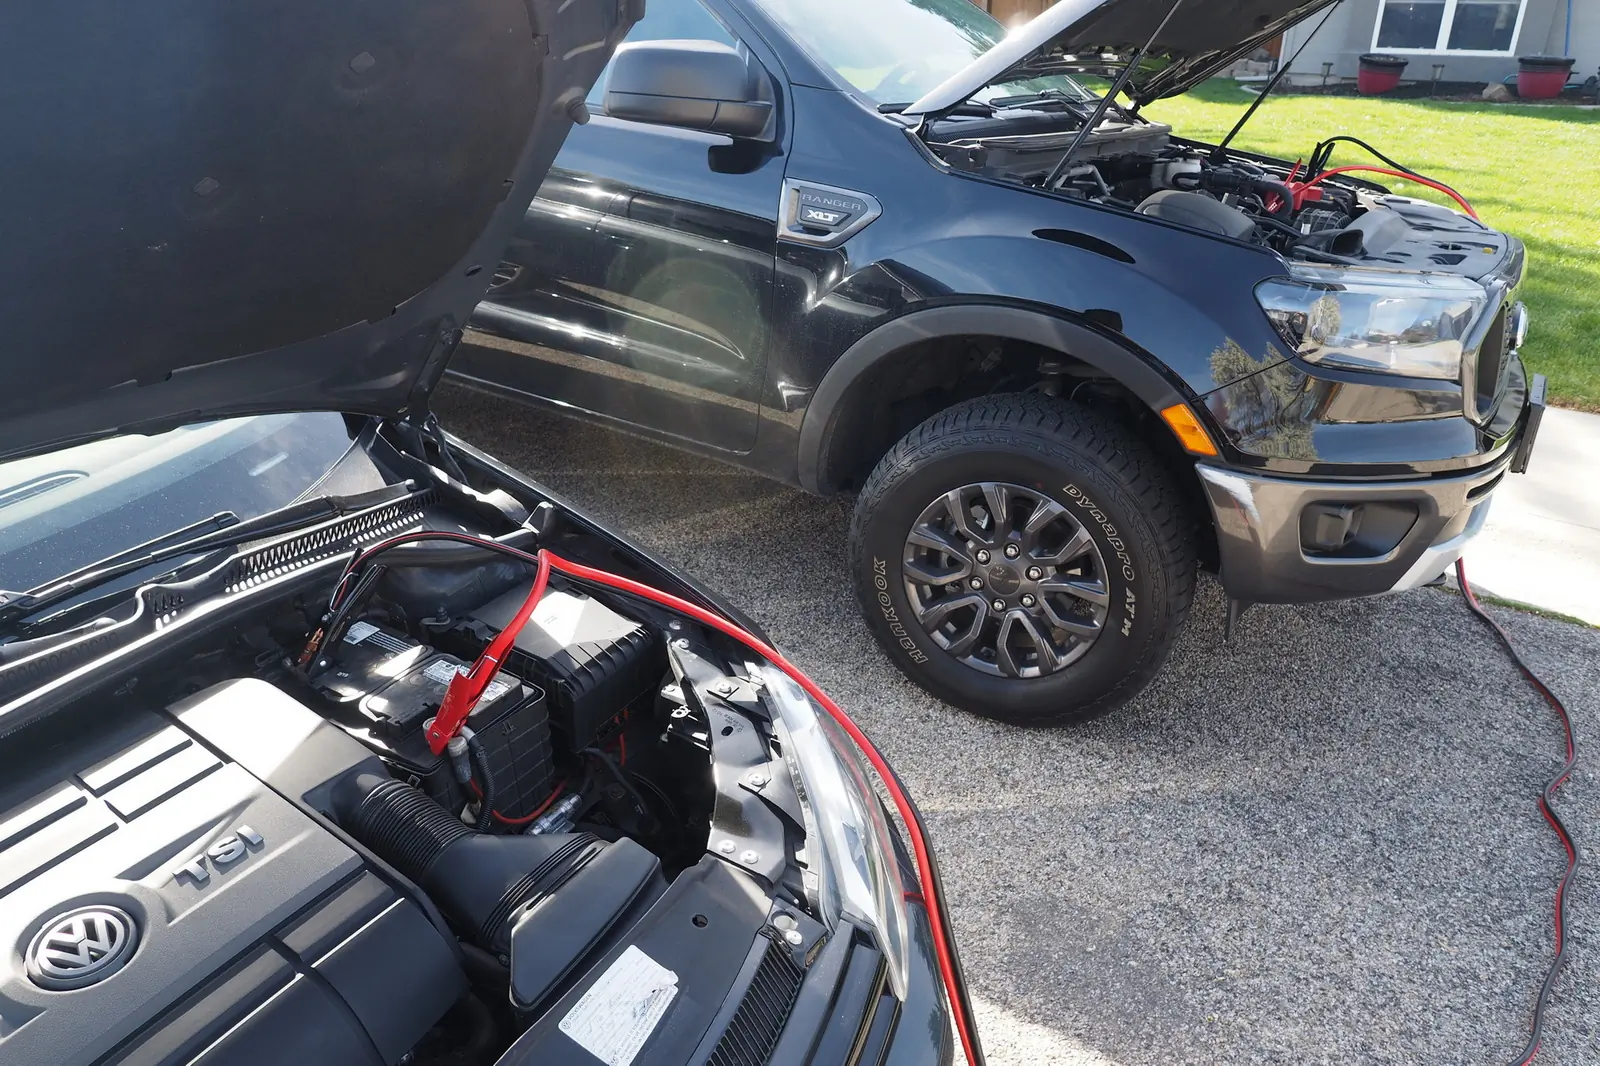
- The jumper cables have four clamps — two at each end. Red clamps attach to the positive terminal, and black clamps attach to the negative post or ground point. Attach the red clamp of one end of the jumper cable to the dead battery’s positive terminal. Leave the black clamp unattached for now.
- Attach the red clamp to the positive terminal at the good battery, and then connect the black clamp to the negative post.
- Return to the vehicle that needs a boost and connect the black clamp to a bare metal, solid ground point in the engine bay, such as a metal bracket attached to the engine block away from a fuel line or an unpainted strut tower bolt. Using a ground point instead of the negative battery post avoids potentially dangerous sparks.
- Start the vehicle with the good battery and let it run for about 2 minutes to charge the dead or weak battery.
- Start the car with the dead battery and allow it to run for approximately 2 minutes to allow it to recharge.
- Disconnect cables in reverse order, starting with the negative cable clamped to bare metal in the engine bay. Do not let the clamps touch metal to avoid an accidental spark or damage to the vehicle’s electrical system.
- Drive the restarted vehicle for 20-30 minutes so it can recover.


When to Replace Your Jumper Cables
If you have a set of jumper cables tucked away in your truck or car trunk, occasionally doing a quick visual inspection is a good idea. Look for cracks or worn spots in the insulation housing to ensure the cables are in good condition, and check that the clamps are securely attached to the wire.
A brief inspection might avoid any potential accidents.
If you upgrade your vehicle, make sure the cables you have are adequate including the length, clamp style, and gauge or wire diameter.
Price & Value
The biggest design variables of jumper cables that influence cost are the cable length, amp rating, and gauge. While cables across all three price tiers can offer a carrying case, not all do, and the styles vary between soft and hard, and the quality ranges.
Budget
On the low end, jumper cables can cost no more than two lattes. Our budget pick, the PITTSBURGH AUTOMOTIVE 12 ft. 10 Gauge Jumper Cables ($10), offers basic 12-foot cables and enough oomph to power up small and midsize vehicles.
Mid-Tier
Doubling that price, you’re still paying less than an average sit-down lunch. Options like the Energizer 6 Gauge Jumper Cables ($20) bring you to a 6-gauge size versus a lower 2-gauge design. The cables typically have a more generous length, too: This Energizer set is 16 feet compared to 12 feet, for instance.
Premium
Stepping into a more premium grade, the Diehard Advanced Power Booster Cable 71303 ($43) delivers an amp rating of 225 amps, 6-gauge size, and 16-foot cables. Around that same price, the ABN Jumper Cables, 25 ft, 2 Gauge, 600 Amp ($39) brings a whopping 600-amp rating to the table. While other cables offer a carrying case, the 4-gauge Goodyear 4 Gauge 16 feet ($39) includes a firm case, which is more durable than the softer cases that are included with cables in lower price tiers.


Frequently Asked Questions
Jumper cables, also known as booster cables or jump leads, are crucial when your car’s battery dies or drains. Our favorite options include the VIKING 20 ft. 2 Gauge Super Heavy Duty Jumper Cables and Goodyear 4 Gauge 16-foot booster cables.
First, attach the red clamp on the jumper cable to the positive side of the working battery. Second, connect the red clamp on the other end to the positive terminal on the dead or tired battery. Third, clamp the black cable to the negative side of the working battery. Finally, clip the last black clamp to a metal part in the engine bay. Do not connect the negative side of the cable to the dead battery.


Jumper cables come in different gauges (cable diameter) ranging from 1 to 12. The gauge of the cable indicates the amount of power it can handle, with lower numbers indicating higher power capacity. For most standard vehicles, 4- to 6-gauge jumper cables are sufficient. However, you should use 2-gauge cables for optimal performance if you have a larger vehicle like a diesel truck. Smaller vehicles can typically use 8- to 10-gauge jumper cables.
Use a portable jumpstarter if the donor vehicle isn’t available to jumpstart the dead battery.
Sometimes, jumper cables and a boost from another vehicle aren’t enough to get your car going again. There are several reasons why you’re unable to jumpstart a car. Here are things you can check if a service technician isn’t nearby:
- Inspect cables to the battery to ensure they are secure and not covered with corrosion.
- Clean any corrosion off of the posts or terminals.
- If you hear a clicking noise when turning on the ignition, it may indicate a broken starter.
- The battery is done and may need replacement.
A dead battery can signal a bigger problem. If the battery can’t hold a charge, it may need replacement. Rather than wait for another battery-related problem to arise, take your vehicle to a service center or auto parts store. Most places will test the battery free of charge.
To ensure a safe and successful jumpstart, attach jumper cables following these steps:
- Connect the red clamp to the positive terminal on the dead battery.
- Connect the other end of the red clamp to the positive terminal on the donor vehicle’s working battery.
- Connect the black clamp to the negative terminal on the donor vehicle’s working battery.
- Finally, connect the last black clamp to an unpainted metal part of the dead car (e.g., a bolt or bracket) not next to the battery. This method will prevent any unintentional sparks.


Cooper Tires Discoverer AT3 Review: Sticky When Slick
For large vehicles that spend lots of time off road, the Cooper Tires Discoverer AT3 XLTs give great all-season traction. And they do so while maintaining good manners on the highway.


Winter Tires vs. All-Season: 4 Road Tests That Prove They’re Worth It
Sure, there’s no substitute for smart driving — but in icy, snowy conditions, winter tires can make a huge difference.
