Some bike lights are a modified version of existing lights; think a flashlight with a handlebar mount. Some are specifically designed for cycling but use readily available components that may not be ideal for the demands of cycling. And many cycling lights seem to only be about lumens, touting that more is always better.
Outbound Lighting is a newer brand with chops in the automotive lighting industry. It specifically addresses the unique lighting demands of cycling. The Detour light is its road and gravel biking solution to cyclists’ gripes with other available models.
Well, if there is one thing I can do about cycling products, it’s gripe. In nearly 4 decades of turning the pedals, bike lights have let me down plenty. One of my favorite things to do is ride at night on dirt. A routine jaunt during the day turns into a wholly different experience at night.
Where I live in rural Central Texas, the animals, extreme darkness, and the novelty of riding when everyone else is asleep have entertained me for decades. And the recent demands of single fatherhood make riding in darkness more common.
I started testing the Outbound Lighting Detour shortly after its release last September and consistently rode with it on gravel through the winter. Then, this summer, I rode with it occasionally late at night to dodge the intrepid heat or just because that was the only time I could get out. I’ve spent hundreds of miles chasing the glow of the Detour bicycle headlight.
In short: The Outbound Lighting Detour is my new standard for bicycle lighting. Outbound Lighting’s alchemy of brightness, beam and cutoff pattern, heat management, battery life, charging strategy, and mounting method won me over. The price is reasonable. I don’t think you can find a better bicycle headlight for road and gravel cycling.
-
Brightness
8.5
-
Battery Life
9.0
-
Mounting and Ease of Use
9.0
-
Durability and Weather Resistance
9.0
- Claimed lumens: 1,200
- Battery capacity: 5,000 mAh
- Charge port: USB-C pass-through
- Mounting position: Handlebar
- Verified weight: 152g light, 42g mounting bracket
Pros
- Horizontal cutoff protects oncoming drivers
- Pass-through USB-C charging means unlimited runtime
- Clever, fuss-free, and quick mounting system
- Very wide and expansive beam pattern
Cons
- Not the most powerful bike light
Impressive Industry Chops

Reading about the two heads of Outbound Lighting makes them seem like overkill for bike lights. The founder, co-owner, and lead engineer cut his teeth developing roller coasters, fighter jets, and automotive lighting. He then flexed his experience and interests in rally car racing. Obviously, a flashlight with a handlebar mount isn’t going to cut it for this guy.
The other co-owner and engineer was the manager of the Package and Test and Global Applications Engineering Team of CREE LED. CREE Lighting is a leader in LED lighting chips that are widespread across several industries, including automotive. This engineer garnered several patents for LED chips during his tenure there. He’s also a passionate mountain biker and started a mountain bike club in Pisgah, a popular destination for singletrack hounds.
All these credentials sound impressive, but it didn’t mean they could produce a good bike light since they had not done so before Outbound Lighting. My original impression was that the lights would be super powerful, maybe too much so, since the power that car headlights possess trumps a little bicycle light. But time would tell.
Initial Impressions of the Outbound Lighting Detour Bike Light
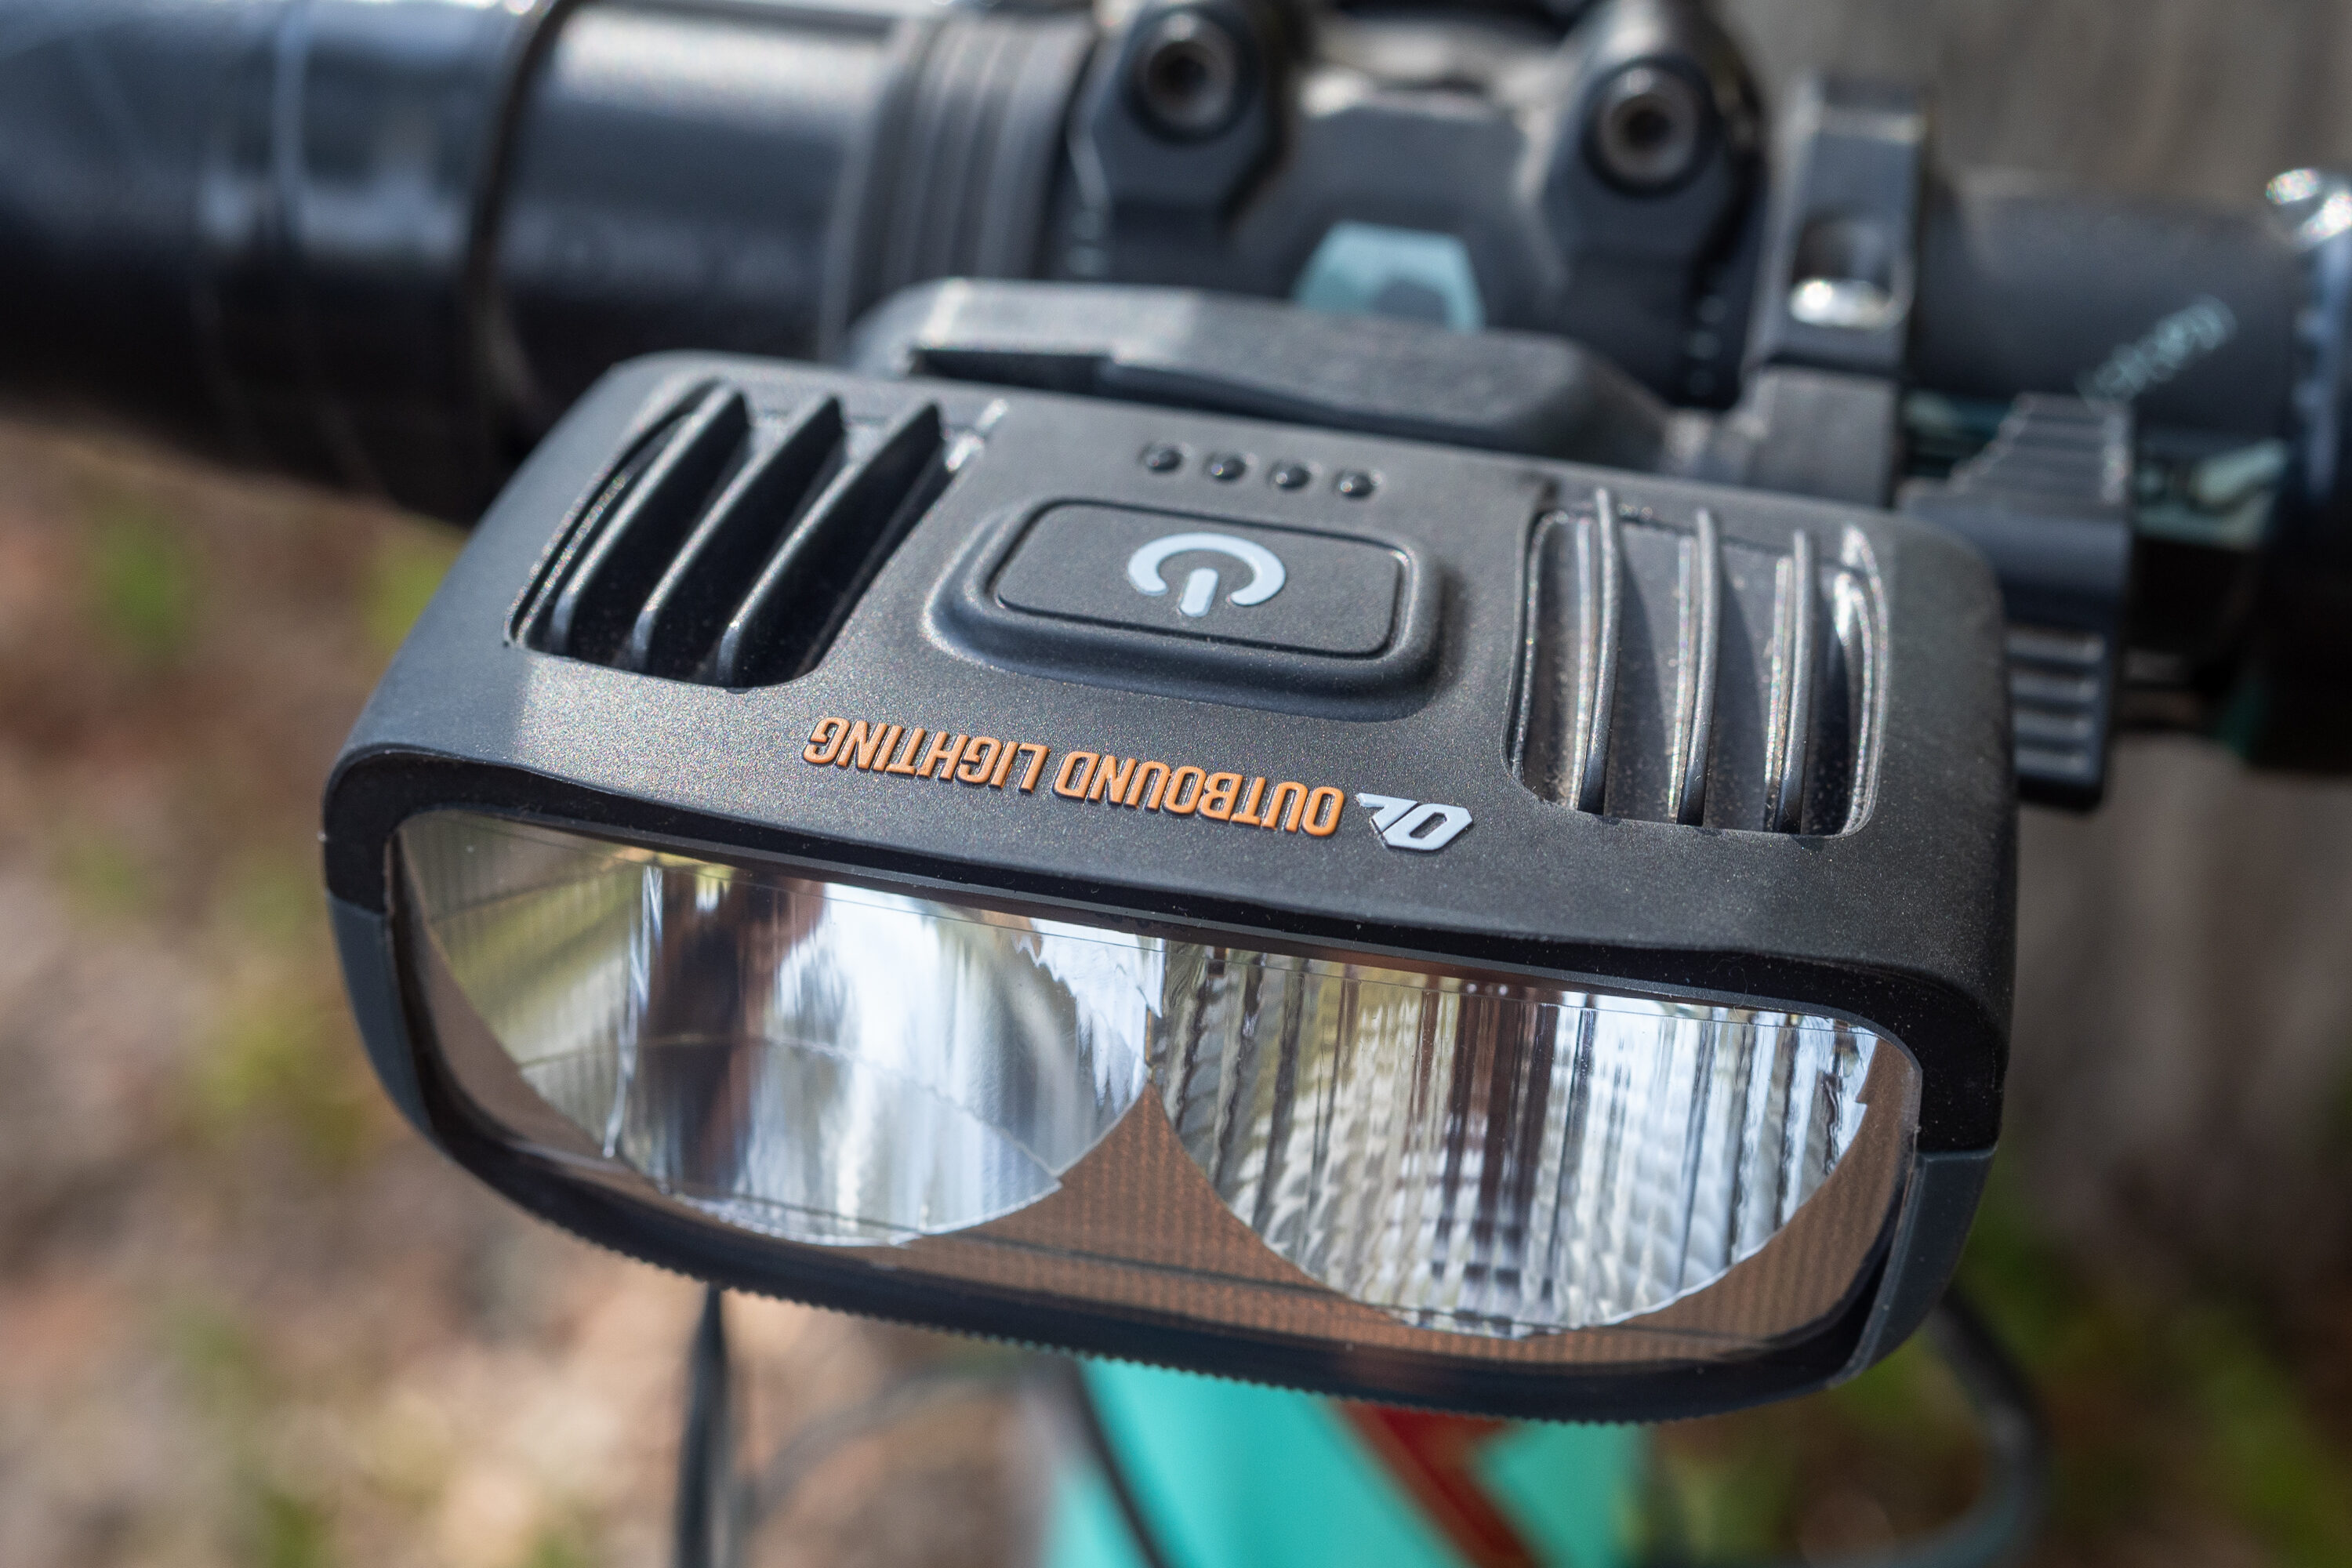
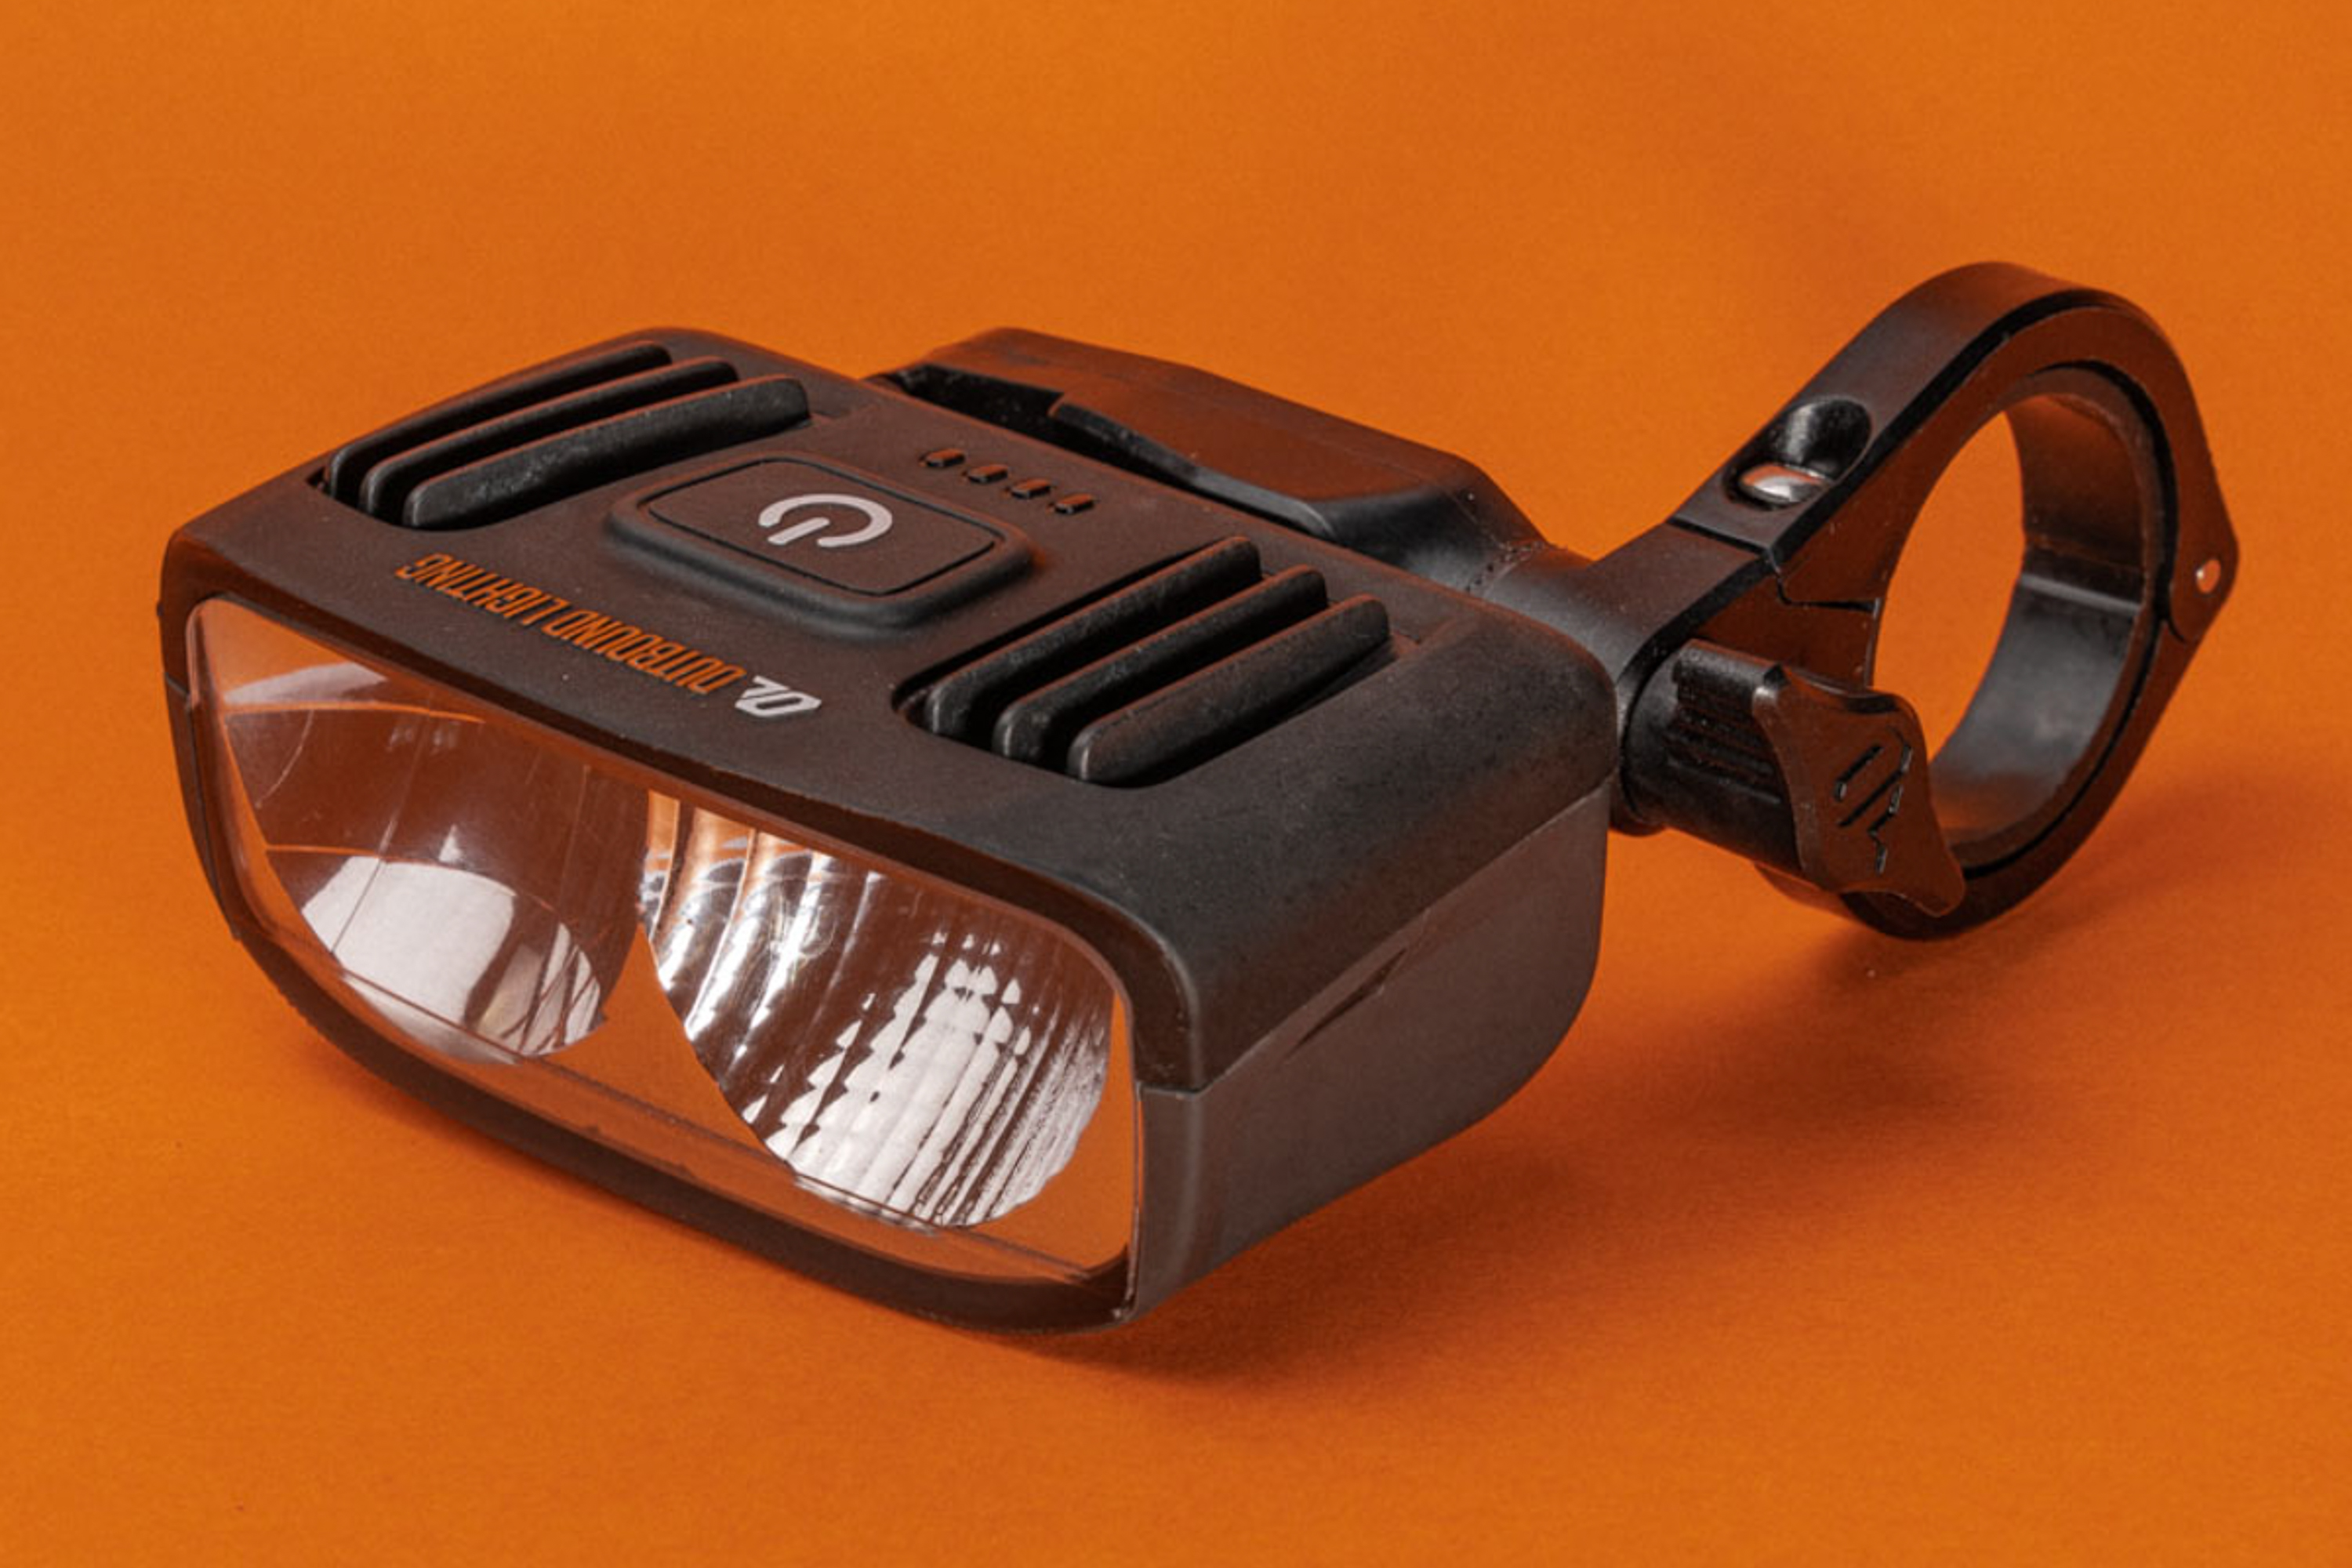
Unboxing the Detour revealed that, indeed, it is different. It has a horizontal form factor, and there are only two LED chips, each with a different reflector. This is a stark contrast to most other bicycle headlights I have, which seem to follow the more is better mantra when it comes to LED chips and reflectors.
Outbound Lighting claims a reasonable 1,200 lumens of output. Some of the other lights I have boast up to 2,500 lumens and use up to five LED chips, each with its own reflector. I didn’t know what to think other than, “Man, this is a lot simpler for them.”
It is smaller and lighter than some bicycle headlights I was testing, larger and heavier than others. I know that much of the weight and size depends on the batteries and, thus, runtime. The Outbound Lighting Detour weighs a verified 152 g without the mounting bracket (which weighs 42 g).
The controls couldn’t have looked any simpler; there is only one button and four LED status lights. There are also two amber side marker lights, just like on cars.
The rubberized bottom has a USB-C charging port with a cover, and I discovered that it supports pass-thru charging. This is also different from any other light I have tested. It means it can charge while in use. This opens up a lot of runtime for those that go ultra-long.
The back of the Detour has a proprietary mounting bung, which works only with the included handlebar bracket. The bracket and bung utilize a mechanism that matches my favorite camera mounting systems, so there was immediate recognition and trust. It was my belief that the battery size was a consideration when going with this mount; it can only handle so much weight.
Another differentiator was the prominent resin cooling fins that stuck out from the interior of the light through the rubberized case. Cooling fins are cast or cut into the metal exterior case of my other lights. Outbound lighting claims that this resin has excellent thermal transfer ability.
Enough speculating; it was time to split the night with light.
Outbound Lighting Detour Review
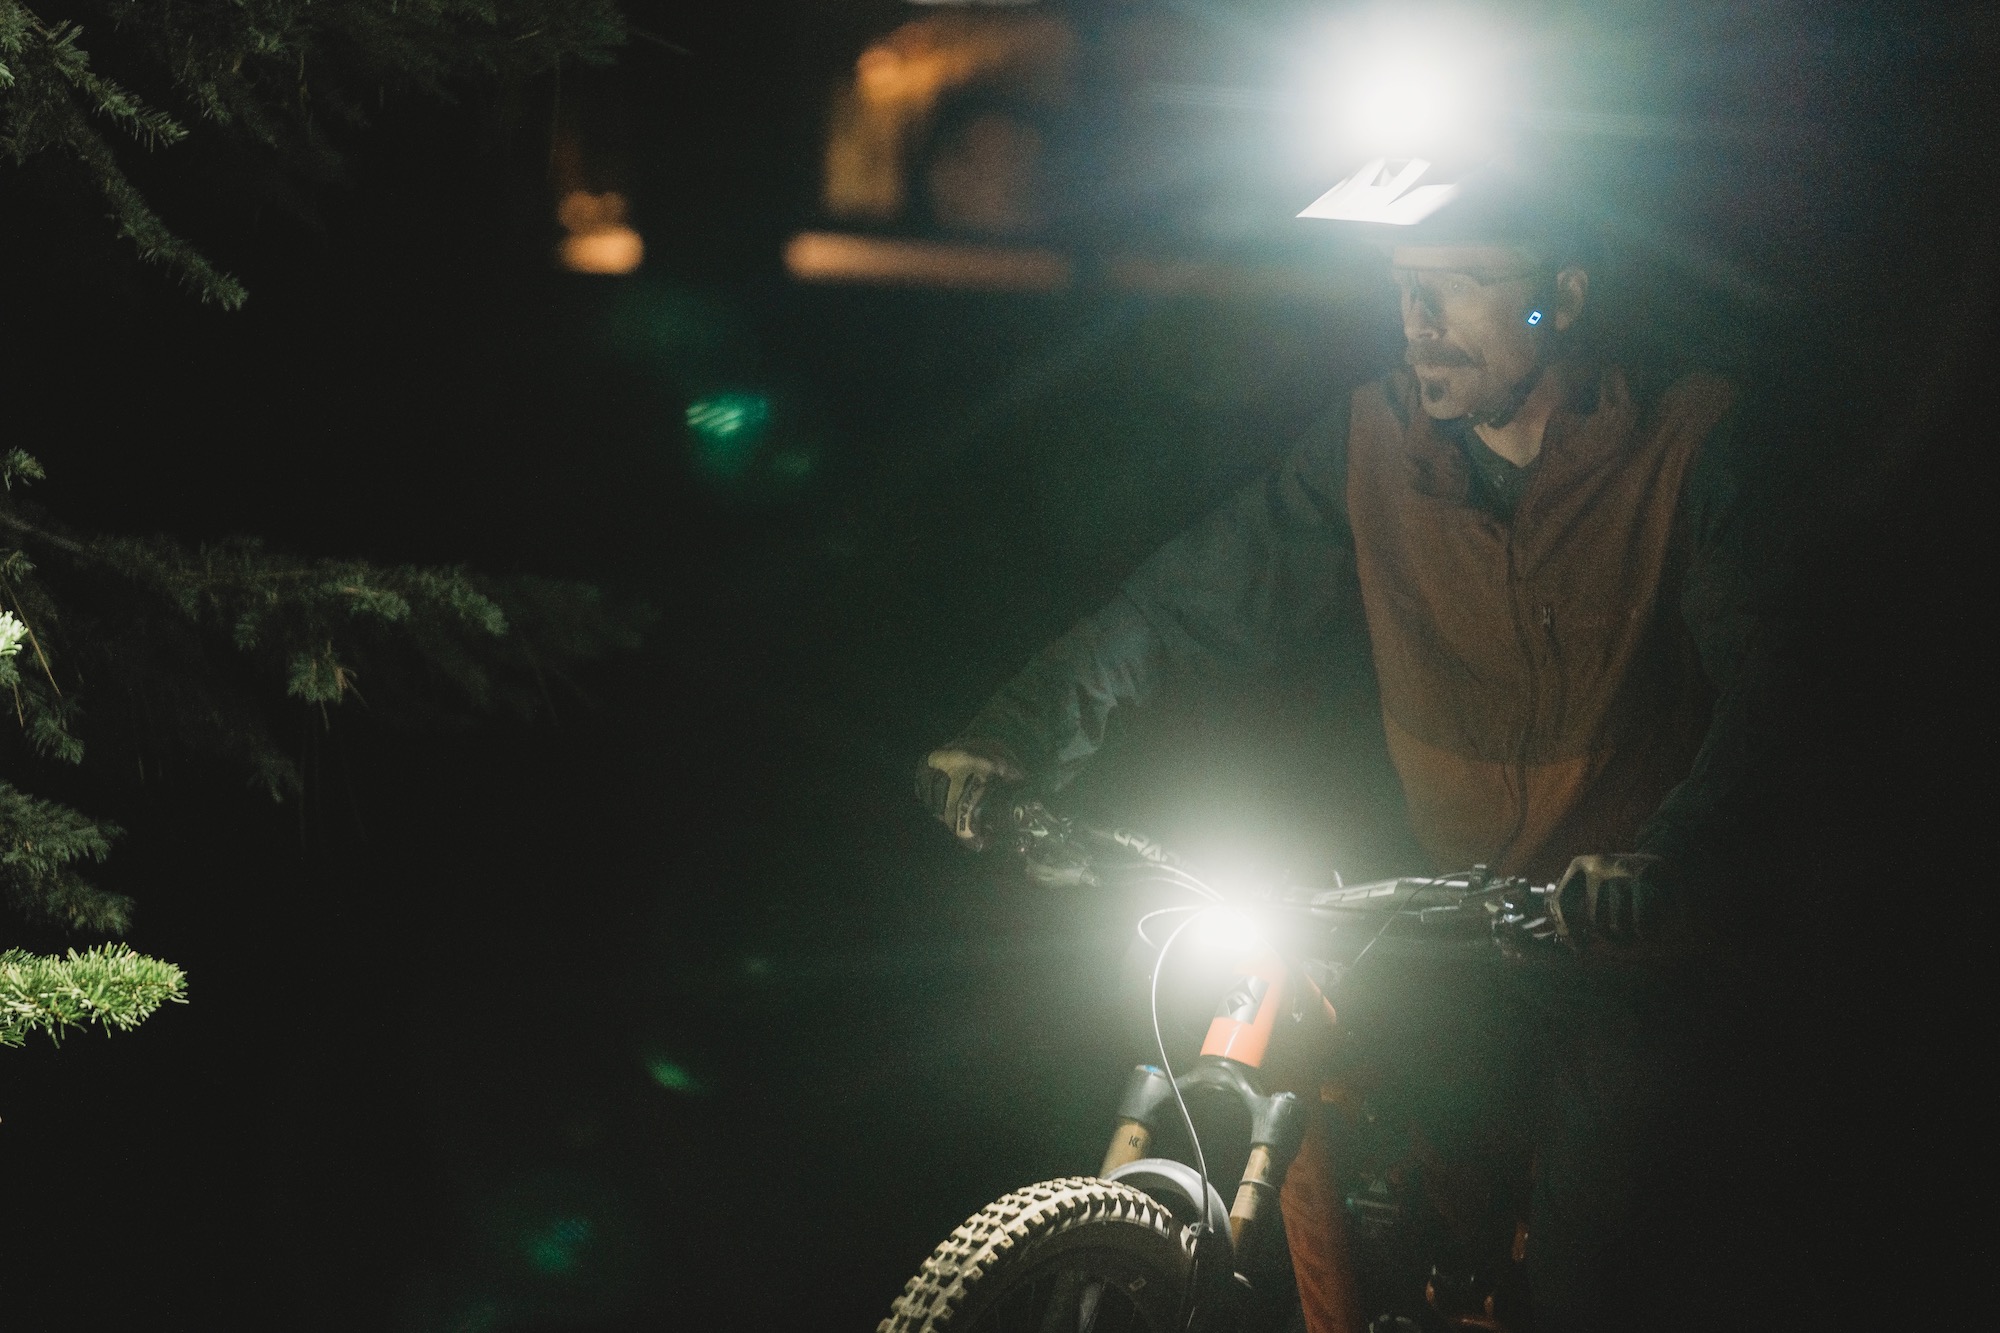
I live miles down a dirt road, and plentiful windy dirt connects my neighborhood together. Traffic isn’t heavy, but nobody else rides bikes on these roads. Drivers aren’t looking for me or expecting me. And when a car passes, the dust is thick and hangs forever. This is all to say, good lighting is critical for me anytime the sun is below the horizon, to be seen and to see.
Controls and Mounting

Powering up the Detour and scrolling through its four light intensities couldn’t have been easier. One press of the only button fires it up, and each subsequent press goes through the brand’s unique adaptive lighting, and then high, medium, and low intensities.
Each one of the four status lights behind the power button confirms the setting. A long hold turns it off. A long press while the unit is off activates daytime and nighttime flash.
The Outbound Lighting mounting system uses a rectangular bung on the rear of the light housing that engages with a matching dock on the handlebar mount. The flared lip on the bung snaps under a spring-loaded camming mechanism that locks it into the dock. The handlebar mount works on either side of the stem, and the dock pivots up and down, secured by a hand-driven screw with serrated mating surfaces.
Beam Pattern

The Detour housing’s left LED chip and reflector cast a wide beam pattern, while the right chip and reflector deliver the brighter center spotlight.
The first thing I noticed about the Outbound Lighting Detour was the upper horizontal cutoff. All my other lights don’t even attempt to protect oncoming drivers from a blast of light. This means they are more likely to see me clearly as a cyclist, which is important on the dirt roads around my house.
We drive where we need to in order to avoid rocks, rain ruts, or fallen tree limbs. So blinding the oncoming driver isn’t just annoying; it could be dangerous at times.

Outbound Lighting recommends setting the upper cutoff to be at the same level as the light at 20 feet out. When the light was set up this way, the bright center spot was much further out than usual.
On other lights, I must run the bright center much closer to my front tire because I am concerned about blinding oncoming drivers. The diffuse part of the beam on the Detour extended down, so it still illuminated the area right in front of my tire. The width of the beam pattern was generous and provided much more peripheral vision than I was used to with a bicycle light.
It took me a few rides to get used to how much further out the center bright spot was, but I found the huge beam pattern incredible. I never worried about blinding anyone, and the visual range, both down toward my front tire and out the sides, was much more expansive than my other lights.
Runtimes

The Adaptive Mode is unique to Outbound Lighting. It starts the Detour at the high setting for the first 5 minutes, and then gradually reduces the light intensity to the medium setting over the next 30 minutes. Theoretically, this allows your eyes to adapt and allows a longer runtime while still providing full functionality. This was my default setting, and I can confidently say that this claim was valid.
For most of my gravel riding, the medium setting was ideal and allowed me to see almost white rocks that were the same color as the dirt. Brighter lights have washed-out color and contrast on lightly colored terrain.
I sparingly used the high setting; I used it when bombing rough descents at 30+ mph, but it was unnecessary otherwise. The low setting lasts much longer, but I only used it when limping home on a low battery. I never needed the flashing modes during my testing period.
As you can see in the runtime chart, the Adaptive and Medium settings will last up to 4 hours. This is likely enough time for most cyclists’ pre-dawn or post-dusk rides. Low lasts over 8 hours. High makes it less than 2 hours.
I have bicycle lights that are more powerful, but often, it was a negative. The lightly colored caliche dirt roads can camouflage the identically hued rocks under bright white light. And the high setting was plenty when I did need more brightness. On the tarmac, I just didn’t need more power than the medium setting on the Detour 99% of the time.
Outbound Lighting Detour Pass-Thru Charging
The pass-thru USB-C charging ability overcomes any concerns of battery life for the ultradistance fans. Simply plug in a battery pack and keep trucking! It’s also a savior if you forget to charge it but must head out. The number of battery packs you are willing to carry is the only limit to runtime.
The charging port is cleverly on the bottom, deeply recessed in rubber, to shield it from rain. Outbound Lighting supplies a charging cord with a 90-degree plug and sealing USB-C end for slick and weatherproof routing.
This feature is functionally significant; in addition to eliminating the battery life issue, it’s probably the cheapest way to add runtime. You won’t need any proprietary battery packs or accessories.

Outbound Lighting takes the simple route of indicating battery life with its four status lights. Four lights equate to 100% battery life, and each light represents 25%. A slowly blinking final light means there is 5% left, and then it switches to a quick flash at 3%.
Finally, no matter how I ran the light, I never had an overheating issue, even in the challenging conditions of Central Texas. The case sometimes felt warm, but never anything more than that. Other lights with metal cases ran consistently hotter, some significantly more so.
Final Thoughts on the Outbound Lighting Detour Review
The upper horizontal cutoff and pass-thru charging ability are enough to win me over to the Outbound Lighting Detour. Add in the expansive beam coverage, clever mounting system, and heat management, and you have a package that is hard to beat for road and gravel. And the MSRP of $185 is reasonable for the amount of thought put into this unit.
I will certainly test more bicycle lights for GearJunkie, but on my personal night gravel and road rides, the Outbound Lighting Detour is my choice.
