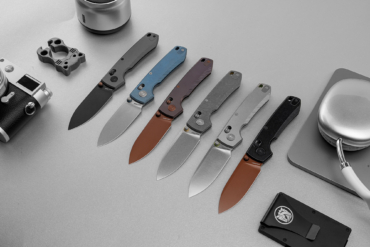
Belly, swedge, choil, and bevel — what the heck do these things actually mean? In the context of pocket knives, unfortunately, the answers can be complicated. While some terms are nearly universal (“edge,” for instance, or “lock”), there are certain words and phrases that can vary slightly, either from the manufacturer or the “everyday carry” community at large.
But that’s why I’m here! In conjunction with my recent explainer on shopping for your first knife, I thought it might be helpful to explain some of the various parts and pieces you’ll see referenced in most of our reviews. Many of these are shared in the world of fixed blades, but for this guide, we’re going to focus mostly on folders.
Get ready for a vocabulary overload, and no small amount of quibbling. From grinds to blade shapes and tips, the terminology and debates are almost endless. But to join (or pass up) the discussion, here’s what you’ll need to know.

A Knife’s Blade and Parts
This is the natural place to start, as the shape and arrangement of the blade is likely to play the biggest role in your choice of pocket knife. Something we won’t be covering is the multitude of available steels.
If you’re looking for a deep dive into the best steel for your particular application, check out this separate explainer from GearJunkie.
Grind
We’ll begin with the edge. That’s the sharp part that cuts things, right? True! But it’s a bit more complicated than that.

There are several ways a blade can be ground into sharpness. For pocket knives, the most common is the flat grind and the hollow grind.
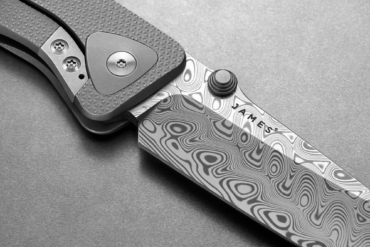
The first of these is just as it sounds — the blade slopes down from the top (or spine) until the sides join at the cutting edge. Their angles usually taper once again near the very end, forming what we call a secondary bevel. That’s the shiny part that catches the sun.
A hollow grind has all of the same parts, except that the blade steel slopes inward as it descends toward the edge instead of plunging straight down at an angle. This creates a narrower, more slicing-friendly edge that’s wider at the top and thinner at the bottom. Knives like the Buck 110 are a classic example of this design.

There are other types, such as Scandi (short for Scandinavian) grind, which can be found on knives like the Cold Steel Finn Wolf. In this case, both sides of the blade descend straight down, until they angle inward to form a single, primary bevel/edge.

These are excellent for outdoor pursuits, specifically woodworking and bushcraft. Saber grinds are similar to Scandis, though they angle inward again to form a shorter, secondary bevel at the edge. Both of these are far more common on fixed blades as opposed to folders.
Tip to Belly
A knife’s belly is the part of the blade where the edge curves up toward the tip. Unlike human beings, the more belly your knife has, the better it is at sliding through things.
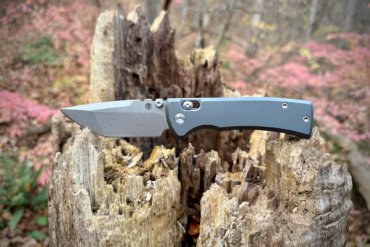
Some knives (like tantos) have no belly at all. These are better suited for scraping or piercing tasks. You may also see serrations near the backside of the edge (also called the heel), which are saw-like teeth best used for cutting fibrous materials like a rope.
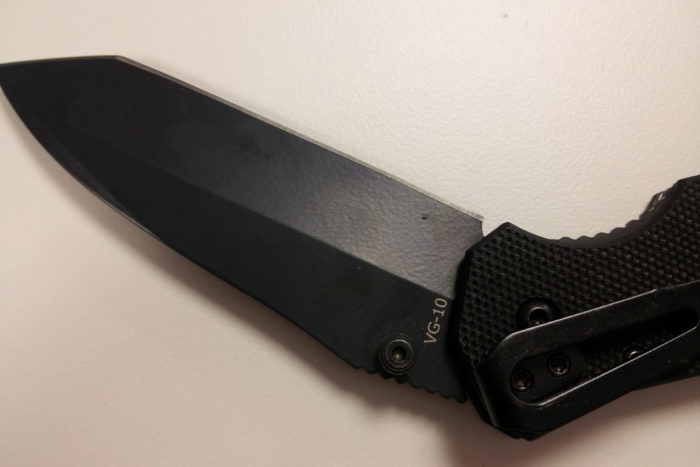
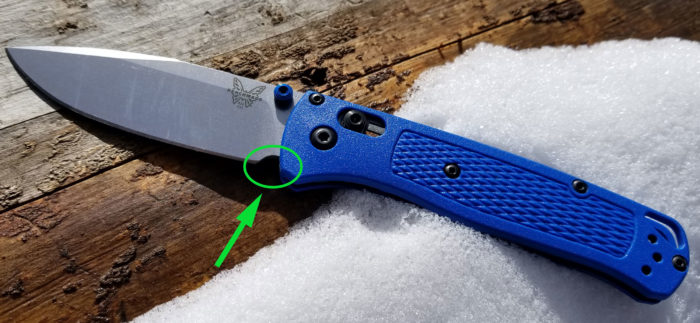
This is also where makers potentially install a sharpening choil, which is a small (usually half-moon) shaped cutout that allows users to more easily sharpen the full length of the edge.
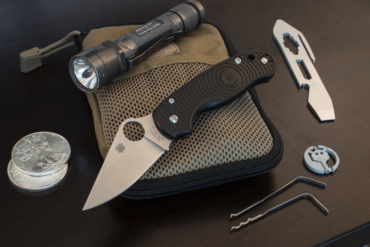
The Benchmade Bugout, for instance, has a large choil, while the Spyderco Delica has none.
Proceeding upward from the tip, you’ll often see a narrowed stretch of metal along the top of the blade. This is called a swedge, and it helps taper the steel into a fine point.
There are an incredible number of tip styles and, to be frank, the labeling is incredibly nebulous: reverse tanto, sheepsfoot, Wharncliffe, drop point, and clip — makers tend to play fast and loose with their naming conventions. Just know that the narrower the tip, the more delicate it is.
Near the rear of the spine, many makers include a series of small, beveled cutouts known as jimping. These are designed to provide a natural landing spot for your thumb, lending additional texture and grip.
Opening, Locking Mechanisms
This is a big one, so I’m going to boil it down to basics. Thumb studs and finger holes are exactly what they sound like. They’re added or absent bits of metal along the upper rear of the blade, which allow you to push the knife open with your thumb.
A flipper tab does the same thing, though it’s positioned on the bottom side, near the heel. Many of these also serve double duty as a blade guard, keeping your finger away from the edge once the knife is open.
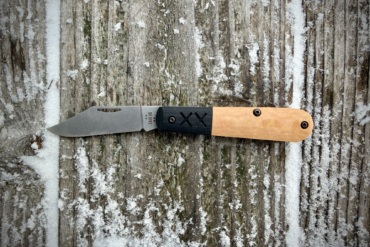
Front flippers are also a thing, though these require some practice. Nail nicks are most common on traditional knives, which utilize a backspring to keep the blade semi-locked in place.
However it opens, the blade will swing open on a pivot. And surrounding the pivot, you’re likely to find things like washers or bearings to help move the action along. You’ll also see reviewers discussing a knife’s detent.
As the folks at Knives and Tools so eloquently described, this is another small bearing that lines up with a hole cut out in the hidden portion of the blade.
“Because the detent ball falls into the hole when the knife is closed, the knife will stay closed.”
So when you see a reference to “detent,” folks are generally discussing the amount of force required to pop open a blade. Simple!
Locks are a different matter. For a discussion on these, I’m going to refer you to the experts at KnifeCenter. Frankly, this topic is vast enough to be an article in itself. But it’s hard to go wrong with the basics, like a back lock, frame lock, or liner lock.
Handle and Clip
You know what a broom handle is, right?
Well, knife handles are a lot like that, only they’re attached to sharpened steel instead of rough bristles. Basically, it’s the place where you put your hand. There are plenty of materials used here, but the most common are things like G-10, FRN, Micarta, and carbon fiber.

These are well-suited for most general use, though metals like titanium, steel, and aluminum are also popular. Heck, you can even find wood or bone pocket knives, if you’re going the traditional route.
Best for general use: G-10, FRN. Because of their water resistance and grippy nature, these materials are perfect for most everyday tasks. Micarta also fits into this category, but can garner stains from moisture.
Best for metal-heads: stainless steel, titanium. If you’re looking for a full-metal experience, both of these make for functional handles. However, stainless steel handles can become rather weighty. And though titanium is lighter, neither offer the in-hand warmth of other materials.
Best for fancy folks: carbon fiber, wood, bone. Carbon fiber is an excellent choice for lightweight handles. While formerly limited to high-priced knives, it’s now available on several budget-friendly models. Wood and bone are most often relegated to traditional knives, though there are exceptions from Helle and Opinel.
If you’re opting for a handle made with polymer or natural material, your knife will generally have liners. These bits of steel provide structural support and give your handle scales something to sit on. You’ll also find various posts and spacers along the back, which keep the scales from pinching down on the closed blade.
Sometimes, these are hollowed out to form a lanyard hole, allowing you to loop fabric through for decoration or added grip. This passes through both the flat side that usually bears the maker’s logo (the show side), and the opposite surface known as the clip side.
Types of Pocket Clips
And that brings us to one of the things that make pocket knives, well, pocketable. Pocket clips come in many forms, but the most popular terms you’ll see are these: deep carry, reversible, and tip up/tip down.
Deep carry fits its description. These clips allow the backend of the knife to rest near the top seam of your pocket, creating a more discrete appearance. But in general, most pocket clips allow at least a portion of the knife to be seen.
Reversible and tip up/tip down are different sides of the same coin (or knife). This means that the clip can be moved and repositioned, whether it be to suit a left-handed user or someone with a preference between having the knife’s stowed tip facing upward or downward in the pocket.
Here’s a hint for new knife folks: 99% of the time, tip up is significantly easier and safer, as the back of your pocket helps keep the blade closed.
Got all that? If not, there are plenty of ways to keep the terms fresh in your memory. One of the best is this visual aid from Knafs — a poster showing everything discussed here and more. And if all else fails, pull up reviews and discussions from YouTube.
But you don’t have to know any of this stuff in order to enjoy and use a pocket knife. The most important thing to keep in mind, as with all tools, is safety.
Know where your edge is pointing, what you intend to cut, and make sure your space is clear. And if you’re still unsure as to what you’re looking for in a blade, check out our guide on how to shop for your very first knife.


