Winter riding, photography, and fat bikes are addressed in our ‘Readers Write’ installment this week.

Our new column answers reader questions on gear, adventure, and the outdoors. We’ll tackle a few each week. Send your questions to contact@gearjunkie.com.
Question On Winter Biking
Hello, I came across your article on winter bikes. Very interesting set up. My question: How do you find that the narrow, studded tires handle deep or frozen, rutted snow? I commuted for three winters and struggled after heavy snowfall followed by a cold snap, where car tire ruts became frozen. –Brent L. (Winnipeg, Manitoba)
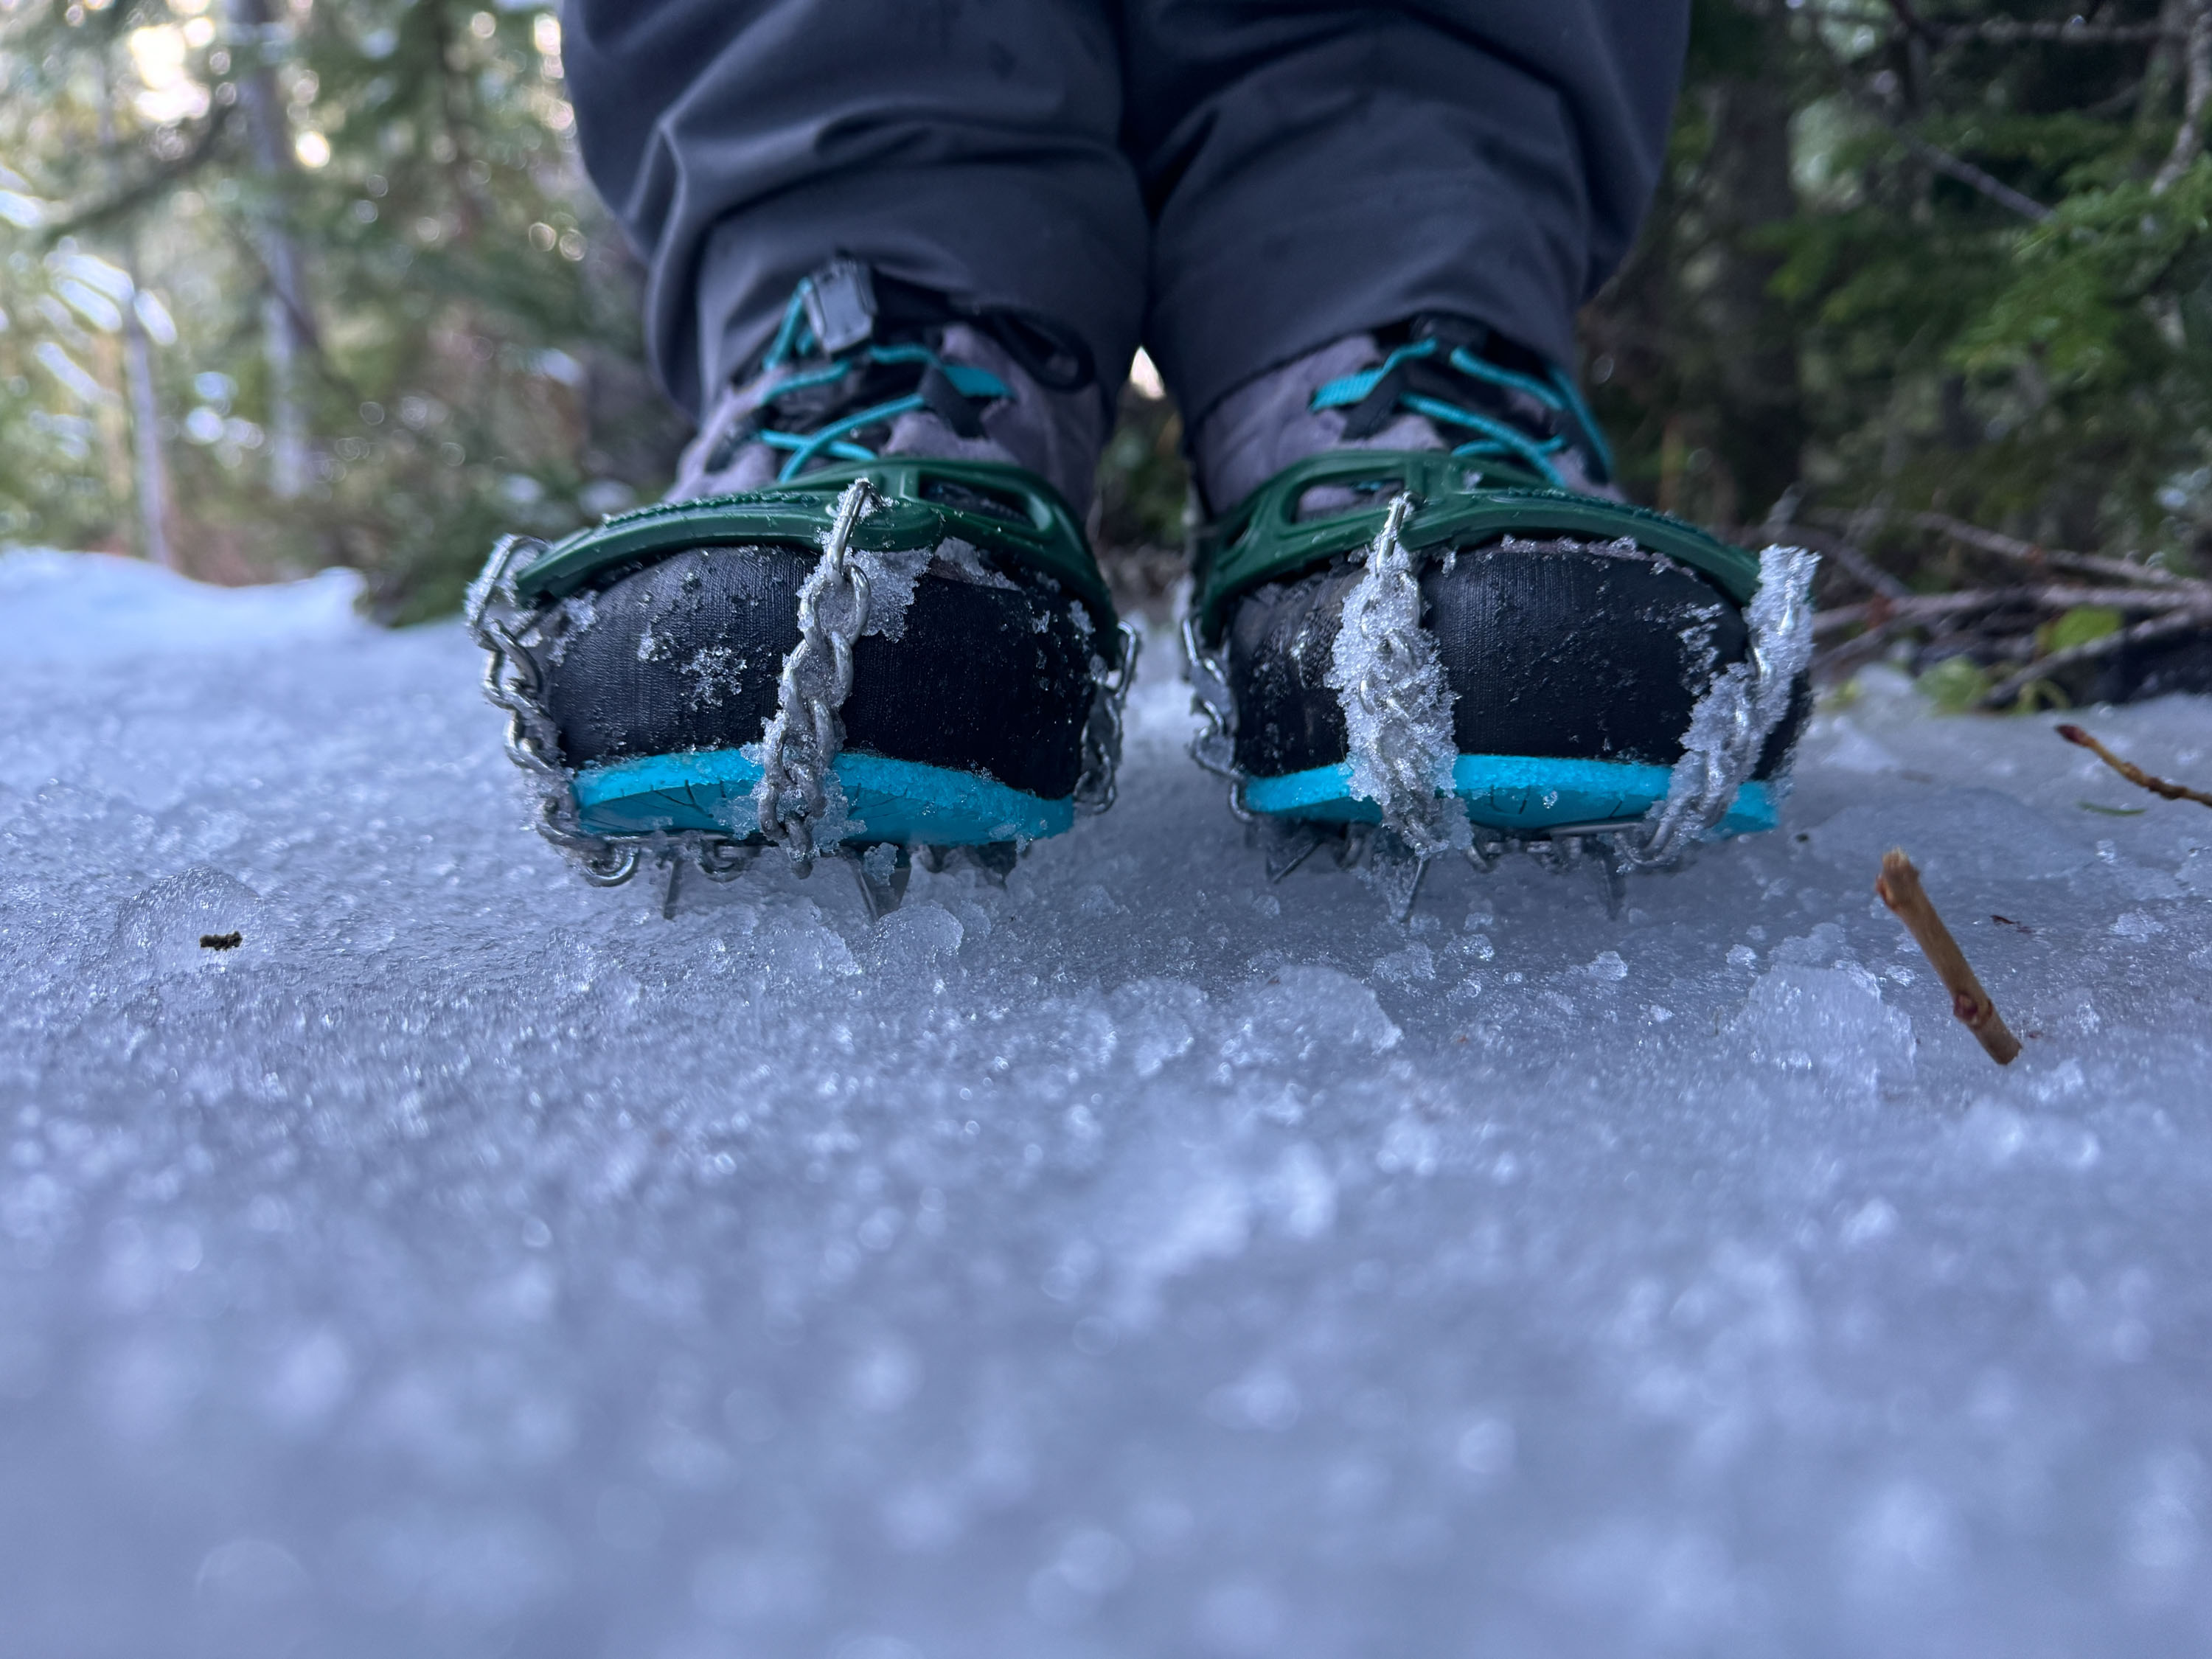
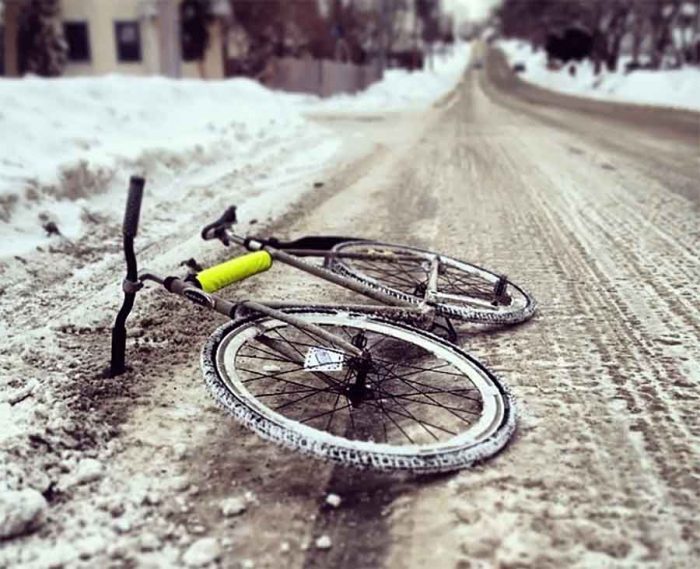
Those conditions you describe are common in Minneapolis where GearJunkie is based and we bike-commute, with weeks of “death ice ruts” on the roads some years. (See photo below, and this report describes the situation in detail.) In short, you probably want fatter tires in places like Winnipeg. For most major cities in North America, 700c tires (possibly with studs) can work, as the roads are often plowed to the pavement or the snow melts in the hours or days after it falls.
In more northerly latitudes where ice and snow (and, even worse, ice ruts) stick on the roads, then you’re going to be safer with non-narrow tires. You simply will plow through the white stuff better with wider rubber, and the icy ruts are less of an issue. Traction is another obvious advantage.
In Minneapolis, which has a large winter-riding scene, the camp is split — most of the bike messengers and faster winter riders we know stay skinny, with many even eschewing studs, too. Then some of the guys who have longer commutes swear by mountain bike tires or fat bikes.
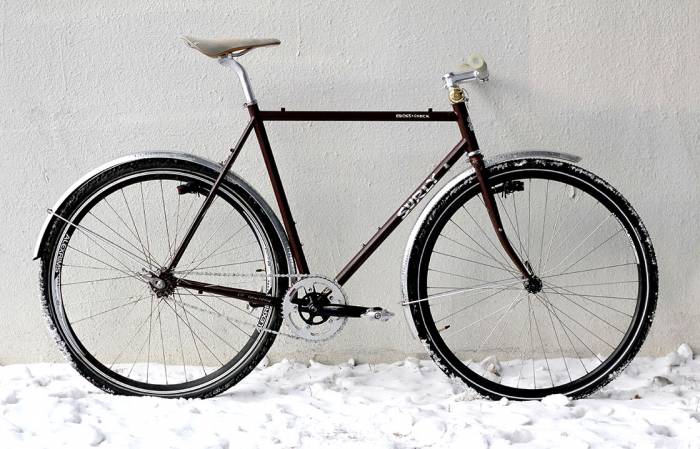
In many circumstances the skinny tires cut through the snow, though anything deeper than three or so inches and you’ll be spinning out. On storm days we prefer a fat bike. When the pavement is more clear, we lean toward the speed of skinnier tires on the road.
Outdoor Photos, Technique & Advice
Can you give me some general advice on shooting photography for the outdoors? My photography skills are still very much in development, so any tips you may have are welcome. –Aidan C. (Madison, Wis.)
It’s difficult to give photography advice remotely without showing someone, and your camera type will dictate a lot with shooting technique. But a few tips we give to our contributors are below.
Subject. Your photo should have a strong subject, not a bunch of things going on that “capture the scene.” Avoid clutter in background — is there a random truck driving by? Is there someone in the frame who has nothing to do with the subject you’re shooting? Make sure the background of your photo is clean and clear of distractions.
Decisive Moment. Photography is a wonderful medium for capturing action. Try to catch the “decisive moment” and you’ll stand out from the crowd. That means a climber pulling or falling at the crux, a mountain biker mid-air, or a fly fisherman setting the hook.
Lighting. When shooting, make sure there are no back-lit scenes; light should be coming toward the subject, not from behind it. Don’t have dabbled sunlight on someone’s face. If possible, shoot in the shade or shoot on cloudy days, not in direct sun. It’s more difficult to get an even photo in sharp sunlight.
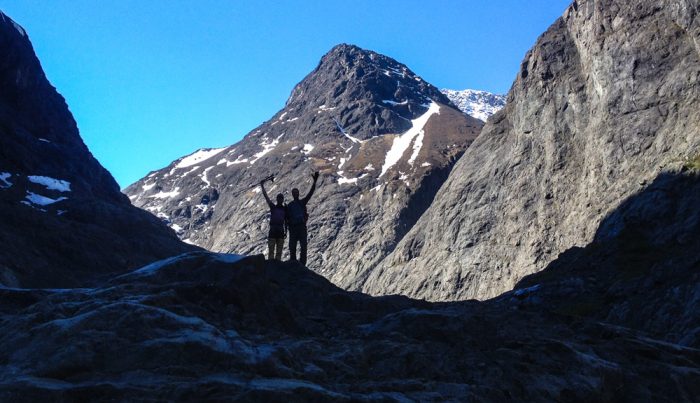
Sharpness. We see a lot of contributors’ photos that are slightly “soft,” meaning a little out of focus. For GearJunkie, in focus and “sharp” shots are requisite. Low lighting is a common cause. As is camera shake, or a moving subject. Learn to control your camera’s settings, including ISO, shutter speed, aperture, and more, to capture sharp images in any situation.
Photo Orientation. For online use, horizontally-oriented photos rule. Don’t twist the camera to vertical and make tall images. Granted, some photos necessitate the vertical aspect, but for most photography keeping the camera level results in the most widely usable pictures.
Get Close. Many photographers fear or avoid getting too close. We love close-up shots. Focus on the hand crimping a climbing hold, or the frozen beard on a skier; get close. These kind of images direct a viewer to see one particular thing and often are vastly more effective than revealing a whole scene.
–Send your questions on adventure and gear to to contact@gearjunkie.com.


