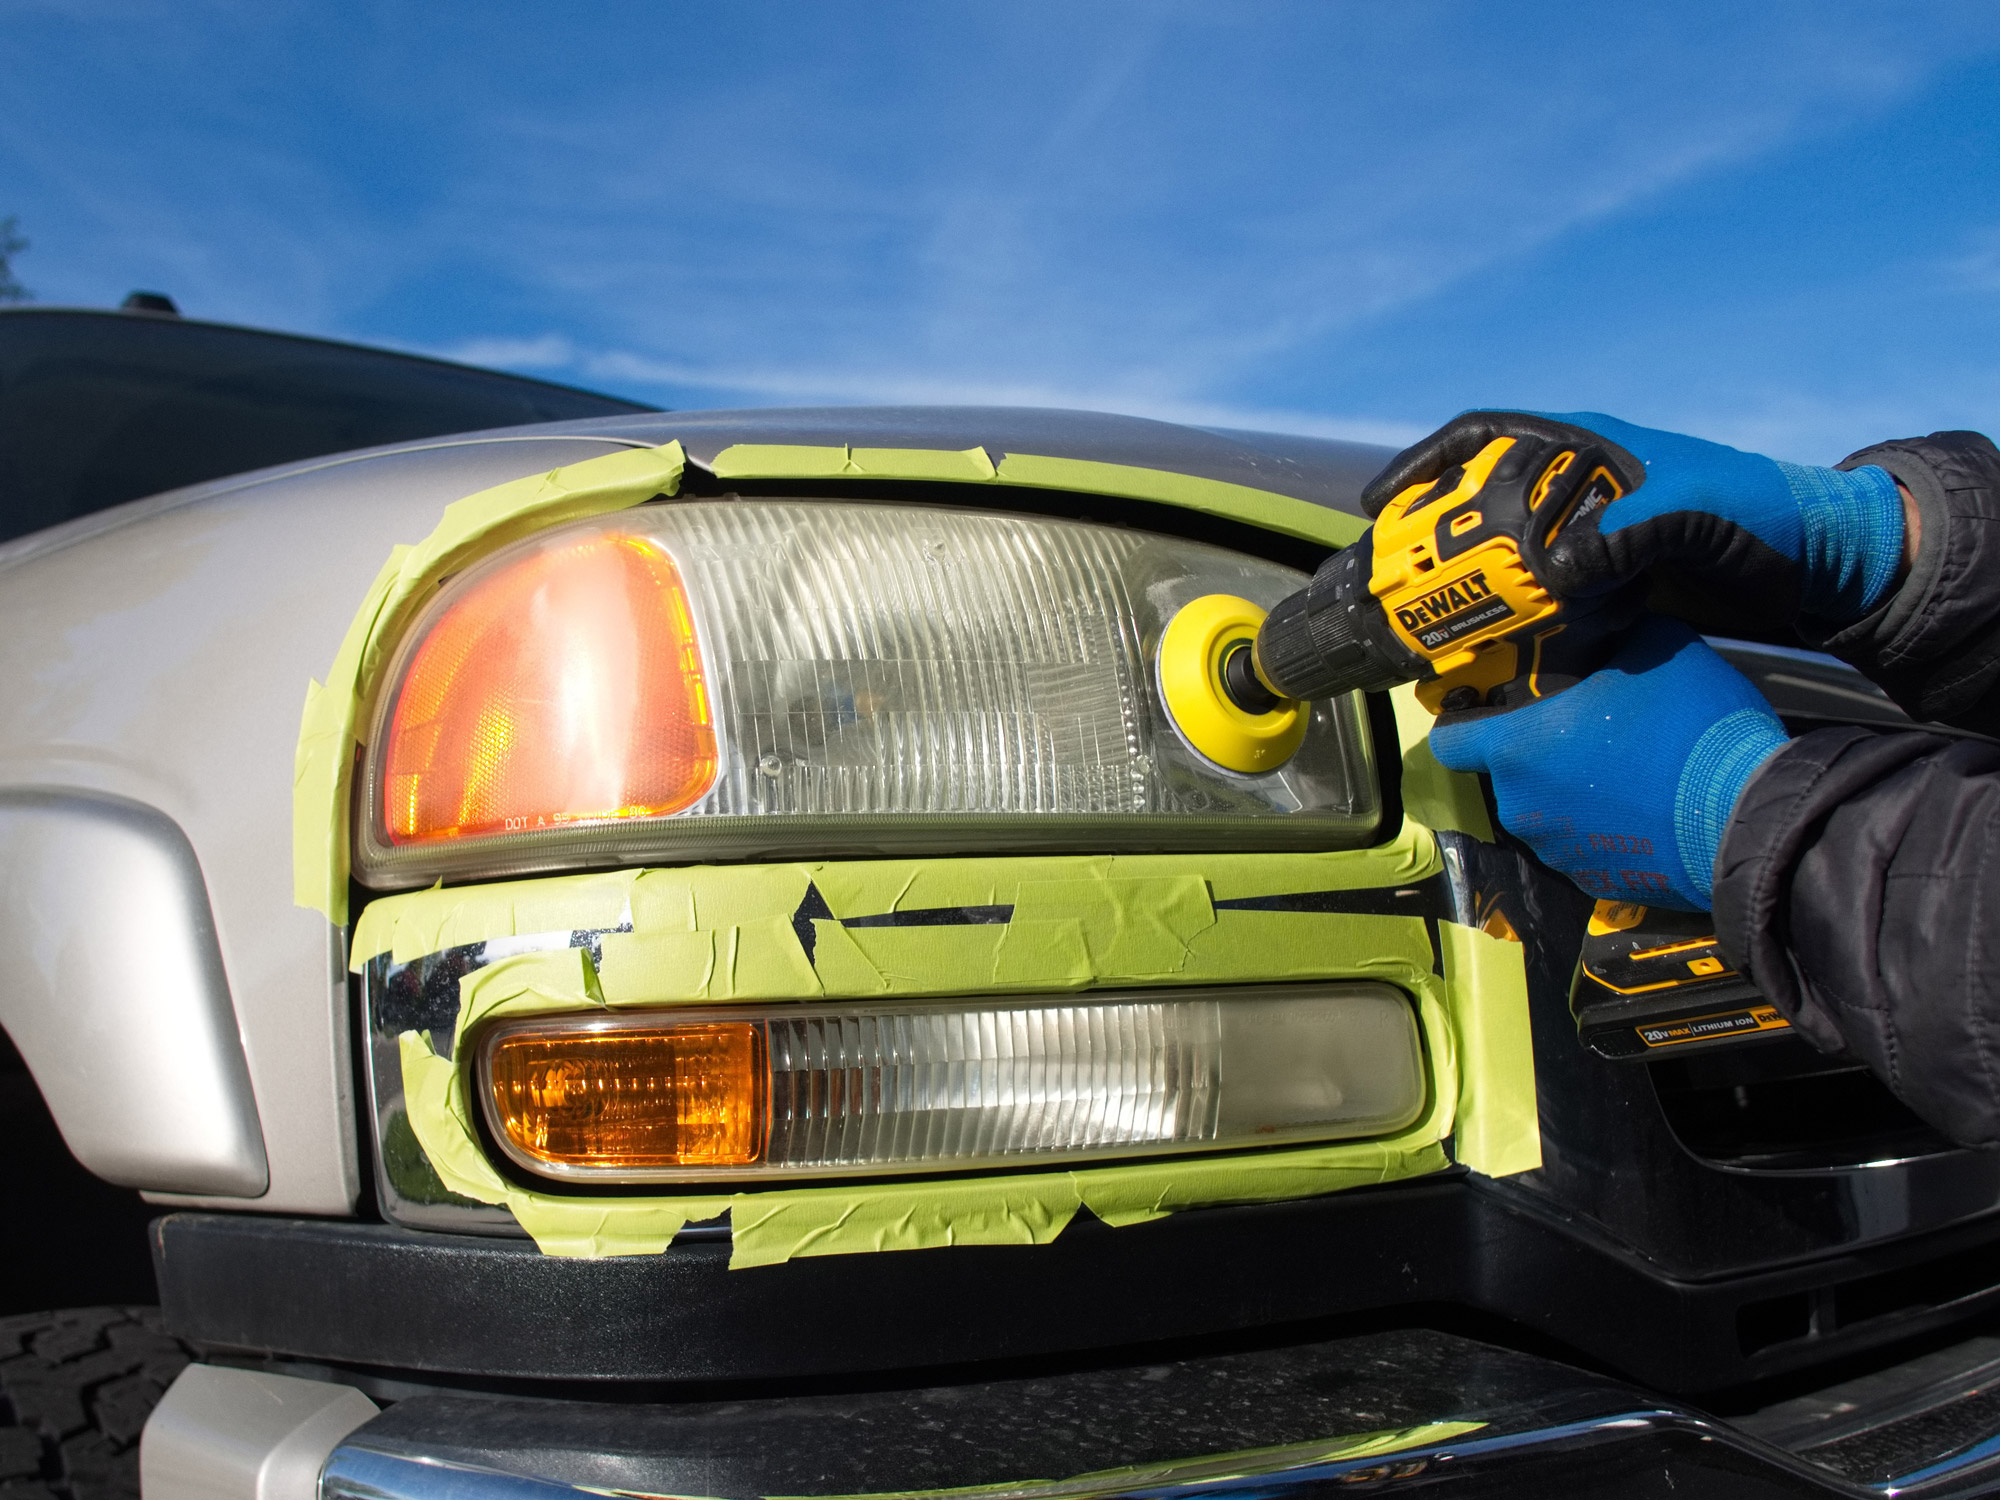
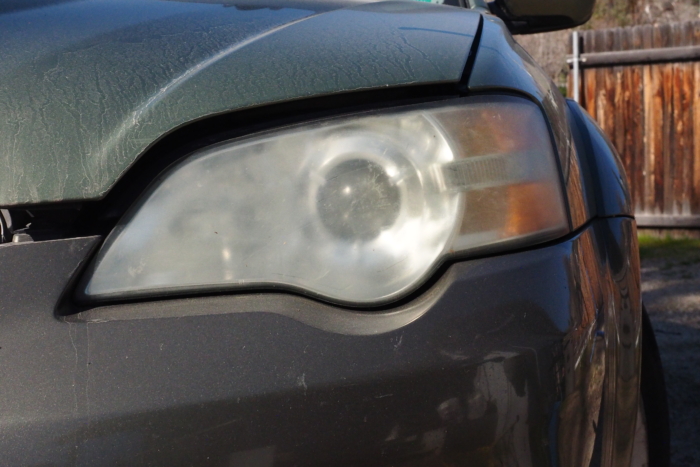
Over time, a car’s headlights go from crystal clear to cloudy due to age and prolonged exposure to the sun’s damaging UV rays. This is where headlight restoration kits come in handy, to help prevent degradation that decreases the headlight output and affects a driver’s visibility at night.
These kits generally cost from $10 to $25. Essentially, the included tools help you remove the lens coating that’s damaged and apply a protective layer. Some headlight restoration kits require a bit of elbow grease. Others include attachments for an electric drill to make the job less arduous. Kits like the SYLVANIA Headlight Restoration Kit don’t require a hand drill and provide optimal clarity. Other options like the Ultra Headlight Restoration Kit from 3M include more sanding accessories but require a hand drill. It really depends on your headlight conditions and age and how much time you can put into cleaning the headlights.
Below are our recommendations for the best headlight restoration kits, so you can bring clarity to your dull and hazy headlight lenses. To learn more about headlight restoration kits and a more in-depth analysis, read the Buyer’s Guide or jump to the Price & Value summary. Still weighing your options? Consult our Comparison Chart. Otherwise, take a look at our selected goods.
Editor’s Note: We updated our Headlight Restoration buyer’s guide on October XX, 2024, to include new, awarded products — the Meguiar’s Ultimate Headlight Restoration Kit and Chemical Guys Headlight Restorer — and Included Materials, Drill & Disc Pads, Dry vs. Wet Sanding, and Price & Value sections.
The Best Headlight Restoration Kits of 2025
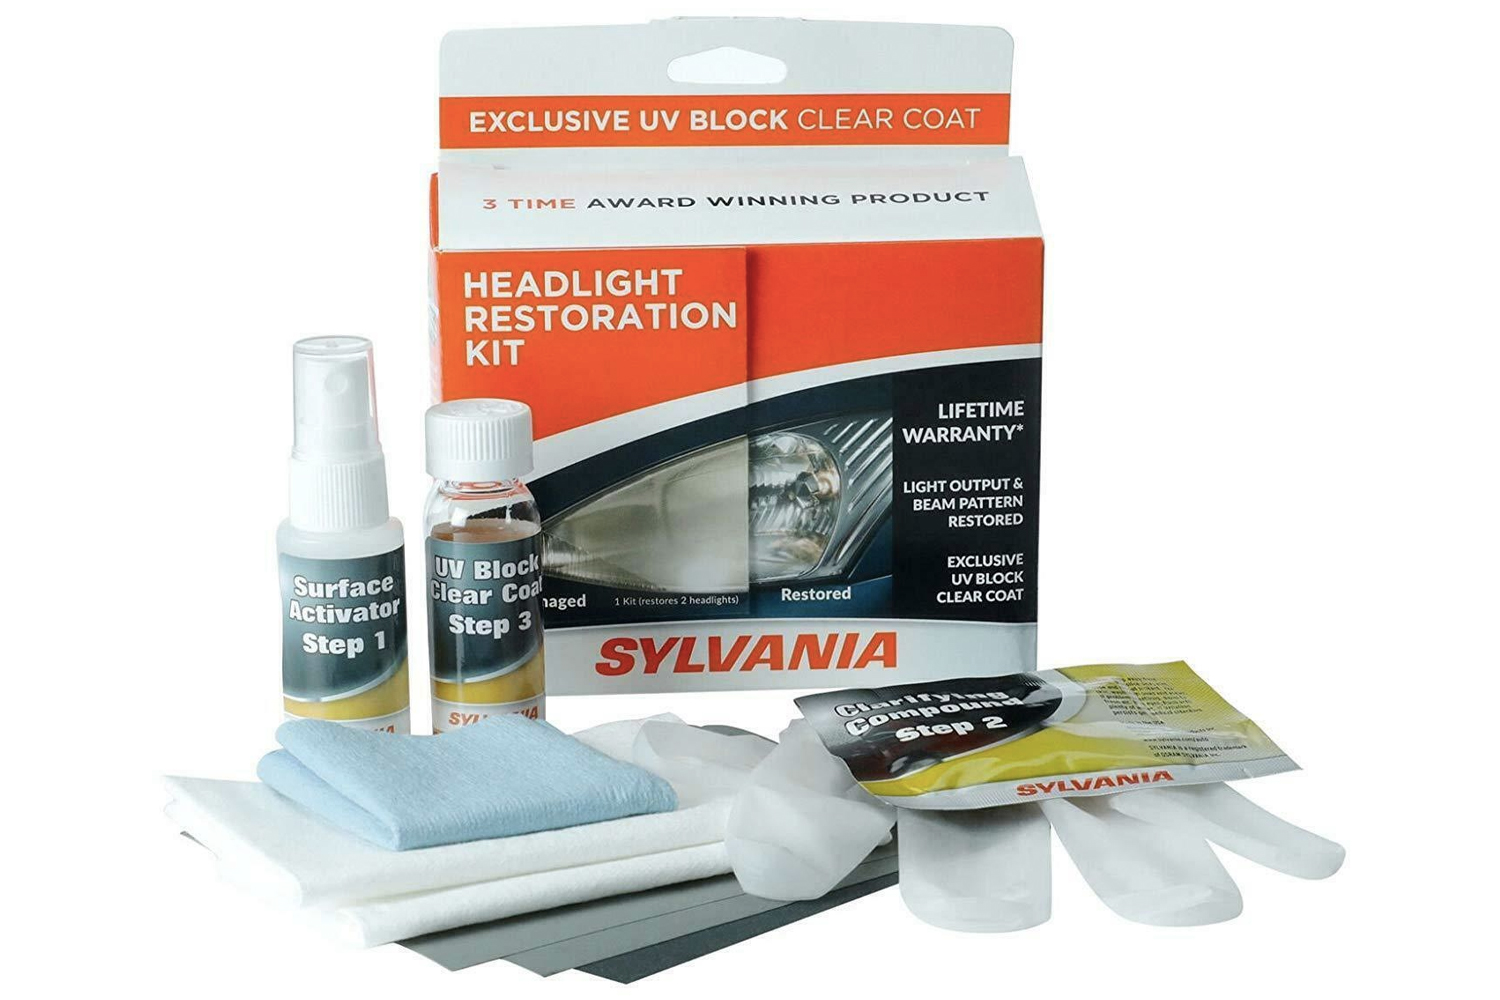
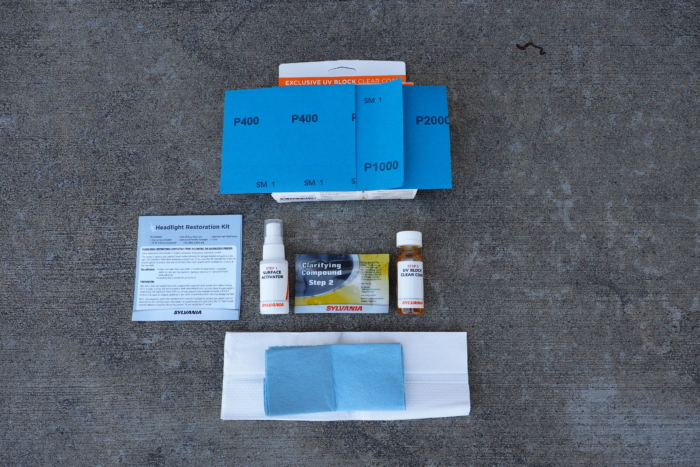
Sylvania Headlight Restoration Kit
- Chemicals: Surface activator, clarifying compound, UV block clear coat
- Sanding tools: Waterproof sandpaper; P400, P1000, P2000 grit
- Additional kit contents: Vinyl glove, paper applicator, polishing towels
- Hand drill required: No
- UV block: Yes
- Manufacturer’s warranty: Limited to vehicle lifetime
Pros
- Clarity is outstanding
- No tools required
- Warranty good for the life of the car
Cons
- Manual process of sanding is time consuming
- Kit contains materials to restore two headlights, only
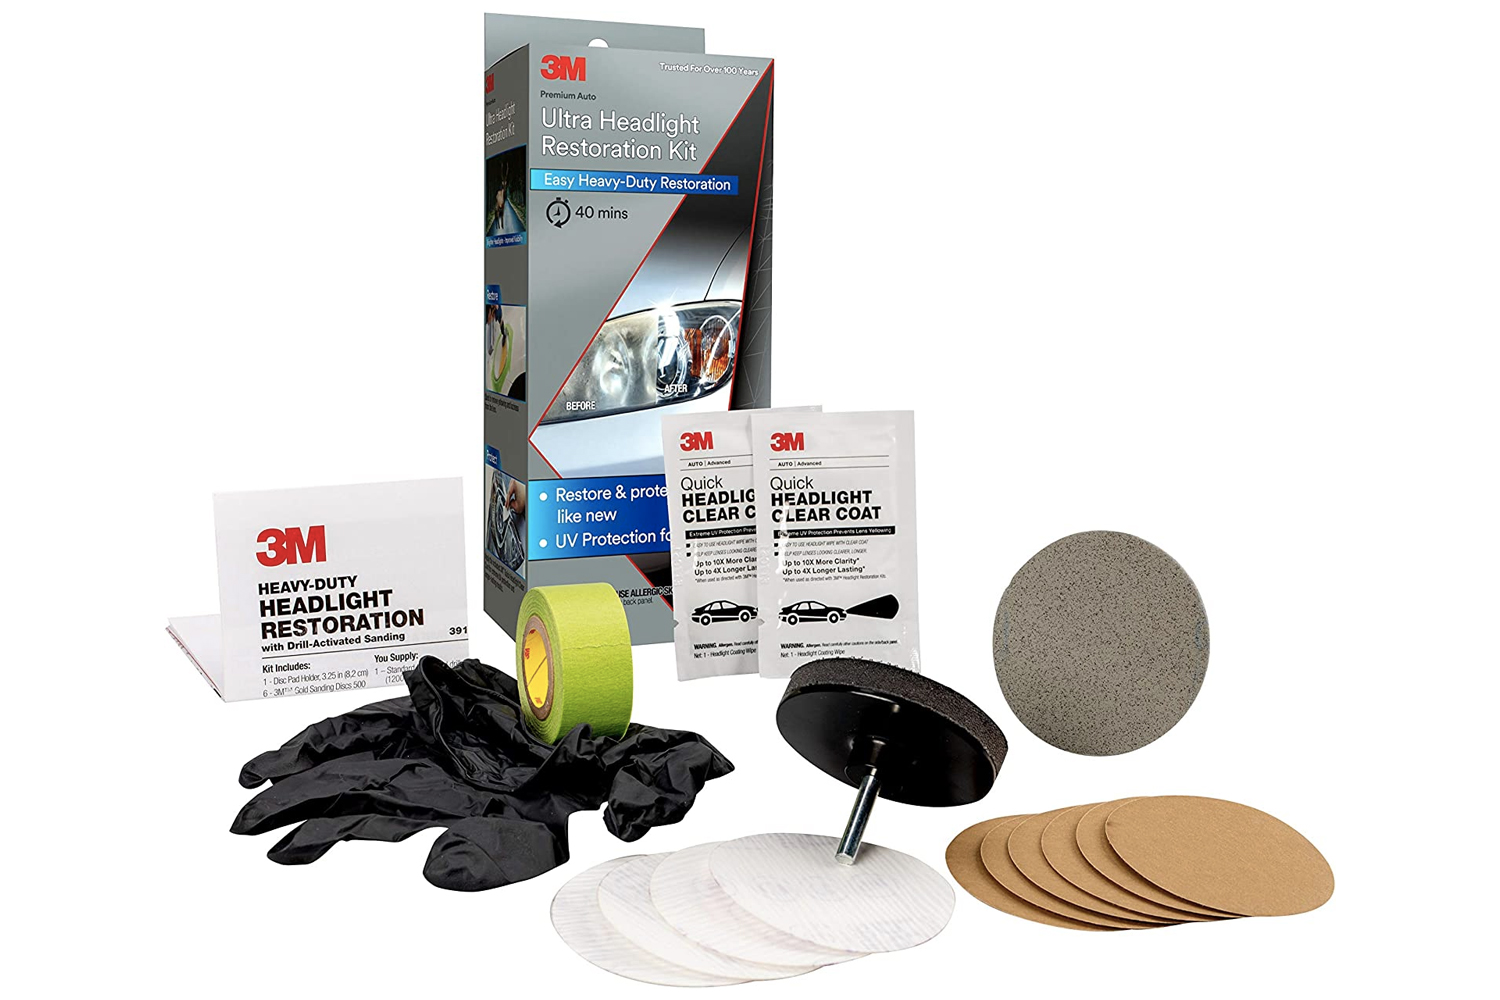
3M Ultra Headlight Restoration Kit
- Chemicals: 3M Quick Headlight Clear Coat
- Sanding tools: Discs; (2) 3M Gold P200 grit, (4) 3M White P500 grit, (4) 3M White P800 Grit, (1) 3M Trizact refining disc 3000 grit
- Additional kit contents: (1) Nitrile glove, 3.25 in. disc pad holder drill attachment, 3M automotive performance masking tape
- Hand drill required: Yes
- UV block: Yes
- Manufacturer’s warranty: None
Pros
- Kit comes with everything you need to restore headlights except a cordless drill
- Clarity restored to like-new condition
- Excellent quality kit materials
- The headlight clear coat contains a UV blocker
Cons
- Heavily oxidized headlights require lots of sanding steps before applying the clear coat
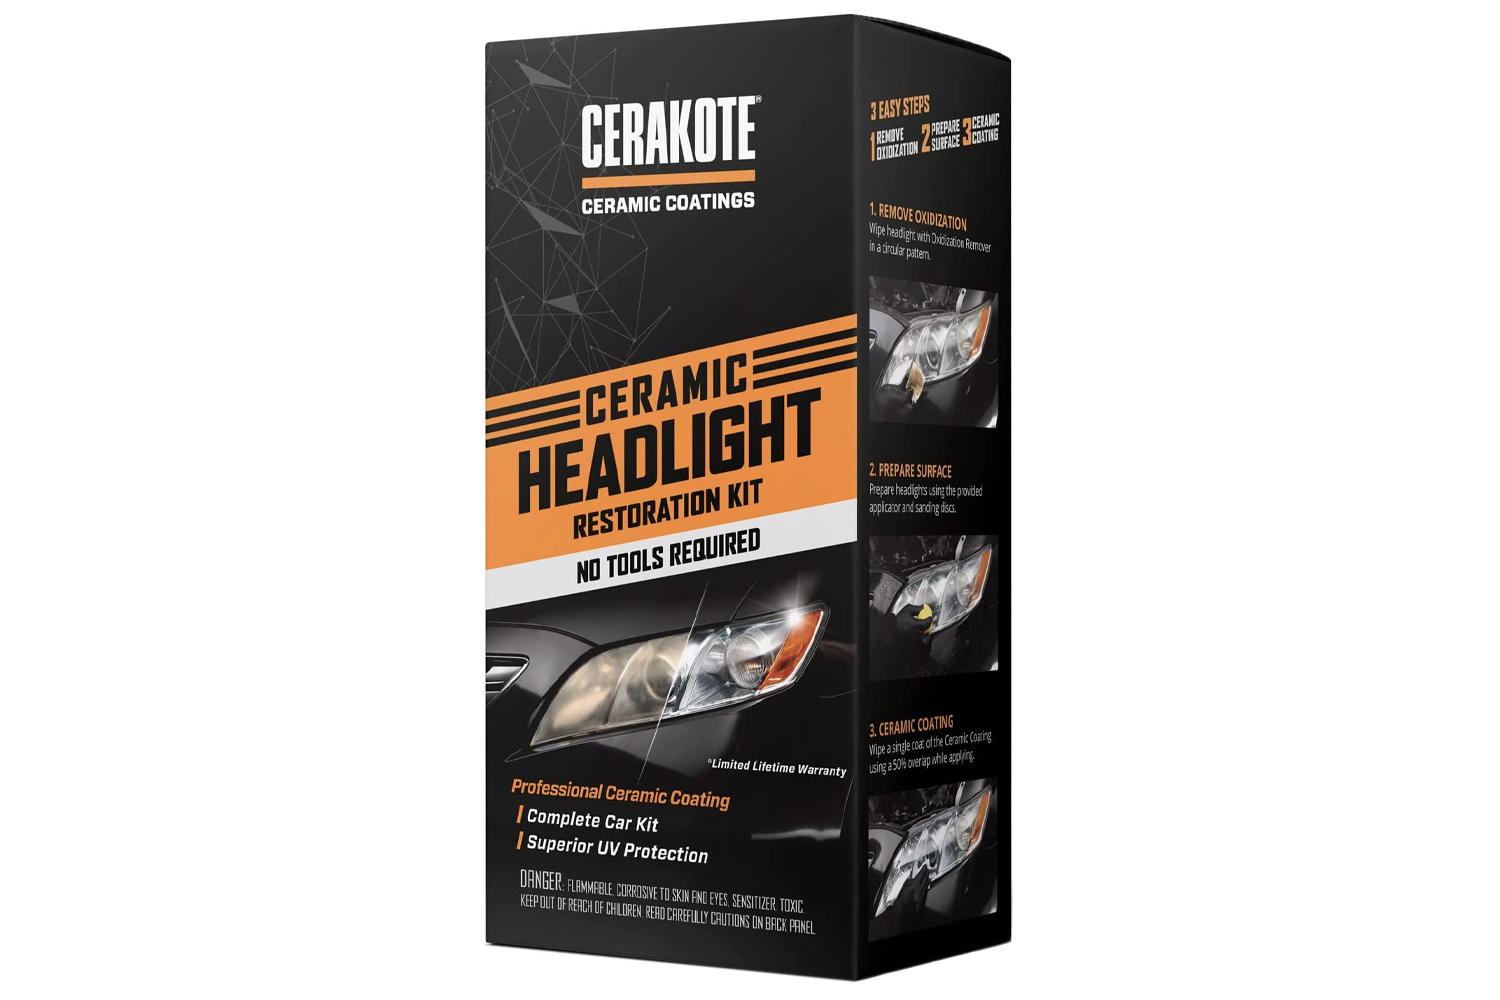
Cerakote Headlight Restoration Kit
- Chemicals: (8) Oxidation removing wipes, (2) ceramic coating wipes
- Sanding tools: Discs; (2) P500 grit, (2) P800 grit
- Additional kit contents: Sanding Pommel
- Hand drill required: No
- UV block: Yes
- Manufacturer’s warranty: Limited to the original purchaser
Pros
- No tools required
- Restores close to original clarity
- UV coating is tough and will last many years
- Limited lifetime warranty to the original purchaser
Cons
- Recommend using a cordless drill and disc sander attachment for heavily oxidized headlights
- Chemicals are harmful to the skin, so wear gloves to protect your hands
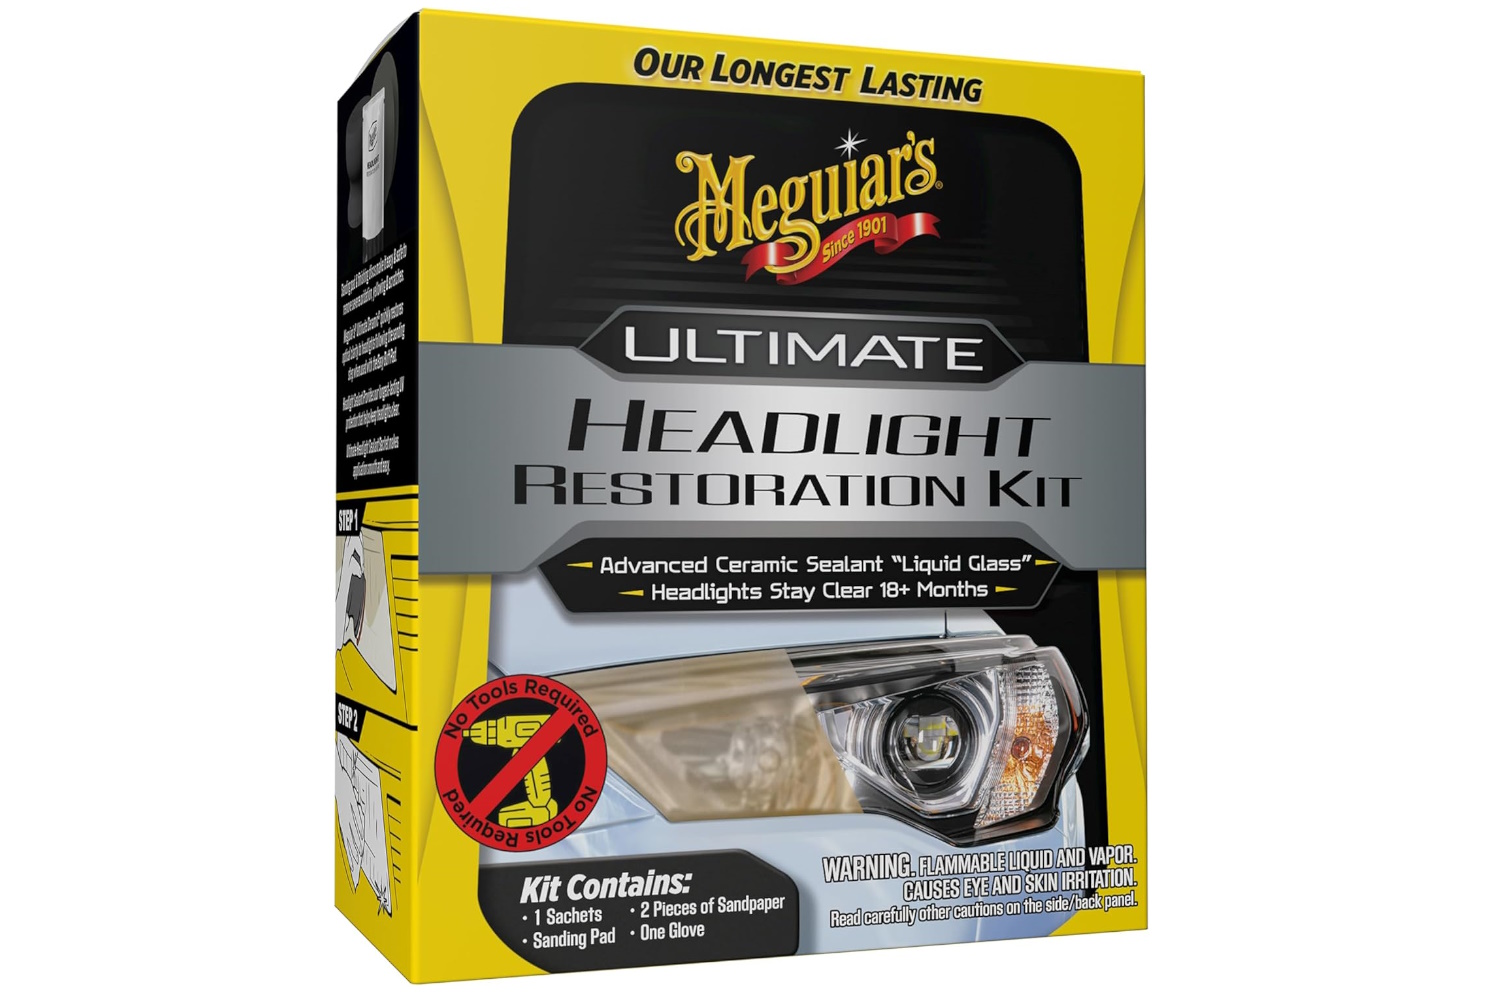
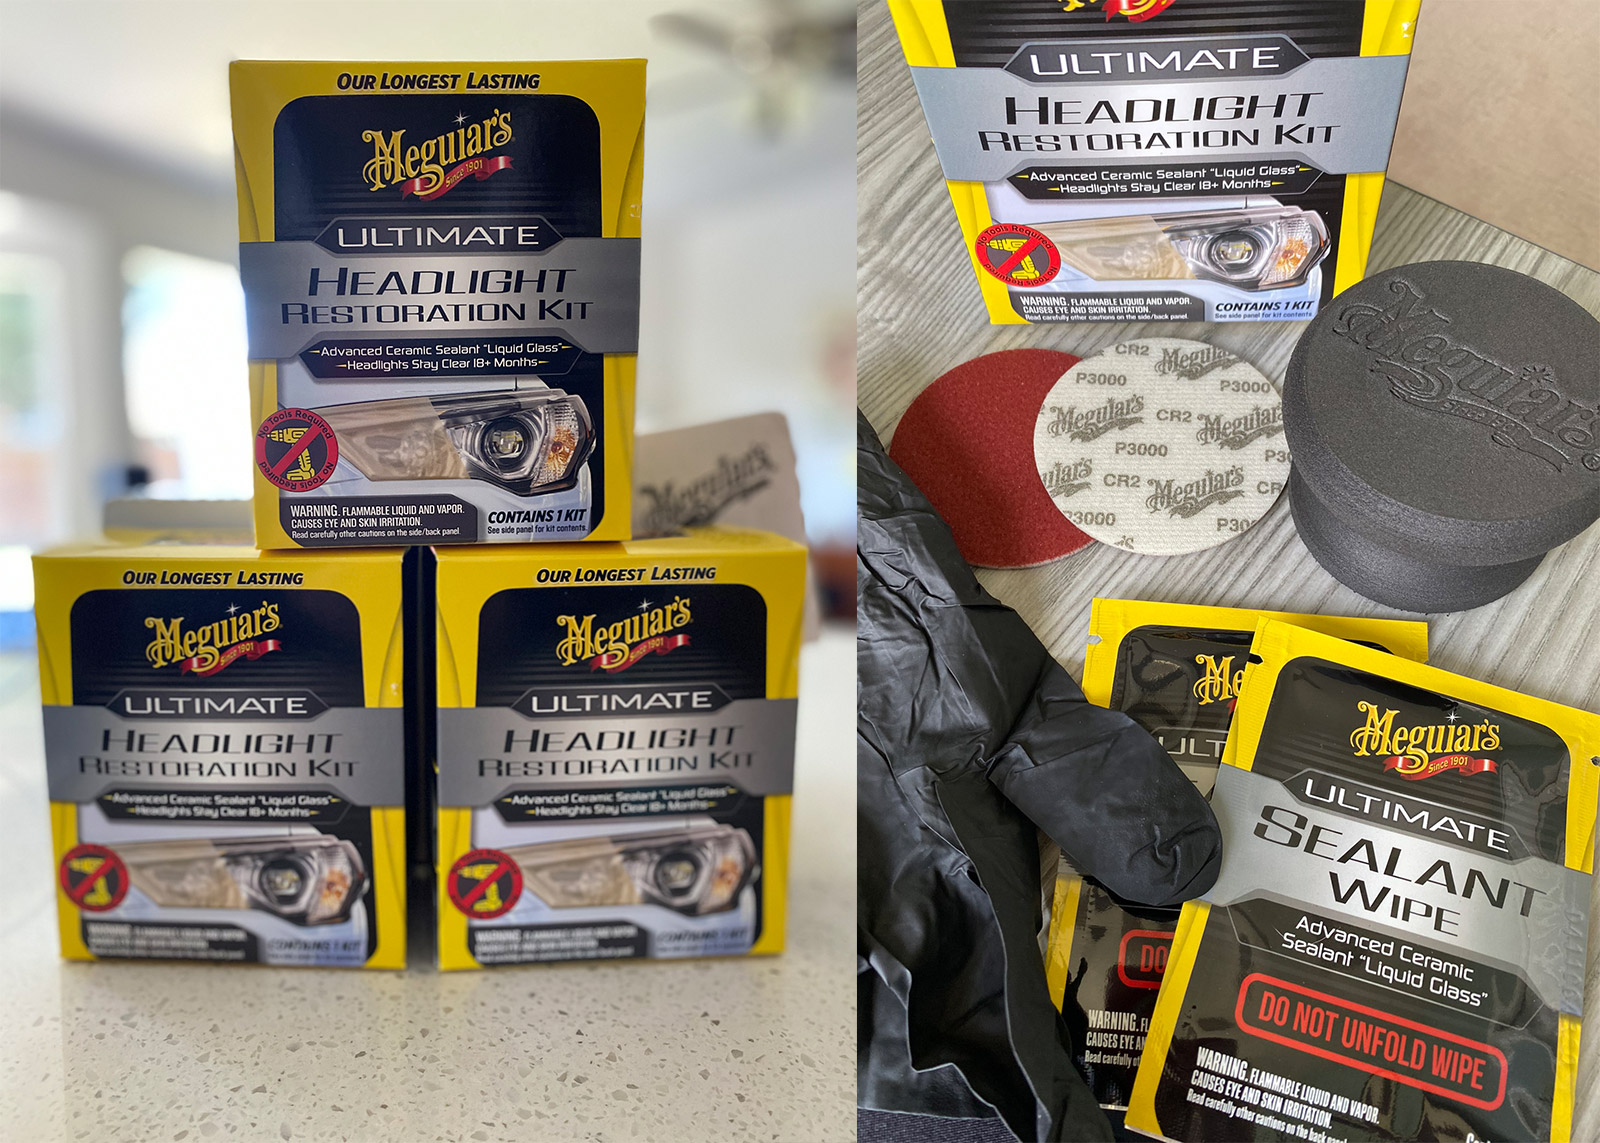
Meguiar’s Ultimate Headlight Restoration Kit
- Chemicals: Ultimate Headlight Sealant wipes
- Sanding tools: 1,000 grit and 3,000 grit sanding discs
- Additional kit contents: Easy grip pommel for sanding discs, 1 pair of vinyl gloves
- Hand drill required: No
- UV block: Yes
- Manufacturer’s warranty: Limited to product free of defects
Pros
- Excellent clarity
- New headlight sealant formula incorporates ceramic coating
- Better application method using wipes versus spraying on protectant
- Lasts 18 months or more
Cons
- Sanding by hand is a chore
- Longevity is unknown
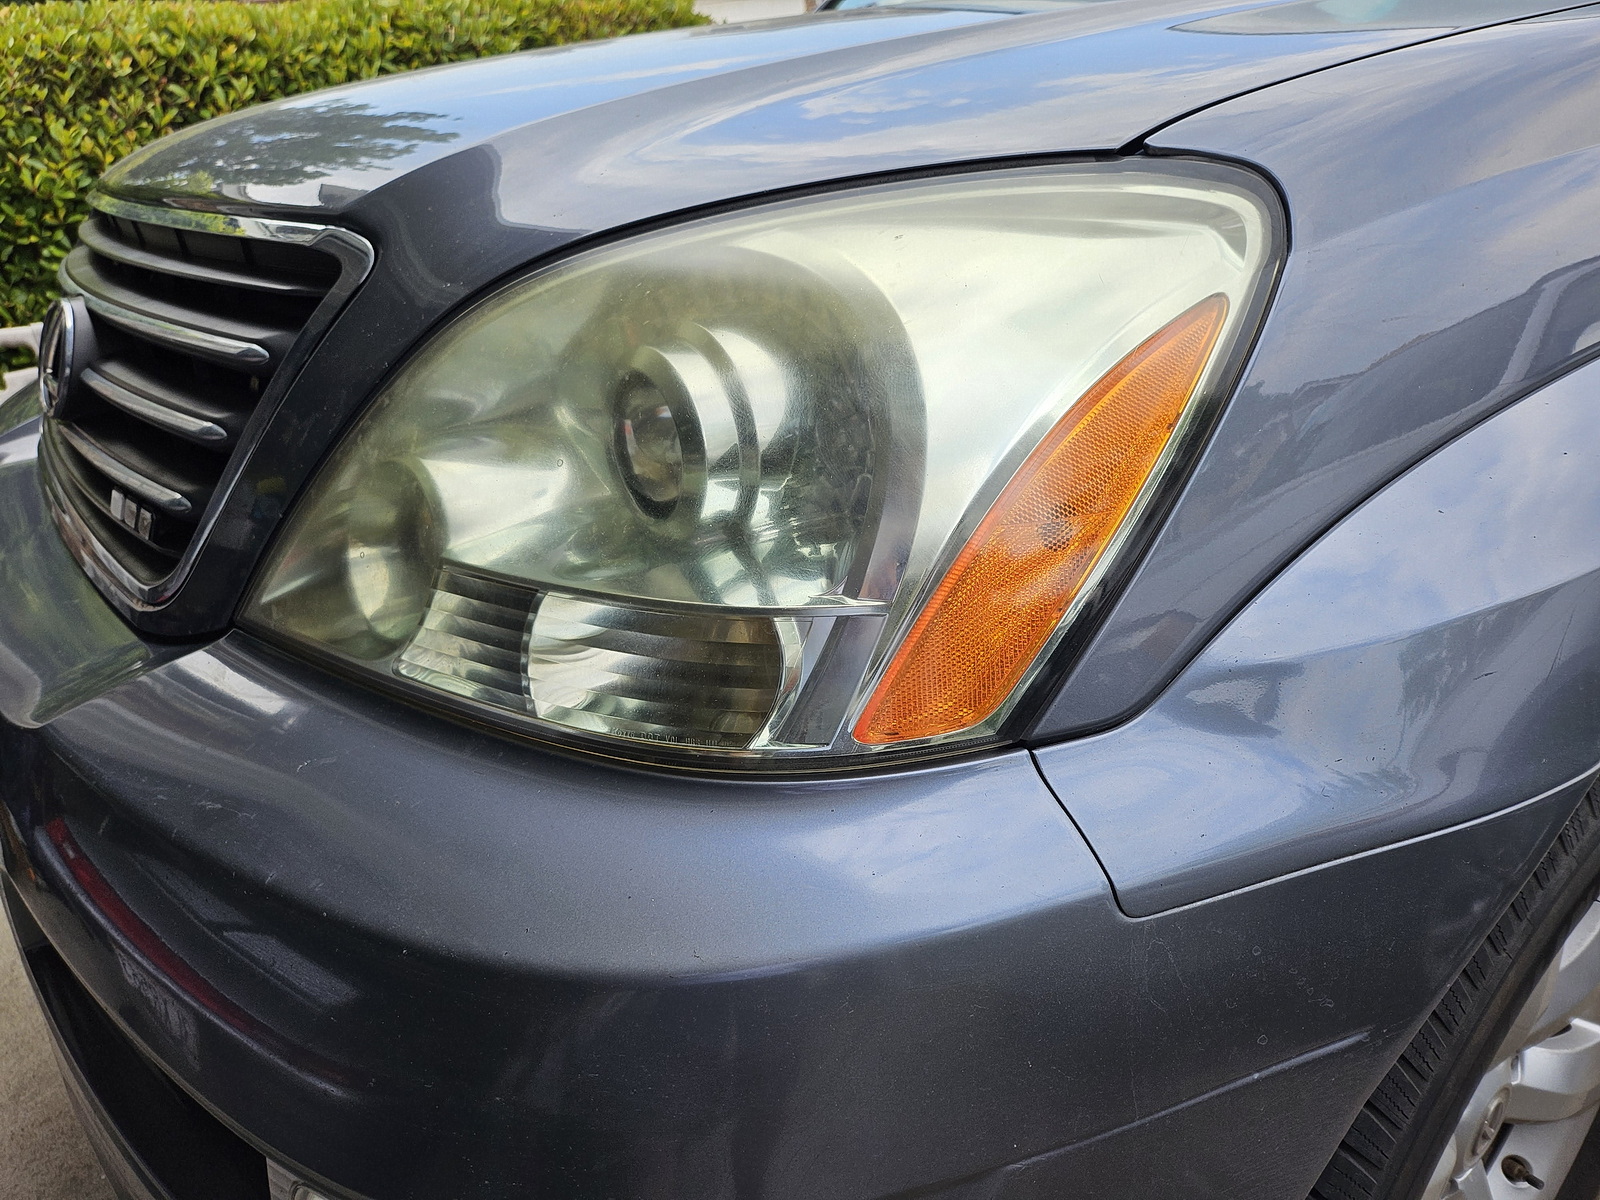
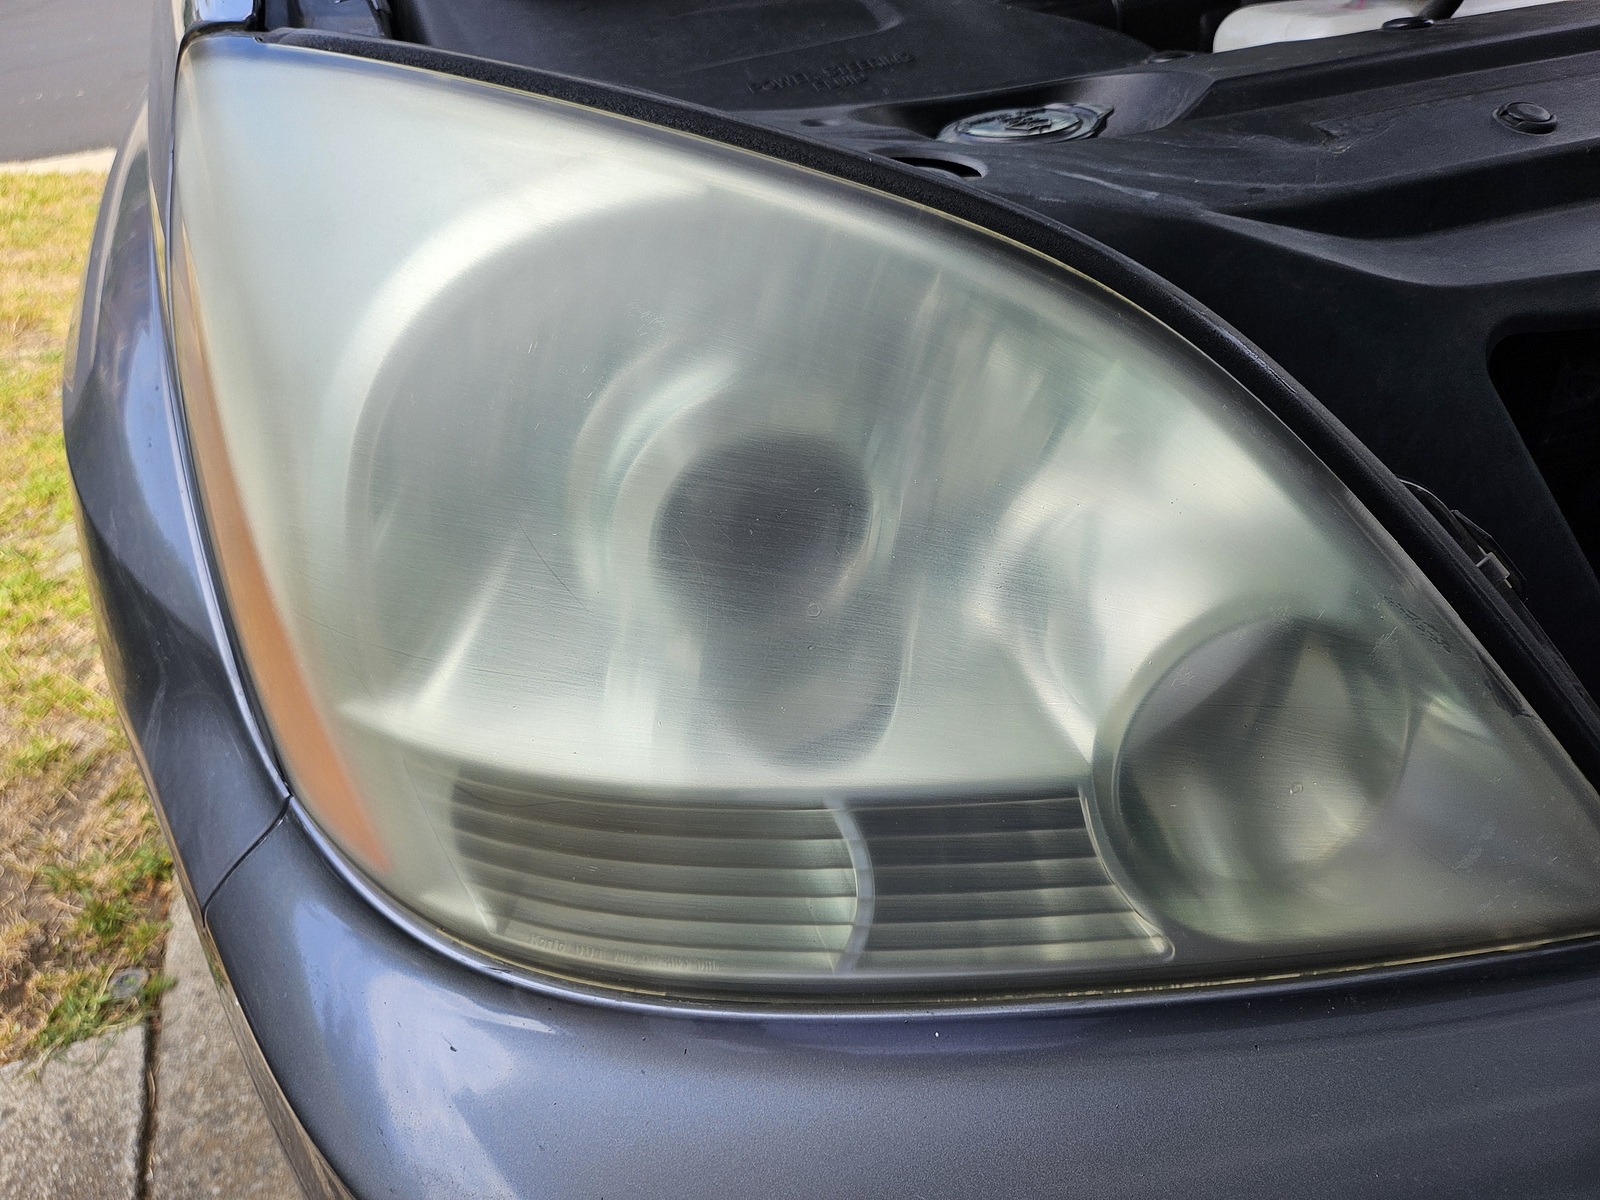
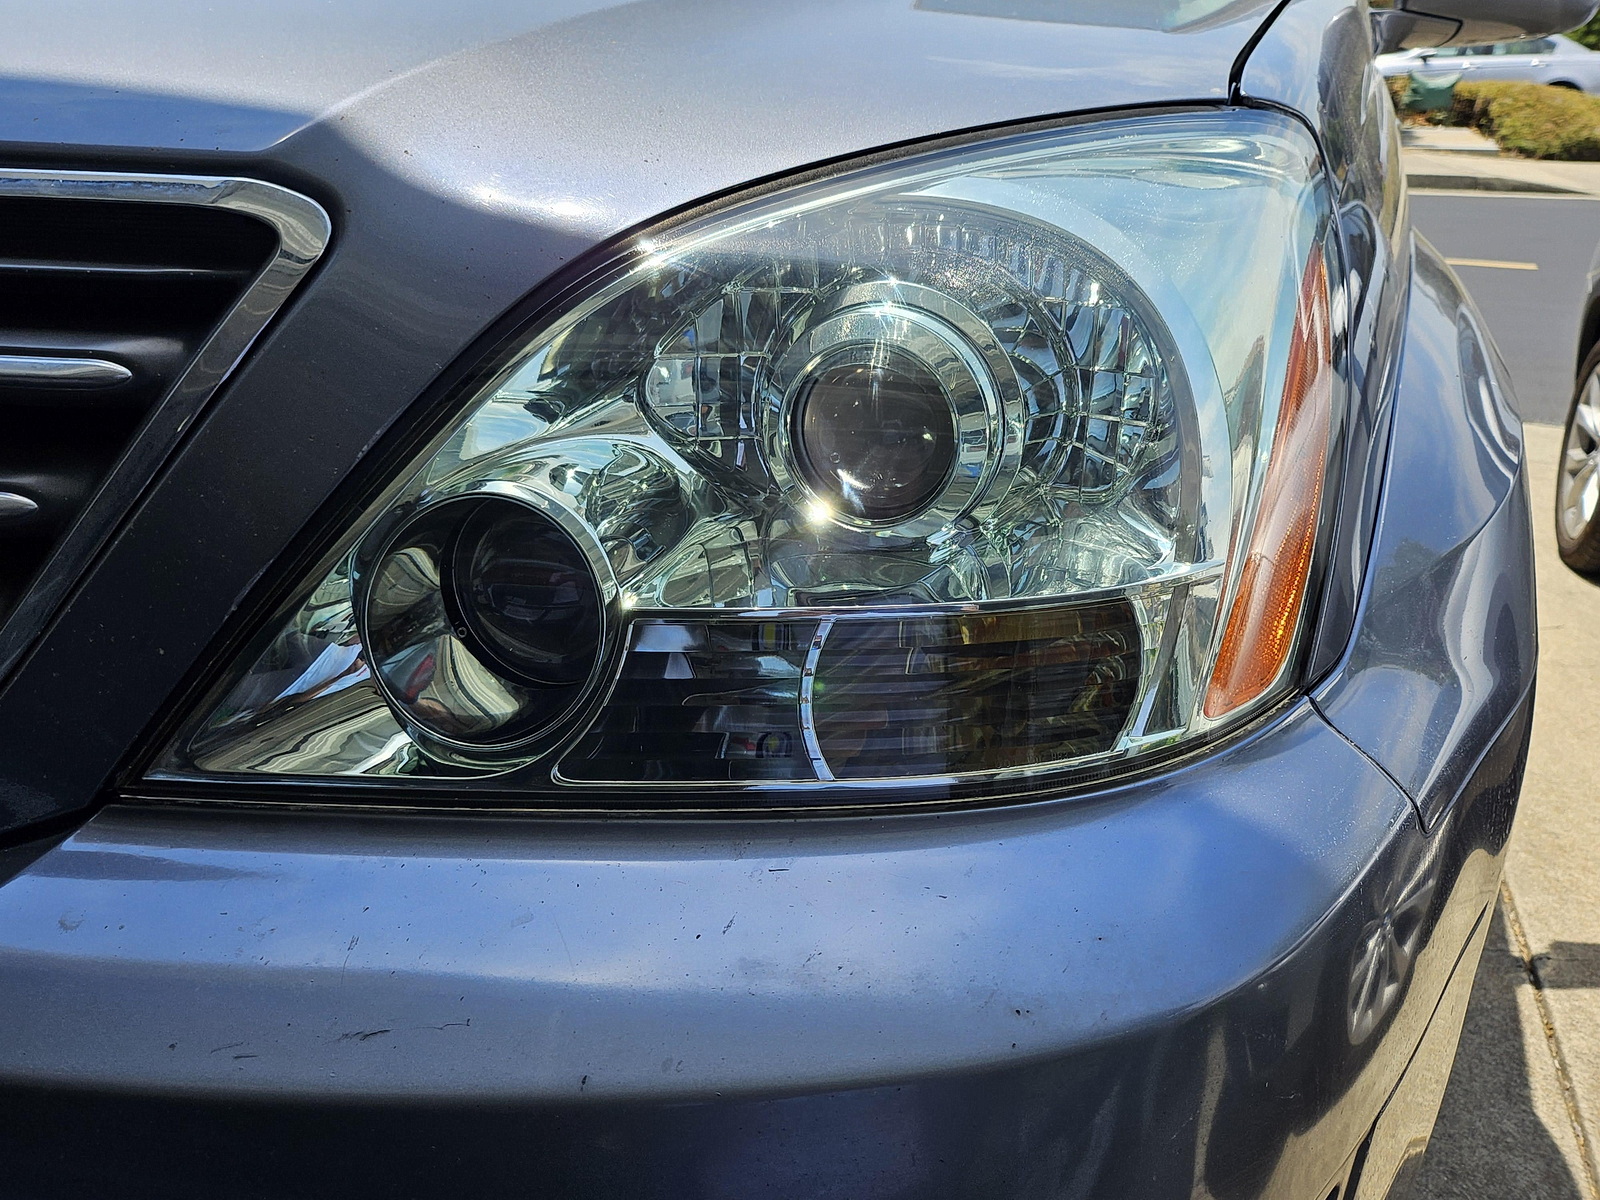
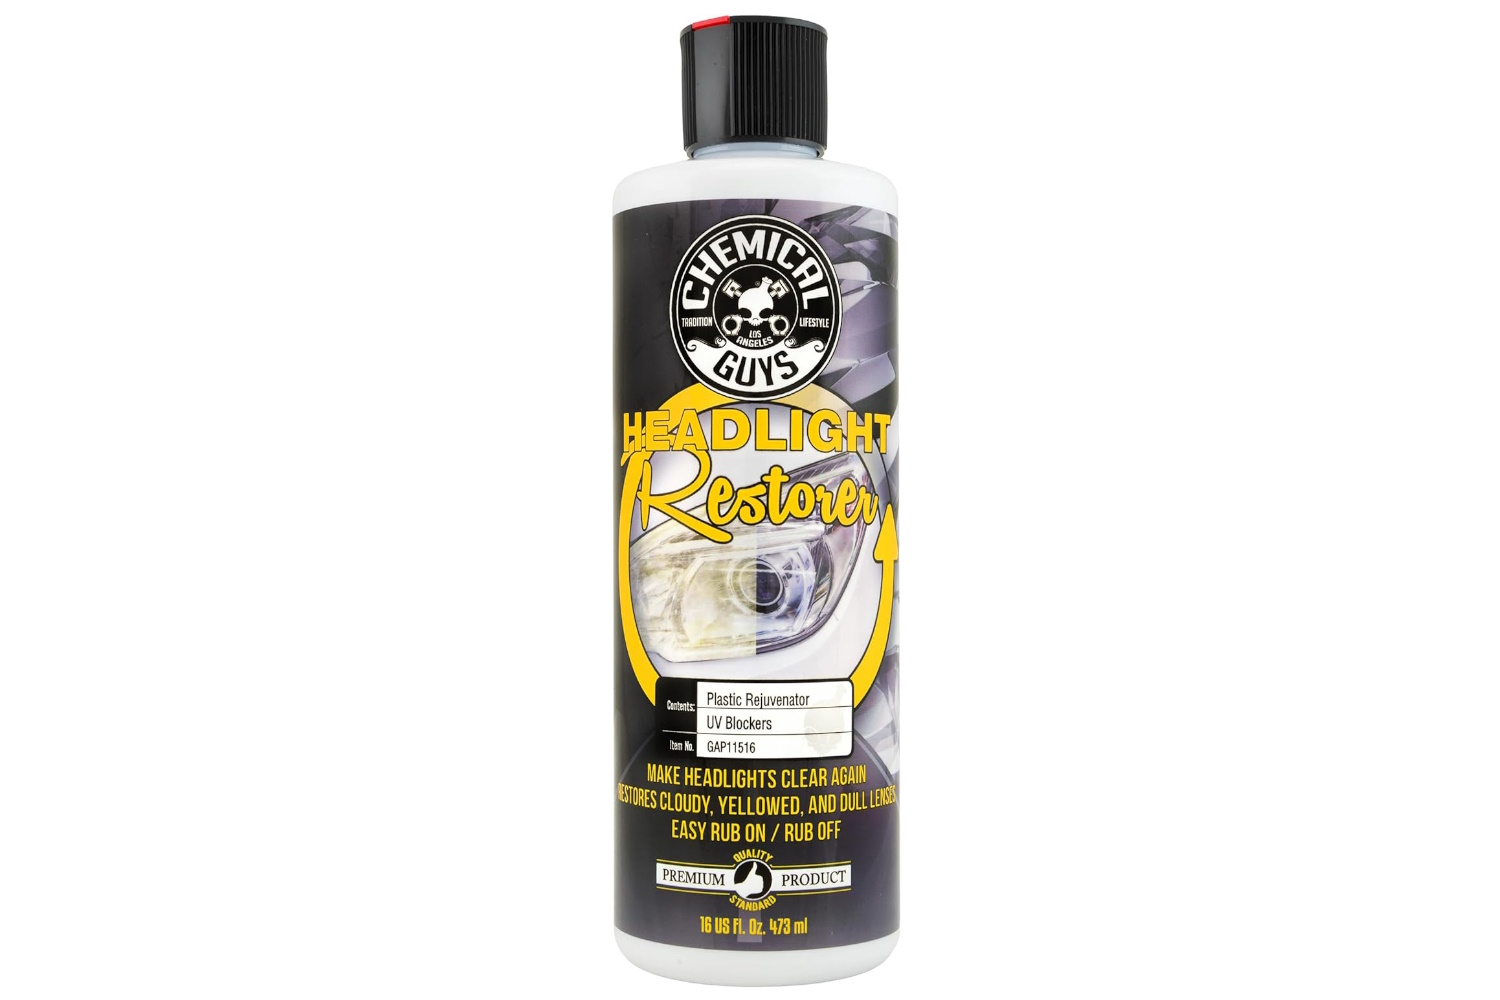
Chemical Guys Headlight Restorer
- Chemicals: CG Headlight Restorer
- Sanding tools: None
- Additional kit contents: None
- Hand drill required: No
- UV block: Yes
- Manufacturer’s warranty: Product provided “as is” without warranty
Pros
- Fast headlight restoration with minimal effort
- Combines UV protection and sealant to slow oxidation and yellowing of headlight lenses
- Polish and sealant will work on other plastic surfaces
- Lots of product available for touch-ups and cleaning bugs off after a road trip
Cons
- The user must supply tools and foam pads if using a power drill to polish
- Recommend wet or dry sanding beforehand if headlights are heavily oxidized
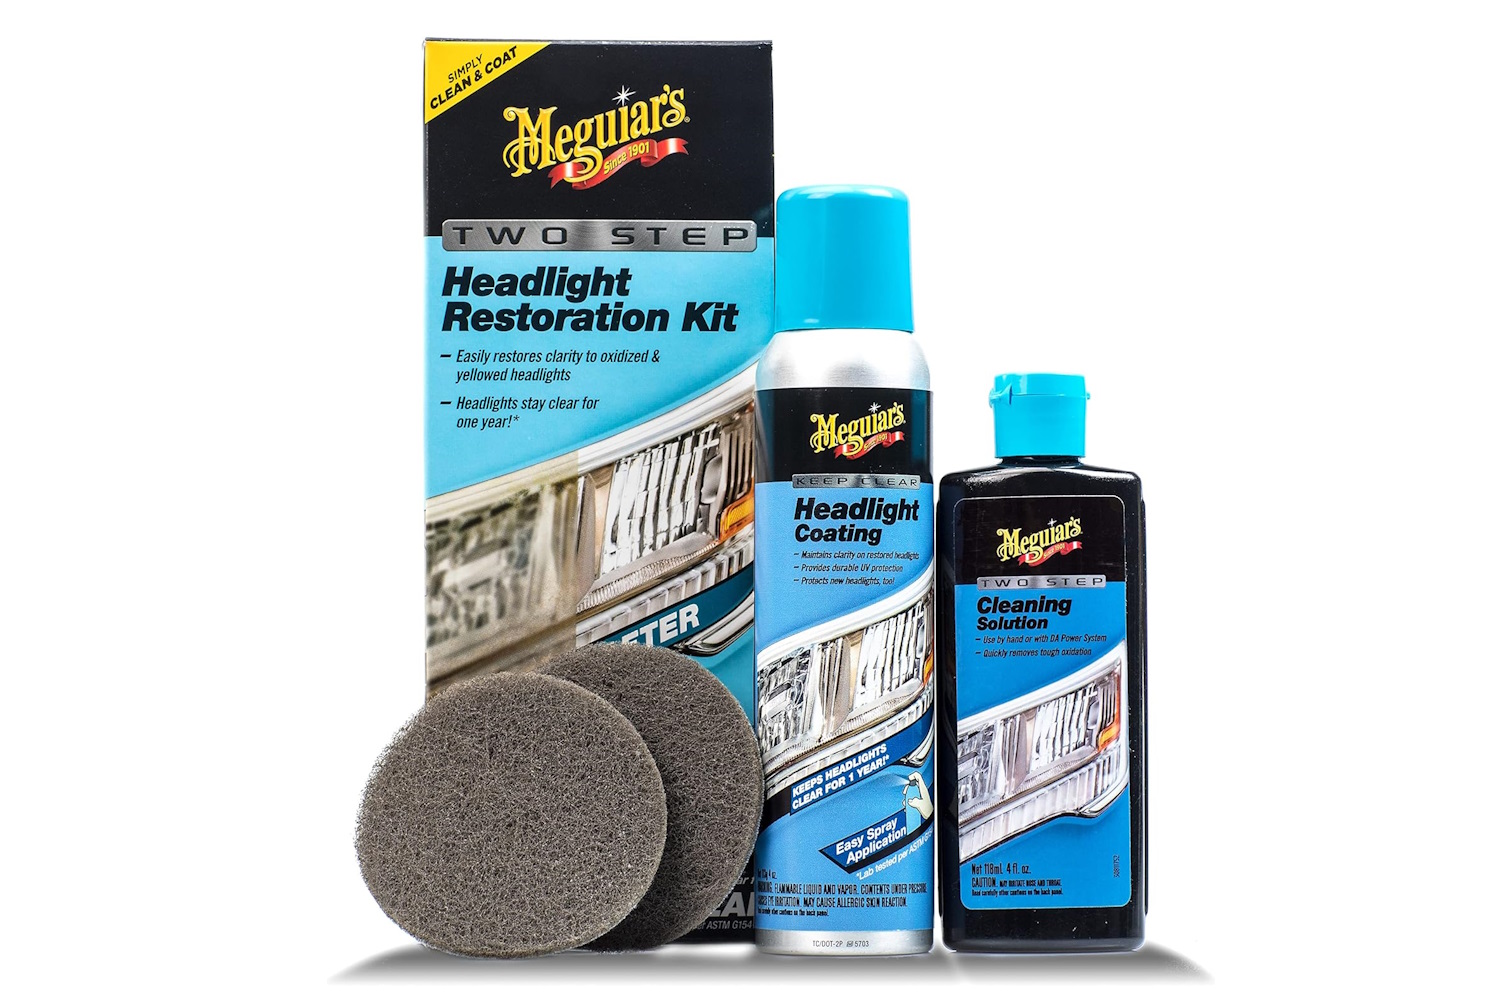
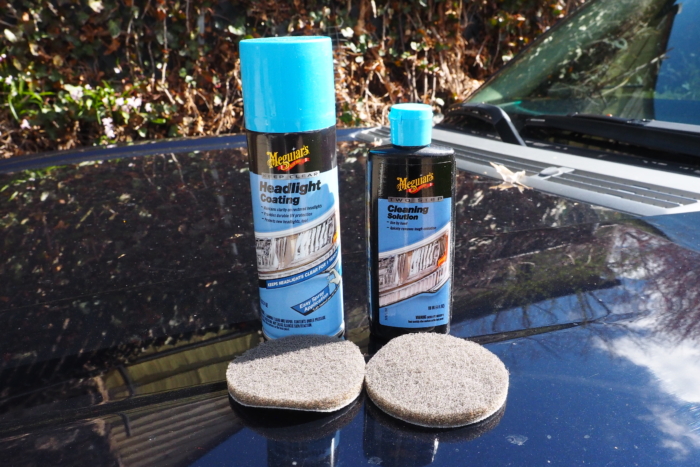
Meguiar’s Two Step Headlight Restoration Kit
- Chemicals: Meguiar’s Two Step cleaning solution, Meguiar’s Headlight Coating
- Sanding tools: (2) Abrasive disc pads
- Additional kit contents: None
- Hand drill required: Yes
- UV block: No
- Manufacturer’s warranty: Free from defects in materials
Pros
- Headlight coating is outstanding at restoring clarity
- Lots of product for repeated cleanings and touch-ups
- Headlight coating will work on other unprotected plastics
Cons
- Requires touch-ups about once a year, depending upon environmental conditions
- You’ll have to find a way to apply the cleaning solution after the abrasive pads wear out
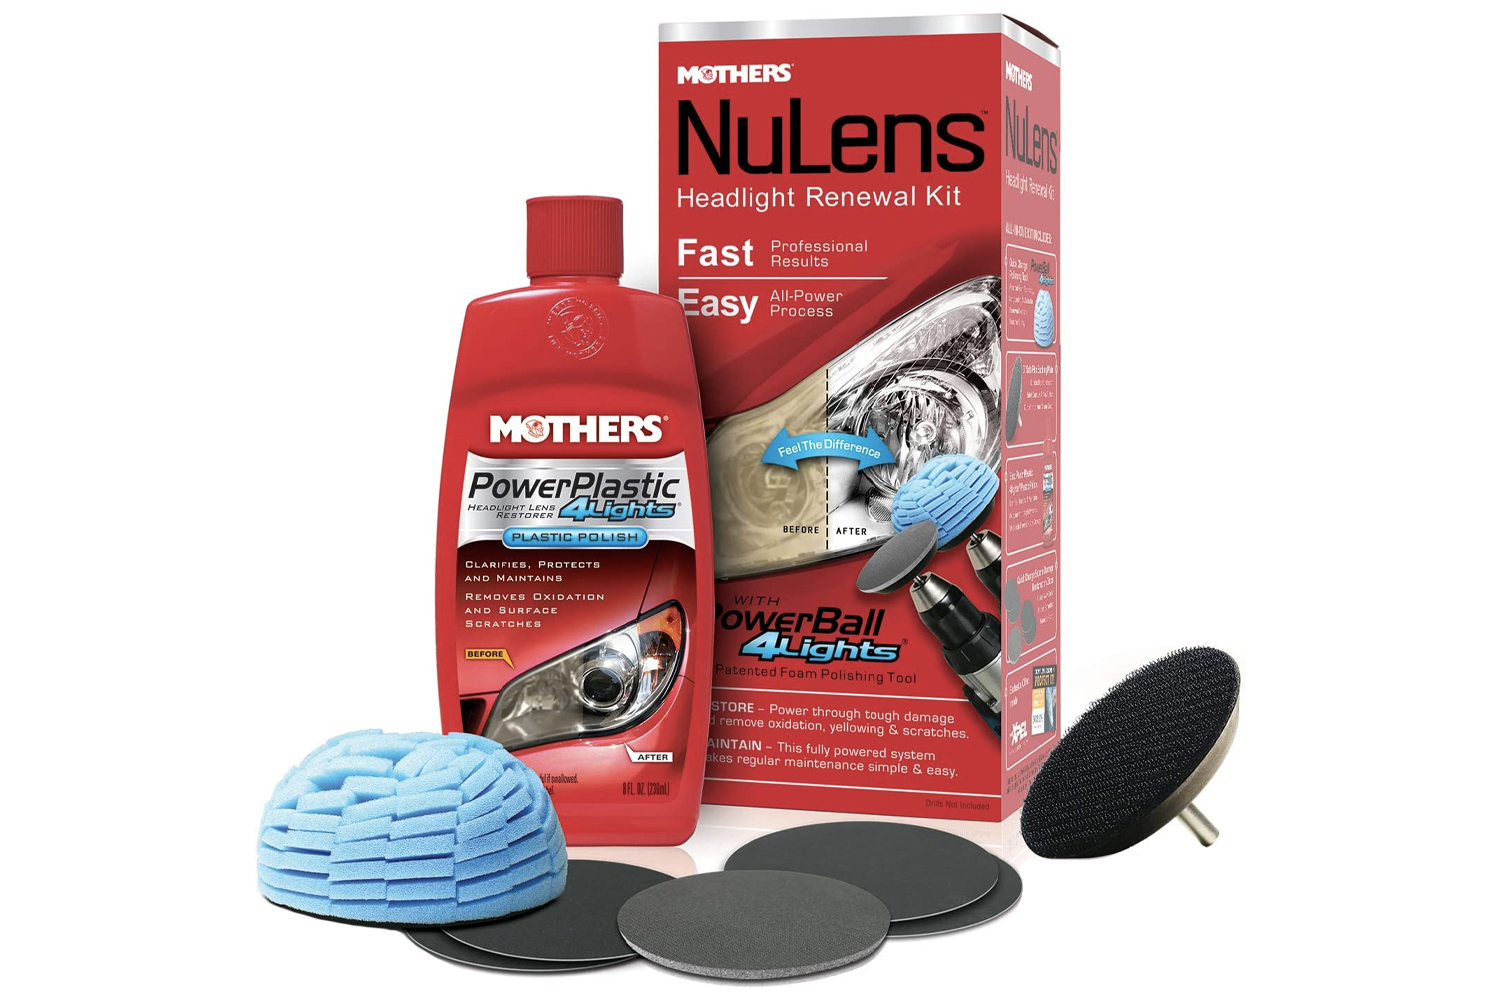
- Chemicals: Mothers PowerPlastic 4Lights plastic polish
- Sanding tools: (5) restoration sanding discs
- Additional kit contents: PowerBall 4Lights polishing tool, 3-inch backing plate drill attachment
- Hand drill required: Yes
- UV block: Yes
- Manufacturer’s warranty: None
Pros
- Plastic polish restores clarity and blocks UV rays
- Lots of product for repeated cleanings and touch-ups
Cons
- Requires frequent touch-ups, depending upon environmental conditions
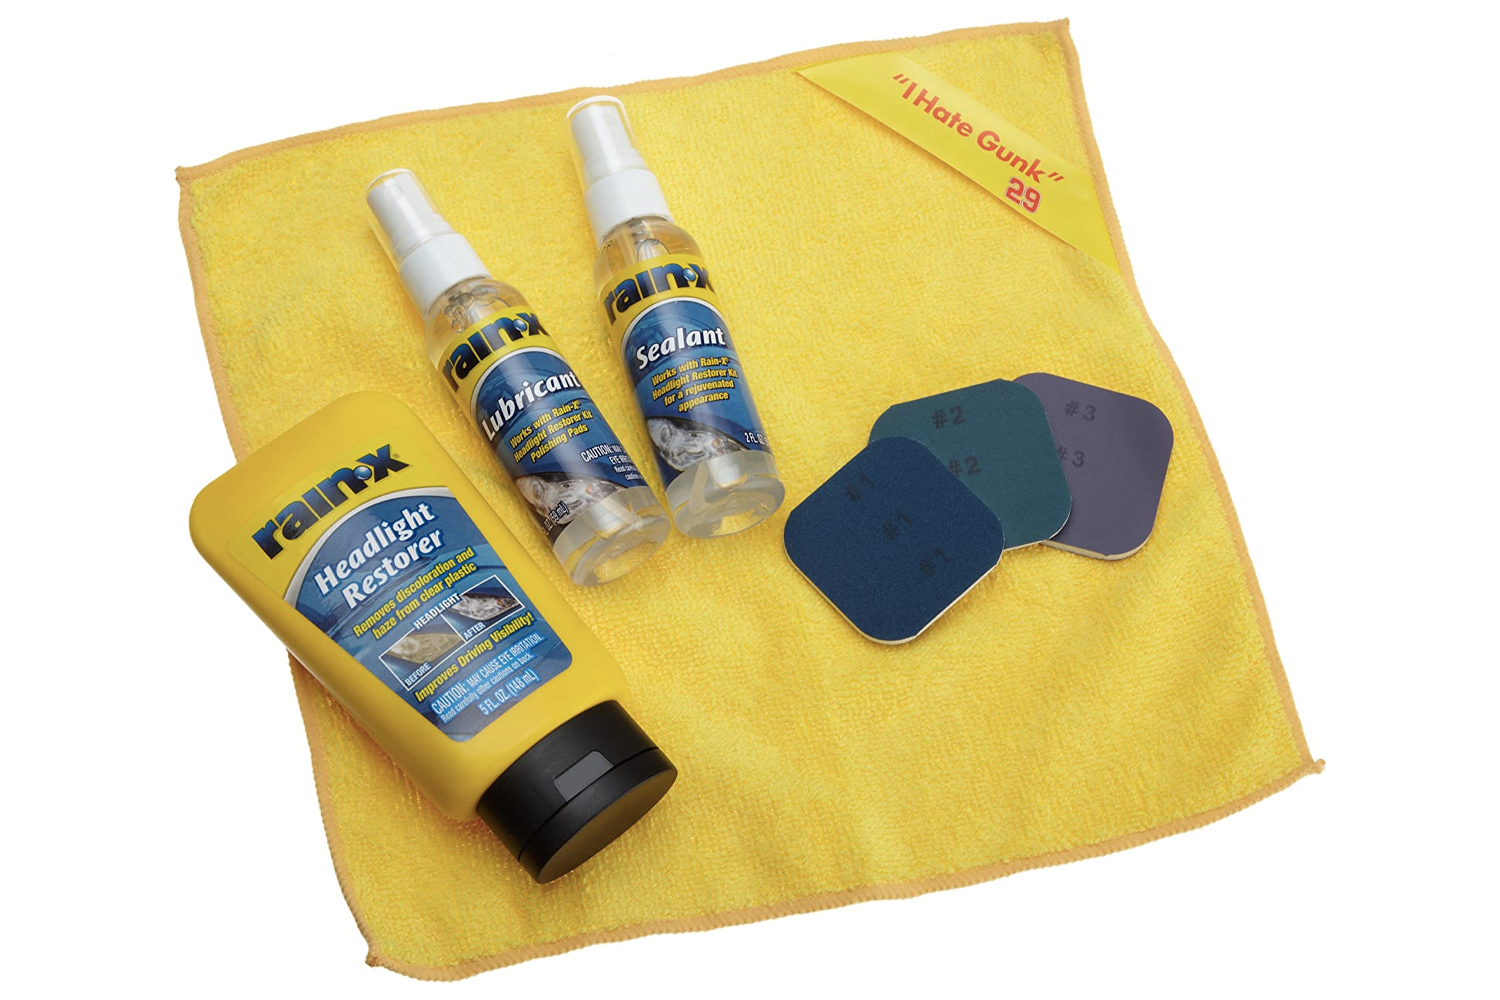
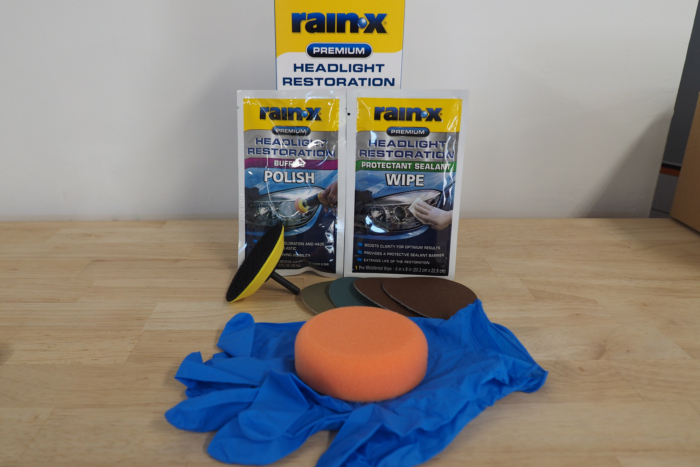
- Chemicals: Rain-X Premium Headlight Buffing Polish, Rain-X Premium Headlight Sealant Protectant Wipe
- Sanding tools: (2) 1500 grade sanding discs (brown), (1) 3200 grade sanding disc (grey), (1) 4000 grade sanding disc (blue)
- Additional kit contents: Nitrile gloves, drill attachment, headlight polishing pad
- Hand drill required: Yes
- UV block: No
- Manufacturer’s warranty: None
Pros
- Faster than hand scrubbing
- Inexpensive
Cons
- Wet sanding can get messy
- Headlight polish packaged in a packet
Headlight Restoration Kits Comparison Chart
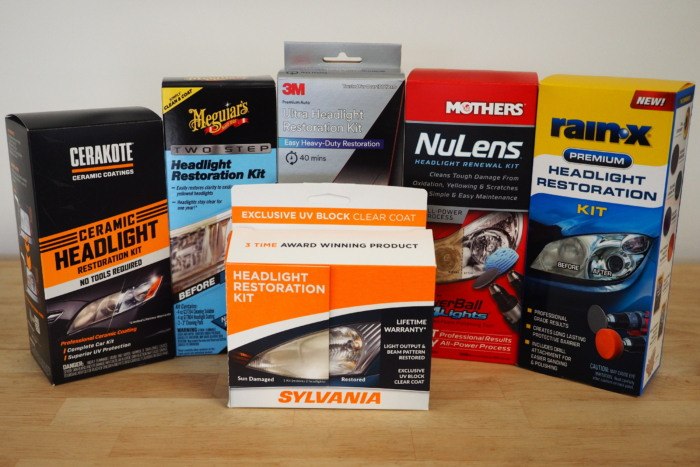
Scroll right to view all of the columns: Price, Hand Drill Required, UV Block, Manufacturer’s Warranty.
| Headlight Restoration Kit | Price | Hand Drill Required | UV block | Manufacturer’s warranty |
|---|---|---|---|---|
| SYLVANIA Headlight Restoration Kit | $25 | No | Yes | Limited to vehicle lifetime |
| 3M Ultra Headlight Restoration Kit | $19 | Yes | Yes | None |
| Cerakote Ceramic Headlight Restoration | $18 | No | Yes | Limited to the original purchaser |
| Meguiar’s Two Step Headlight Restoration Kit | $22 | Yes | No | Free from defects in materials |
| Mothers NuLens Headlight Renewal Kit | $33 | Yes | Yes | None |
| Rain-X Headlight Restoration Kit | $20 | Yes | No | None |
How We Tested Headlight Restoration Kits
Our Expert Testers
Our esteemed GearJunkie tester and Buyer’s Guide author, Derek Mau, led the curation and field testing for this guide. A regular work day for Mau involves testing almost anything with four tires and a steering wheel. He obsessively researches and shops for the best deal. Of course, he shares his findings through detailed and informative writing and reviews of all things automotive for GearJunkie.
Our Testing Process
In this buyer’s guide, we chose headlight restoration kits that require varying degrees of effort. We tested each kit on older cars, trucks, and SUVs with heavily oxidized headlight lenses. We’ve used a couple of kits in the past and have general knowledge of how long the coating will last. Others, where noted, were our first experience using them.
Our choices were based on the final results, as well as the number of steps and effort required to achieve the best clarity. We also considered the price and the frequency of touchups that are needed after the initial restoration.
Buyers Guide: How to Choose the Best Headlight Restoration Kit
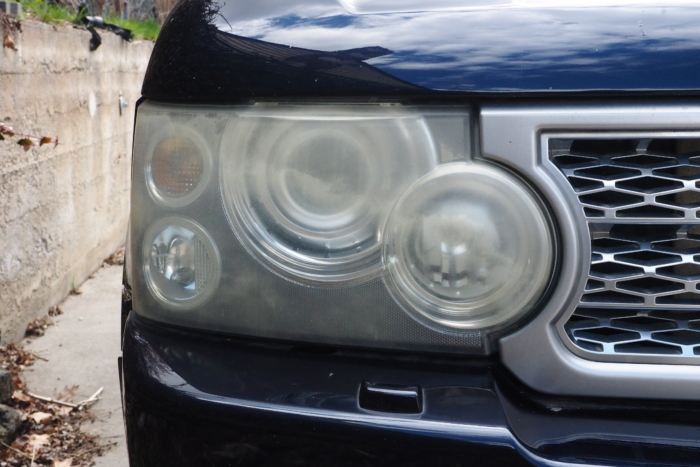
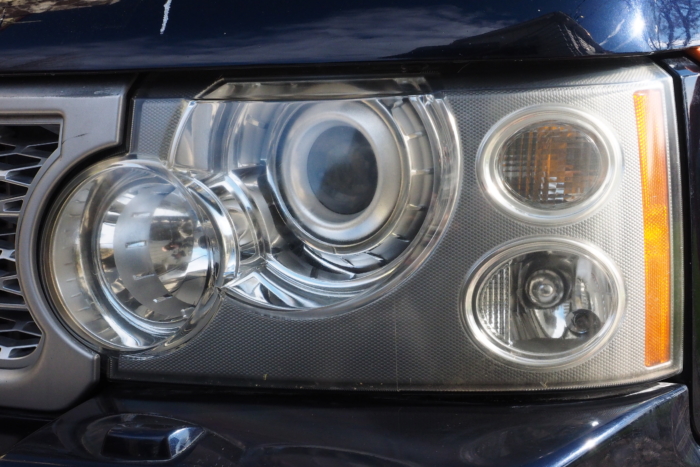
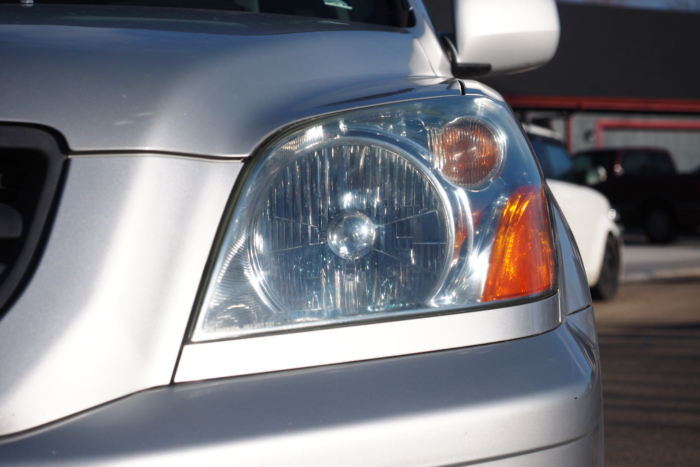
Every automobile owner should care about having clear headlights. As headlights age, the yellow and fogginess will affect how much light is projected onto the road. This degradation happens when the polycarbonate coating on a headlight lens deteriorates, which happens over the part’s lifespan but is particularly noticeable in regions where cars get a lot of sun. With yellow, scratched, dull, or old headlights, a driver’s nighttime visibility is diminished. Driving can become unsafe for yourself and others on the road.
The good news? Solutions are available to correct the problem yourself. You can either replace your headlight housings — which is costly — or restore them using a headlight restoration kit. With a headlight restoration kit, you can make your headlights shine like new again.
With a little bit of effort, one of our suggested kits will get your headlights back in like-new condition lickity-split. Invest in one of these headlight restoration kits, and you can’t go wrong. When choosing the right headlight restoration kit, consider a few key factors that we’ve outlined below.
Effectiveness of a Headlight Restoration Kit
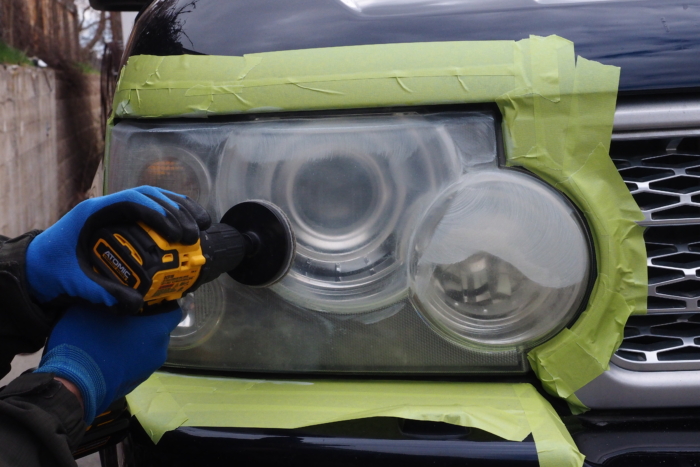
Look for kits that have proven effective in restoring clarity to headlights. Check professional and customer reviews and ratings to gauge the kit’s performance. You want to select a kit that can handle the level of oxidation and haziness you’re trying to resolve.
Ease of Use
Opt for a headlight restoration kit that is easy to use and comes with clear instructions.
Kits with simple steps and minimal tools tend to be more user-friendly. If manually sanding and polishing isn’t your cup of tea, look for kits that are set up for use with a hand drill.
Included Materials
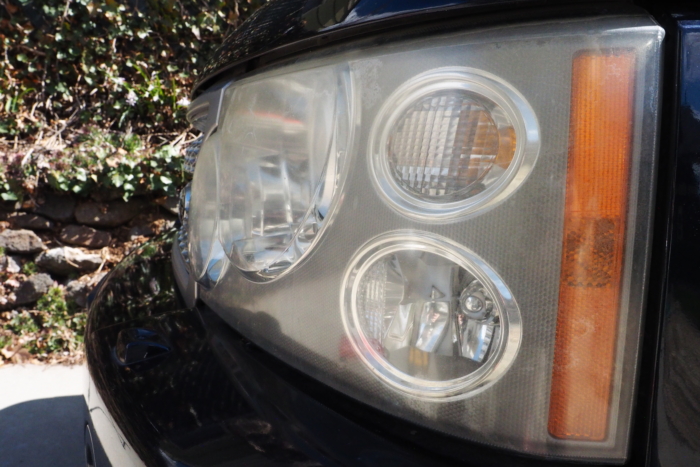
Ensure the headlight restoration kit includes all necessary materials, such as sandpaper, polishing compound, and sealant.
Some kits may also include drill attachments, masking tape, and protective gloves for convenience. The 3M Ultra Headlight Restoration Kit is one example that includes everything you need except for a powered drill. You’ll also need a block of time.
Here are the materials that you’ll see listed in restoration kits:
- Headlight cleaning solution: Quickly removes the top layer of oxidation, preparing the surface for the subsequent sanding and polishing steps required for headlight restoration.
- Headlight polishing compound: A headlight restoration polishing compound formulated explicitly for polycarbonate surfaces, capable of removing light to medium layers of oxidation. What sets it apart from regular polishing compounds is the inclusion of UV blockers to protect against future hazing caused by sun damage.
- Headlight lens sealant: A liquid chemical applied by wiping on the headlight lens or by spraying, which will restore lens clarity after sanding off the oxidation layers.
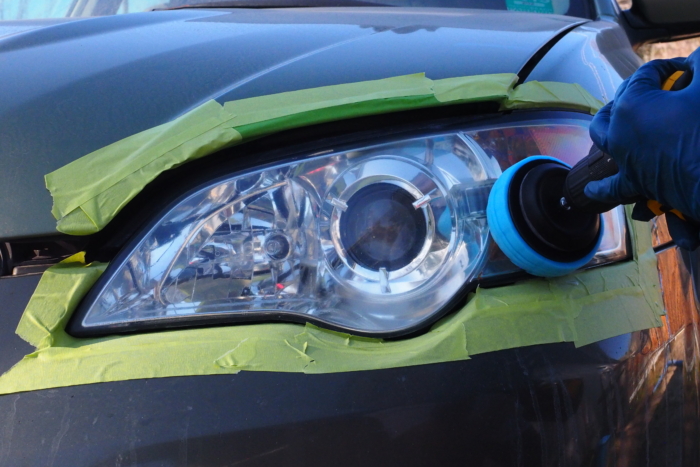
- Disc pad holder drill attachment: A tool that attaches to a power drill to perform the sanding steps. The attachment, fitted with a shank for insertion into the drill chuck, has a 3-inch diameter backing pad, often rubber or foam. The soft pad, which will conform to the curvature of headlight lenses, uses a hook and loop system to quickly attach and remove the sanding discs.
- Sanding discs: The different grits of sandpaper are used to progressively remove oxidation and smooth the lens surface before applying the sealant coating.
- Polishing pad: Used to apply the polishing compound that will remove the haze caused by exposure to UV rays and subsequently restore lens clarity.
- Plastic or nitrile gloves: Chemicals used for polishing and protecting headlights can be harsh on the skin or harmful on contact. Some professional detailers live by the rule, “If you can’t drink it, you don’t want it in contact with your skin.” Hence, avoiding prolonged contact with any chemicals used in headlight restoration kits is a good idea.
- Masking tape: Intended to protect the painted surfaces surrounding the headlight lens. Whether you’re prepping the headlight lens by hand or using a power drill, it’s always a good idea to apply masking tape around the perimeter of the headlight lens. Before starting the headlight restoration process, this extra step might prevent accidental damage to painted surfaces or a misapplication of the protective coating.
Drill & Disc Pads
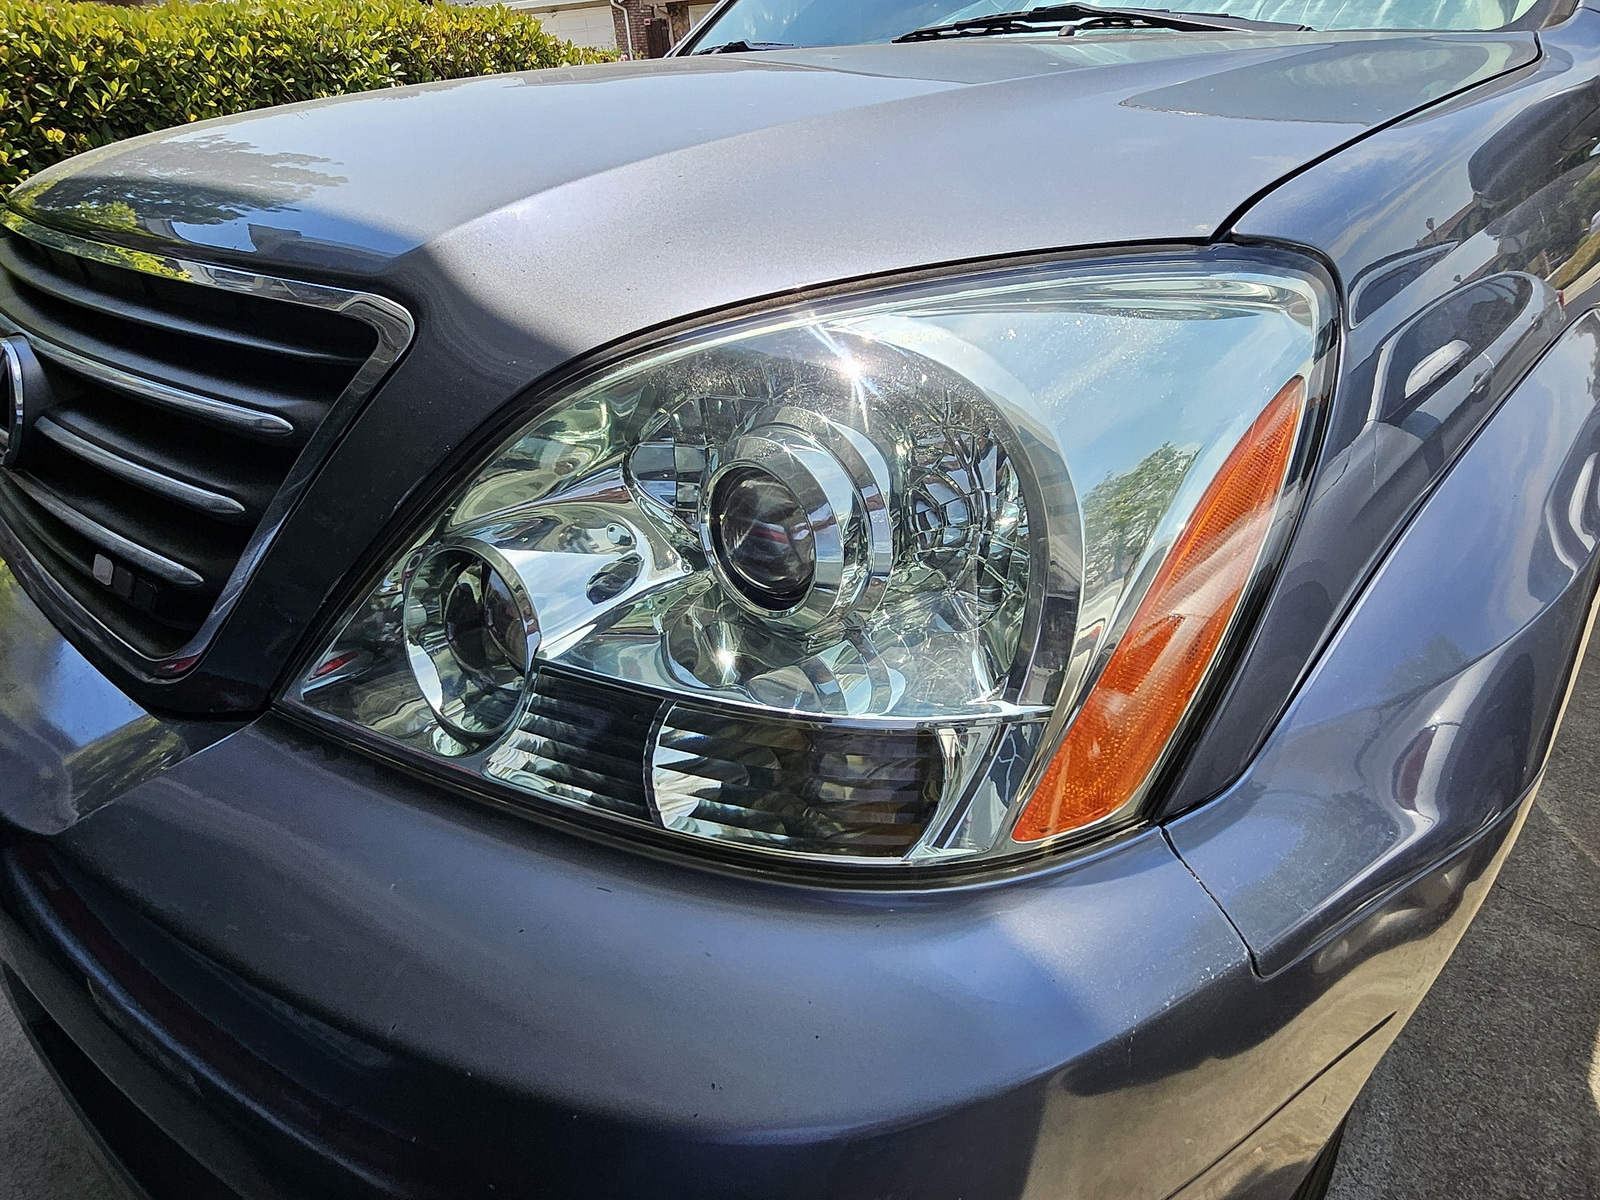
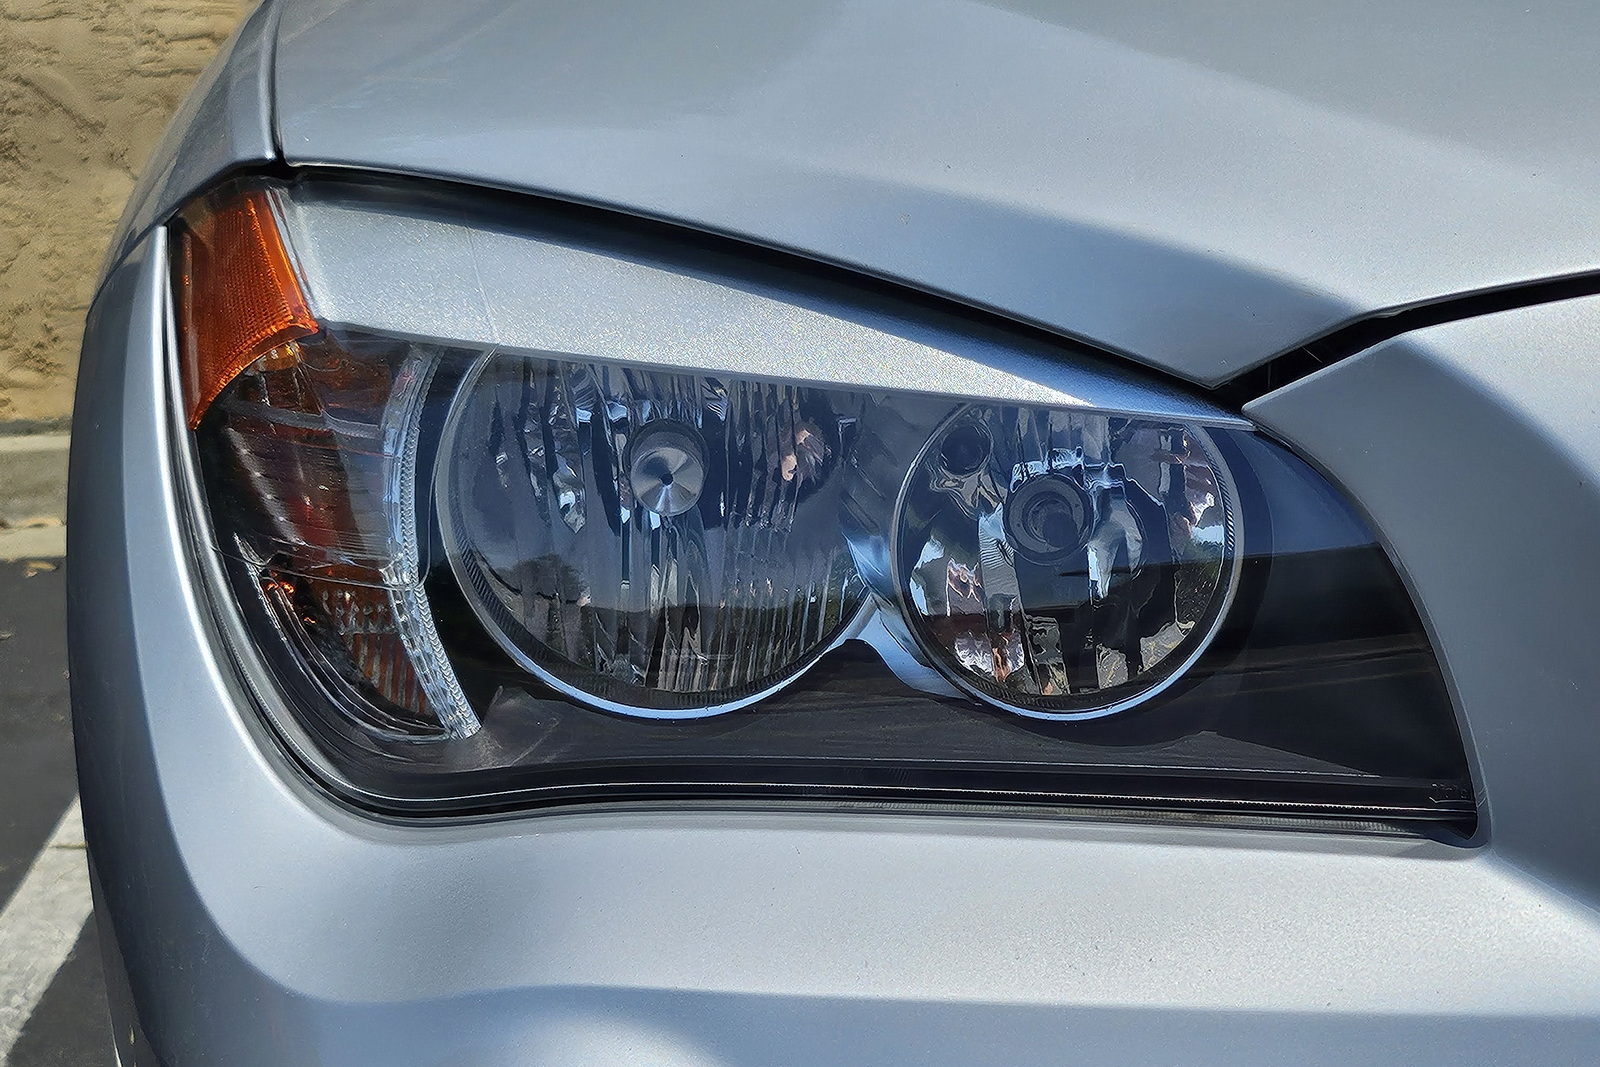
One of the hurdles of restoring a set of hazy headlights is the effort to remove layers of oxidation that have built up over time. The thought of doing all that sanding by hand is enough to dissuade many weekend DIYers. One way to speed up the process without compromising the final results is to use a powered drill to dry or wet sand the lenses.
Some kits, like the 3M Ultra Headlight Restoration Kit and Mothers NuLens Headlight Renewal Kit, include a drill attachment with a 3-inch backing plate. The Cerakote Ceramic and Meguiar’s Ultimate headlight restoration kits include 3-inch sanding discs but state no power tools are required. Nevertheless, you can buy a drill attachment for pretty cheap and greatly reduce the amount of manual labor.
Note: On rare occasions, you may come across headlight lenses with three protruding nipples. The purpose of the nipples is to help aim the headlight in the correct direction and height. Unfortunately, it also requires some finesse and manual sanding around them because the round shape of the sanding disc can’t get close enough when using a power tool.
Dry vs. Wet Sanding
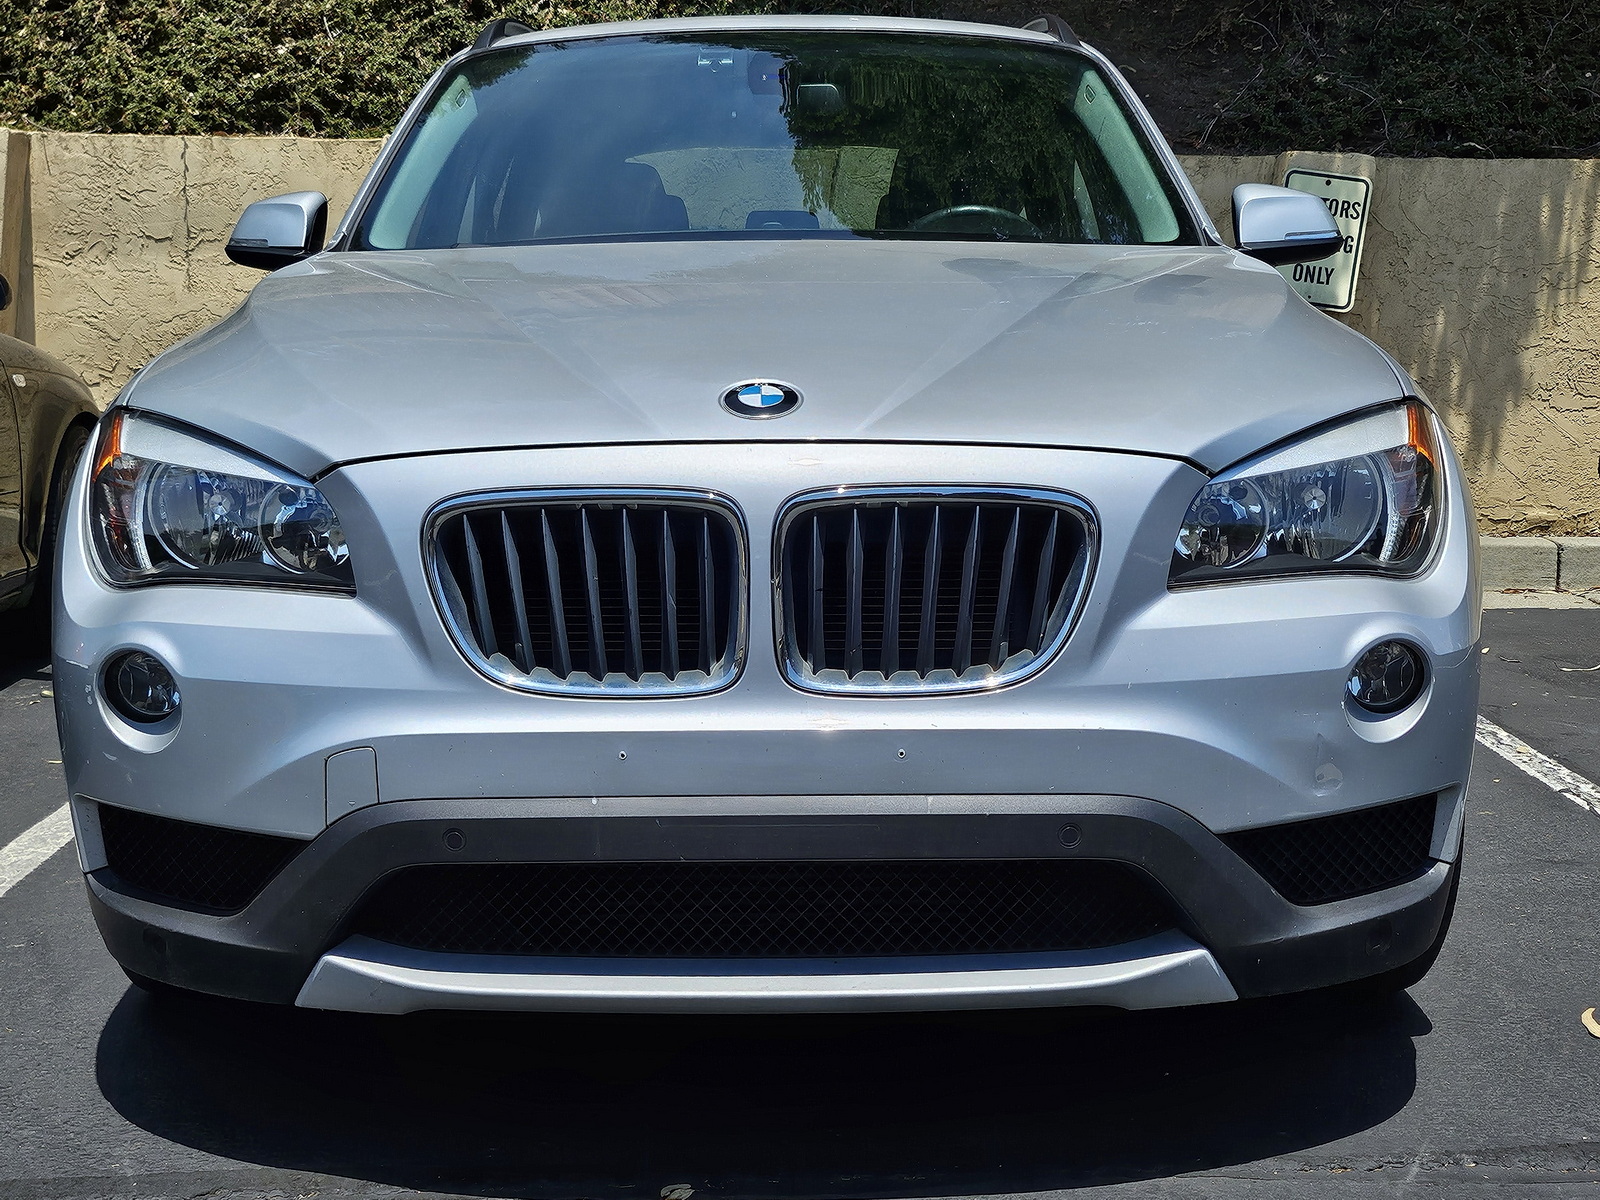
There are some questions about whether wet sanding is better than dry sanding when removing haze and oxidation from the lenses. And different professionals have their opinions about which they prefer. That said, wet or dry sanding are two techniques that will effectively work, but each has advantages.
Advantages of Wet Sanding
- Finer Finish: Wet sanding produces a smoother and more polished finish, making it ideal for finishing surfaces where a high level of smoothness and shine is required.
- Reduced Dust: The water used in wet sanding helps to reduce dust and debris, making the process cleaner and minimizing the risk of inhaling harmful particles.
- Less Heat Generation: The water acts as a lubricant and coolant, reducing friction and heat generation. Less heat is particularly beneficial when sanding materials like plastic headlight lenses, as excessive heat can cause warping or damage.
- Clog Prevention: Wet sanding helps prevent the sandpaper from clogging with dust, allowing it to last longer and work more effectively.
Advantages of Dry Sanding
- Faster Material Removal: Dry sanding is generally more aggressive and faster at removing material, making it suitable for removing a thick layer of oxidation. Bear in mind that less pressure is required
- Convenience: It requires less setup, as it doesn’t involve water, and there’s less of a mess to clean up afterward.
- Better Visibility: Dry sanding provides better visibility of the surface being worked on, as there is no water to obscure the work area. Removing the residue with a quick swipe or two with a dry microfiber towel makes it easy to judge your progress.
The choice between wet and dry sanding depends on personal preference. Wet sanding works well to produce a high-quality, smooth finish, but it’s messy, and more cleanup is involved. Effectively, dry sanding will make quick work of initial material removal. Just don’t get too aggressive with the process.
Longevity
Consider how long the results are expected to last. Some kits, include a sealant that provides long-lasting protection against future oxidation. In particular, the Meguiar’s Ultimate Headlight Restoration, Sylvania, and Cerakote Ceramic kits.
Other products may require more frequent maintenance. Sometimes, the warranty gives an indication as to the product’s longevity if the instructions don’t mention how often touch-ups should occur. For example, Meguiar’s Two Step Headlight Restoration Kit has a warranty limited to product defects. It yields excellent results but requires periodic touch-ups to maintain lens clarity.
Brand Reputation
Choose a kit from a reputable brand known for producing quality automotive care products. Brands with a history of customer satisfaction and positive reviews are generally more reliable. Mothers, Meguiar’s, and 3M all produce outstanding products that are well-regarded by professional detailers.
Considering these factors, you can select a headlight restoration kit that meets your needs and restores your headlights to like-new condition.
UV Blocker
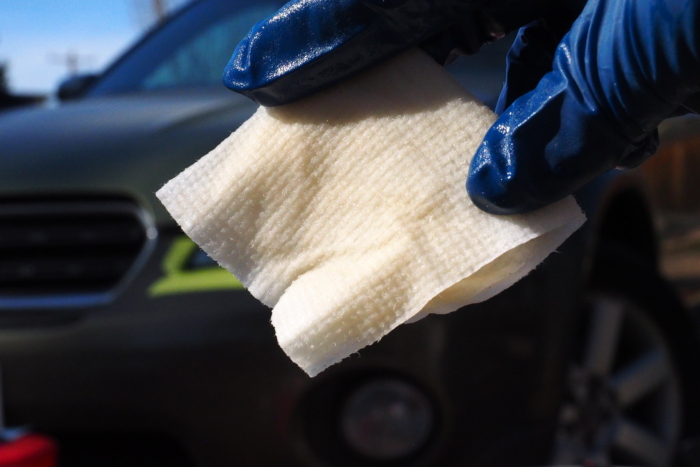
It’s no coincidence that our top choices happen to include a UV blocker mixed in the polishing compound or sealant. For example, the 3M Headlight Clear Coat, Cerakote Ceramic, Chemical Guys Headlight Restorer, Mothers PowerPlastic 4Lights, and SYLVANIA UV Block Clear Coat all contain UV protection of some type.
Undeniably, UV blocking agents in automotive care products offer several advantages:
Protection Against UV Damage
UV rays from the sun can cause fading, discoloration, and deterioration of automotive surfaces such as paint, plastics, and rubber. UV blocking agents help protect these surfaces from UV-induced damage, prolonging their lifespan and maintaining their appearance.
Preservation of Interior
UV rays can also damage the interior of a vehicle, causing fading and cracking of dashboard materials, leather seats, and other surfaces. UV blocking agents in products like interior cleaners and protectants help prevent this damage, keeping the interior looking newer for longer.
Maintained Value
UV blocking agents can help maintain a vehicle’s resale value by protecting its exterior and interior from UV damage.
When it comes time to sell or trade in the car, a well-maintained vehicle with minimal sun damage typically commands a higher resale value. Prospective buyers or dealers are often willing to pay more for a car that has a documented history of regular maintenance and minimal cosmetic faults, as it implies that the vehicle has been cared for and is less likely to have hidden issues.
Enhanced Aesthetics
Regular washing, waxing, and detailing keep the car’s exterior looking clean and well-maintained. UV blocking agents in automotive care products can help preserve the original color and finish, ensuring that your vehicle looks its best between cleanings. Subsequently, they can prevent paint damage, rust, and corrosion, which can detract from the car’s appearance and decrease its value.
Reduced Maintenance
UV blocking agents protect against UV damage and can reduce the need for frequent detailing or repairs, saving you time and money in the long run.
Common to the SYLVANIA Headlight Restoration and Cerakote Ceramic Headlight Restoration kits is a UV blocker. Both will maintain lens clarity after restoration without a need for future cleanings. They also offer a warranty that lasts for the life of the car.
Overall, a UV-blocking agent not only ensures a vehicle’s safety and appearance but also helps preserve its value over time. It’s wise to look for headlight restoration and automotive care products that have a UV-blocking agent, for both present enjoyment and future resale or trade-in.
Also, check out our top recommendations for the best car detailing kit to make your ride truly shine.
Why You Should Restore Your Car’s Headlights
Aside from taking care of those unsightly headlight lenses, there are several practical reasons for cleaning up the years of oxidation buildup.
Whether you take on the job yourself or hire a professional, consider the following reasons why it’s a good idea to restore the original clarity to those hazy headlights.
Improved Safety & Visibility
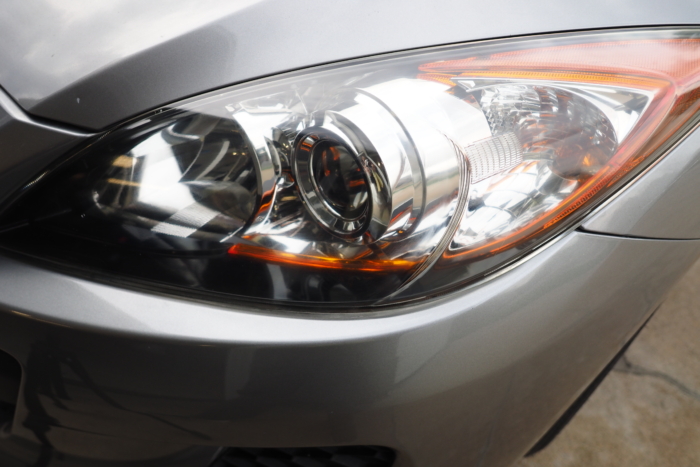
Headlights are essential to your safety on the road. If you can’t see the road in front of you, you can’t drive safely. Furthermore, if other drivers can’t see you, then they are in danger as well. Hazy, foggy, or scratched headlights can make driving at night more difficult and dangerous. With clean headlights and an upgraded LED headlight bulb, you can drive confidently at night.
Save Some Money
If you need to replace your car’s headlights in the future, you may end up having to shell out some serious dough. A high-quality restoration kit, such as the SYLVANIA Headlight Restoration Kit, sells for $25, which is pocket change by comparison. As with any aspect of your automobile, doing preventative work is far better than paying for costly repairs or replacements.
Resale Value
If you’ve considered selling or trading in your car in the future, you know it must be in optimal shape to get top dollar. Showing up with dirty, yellowing headlights isn’t going to help you seal the deal.
Restoring your headlight lenses can improve the overall appearance, making it look well-maintained. The Mothers NuLens Headlight Renewal Kit has a plastic polish that does an excellent job of removing layers of oxidation and restoring lens clarity to seemingly new condition. And it has enough materials to do touchups or more than one set of lenses.

Environmental Impact
By restoring your headlights to like-new condition instead of replacing them, you reduce the amount of waste going to landfills.
Headlight housings are typically made of polycarbonate materials that can take hundreds of years to decompose in landfills. After disposal, there’s also the danger of those microplastics getting into our food and water ecosystems. Subsequently, you reduce the demand for new headlights and the associated manufacturing processes, which are resource-intensive and a source of greenhouse emissions.
The disposal of toxic chemicals associated with the manufacture of new headlights also adds to the environmental impact. For all intents and purposes, choosing to restore headlights instead of replacing them contributes to a more sustainable approach to vehicle maintenance and helps reduce one’s ecological footprint.
Price & Value
The biggest variable that influences the price of headlight restoration kits is the type and volume of materials included in the box, as well as the lasting nature and clarity provided by the product. Consider the value each kit offers in terms of effectiveness, ease of use, materials provided, and longevity. For most people, any of these kits would work fine — they’re all under $50.
Budget
On the most economical end, kits such as the Cerakote Ceramic Headlight Restoration ($18) require a hand drill, offer UV block, and have a limited manufacturer’s warranty. Here you have oxidation-removing wipes and ceramic coating wipes, as well as four sanding discs.
Mid-Tier
In the middle rung, one of the best values we found is the Rain-X Headlight Restoration Kit ($20). It has all the necessary materials to restore a set of headlight lenses and did an admirable job restoring clarity for such a low cost. The materials include a buffing polish, sealant, four sanding discs (three different types), gloves, a drill attachment, and a headlight polishing pad.
Premium
On the higher end, kits like the Mothers NuLens Headlight Renewal Kit ($33) include five sanding discs and a plastic polish, as well as a polishing tool and drill attachment. When you pay a bit more, you get a greater quantity of products, so that you can do touch-ups and repeat cleanings.
Frequently Asked Questions
Commercial headlight restoration kits are intended for car owners who want to restore the lenses’ original clarity.
These headlight renewal kits improve visibility while driving and enhance a vehicle’s tired appearance. They are typically sold in auto parts stores and in the automotive section of big box department stores. You can also buy them online.
Commercial headlight restoration kits are intended for car owners who want to restore the lenses’ original clarity.
A headlight renewal kit will remove years of oxidation, yellowing, and haziness on the lens, which is caused by years of exposure to the elements, road hazards, and the sun’s damaging UV rays.
A complete headlight restoration kit includes a polishing pad, sandpaper, polishing agent or oxidation remover, and a sealant. Some kits also include a drill attachment accessory for the sanding or polishing discs, masking tape, and plastic gloves.
Though you may have heard of people using various other options to clean their hazy headlights (including sandpaper, toothpaste, vinegar, polish, and insect repellent), we recommend buying a dedicated headlight restoration kit.
There are many affordable options. These kits will ensure you get the best results without further damaging your headlights.
As the polycarbonate lens on your headlights ages, it is inevitable that they will start to yellow due to oxidation and exposure to UV rays.
Thankfully, some headlight restoration products include UV blocking agents to help protect these surfaces from UV-induced damage. Those agents prolong the lifespan of headlights and maintain their appearance.
Headlights can also become discolored, faded, and deteriorated from exposure to various chemicals that your car may encounter at home and on the road.
Absolutely! Headlight restoration kits from major brands (including Meguiar’s, Mothers, Sylvania, Cerakote, and 3M) will remove layers of oxidation and restore lens clarity. Light output at night is tremendously improved, along with elevating the look of your vehicle.
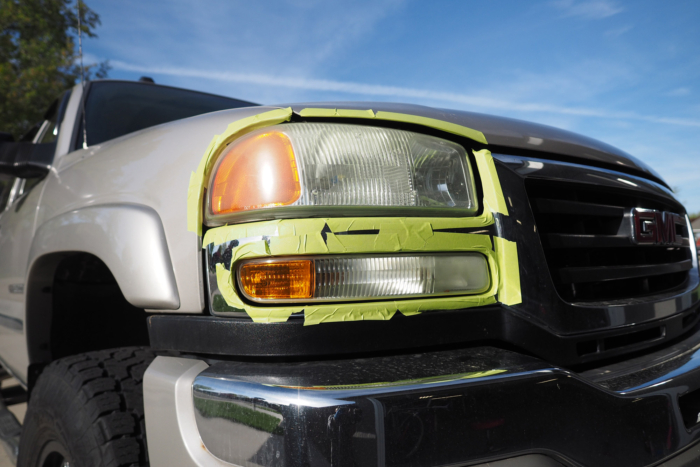
Yes, but it isn’t common. Ensure your headlights and turn signals are in good working condition as part of your regular maintenance routine, and you should not have to worry about failing an inspection.
The honest answer is it all depends on your vehicle and its environment.
If you frequently drive on heavily salted roads or your car sits outside in the elements, you’ll probably find yourself doing it more often. Parking outside and daily exposure to the sun’s damaging UV rays will increase the rate of oxidation and yellowing of the lenses.
If you aren’t subjecting your vehicle to anything beyond mild conditions, you may get away with using a headlight restoration kit once a year (or less) for maintenance.

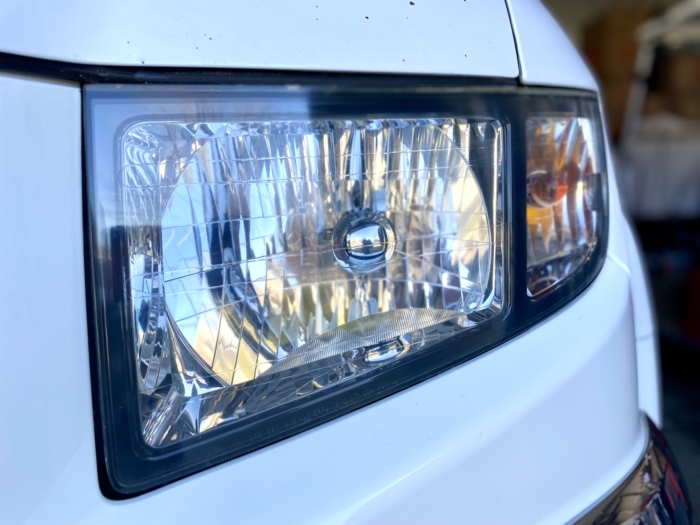
Follow the instructions for whatever kit you purchase. Three basic steps for restoring headlight clarity include the following:
- Removing oxidation from the lens using chemicals or physical sanding
- Polishing the lens. That includes using a polishing compound specifically formulated for polycarbonate headlight lens or a final sanding step using P3000 grit sandpaper
- Apply a UV coating and sealant to protect the lens
The Best Jumper Cables of 2025
Jumper cables are a lifesaver when your car fails to start due to a weak or dead battery. Here are our top picks for a range of vehicles.
The Best GPS Trackers for Cars of 2025
We tested a variety of GPS trackers to find the best options for tracing vehicles, property, and loved ones. Here are our top picks.
