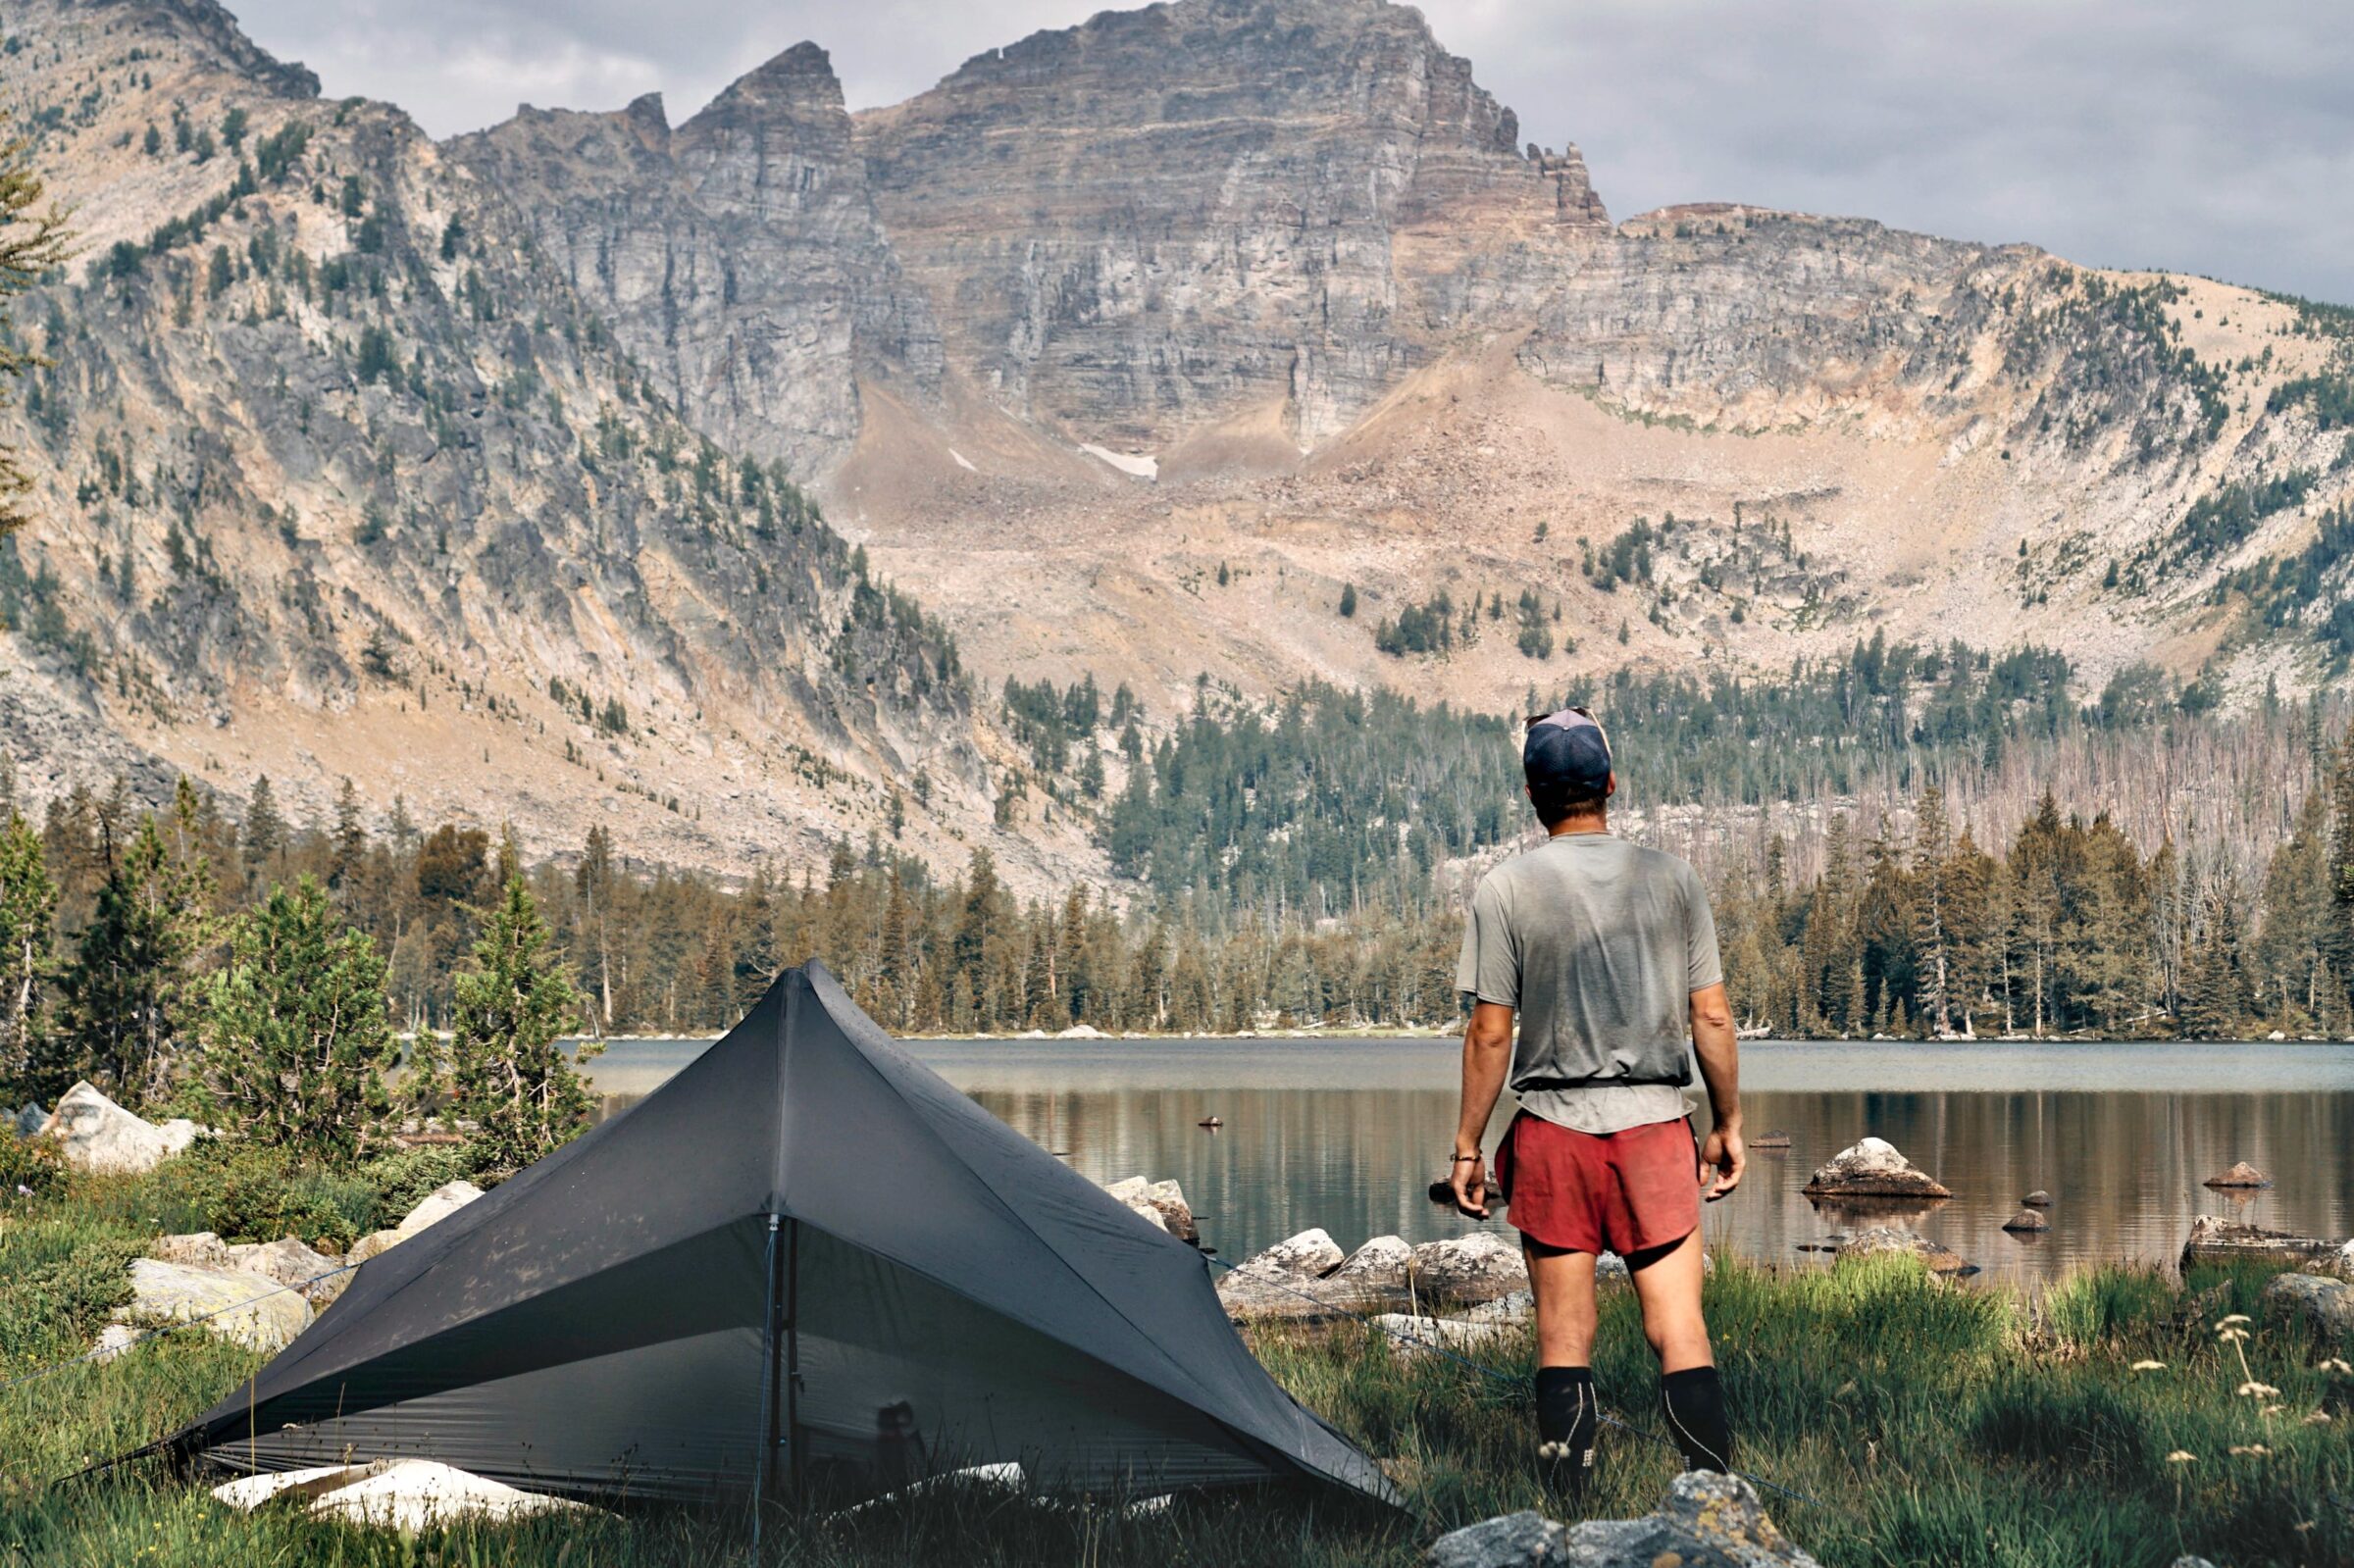
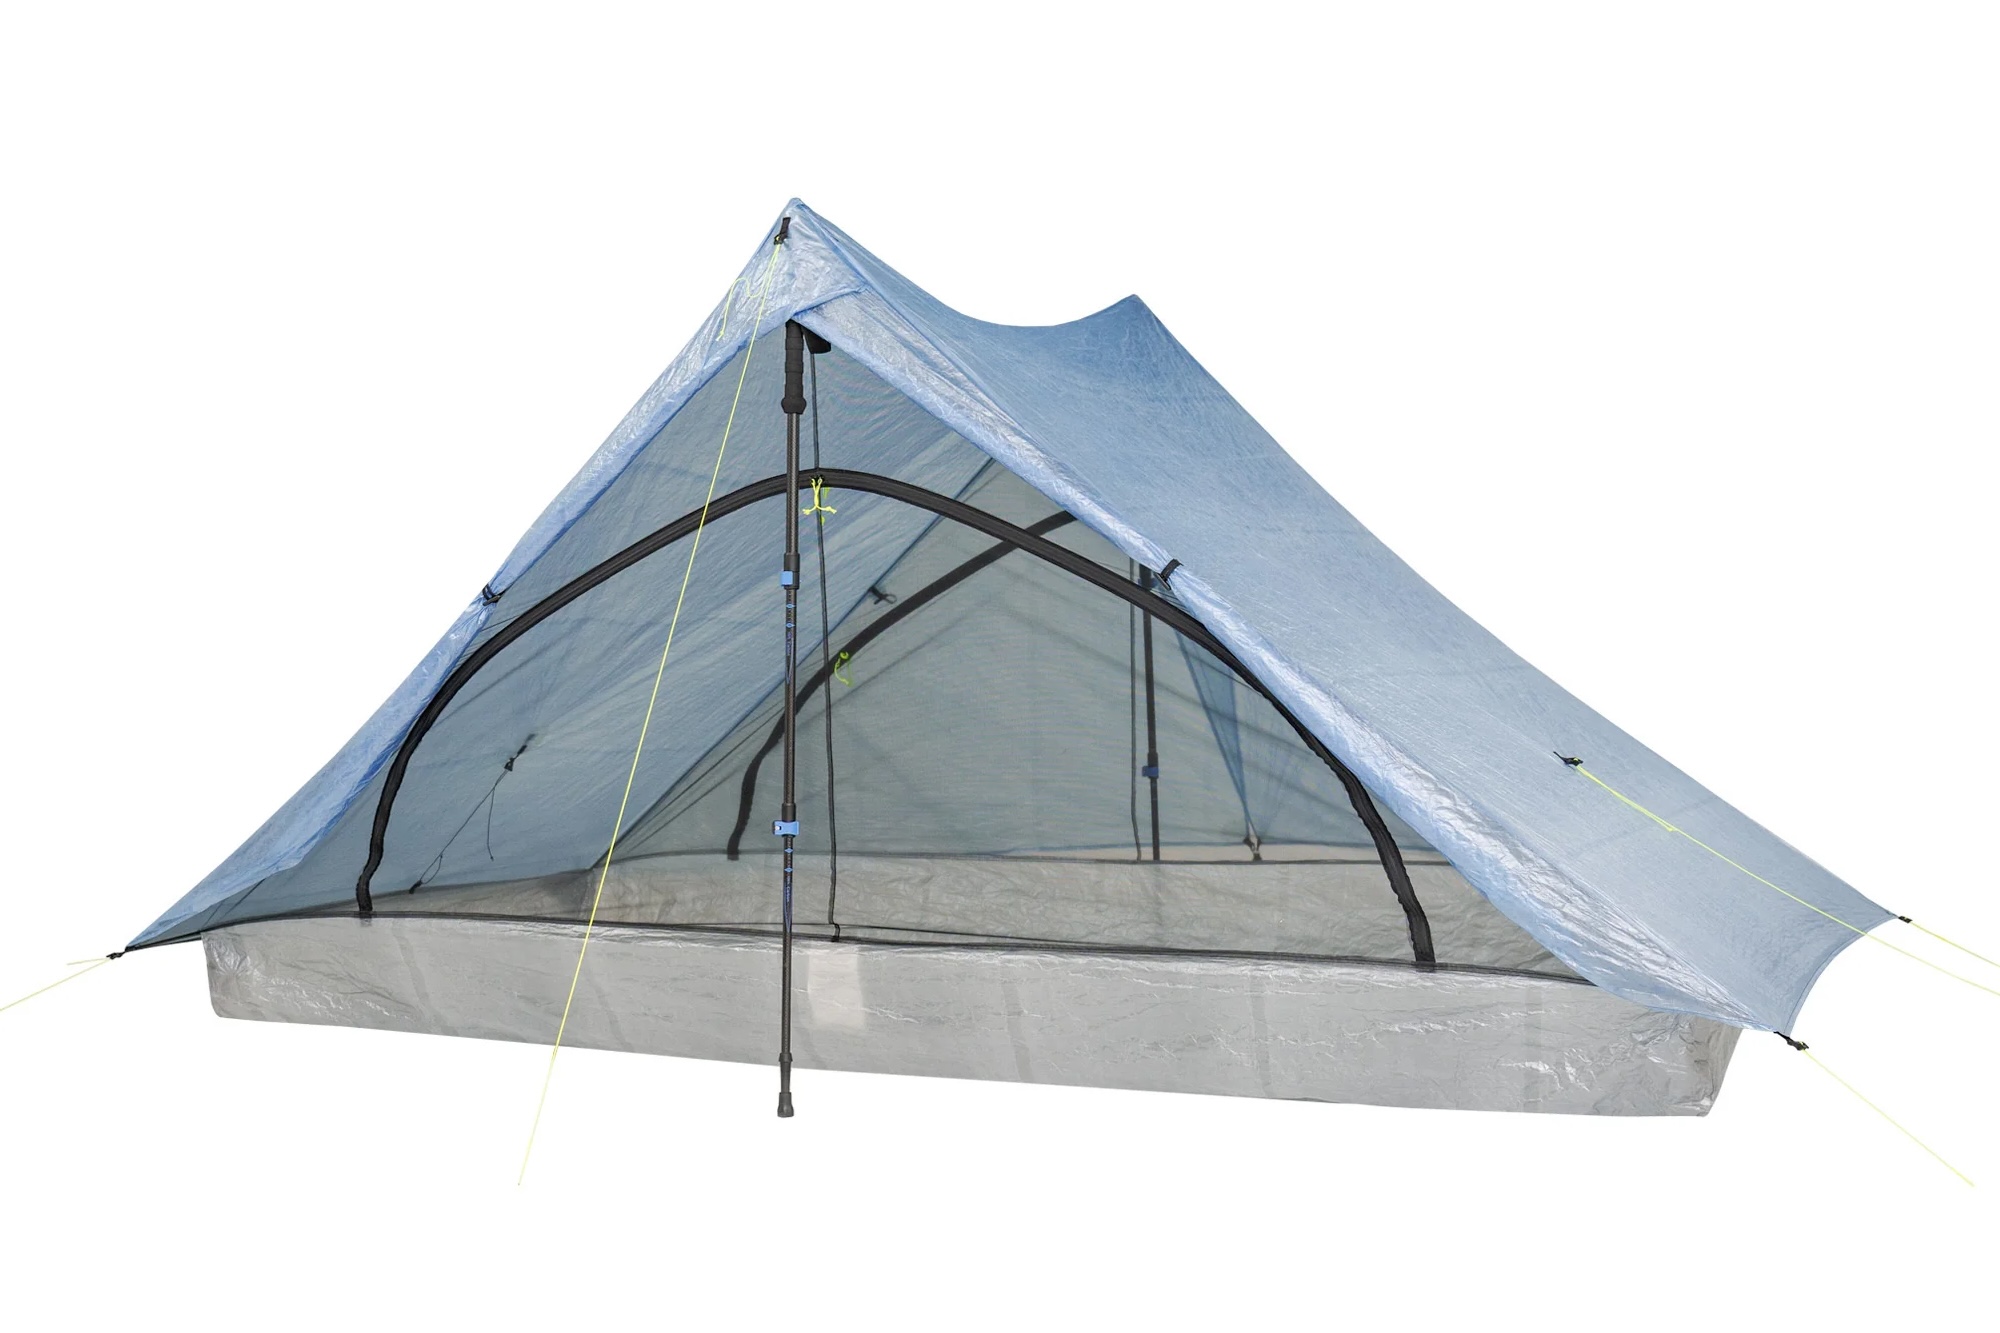
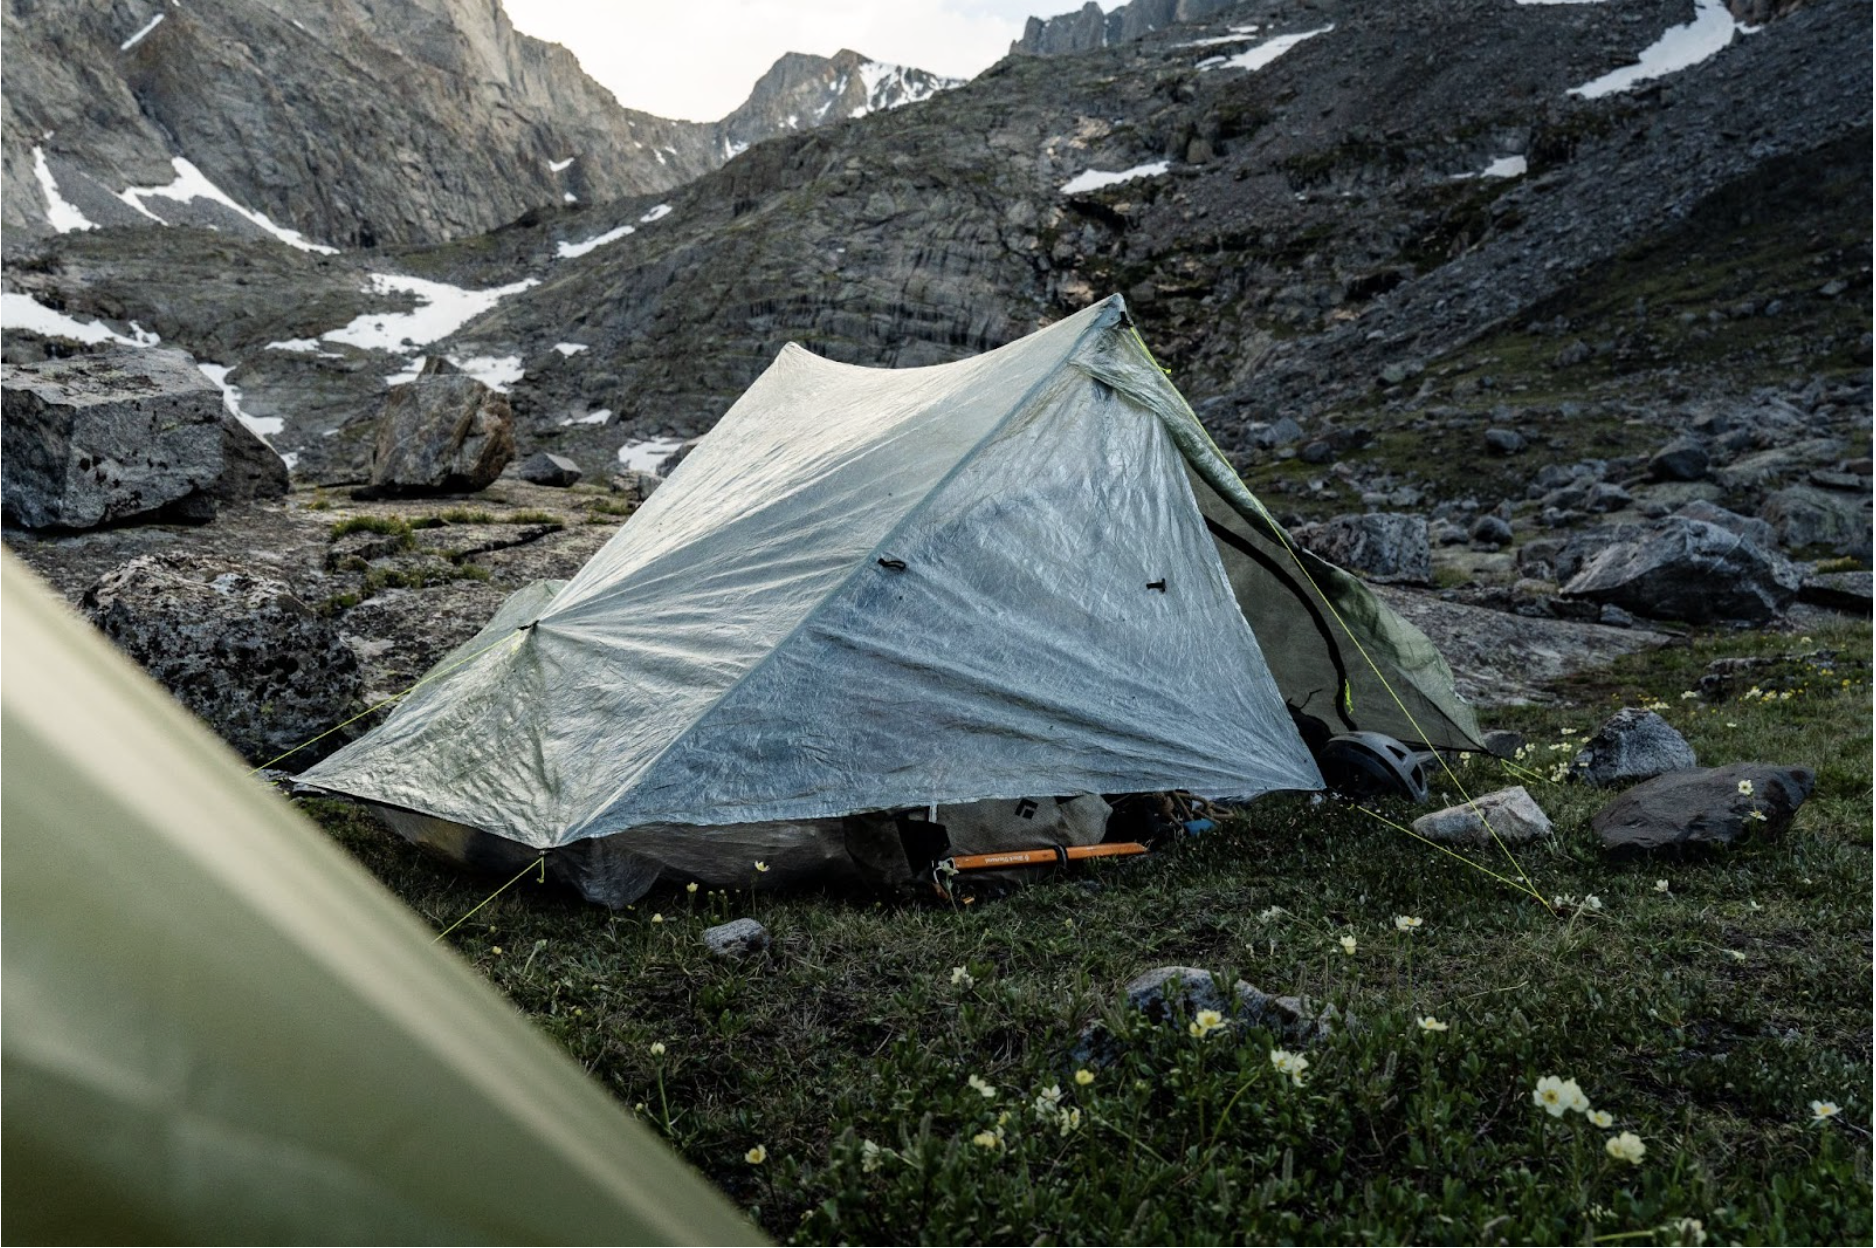
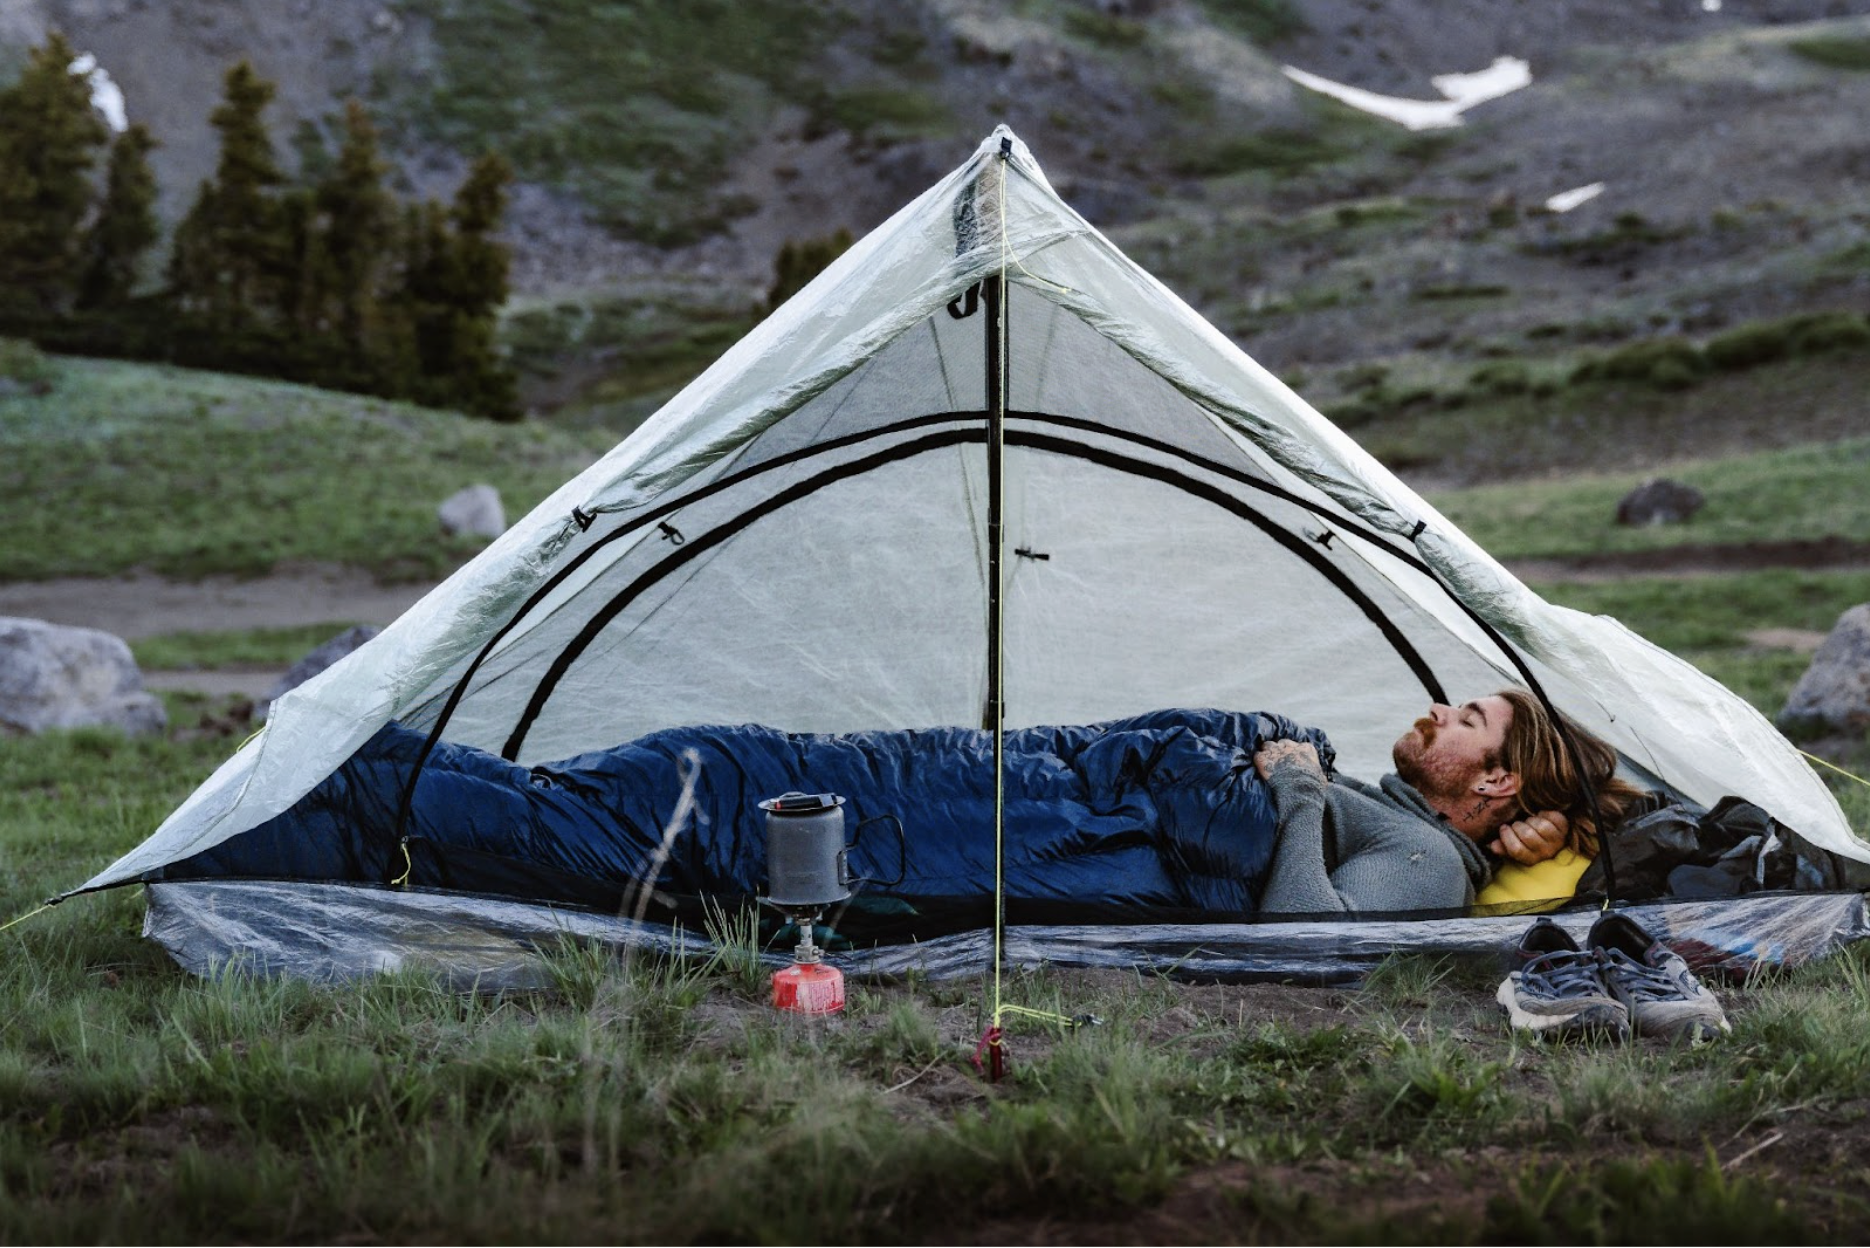
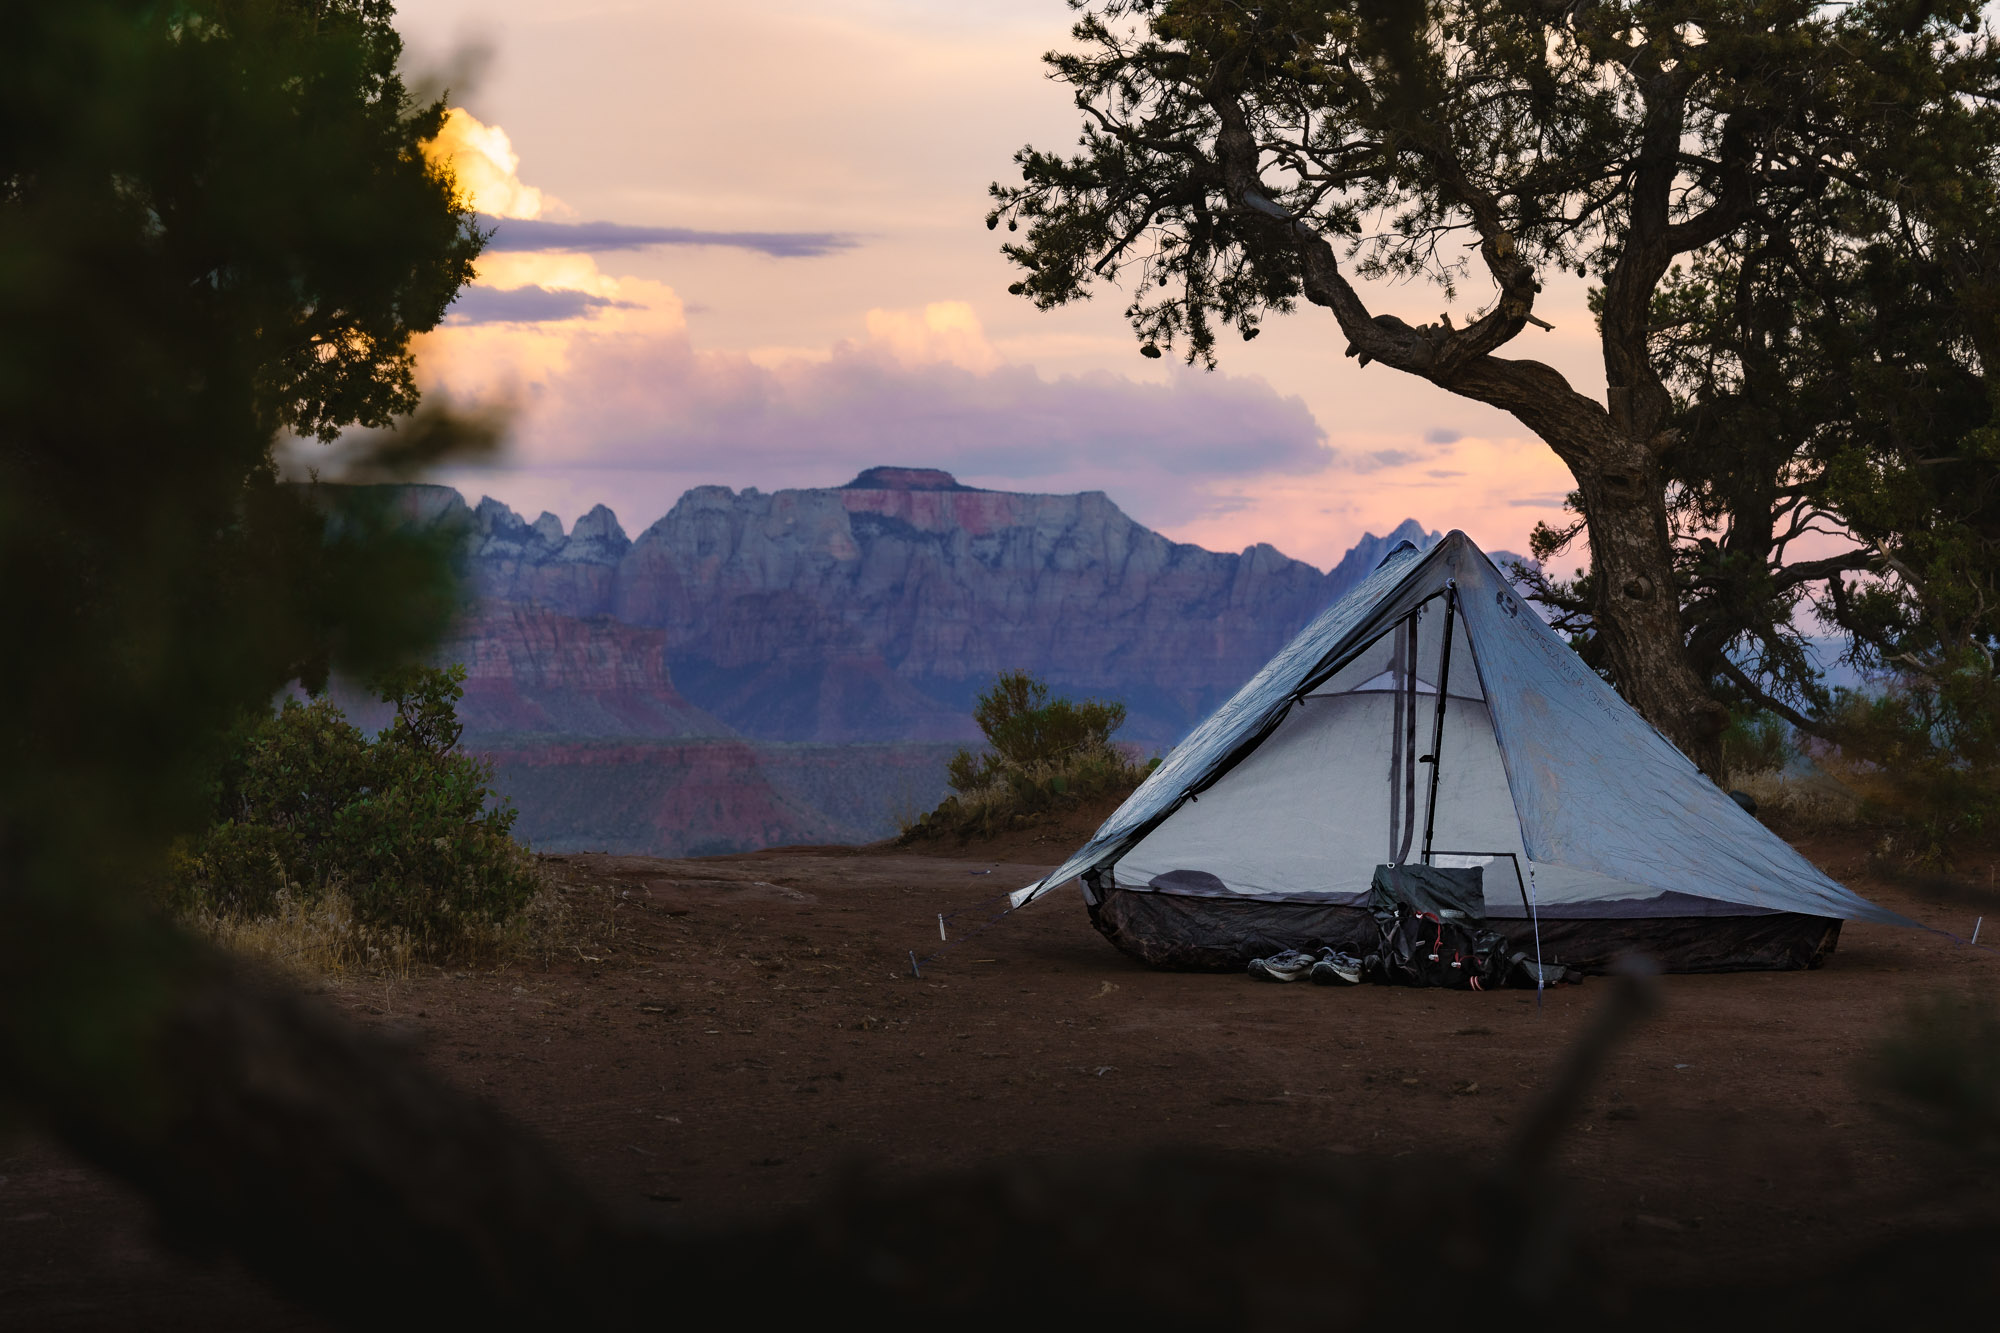
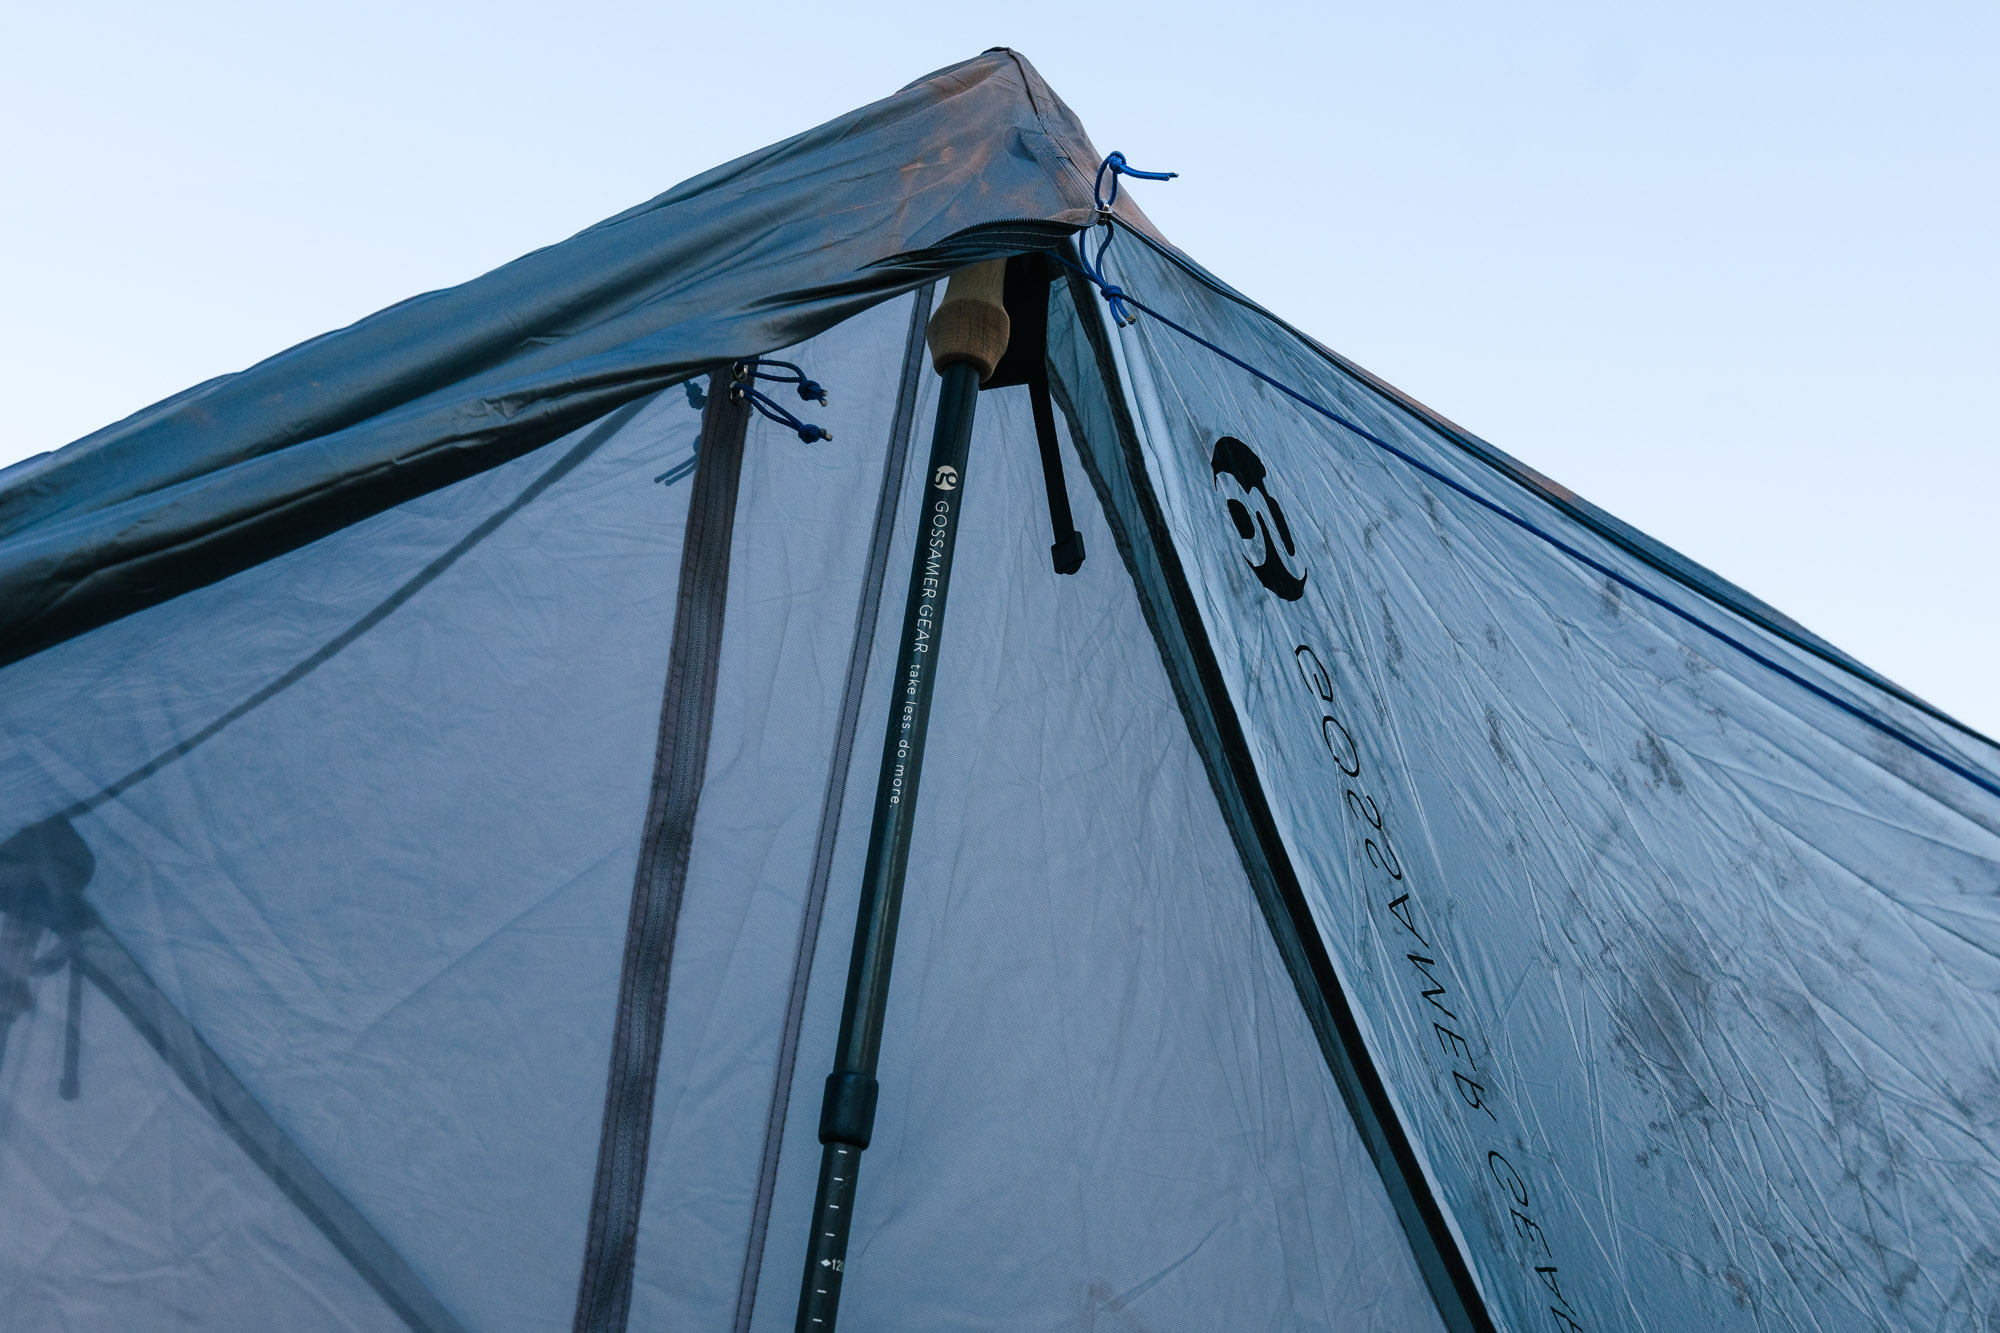
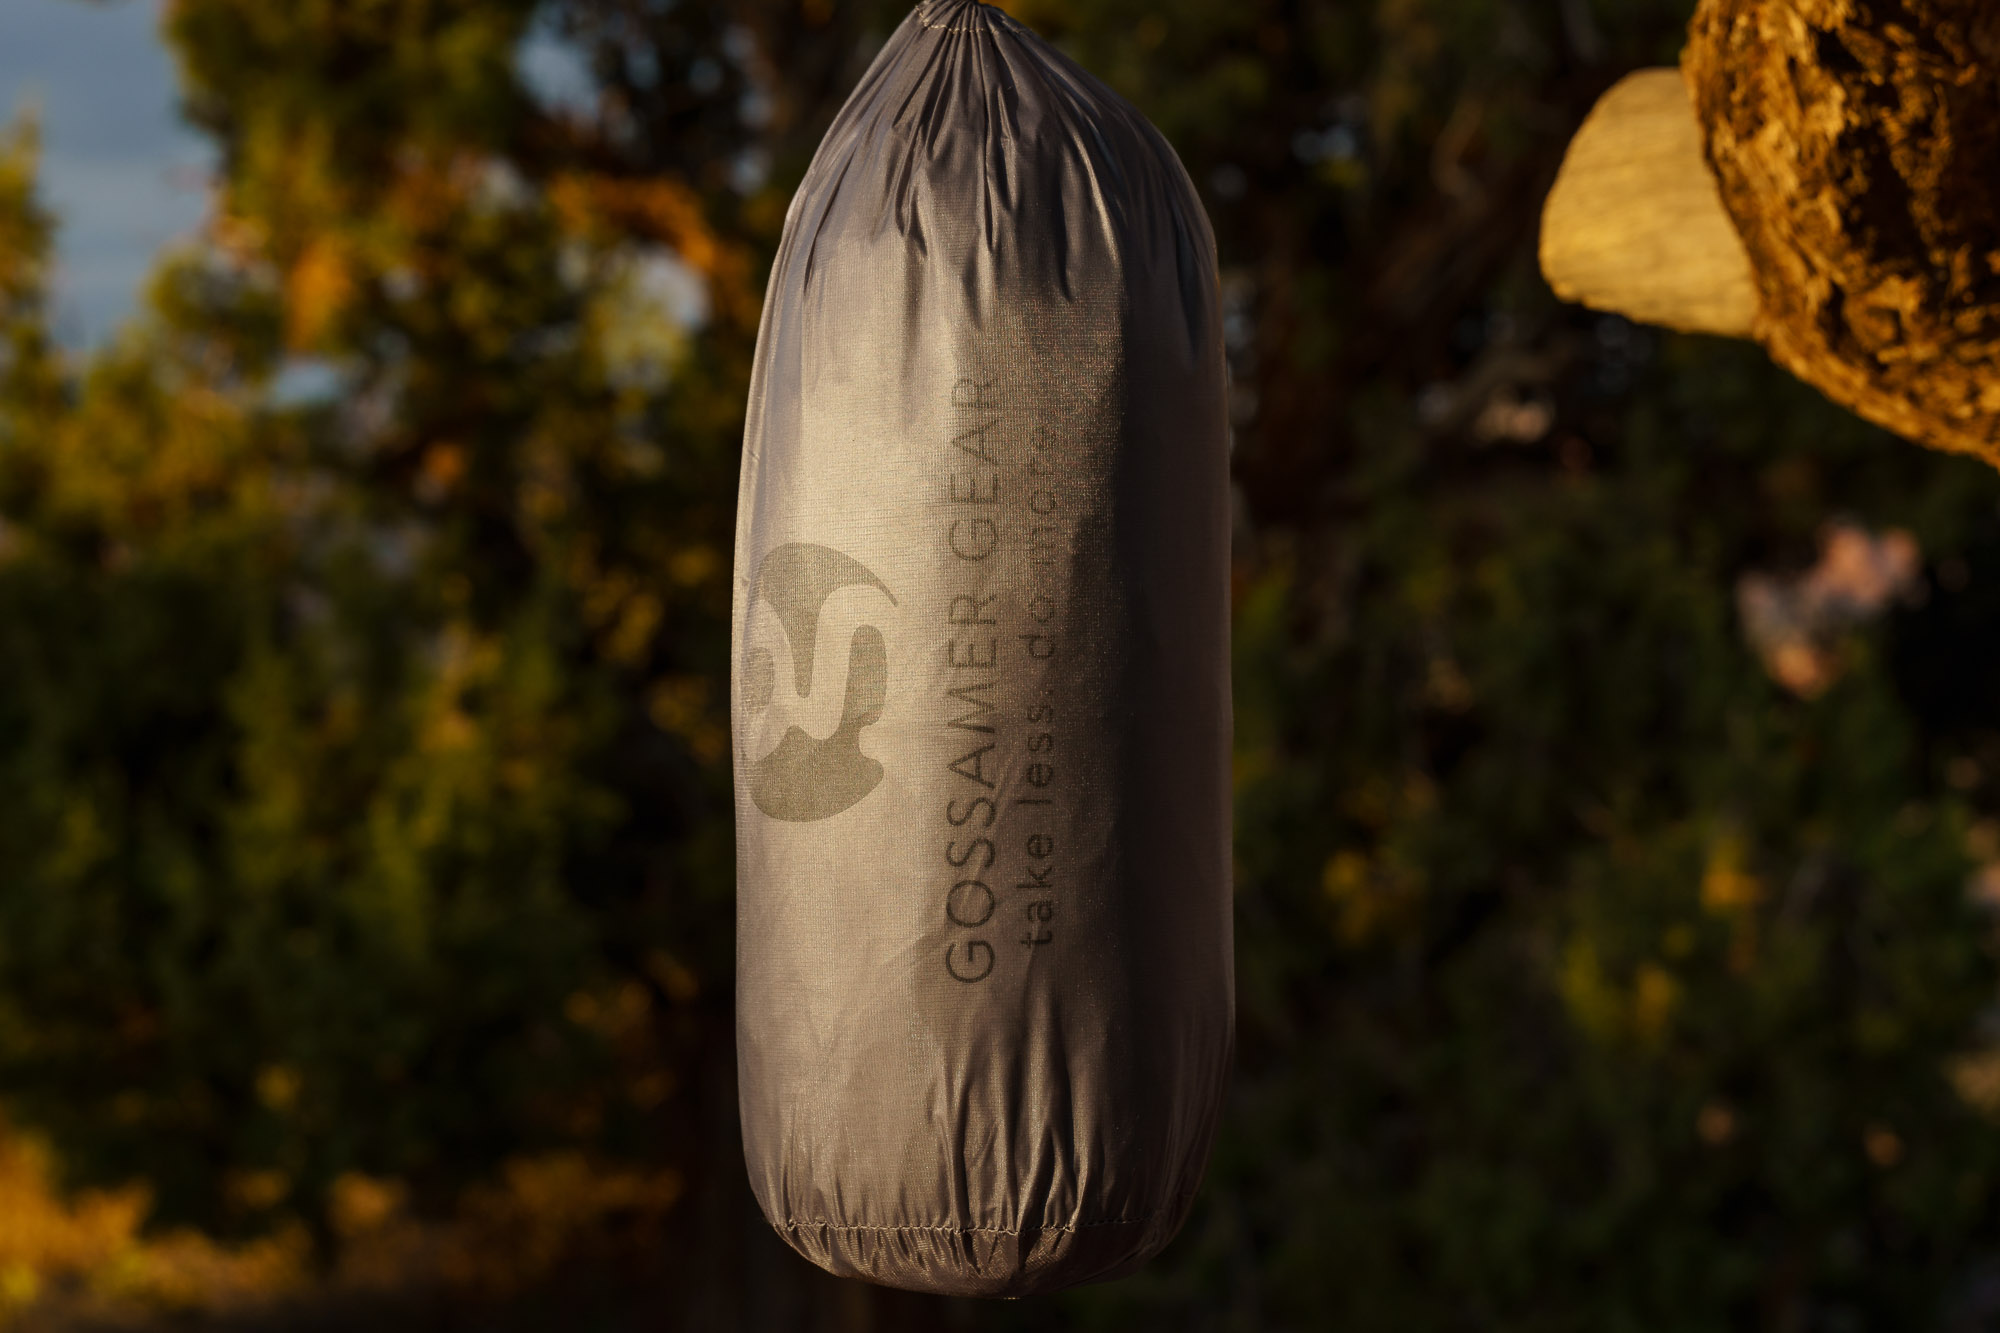
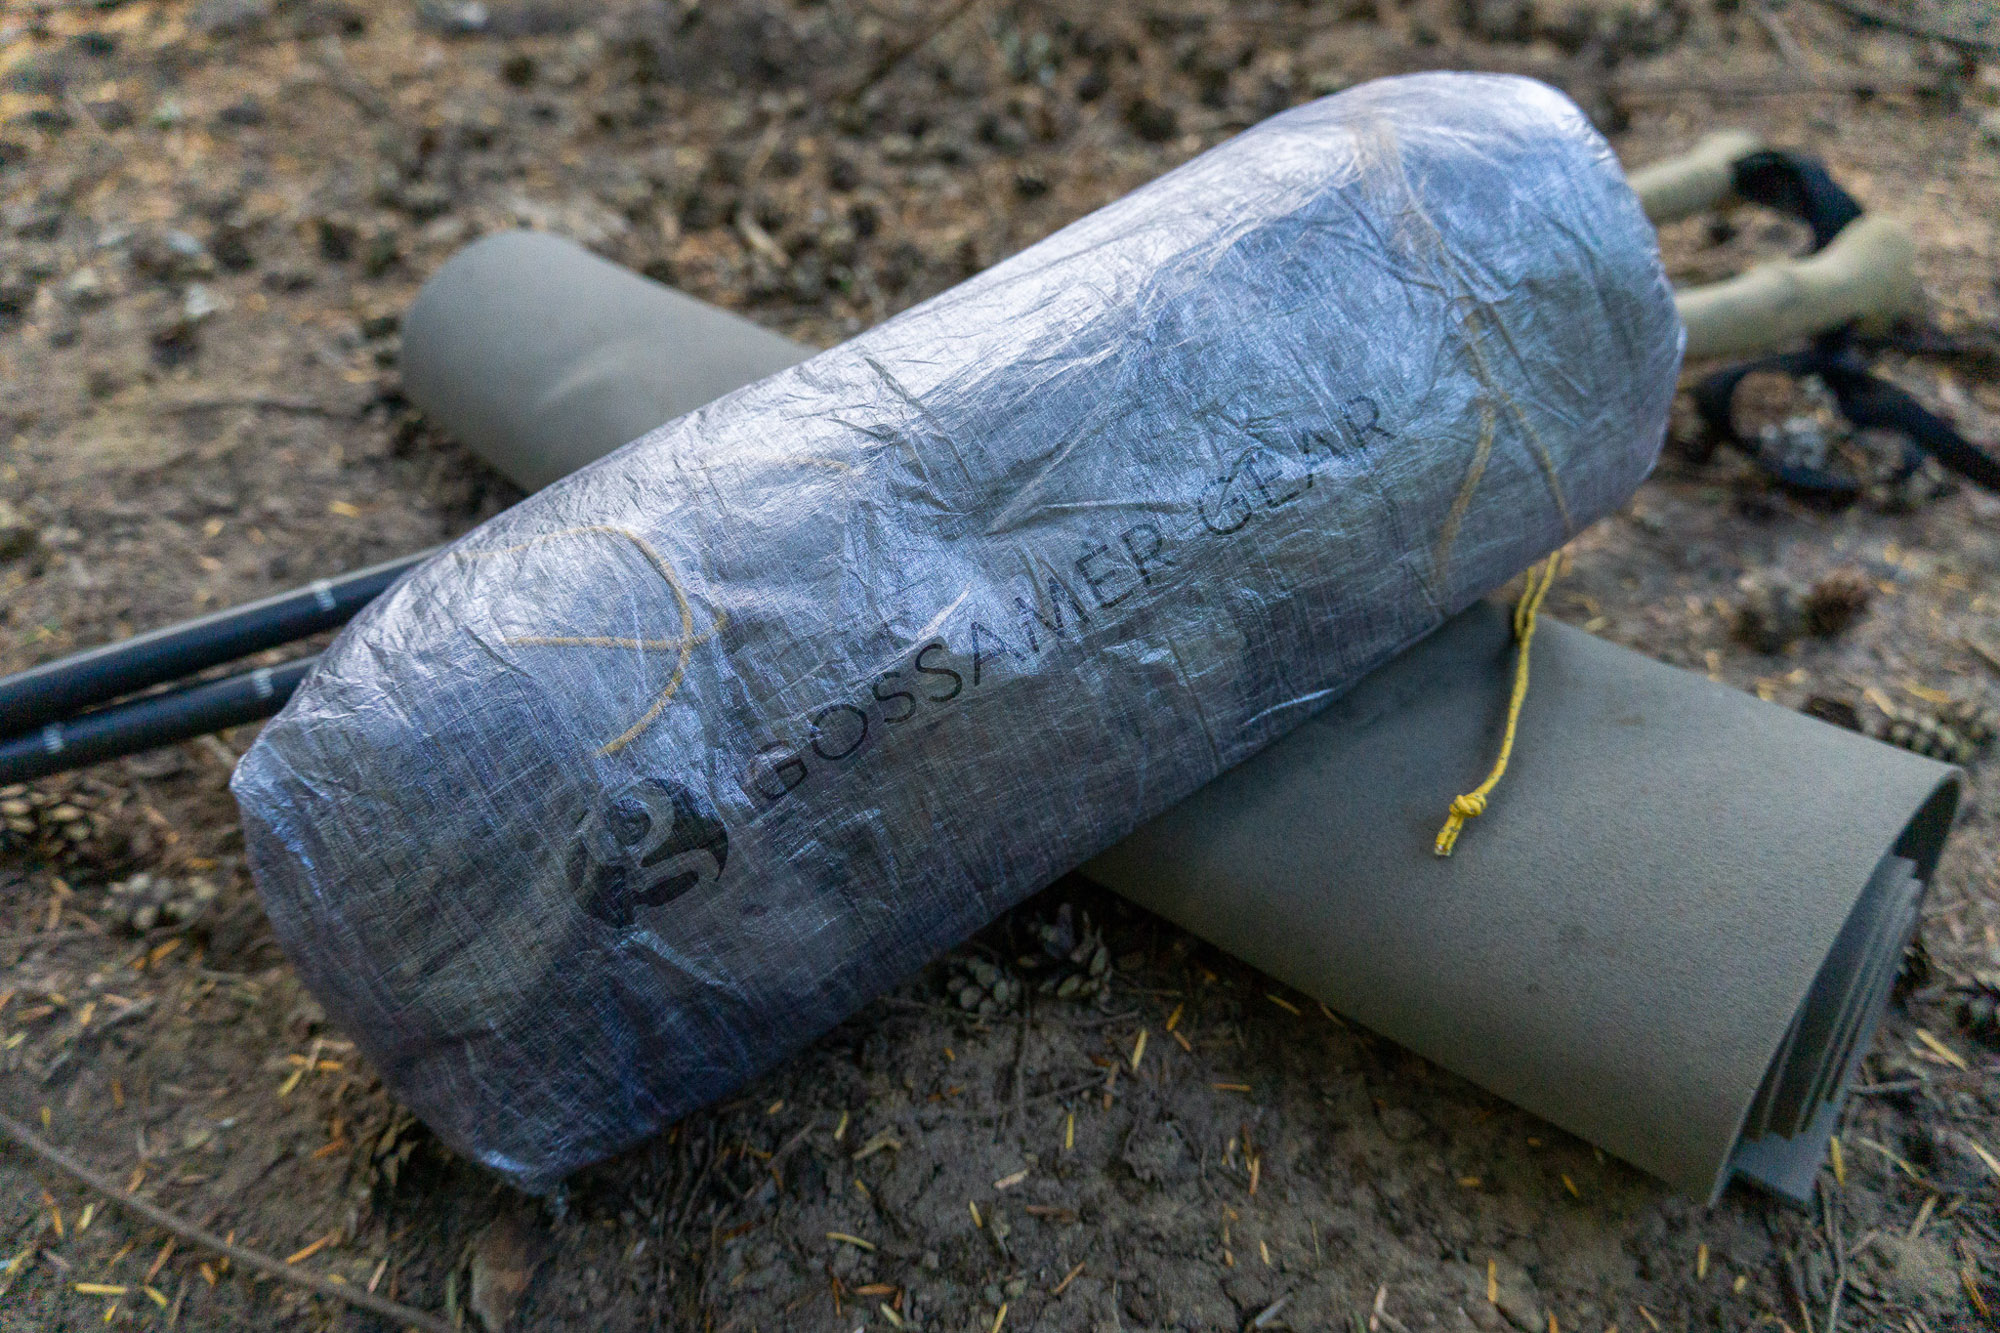
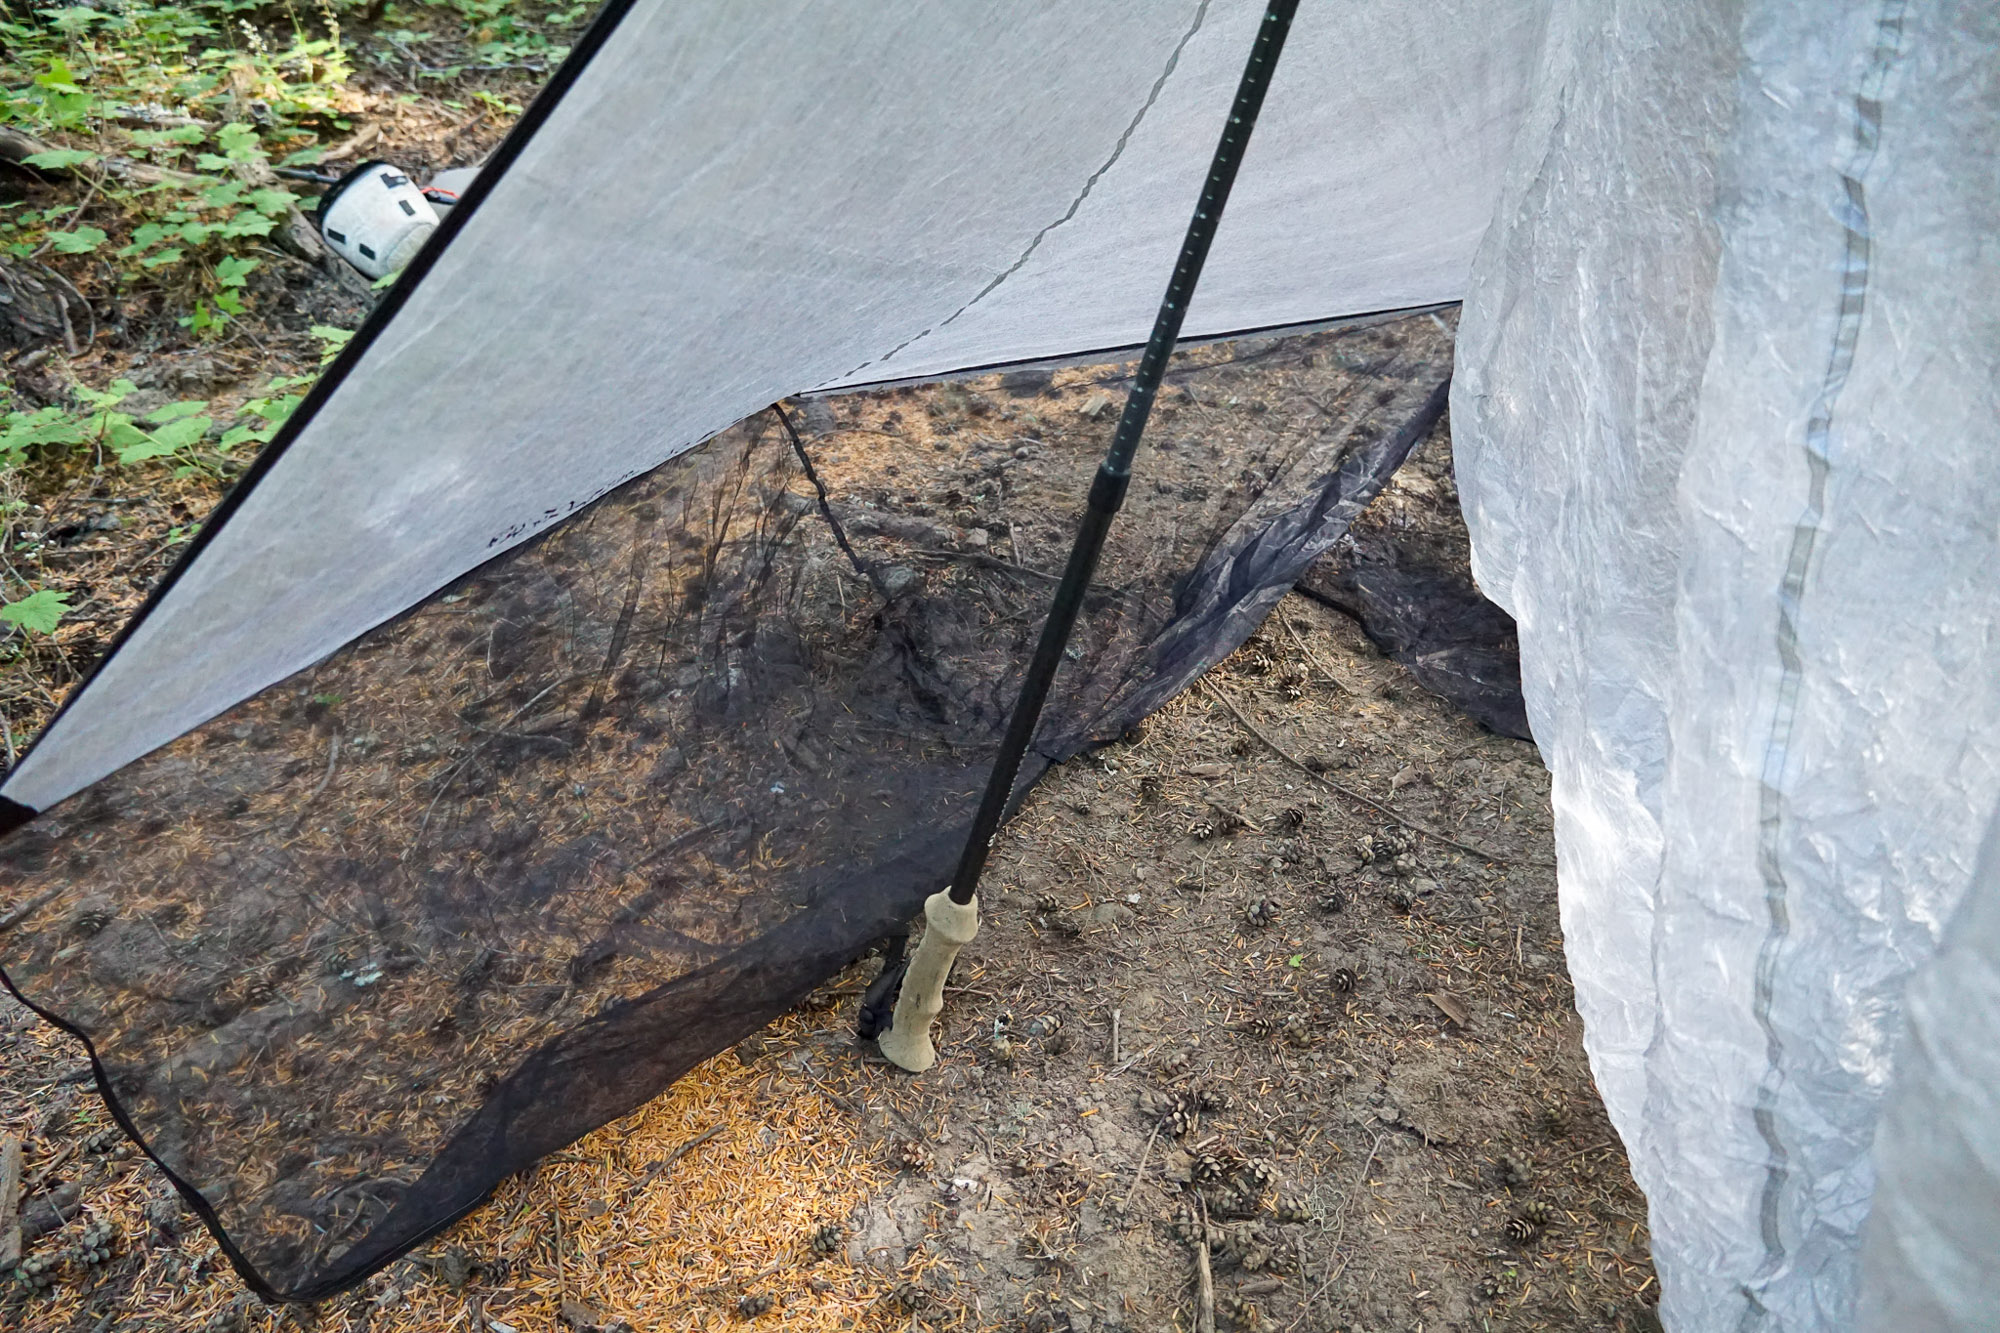
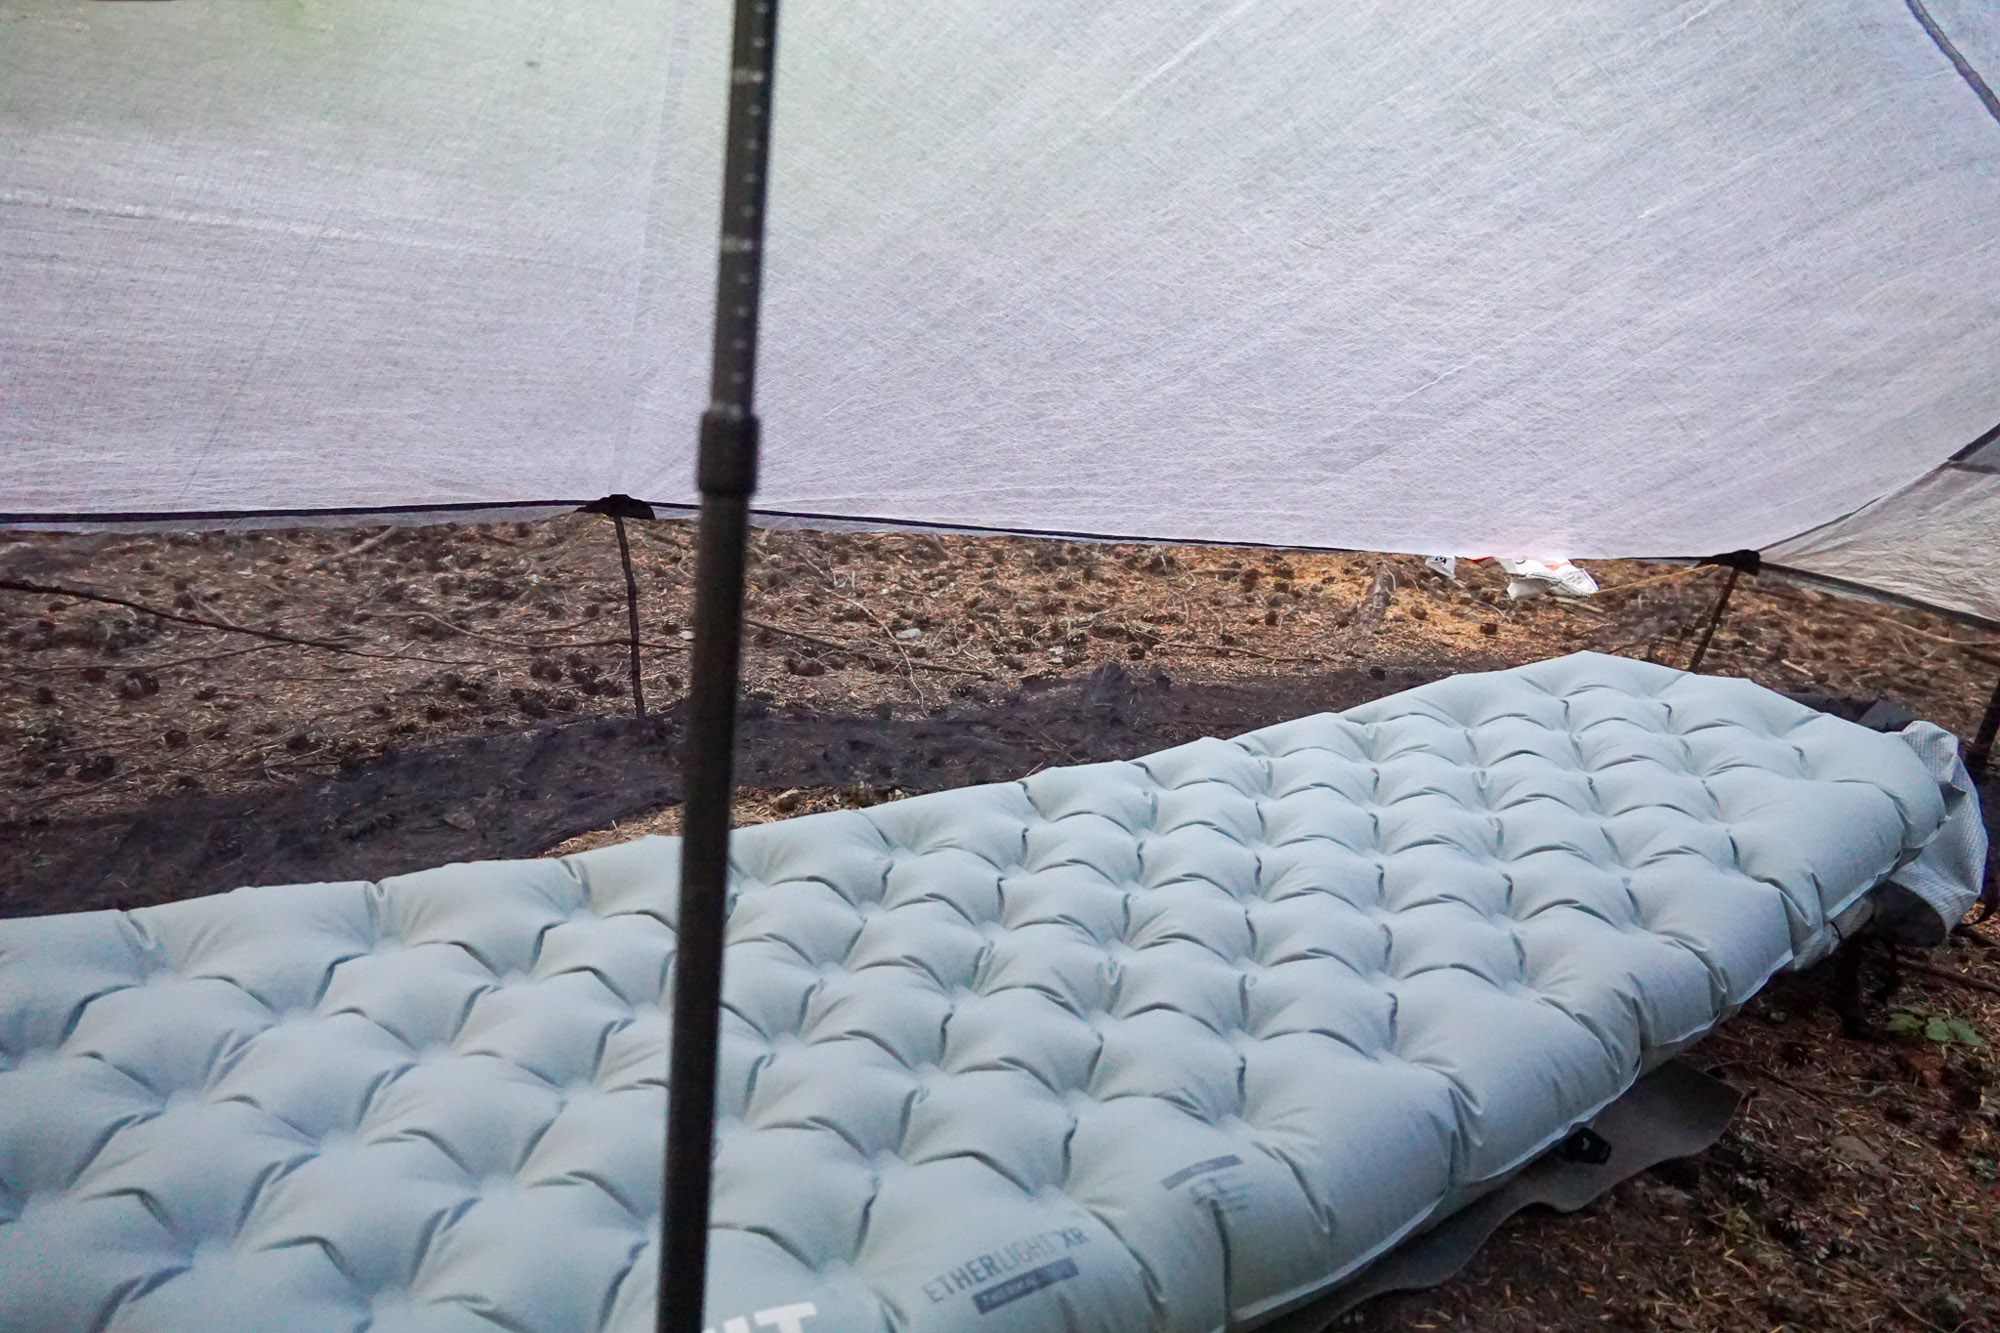
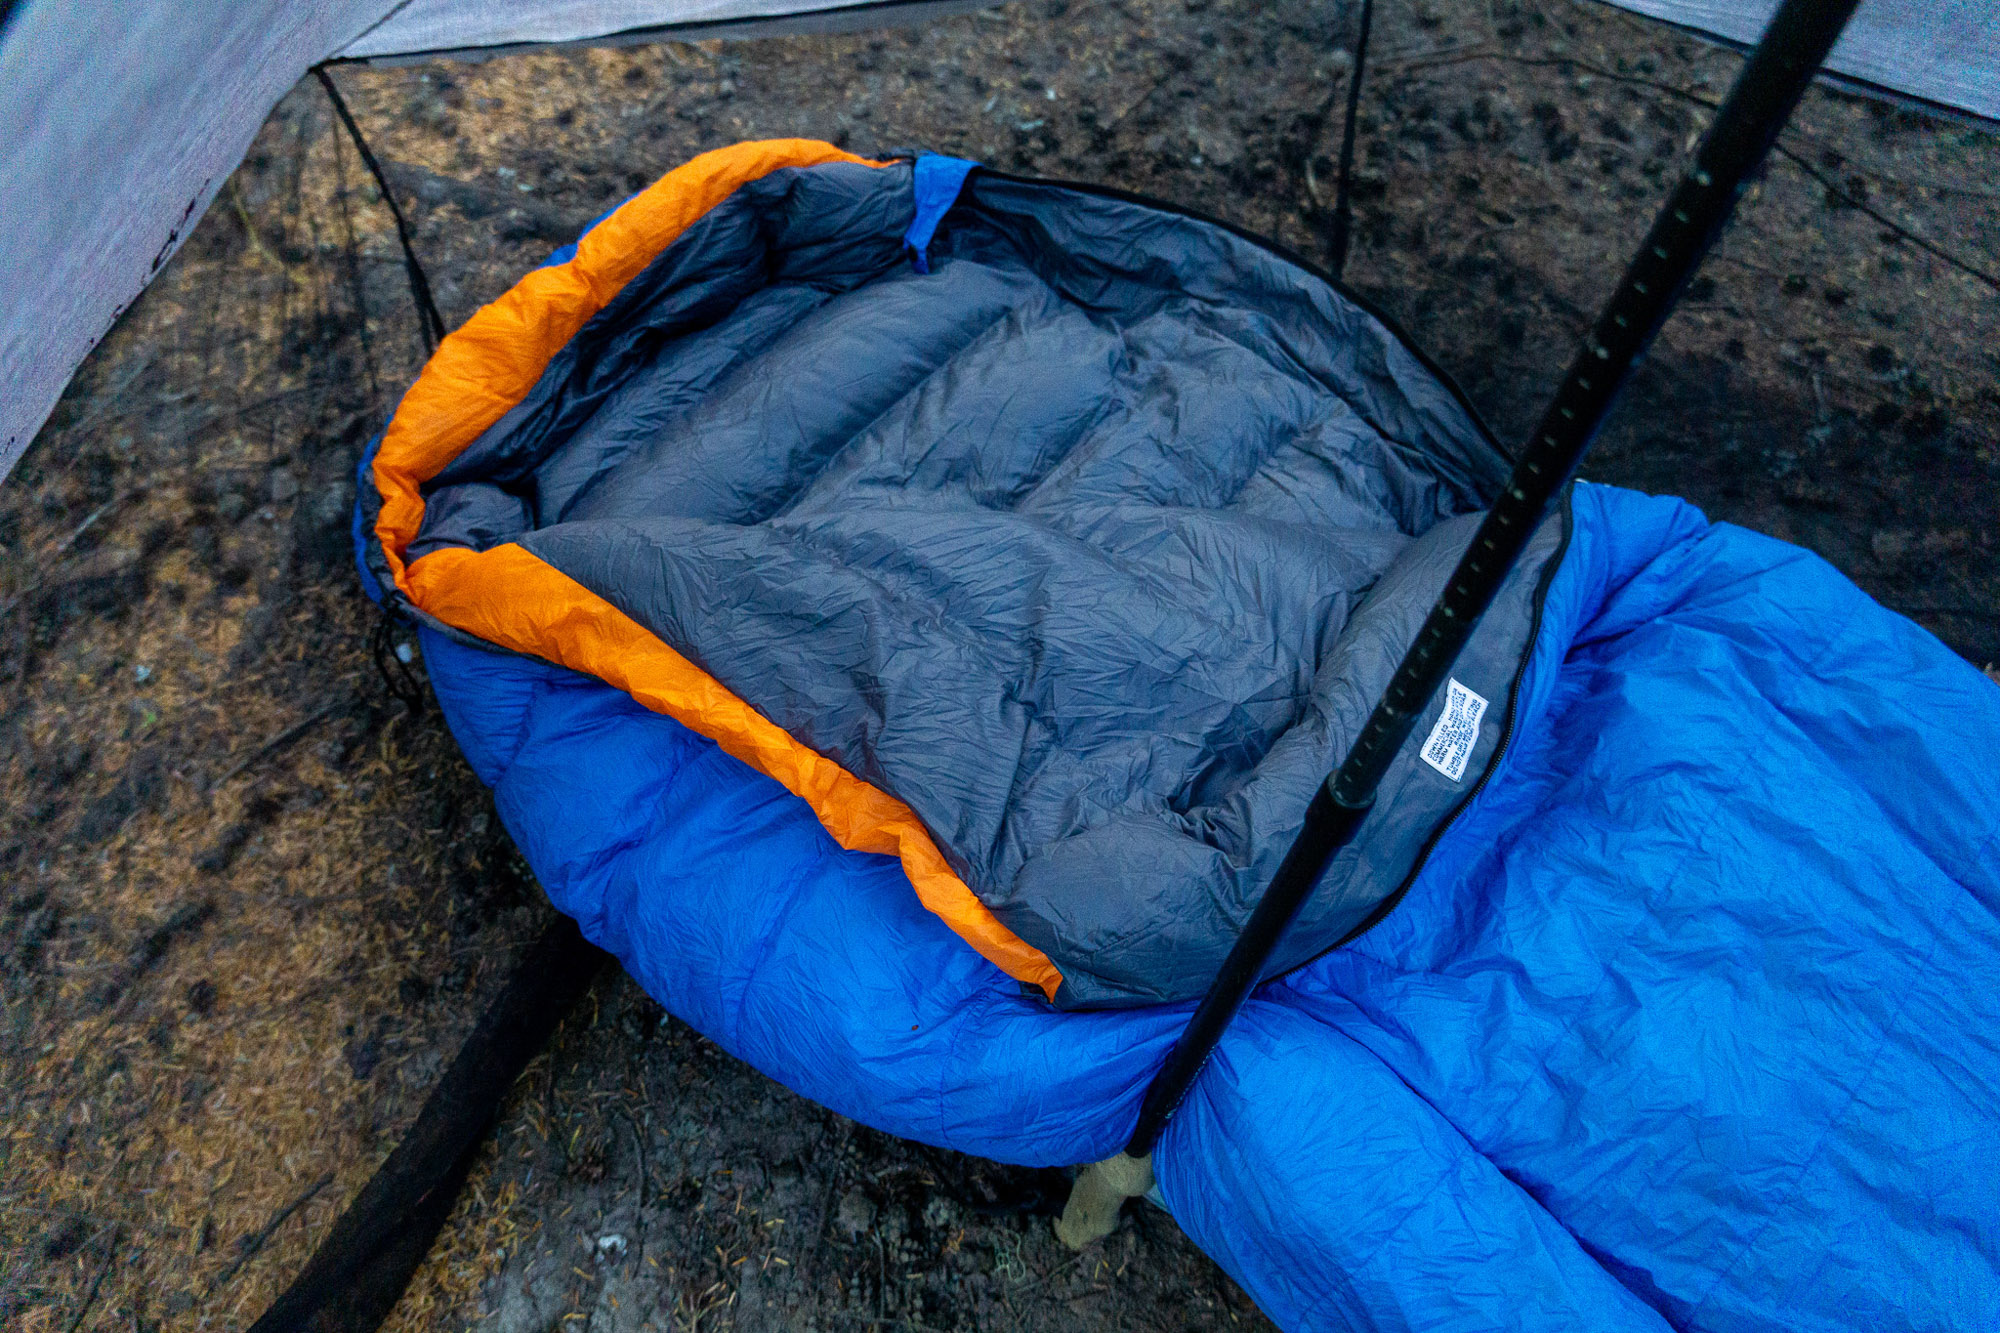
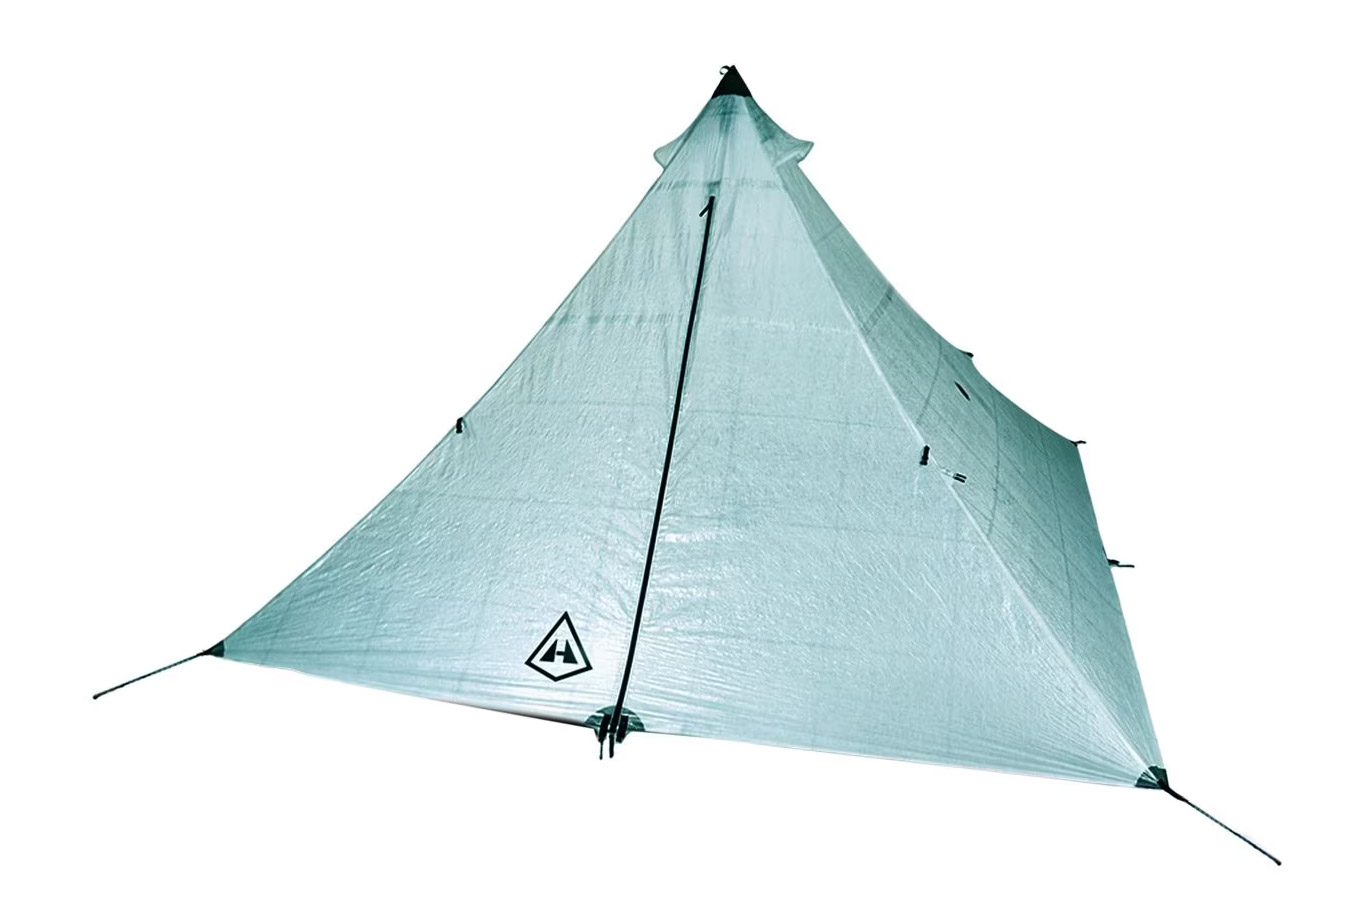
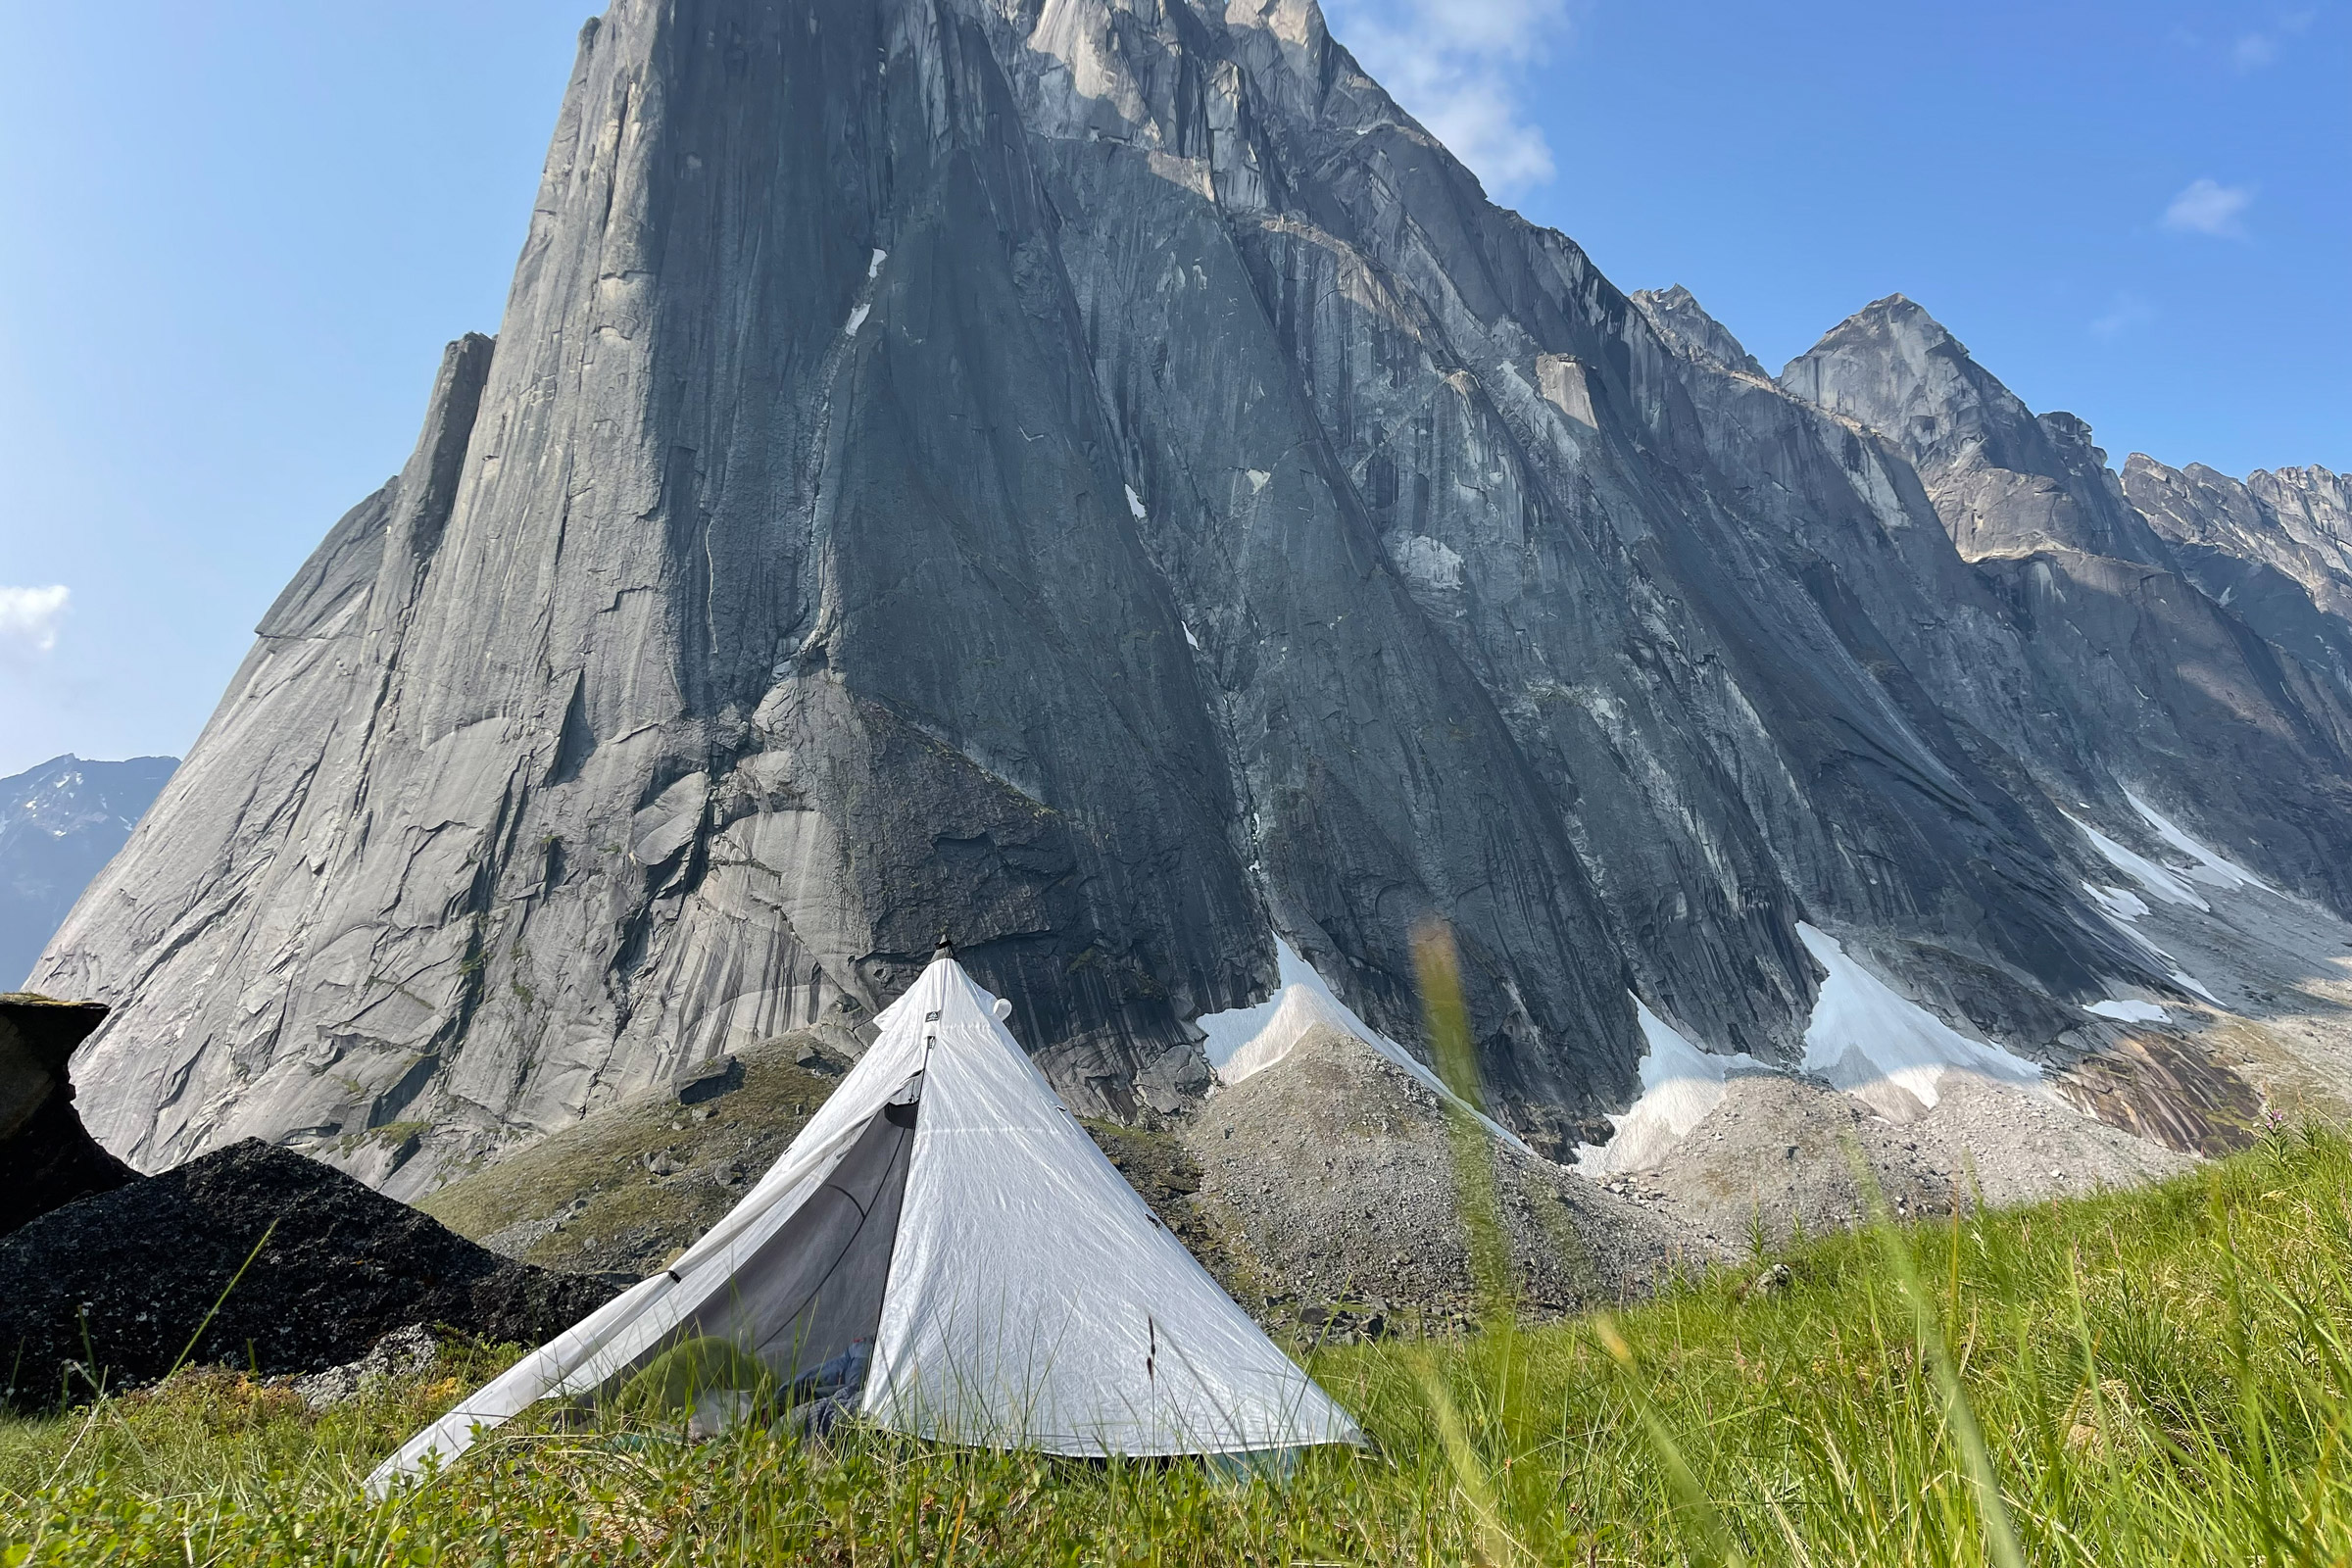
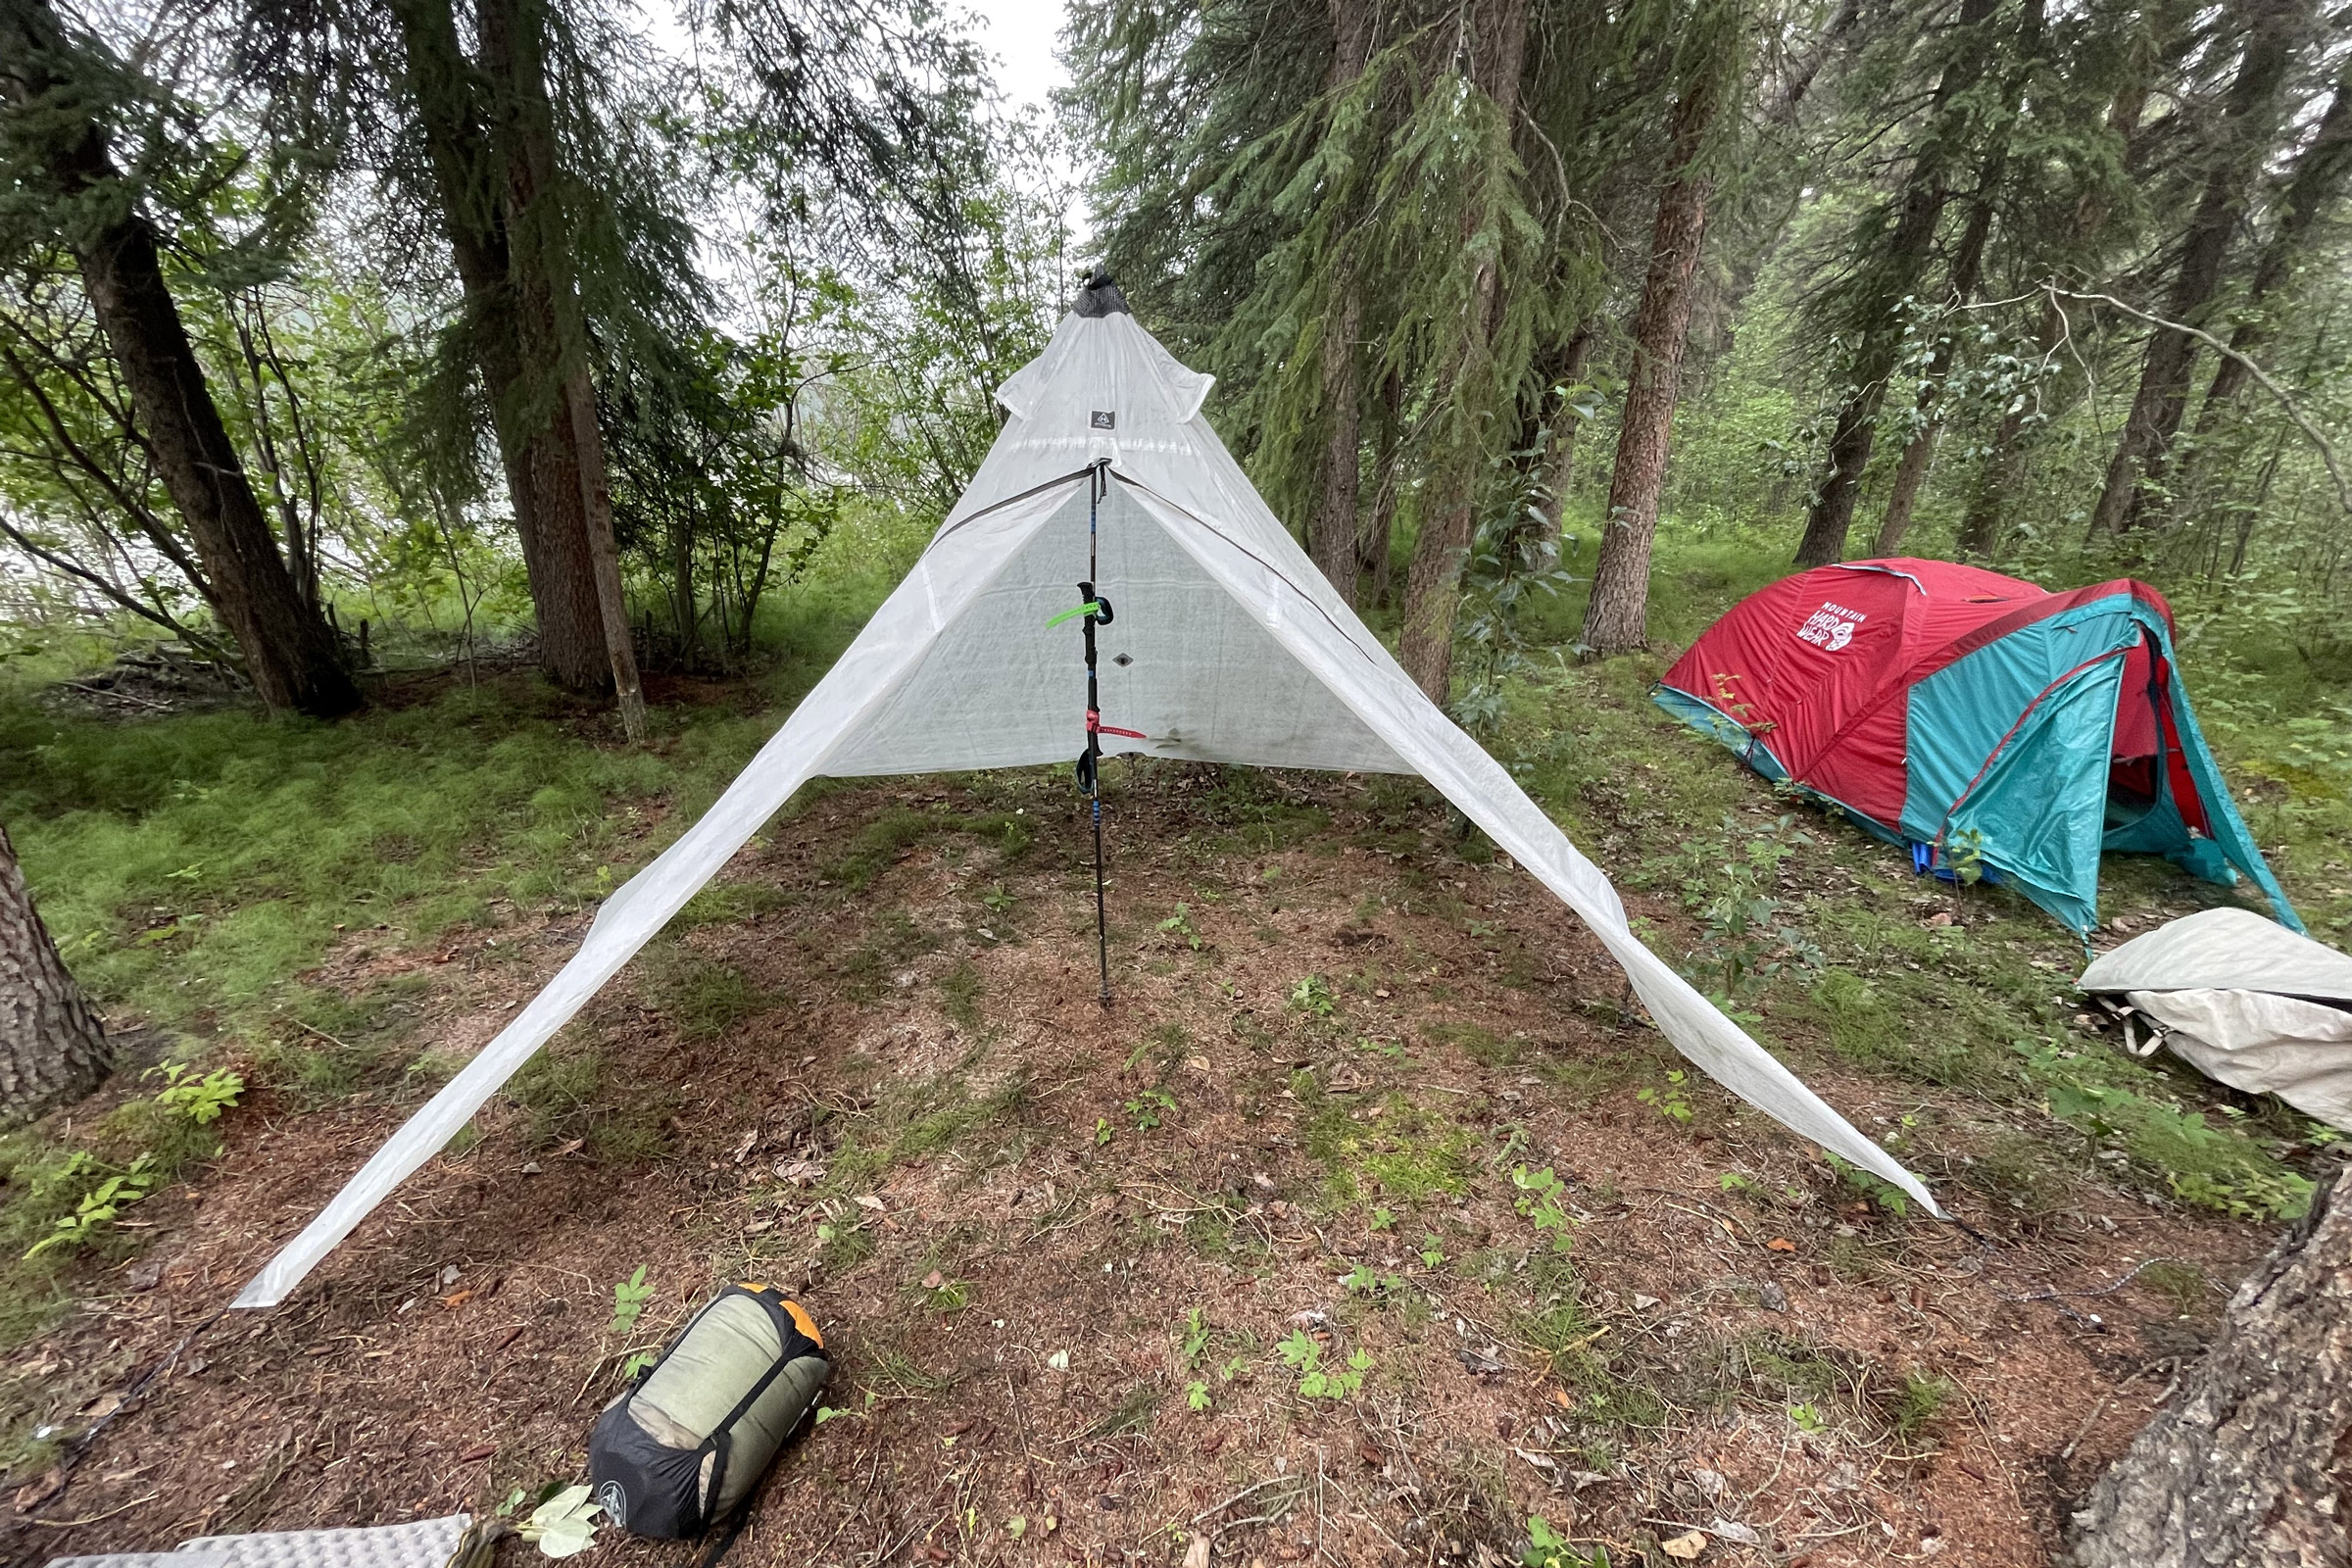
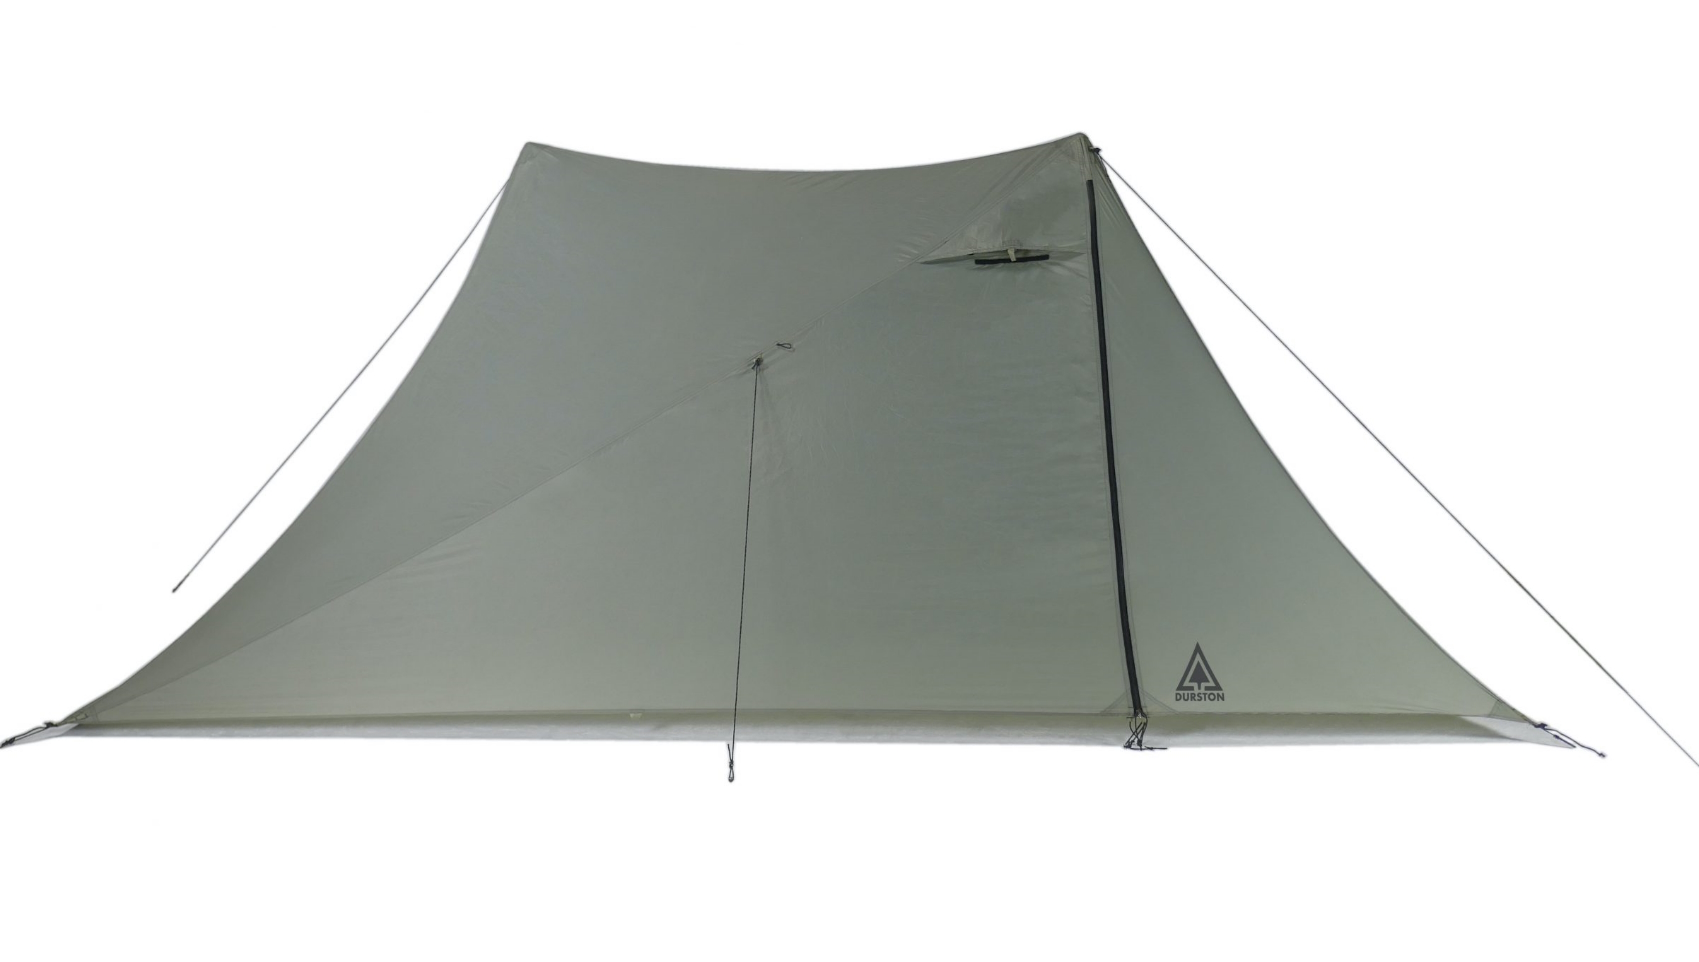
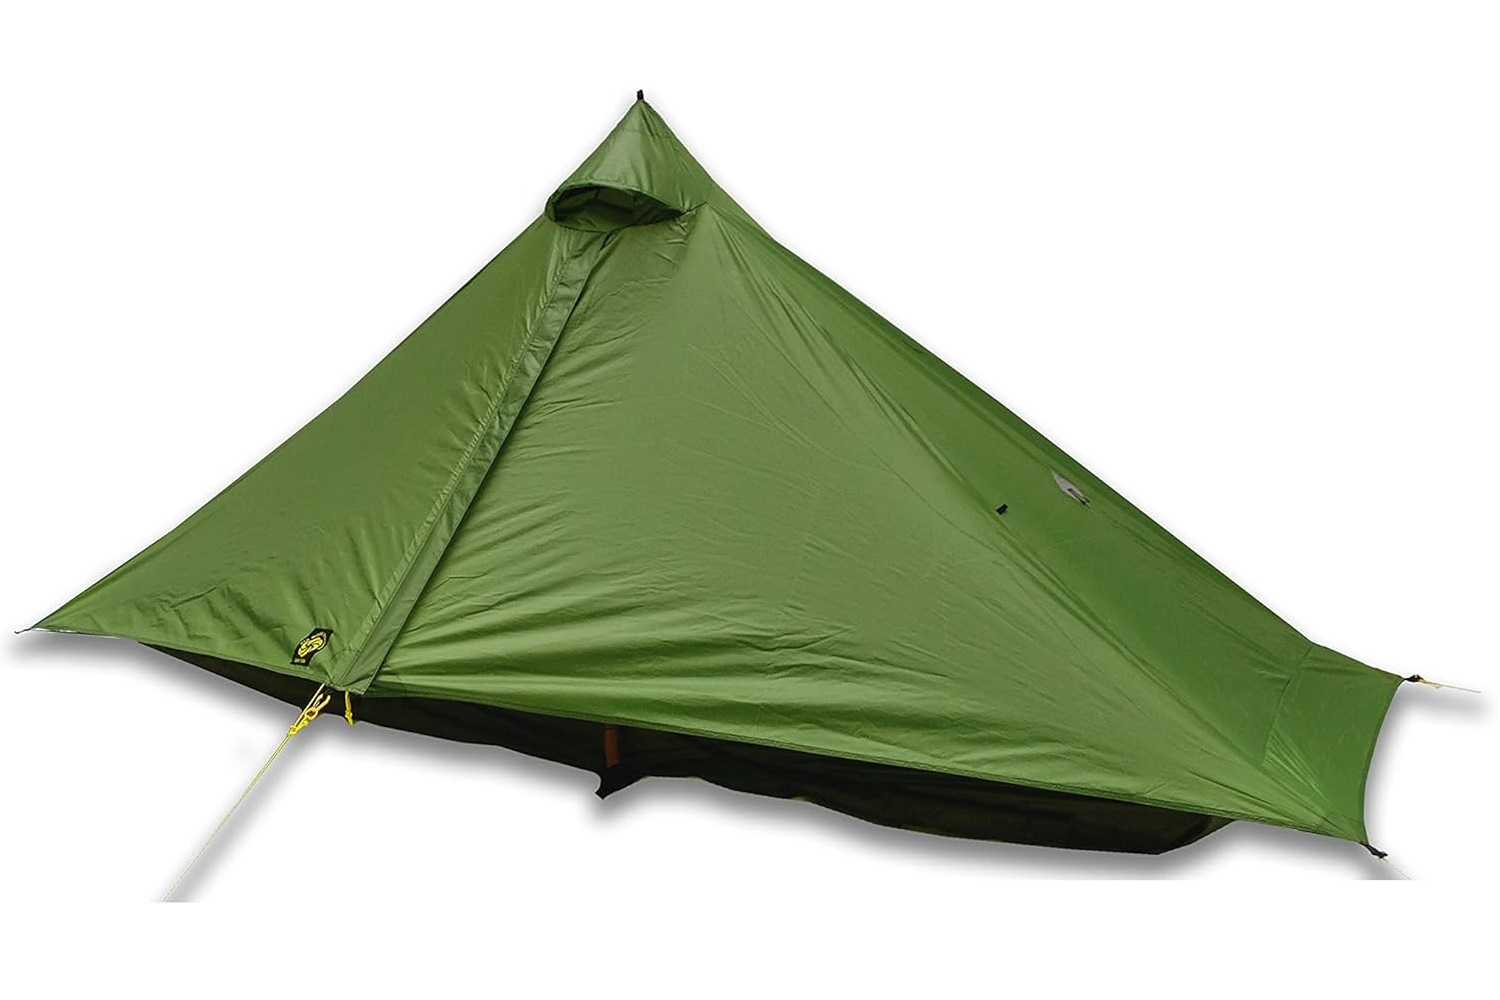
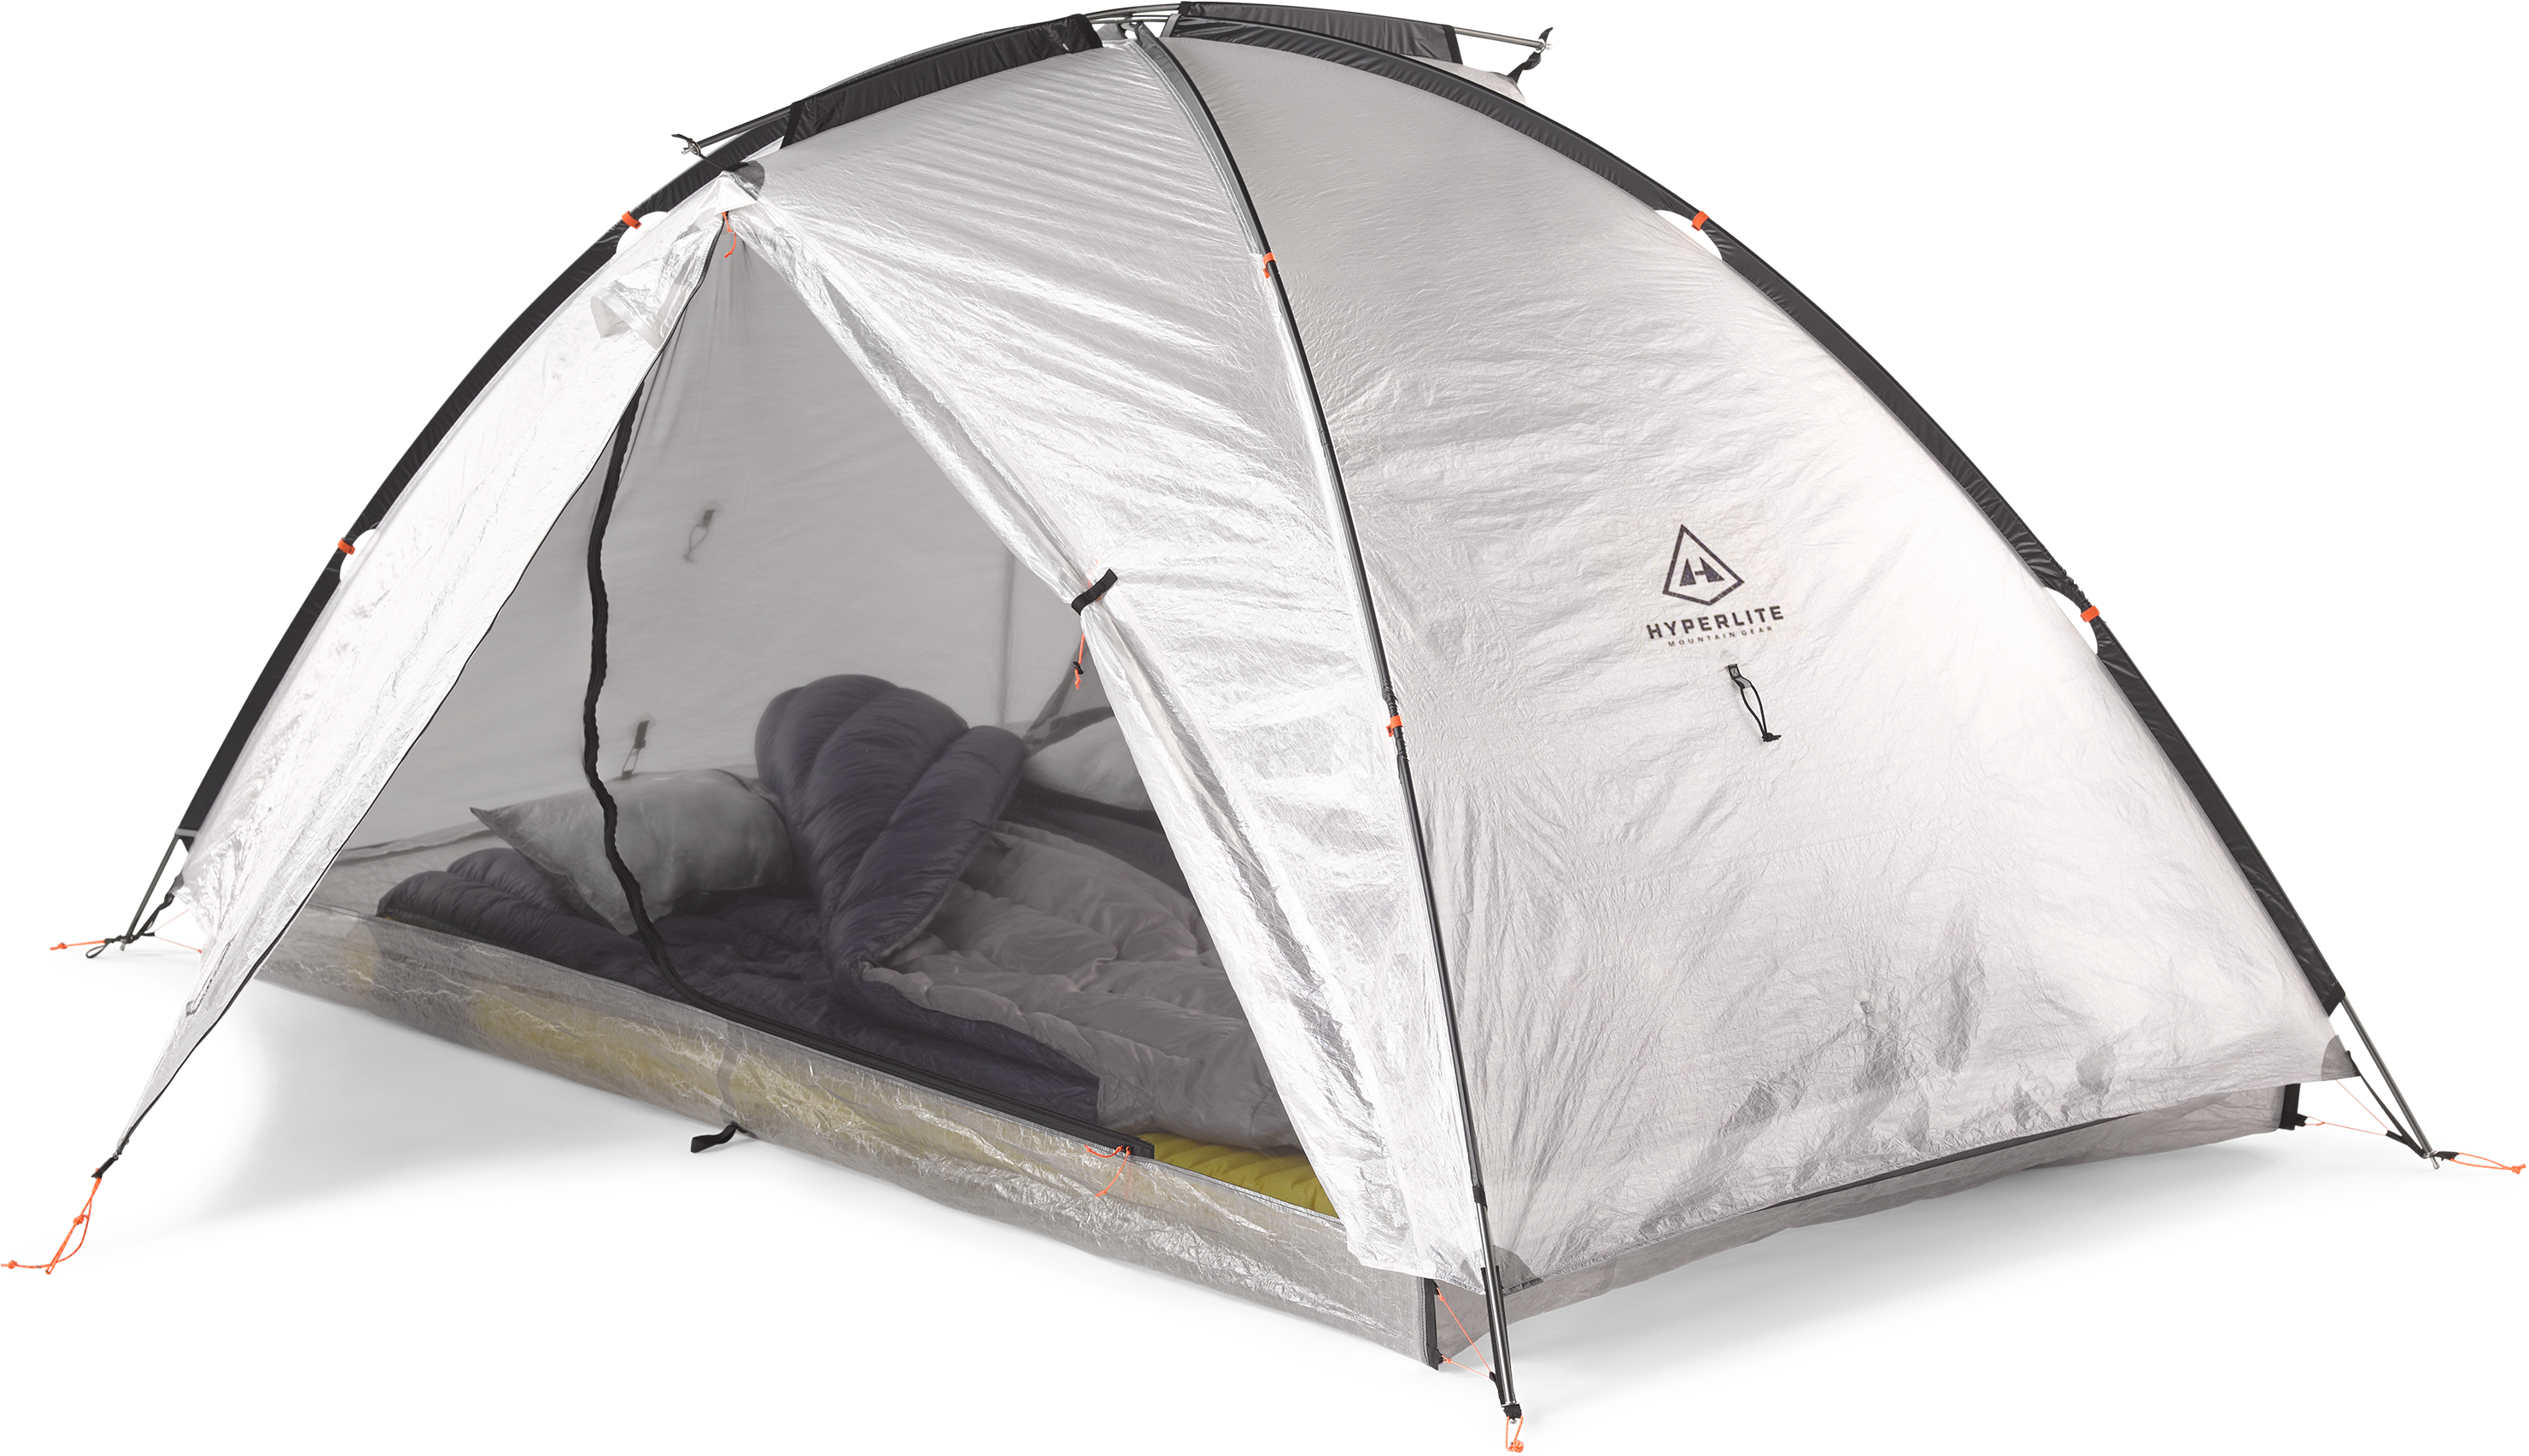
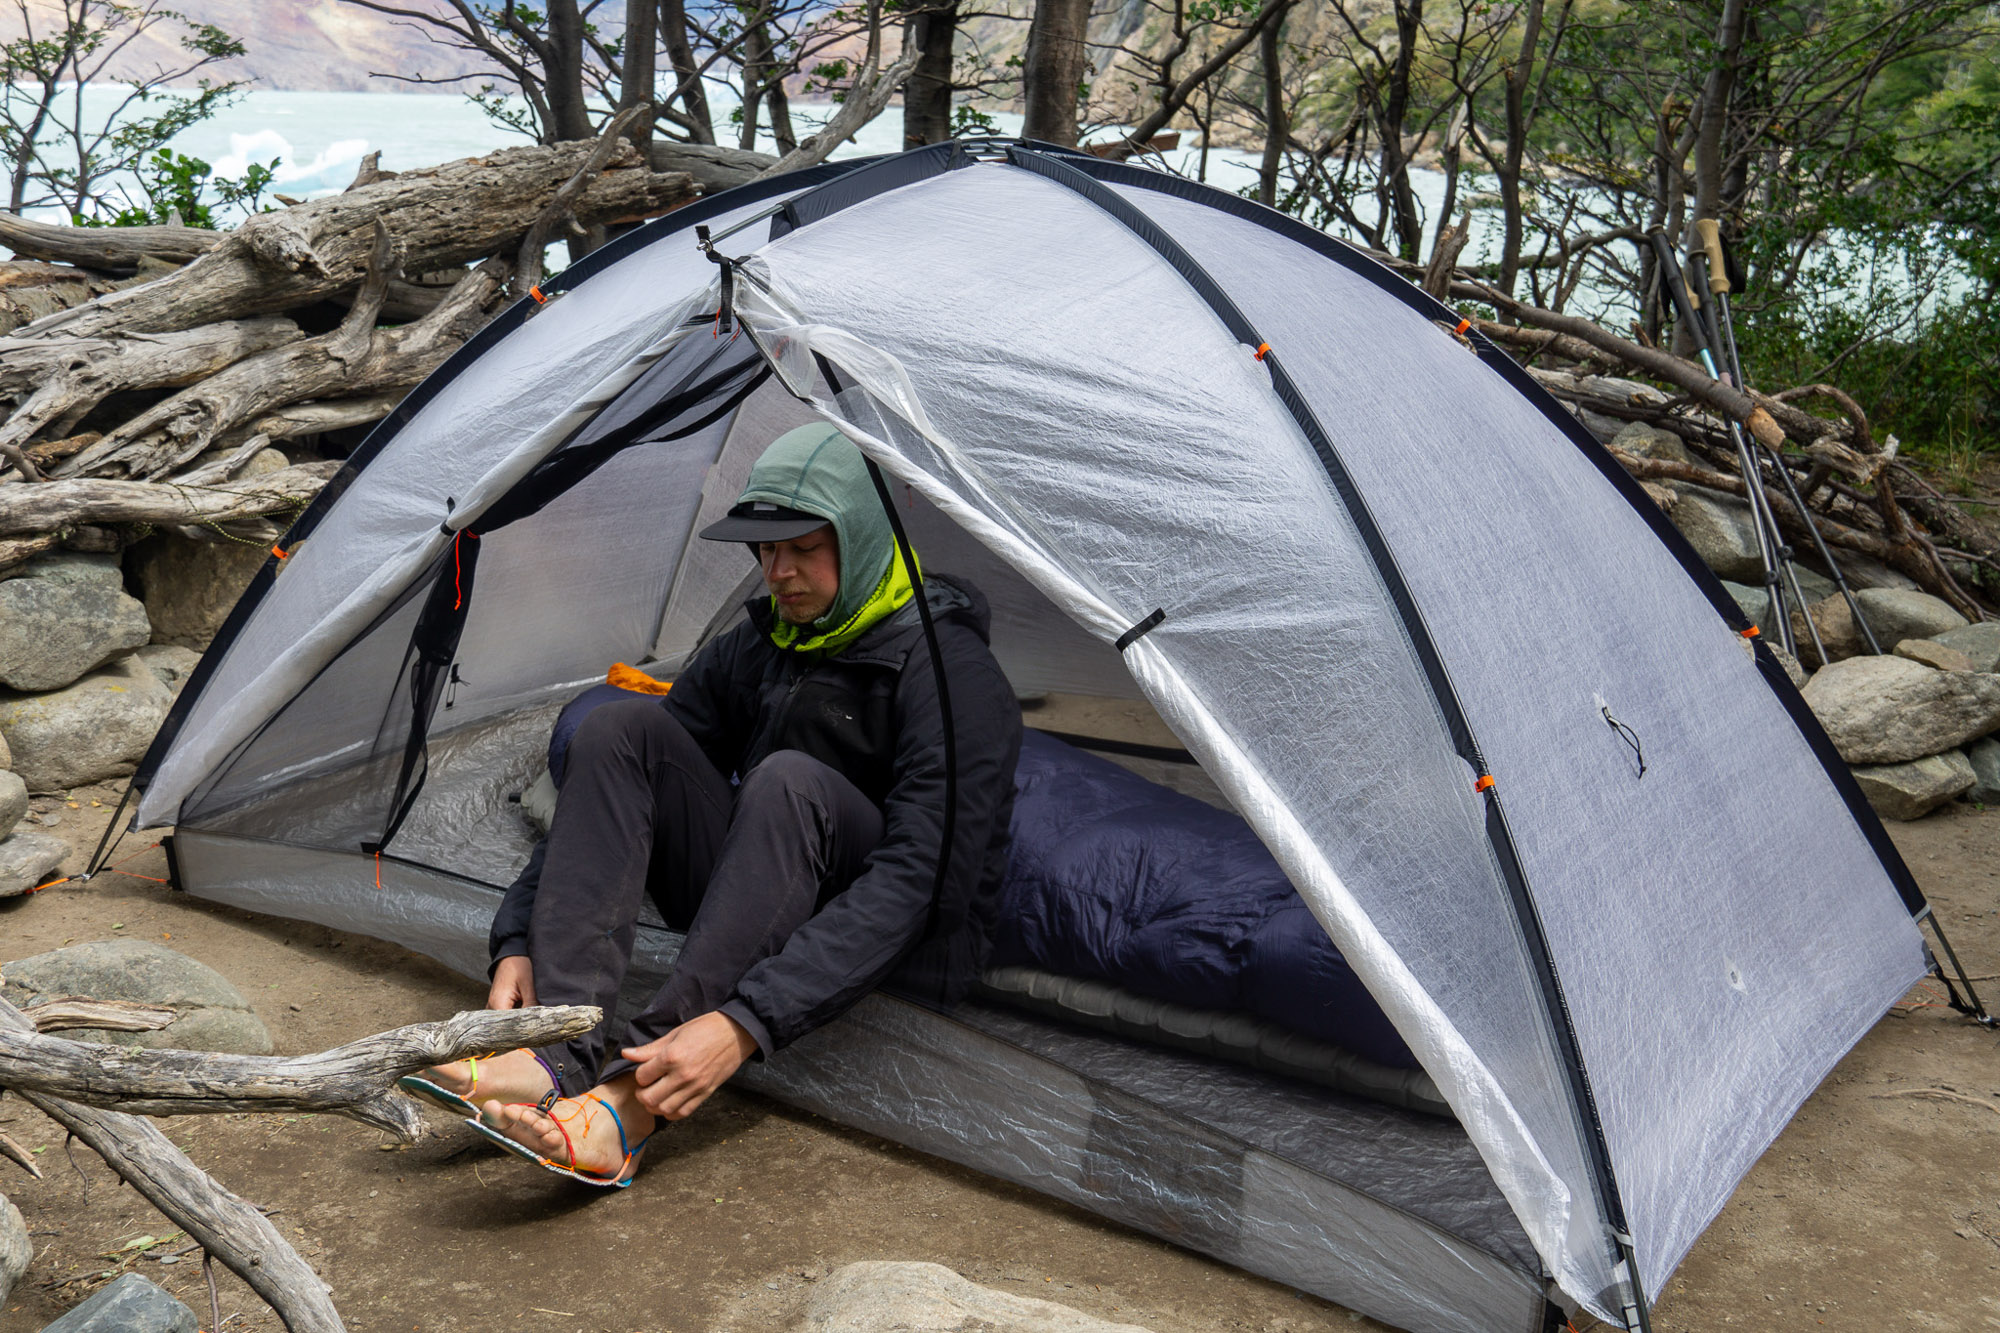
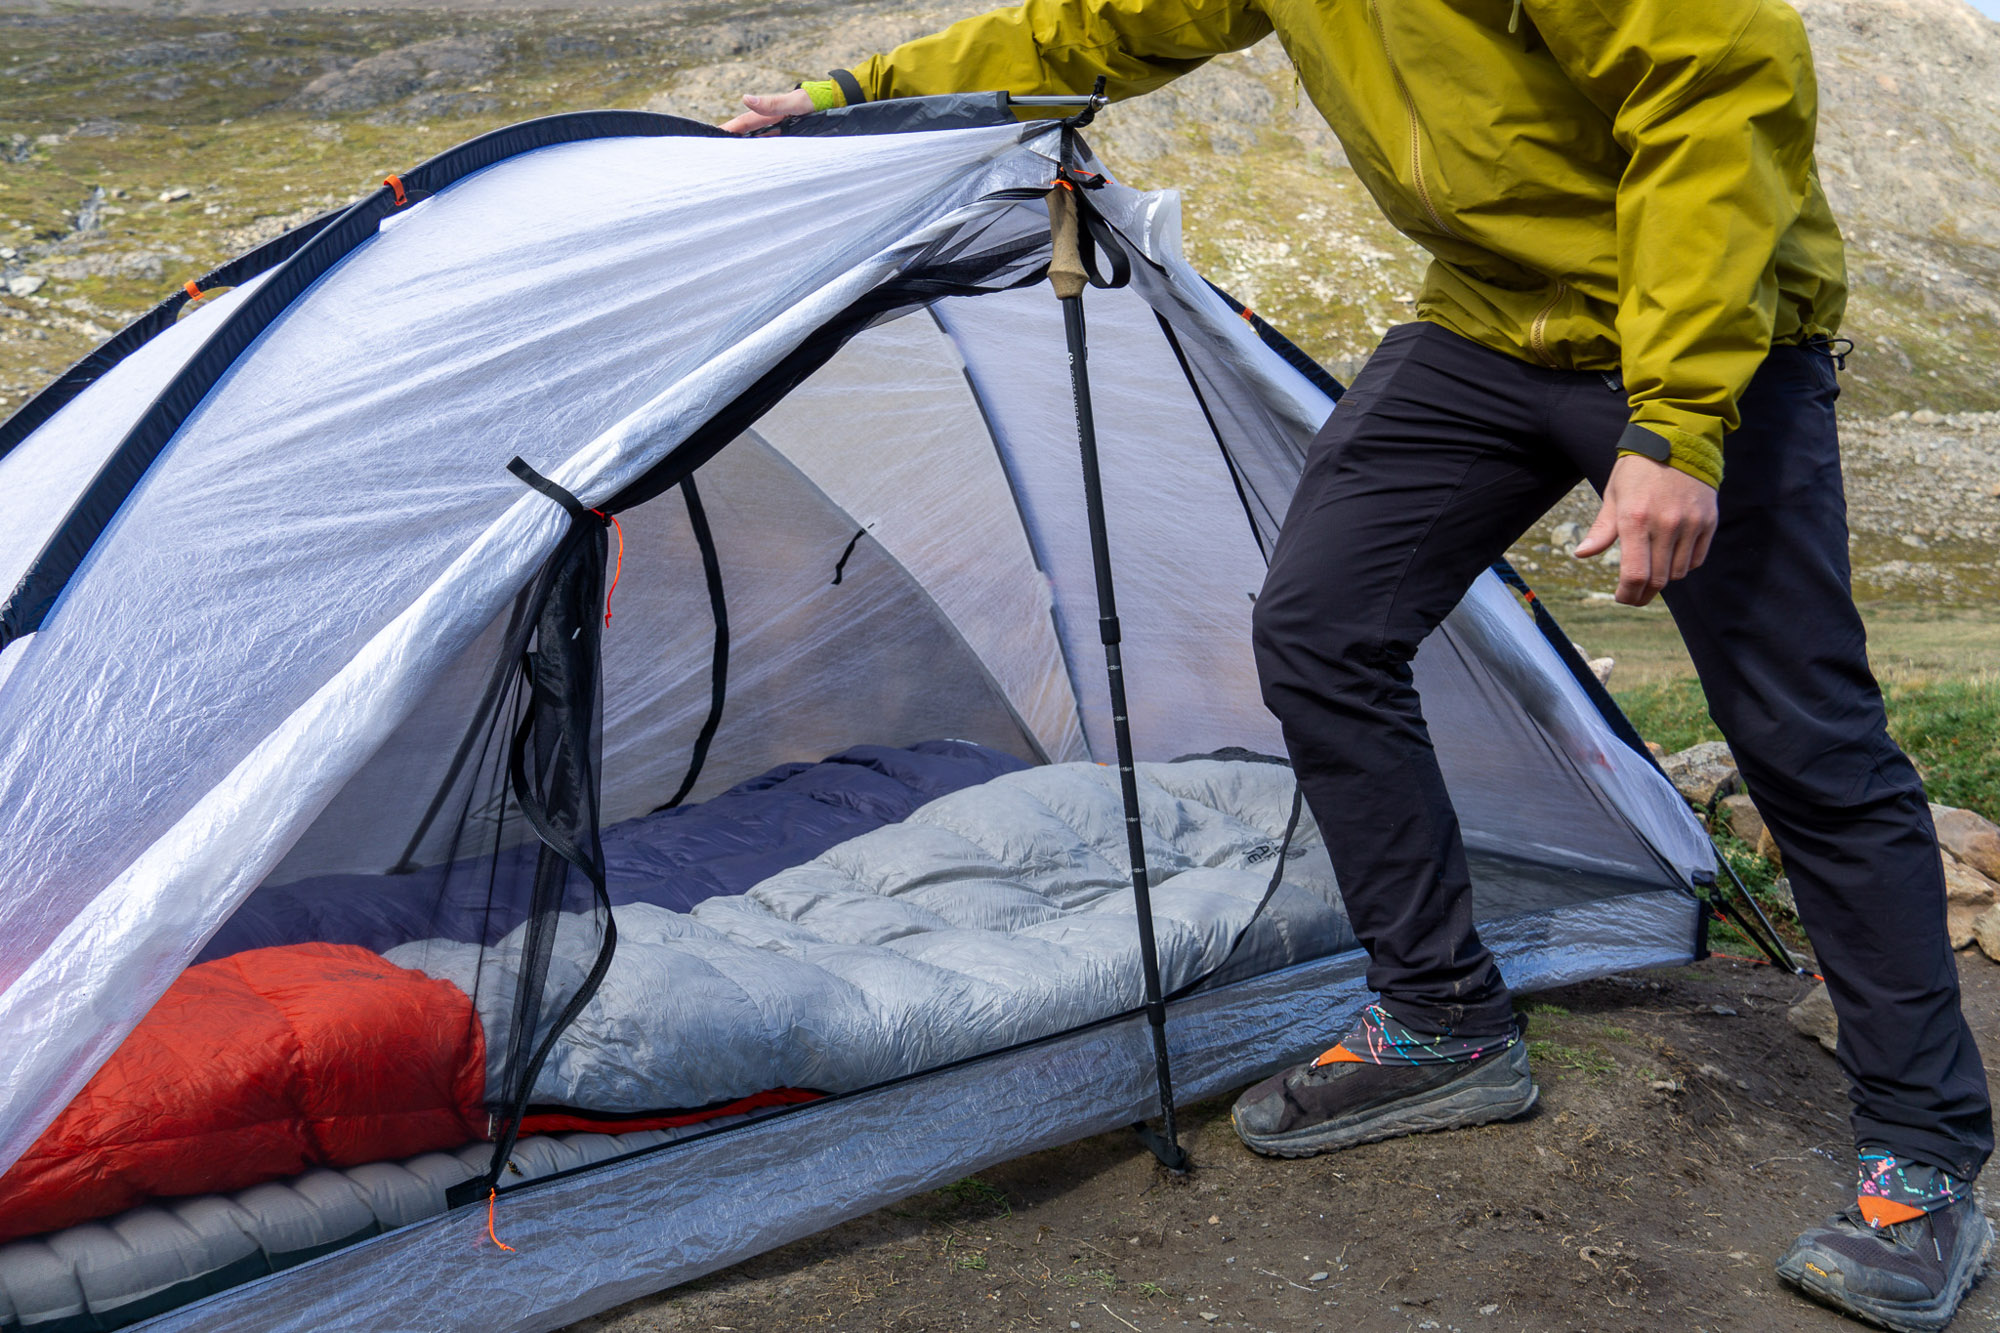
From full-blown thru-hikes to fast weekend missions, we’ve clocked some serious miles in a range of the best ultralight tents. Our ranks are flush with thru-hikers, and collectively, we’ve likely put down close to 10,000 miles of hiking across the U.S. and beyond. Along the way, we’ve become pretty particular about our shelter choices.
To pinpoint the best ultralight tents, we gathered sage advice from hikers who’ve tracked the toughest, longest miles with their gear. Whether you need a do-it-all shelter to hike the PCT or AT with, like our top-pick the Zpacks Duplex Lite, or you want to dip your toe in with a more spend-wise option like the Gossamer Gear The One, there’s something here for everyone — even semi-freestanding options like the Big Agnes Tiger Wall UL2.
When considering ultralight shelters, we considered material choice, interior space, footprint size, and, of course, the all-important weight. We got real nerdy and broke out the kitchen scales, ground-truthing given weights and measured packed sizes, and then set out to put as many miles on these tents as possible before rendering a verdict. Check out our top choices below.
Editor’s Note: We updated our Ultralight Tents guide on August 22, 2025 to add our new favorite shaped tarp, the Gossamer Gear DCF Whisper. This single-hiker shelter uses hanging bug mesh and tucks in more interior space than you’d expect. We also added rating attributes to every tent to aid in your decision-making process.
The Best Ultralight Tents of 2026
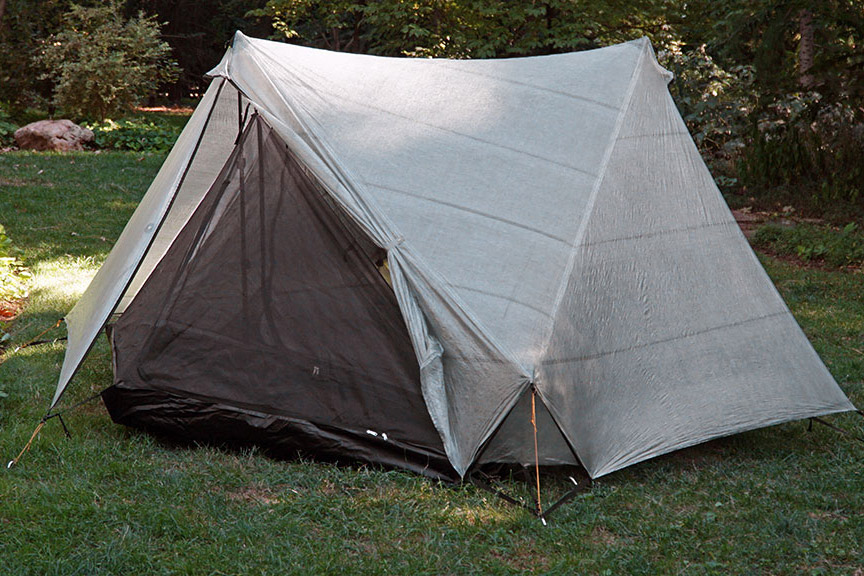
Zpacks Duplex Lite
-
Space & Comfort
8.0
-
Weight
8.0
-
Weather Resistance
9.0
-
Ease of Use
8.0
- Weight: 14.9 oz.
- Packed size: 5" x 11"
- Peak height: 48"
- Floor space: 25 sq. ft.
- Materials: Dyneema Composite Fabric (0.55 oz./sq. yd. canopy, 0.75 floor)
- Vestibule area: 11 sq. ft.
- Doors: 2
Pros
- One of the most ultralight two-person shelters out there
- Very compact packed size
- Durable enough for an entire thru hike
- Small footprint for compact sites
- Doors can be closed individually
Cons
- A tight squeeze for two hikers, or anyone tall sleeping on an inflatable
- Expensive
- Rainbow zippers degrade quicker than L-zip designs
- DCF can shrink with age
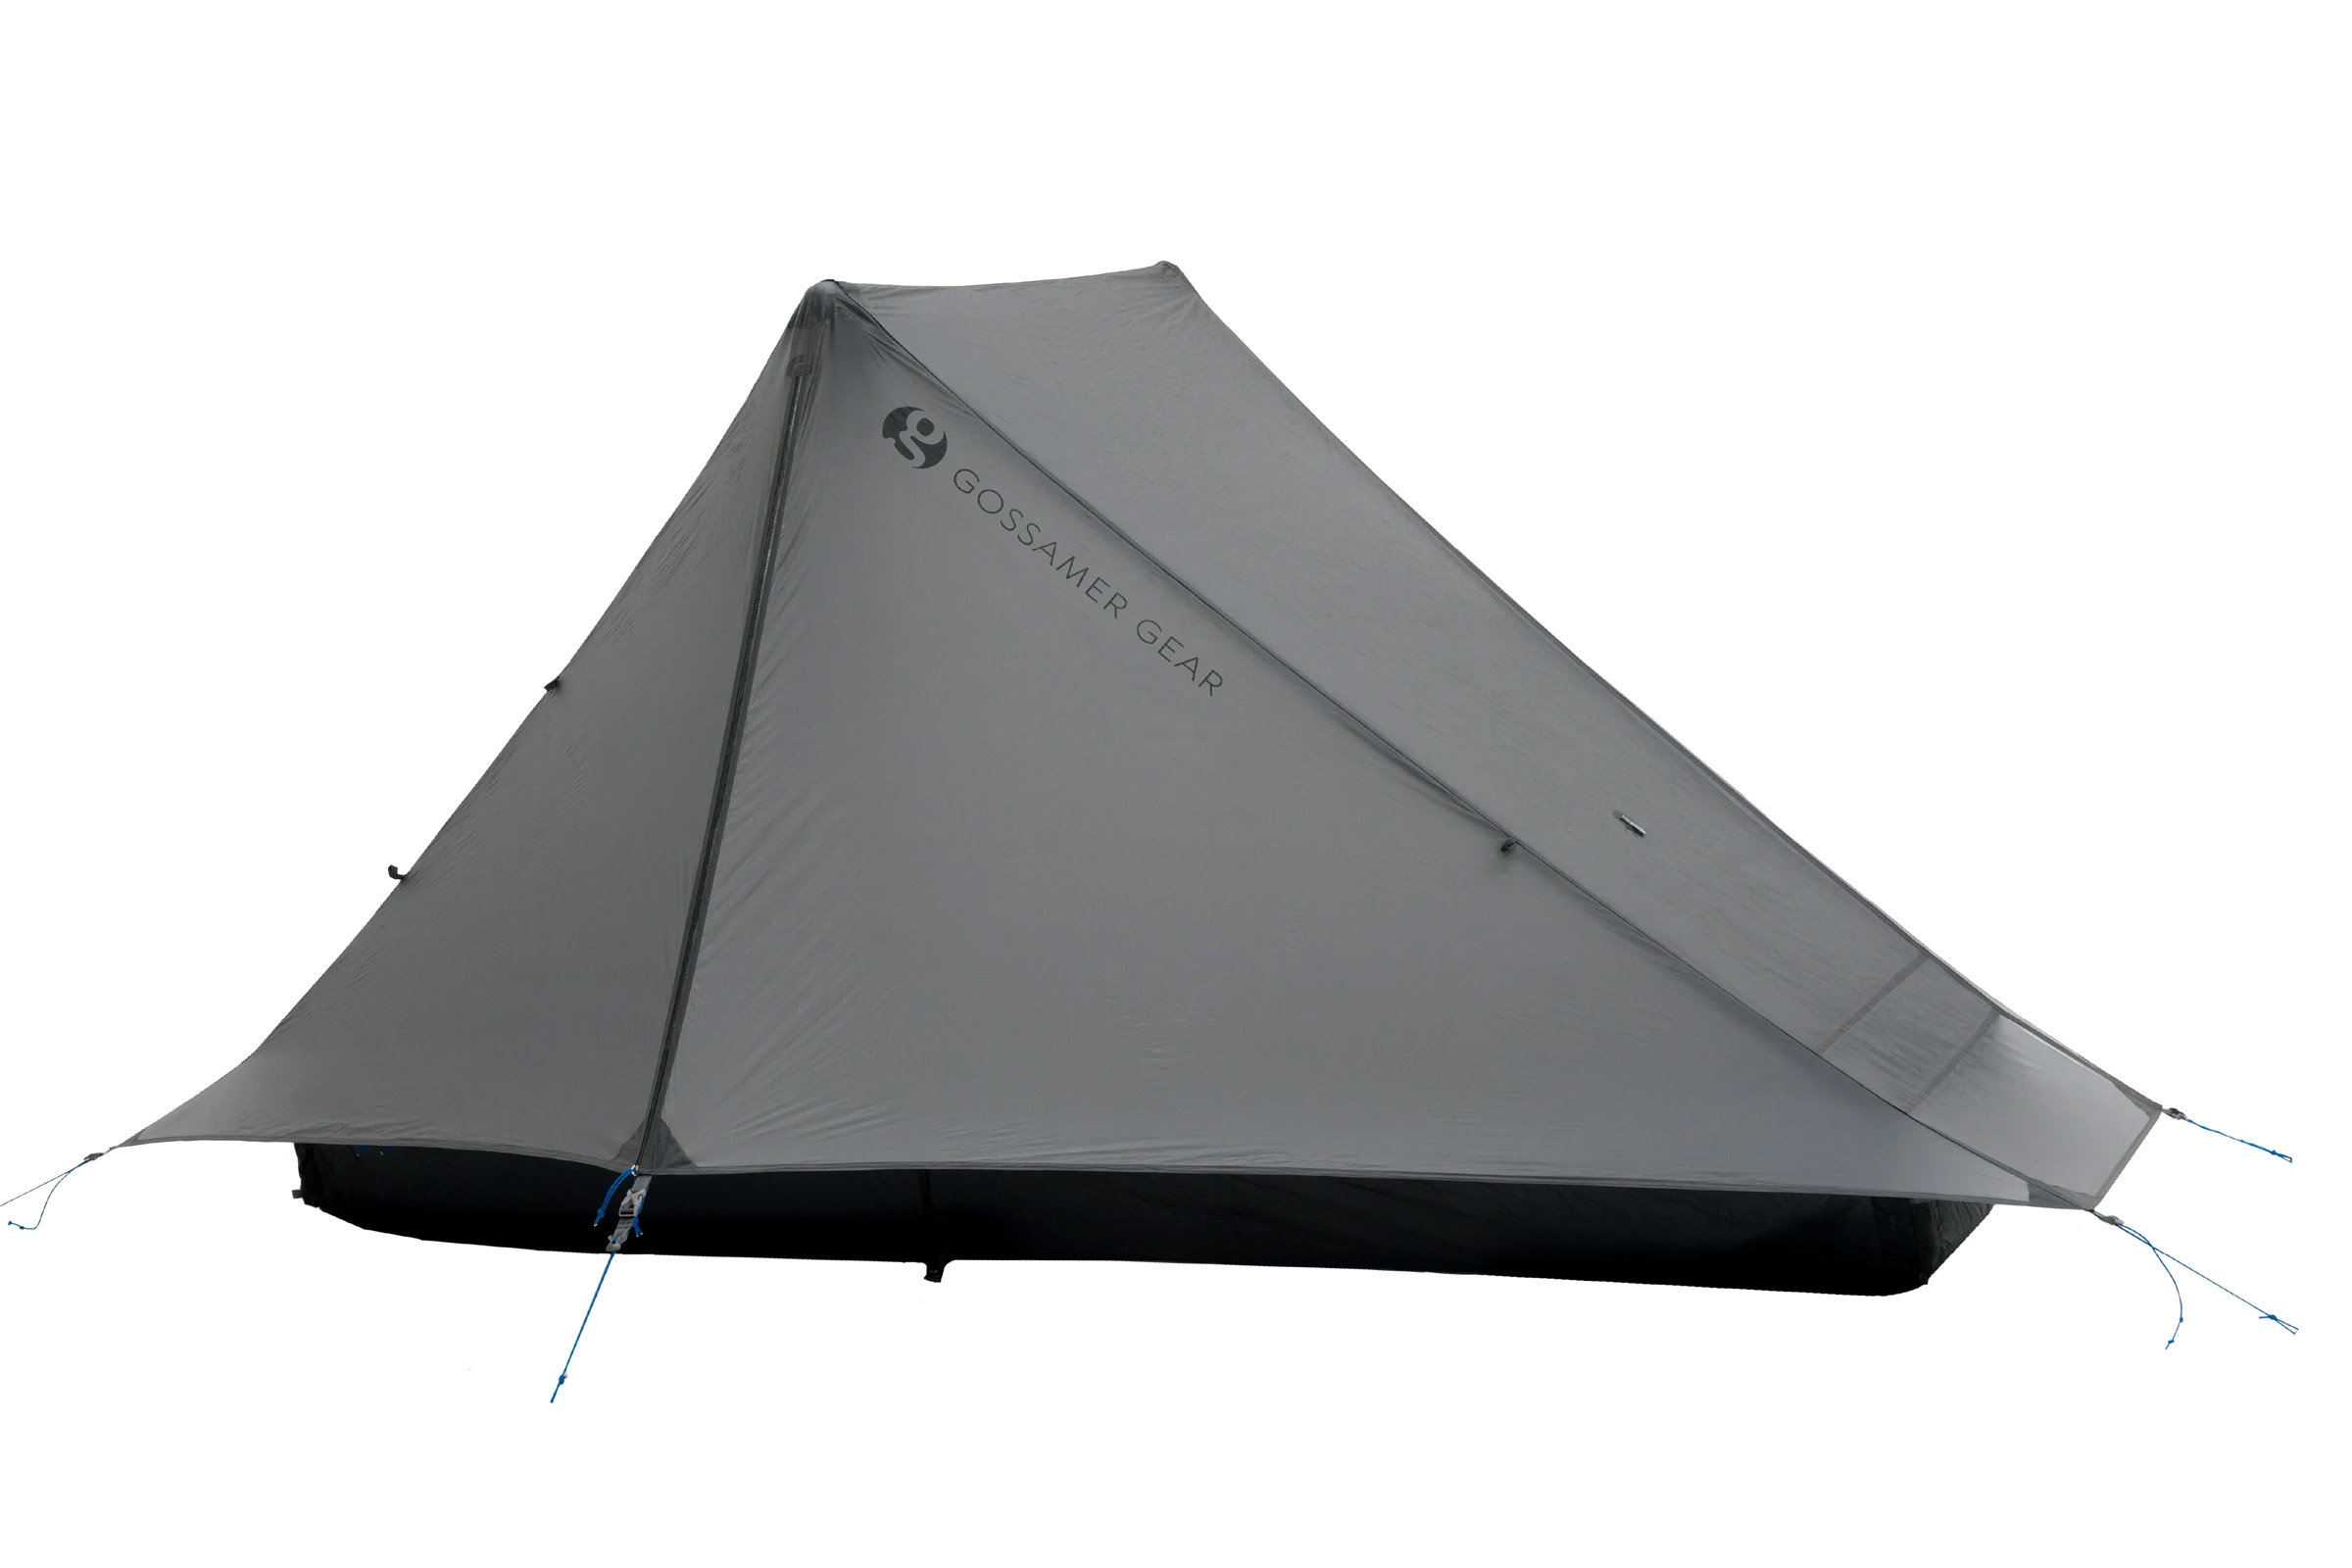
Gossamer Gear The One
-
Space & Comfort
7.0
-
Weight
7.0
-
Weather Resistance
7.0
-
Ease of Use
8.0
- Weight: 1 lb., 3 oz.
- Packed Size: 5" x 10"
- Height: 45 in.
- Floor Space: (LxWxH) 84 x 33/21 (head slightly wider)
- Materials: Custom 10-denier nylon ripstop SIL/PU fabric
- Vestibule Area: 10 sq. ft.
- Doors: One
Pros
- Super spacious floor space
- Solid strength-to-weight ratio
- Affordable pricing
- L-zipper doors don't drag in the dirt
- Silpoly canopy won't stretch as much as silnylon
Cons
- Condensation tends to build up pretty easily
- Internal mesh pockets are placed a little awkwardly
- Silpoly material won't be as durable as silynylon
Zpacks Plex Solo Tent
-
Space & Comfort
8.0
-
Weight
9.0
-
Weather Resistance
8.0
-
Ease of Use
8.0
- Weight: 13.9 oz.
- Packed Size: 5" x 11"
- Height: 52 in.
- Floor Space: 20.6 sq. ft.
- Materials: Dyneema Composite Fabric (0.55 oz./sq. yd. canopy, 0.75 floor)
- Vestibule Area: 6.4 sq. ft.
- Doors: One
Pros
- Extremely ultralight
- Well-ventilated
- Unique system of dealing with condensation buildup
- Only uses one trekking pole instead of two
Cons
- Expensive
- Somewhat annoying not having a zipper on the vestibule
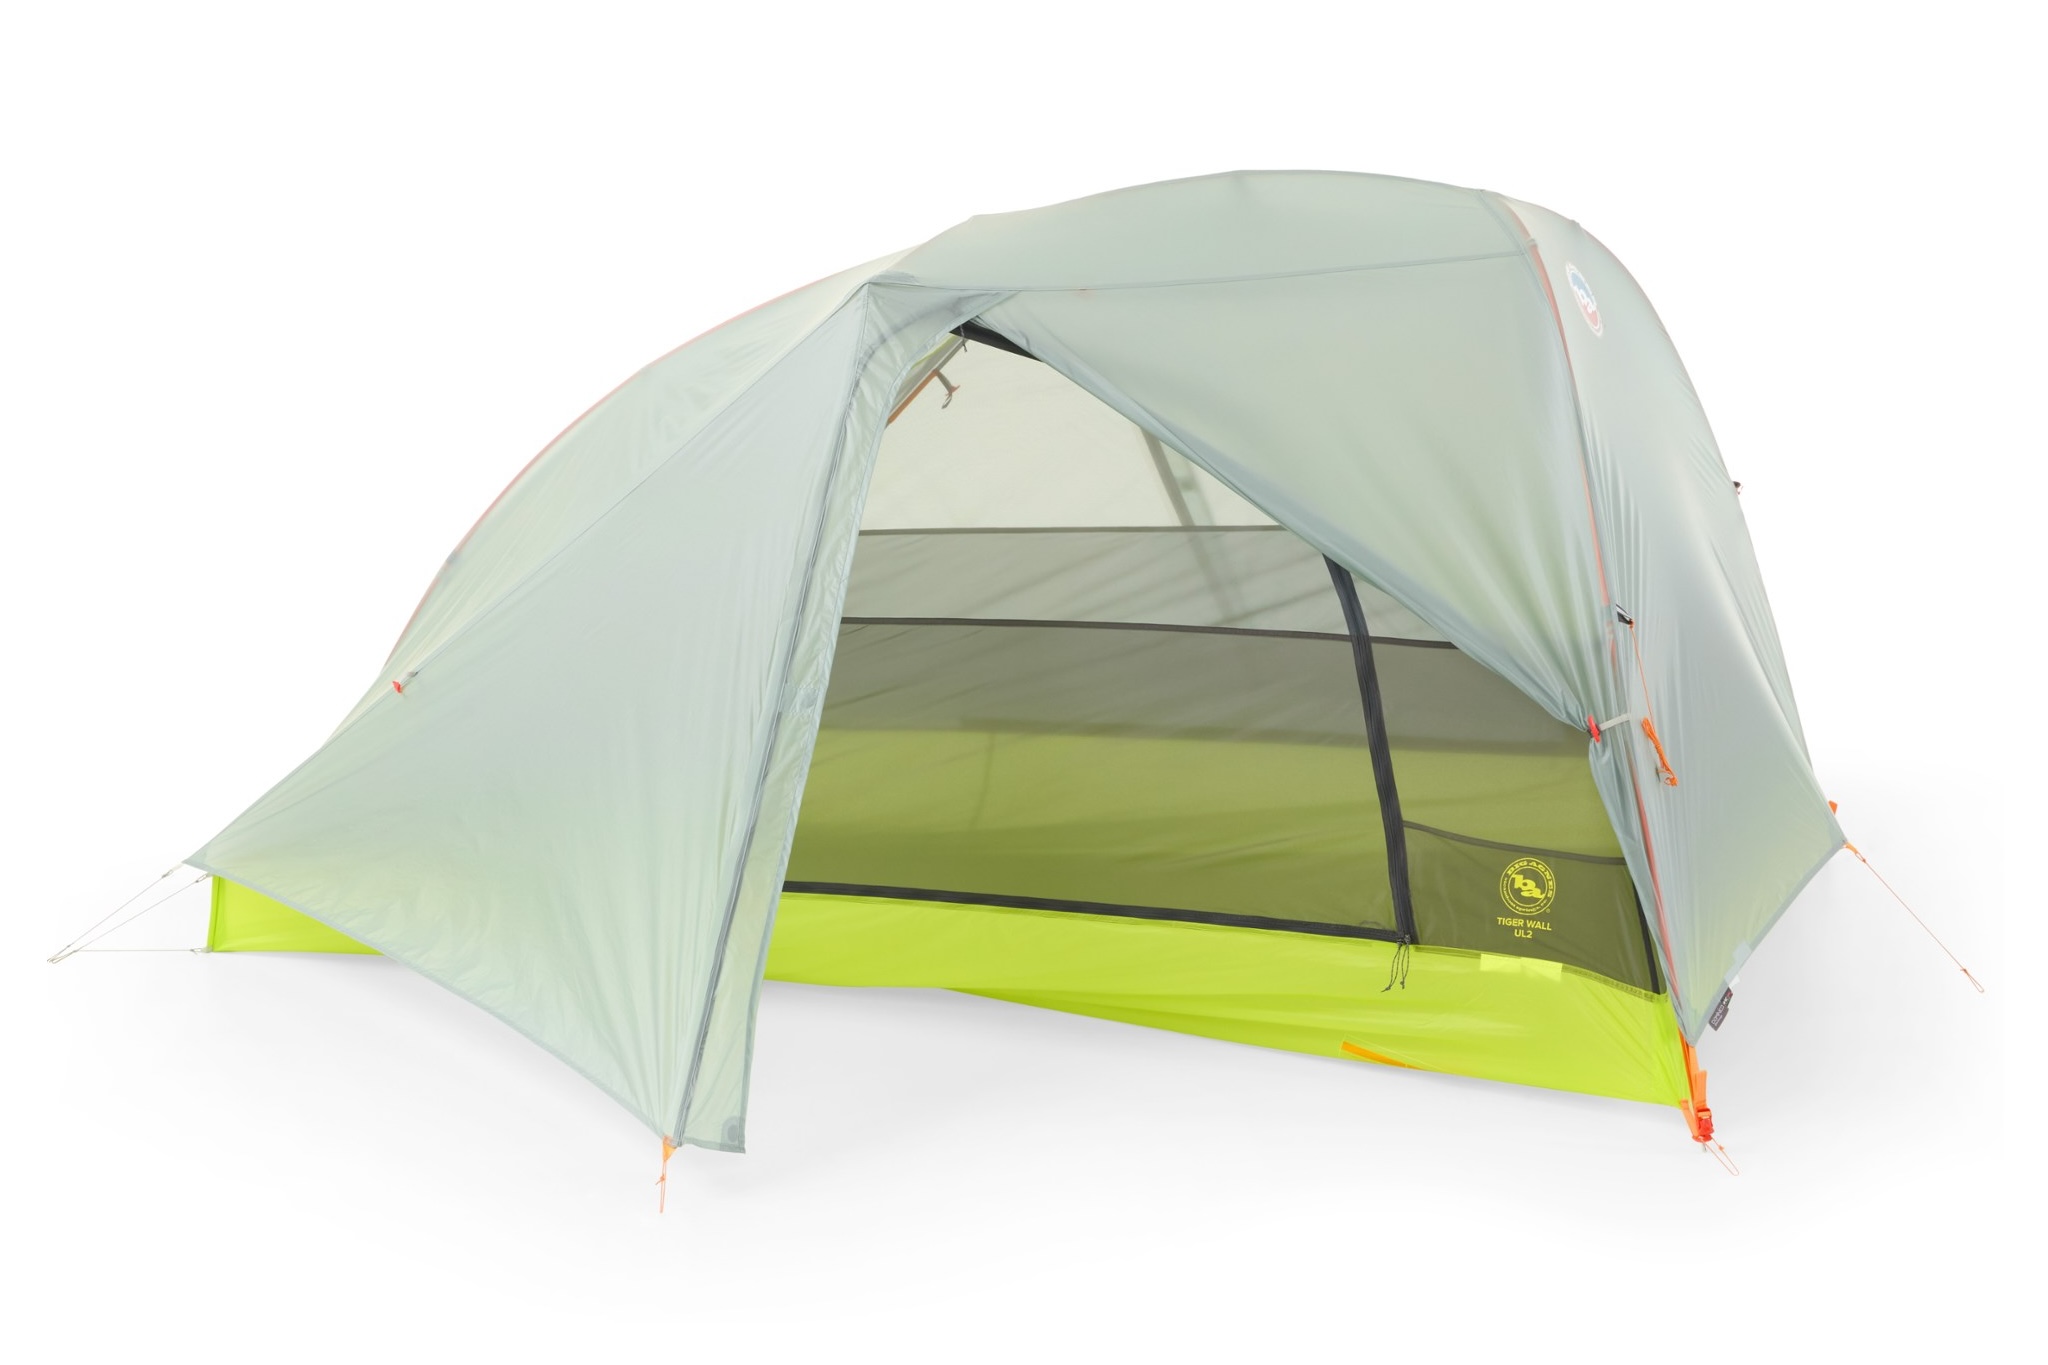
Big Agnes Tiger Wall UL2
-
Space & Comfort
7.0
-
Weight
6.0
-
Weather Resistance
8.0
-
Ease of Use
7.0
- Weight: 2 lbs., 3 oz.
- Packed size: 5" x 18"
- Peak height: 39"
- Floor space: 25 sq. ft.
- Materials: HyperBead recycled 15-denier ripstop nylon fly and floor, polyester mesh canopy
- Vestibule area: 16 sq. ft.
- Doors: Two
Pros
- New HyperBead fabric is 25% more waterproof and 6% lighter than previous version
- Two doors for easy entry and exit with two hikers
- Semi-freestanding shape sets up almost anywhere
- Canopy storage on the interior
Cons
- Weight north of 2 pounds is trending out of UL territory
- Foot end of the tent is fairly low volume
- Floor dimensions are snug, and won't allow wide sleeping pads
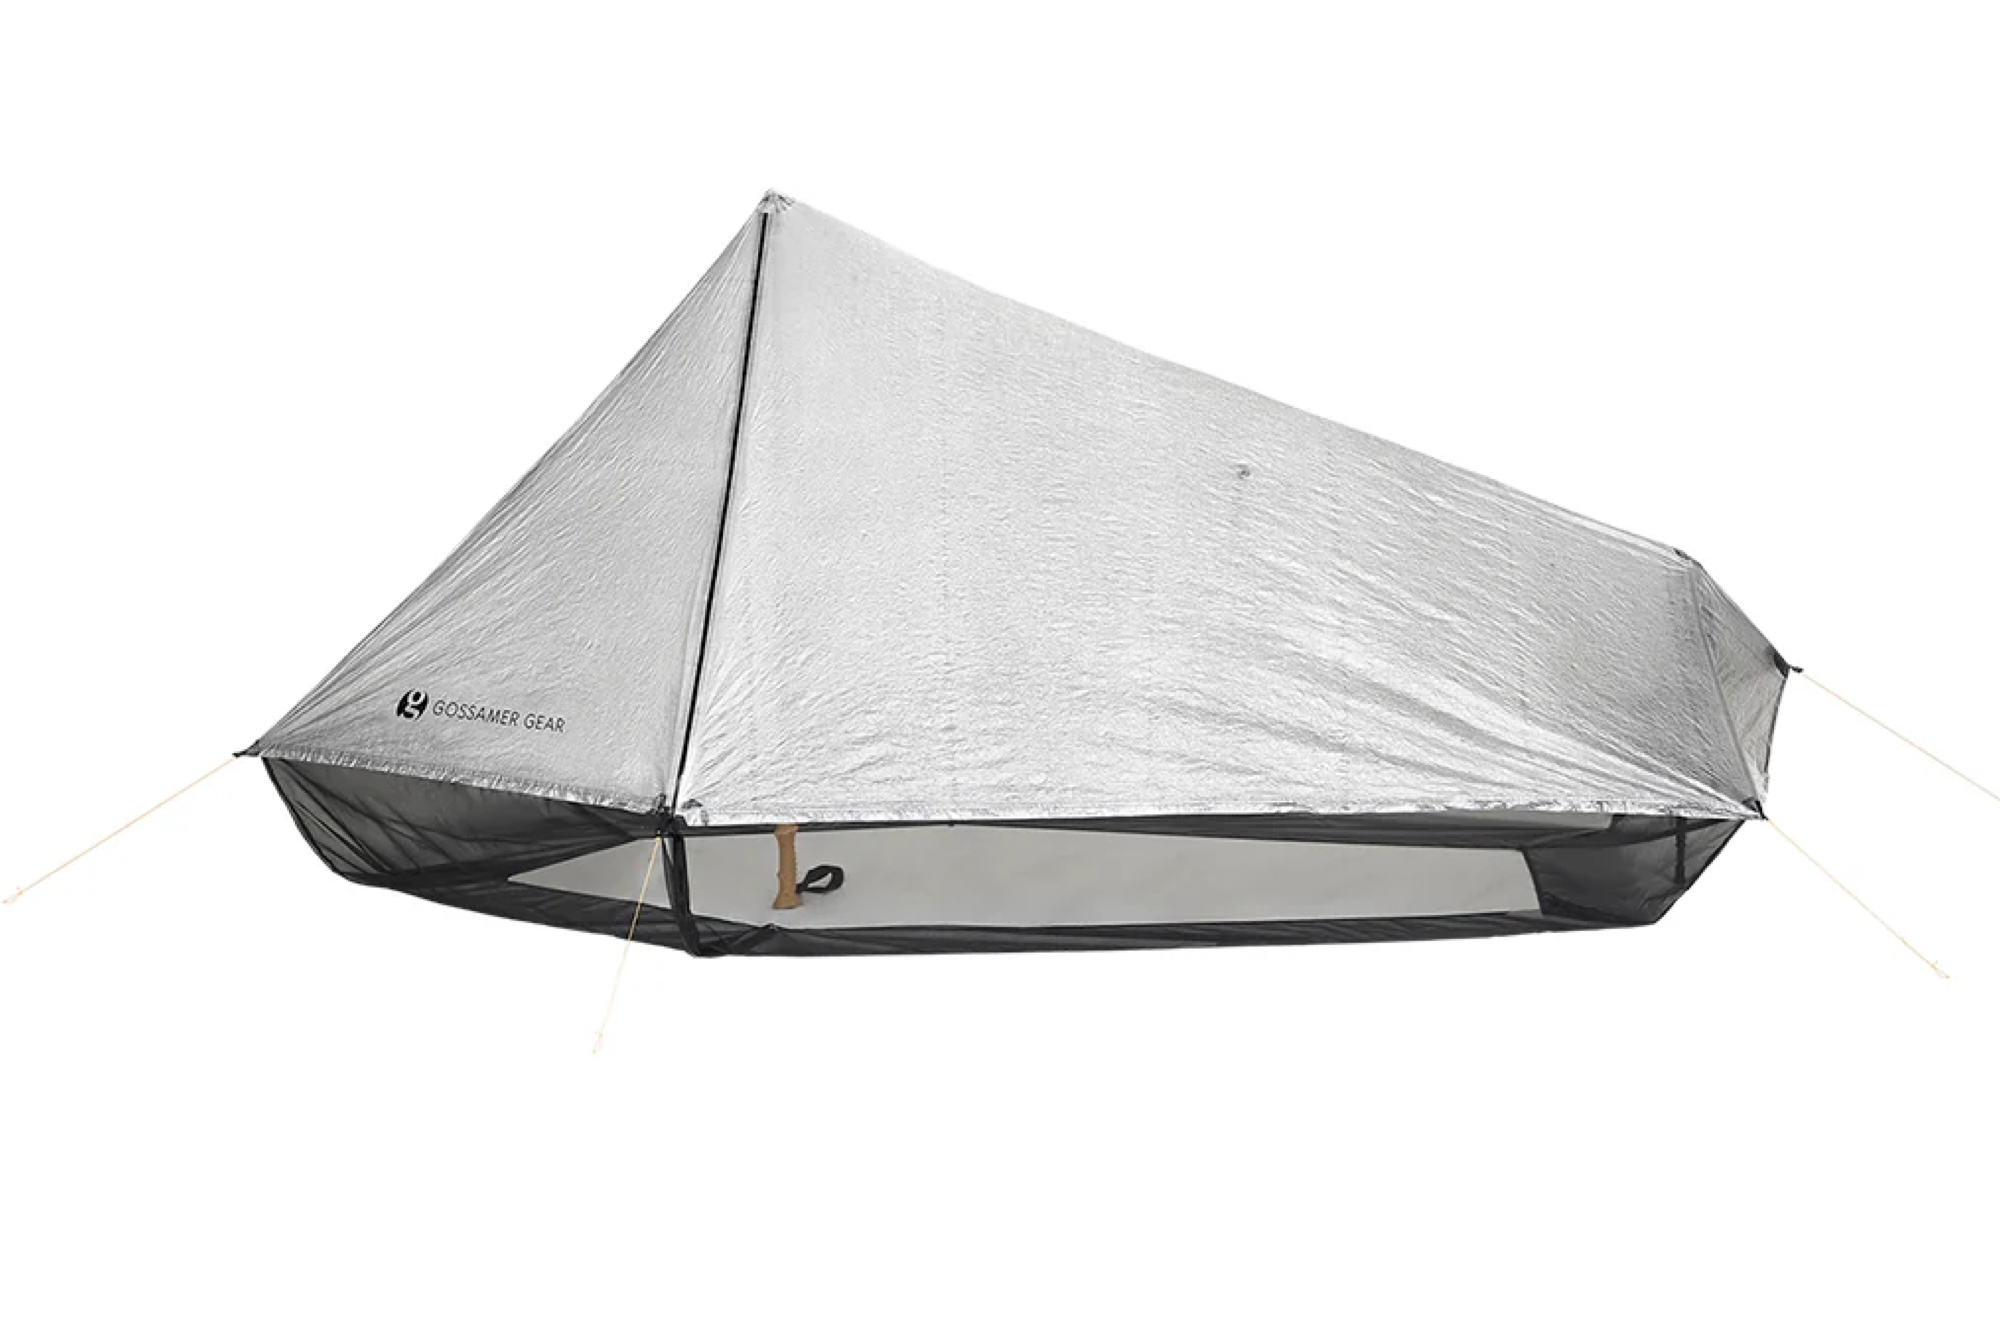
Gossamer Gear DCF Whisper
-
Space & Comfort
7.0
-
Weight
9.0
-
Weather Resistance
7.0
-
Ease of Use
7.0
- Weight: 9.8 oz.
- Packed size: 5" x 13"
- Peak height: 51"
- Floor space: 102" x 49" (head end), 25" (foot end)
- Materials: Dyneema Composite Fabric (0.51 oz./sq. yd. canopy)
- Vestibule area: N/A
- Doors: One
Pros
- Lightweight with just enough protection
- Very versatile design without a floor
- Good amount of space for a single person shelter
- Pitches in tight sites
Cons
- Set up requires some adjusting to get just right
- Zipper lays in the dirt
- Price
Hyperlite Mountain Gear UltaMid 2 Dyneema Tent
-
Space & Comfort
8.0
-
Weight
8.0
-
Weather Resistance
8.0
-
Ease of Use
8.0
- Weight: 1 lb., 3 oz.
- Packed Size: 6" x 8.5"
- Height: 64 in.
- Floor Space: 63 sq. ft.
- Materials: 0.78 oz./sq. yd. Dyneema Composite Fabric
- Vestibule Area: N/A
- Doors: One
Pros
- Strong 0.78 oz./sq. yd. Dyneema Composite Fabric is thicker than most
- Very easy to pitch in difficult spots
- Can be suspended from a tree limb and set up without a pole
- Many guy out points across the shelter from shoring up against wind
- Two way main zipper aids in ventilation
Cons
- Expensive
- Requires two trekking poles to be lashed together to be set up
- Need space to set up guy lines
- Bulkier packed size
Other Ultralight Tents to Cut Ounces With
The UL shelters above are the ones we lean on the most in our load-outs for everything from lightweight weekend backpacking to months-long cross-country thru hikes. That said, there are numerous companies turning out excellent ultralight shelters these days, and we’ve tested a good number of them looking for the best. Check out our runner-up selection below before making your choice.
-
Space & Comfort
8.0
-
Weight
8.0
-
Weather Resistance
8.0
-
Ease of Use
7.0
- Weight: 1 lb., 14.4 oz.
- Packed Size: 5" x 12"
- Height: 46 in.
- Floor Space: 46.5 sq. ft. (fly); 20 sq. ft. (insert)
- Materials: 20-denier polyester with 2,500 mm sil/PEU coating
- Vestibule Area: 20 sq. ft. (10 sq. ft. x 2)
- Doors: Two
Pros
- Durable construction
- Unique, double-wall design
- Simple, four-stake pitch
- Affordable
Cons
- On the heavy side for an ultralight tent
- Small internal storage pockets
- Guy lines are a bit difficult to adjust
-
Space & Comfort
7.0
-
Weight
6.0
-
Weather Resistance
6.0
-
Ease of Use
7.0
- Weight: 1 lb., 10.1 oz.
- Packed Size: 4.5" x 11.5"
- Height: 49 in.
- Floor Space: 26.3 sq. ft.
- Materials: 20D and 40D silicone coated polyester
- Vestibule Area: 8.5 sq. ft.
- Doors: One
Pros
- Affordable with a quality build
- Spacious
- Durable design
- Good ventilation
Cons
- Heavier than most other single pole designs
- Setup takes some getting used to
- Not our favorite door clasp system
-
Space & Comfort
7.0
-
Weight
10.0
-
Weather Resistance
7.0
-
Ease of Use
8.0
- Weight: 5.5 oz.
- Packed Size: 3" x 6"
- Height: 47 in.
- Floor Space: N/A
- Materials: .55 oz/sqyd Standard Dyneema Composite Fabric
- Vestibule Area: N/A
- Doors: One
Pros
- Extremely lightweight and packable
- Excellent strength-to-weight ratio
- Versatile design that can be combined with mesh inners or bathtub floors
- Only requires one trekking pole — or a stick
- Linelocs make for easy adjustment
Cons
- Not the most spacious interior
- A bit challenging to set up
- No protection from bugs or critters
-
Space & Comfort
7.0
-
Weight
6.0
-
Weather Resistance
8.0
-
Ease of Use
8.0
- Weight: 2 lbs., 2 oz.
- Packed Size: 6" x 11"
- Peak Height: 42"
- Floor Space: 28.5 sq. ft.
- Materials: Dyneema Composite Fabrics DCF5, DCF10, and 20D sil-nylon
- Vestibule Area: 15 sq. ft.
- Doors: 2
Pros
- Impressive weather-resistance for an UL shelter
- Ideal for terrain that doesn't take stakes well, or those who don't carry trekking poles
- Water-resistant door zippers and magnetic tie-back toggles
- Short DAC aluminum poles that pack away well
Cons
- Not the lightest option out there due to the integrated poles
- Price is slightly eye-watering
- Will require more care than other shelters
-
Space & Comfort
8.0
-
Weight
7.0
-
Weather Resistance
8.0
-
Ease of Use
7.0
- Weight: 1 lb., 14 oz.
- Packed Size: 5" x 16.5"
- Height: 45 in.
- Floor Space: 26.8 sq. ft.
- Materials: 0.51 oz./sq. yd. Dyneema Composite Fabric, 20D ripstop nylon, 15D nylon mesh
- Vestibule Area: 24 sq. ft.
- Doors: Two
Pros
- Tons of vestibule space
- Excellent venting
- Good balance of weight and durability
- Comfortable for two
Cons
- Expensive
- Not freestanding
-
Space & Comfort
7.0
-
Weight
7.0
-
Weather Resistance
7.0
-
Ease of Use
8.0
- Weight: 2 lbs., 1 oz.
- Packed Size: 4" x 19"
- Height: 37 in.
- Floor Space: 27.3 sq. ft.
- Materials: OSMO poly-nylon ripstop fabric
- Vestibule Area: 12.4 sq. ft.
- Doors: Two
Pros
- Semi-freestanding design
- Silpoly fabric doesn't sag
- Tent is easy to split up between two to carry
- Environmentally friendly OSMO fabrics
Cons
- Expensive
- Fragile for car camping or sharp rocks
- Not much room in the foot end of the tent
- High-cut fly isn't the most storm-proof
-
Space & Comfort
7.0
-
Weight
8.0
-
Weather Resistance
7.0
-
Ease of Use
7.0
- Weight: 1 lb., 2 oz.
- Packed Size: 5.5" x 8.5"
- Height: 54 in.
- Floor Space: 21 sq. ft.
- Materials: DCF5, DCF10, No-See-Um mesh
- Vestibule Area: N/A
- Doors: One
Pros
- True half-mid design
- Very durable with reinforced peak
- Spacious vestibule
- Magnetic door toggles
- Slightly thicker DCF used in floor compared to like-shelters
Cons
- Condensation in cold temps
- Proper setup requires practice
- No guyline in the front for tension when both door flaps are open
- Expensive for a solo shelter
Ultralight Tents Comparison Chart
| Ultralight Tent | Price | Weight | Height | Floor Space | Materials | Vestibule Area |
|---|---|---|---|---|---|---|
| Zpacks Duplex Lite | $669 | 14.9 oz. | 48 in. | 25 sq. ft. | Dyneema Composite Fabric (0.55 oz./sq. yd. canopy, 0.75 floor) | 11 sq. ft. |
| Gossamer Gear The One | $255 | 1 lb., 3 oz. | 45 in. | 19.2 sq. ft | Custom 10D nylon ripstop SIL/PU fabric | 10 sq. ft. |
| Zpacks Plex Solo | $599 | 13.9 oz. | 52 in. | 20.6 sq. ft. | Dyneema (0.75 oz./sq. yd.) | N/A |
| Big Agnes Tiger Wall UL2 | $480 | 2 lbs., 1 oz. | 39″ | 25 sq. ft. | HyperBead recycled 15-denier ripstop nylon fly and floor, polyester mesh canopy | 16 sq. ft. |
| Gossamer Gear Whisper Tarp | $499 | 9.8 oz. | 51″ | N/A | Dyneema Composite Fabric (0.51 oz./sq. yd. canopy) | N/A |
| Hyperlite Mountain Gear UltaMid 2 | $699 | 1 lb., 3 oz. | 64 in. | 63 sq. ft. | DCF8 (0.78 oz./sq. yd.) | N/A |
| Durston X-Mid 1 | $239 | 1 lb., 14.4 oz. | 46 in. | 46.5 sq. ft. (fly), 20 sq. ft. (insert) | 20-denier polyester with 2,500 mm sil/PEU coating | 20 sq. ft. |
| Six Moon Designs Lunar Solo | $260 | 1 lb., 10.1 oz. | 49 in. | 26.3 sq. ft. | 20D and 40D silicone-coated polyester | 8.5 sq. ft. |
| Zpacks Hexamid Pocket Tarp With Doors | $379 | 5.5 oz. | 47 in. | N/A | 0.55 oz/sqyd Standard Dyneema Composite Fabric | N/A |
| Hyperlite Mountain Gear CrossPeak 2 | $950 | 2 lbs., 2 oz. | 42 in. | 28.5 sq. ft. | Dyneema Composite Fabrics DCF5, DCF10, and 20D sil-nylon | 15 sq. ft. |
| Tarptent Stratospire Li | $659 | 1 lb., 14 oz. | 45 in. | 26.8 sq. ft. | Dyneema, 20D ripstop nylon, 15D nylon mesh | 24 sq. ft. |
| NEMO Hornet Elite OSMO 2P | $660 | 2 lbs., 1 oz. | 37 in. | 27.3 sq. ft. | OSMO poly-nylon ripstop fabric | 12.4 sq. ft. |
| Hyperlite Mountain Gear Mid 1 | $599 | 1 lb., 2 oz. | 54 in. | 21 sq. ft. | DCF5, DCF10, No-See-Um Mesh | N/A |
How We Tested the Best Ultralight Tents
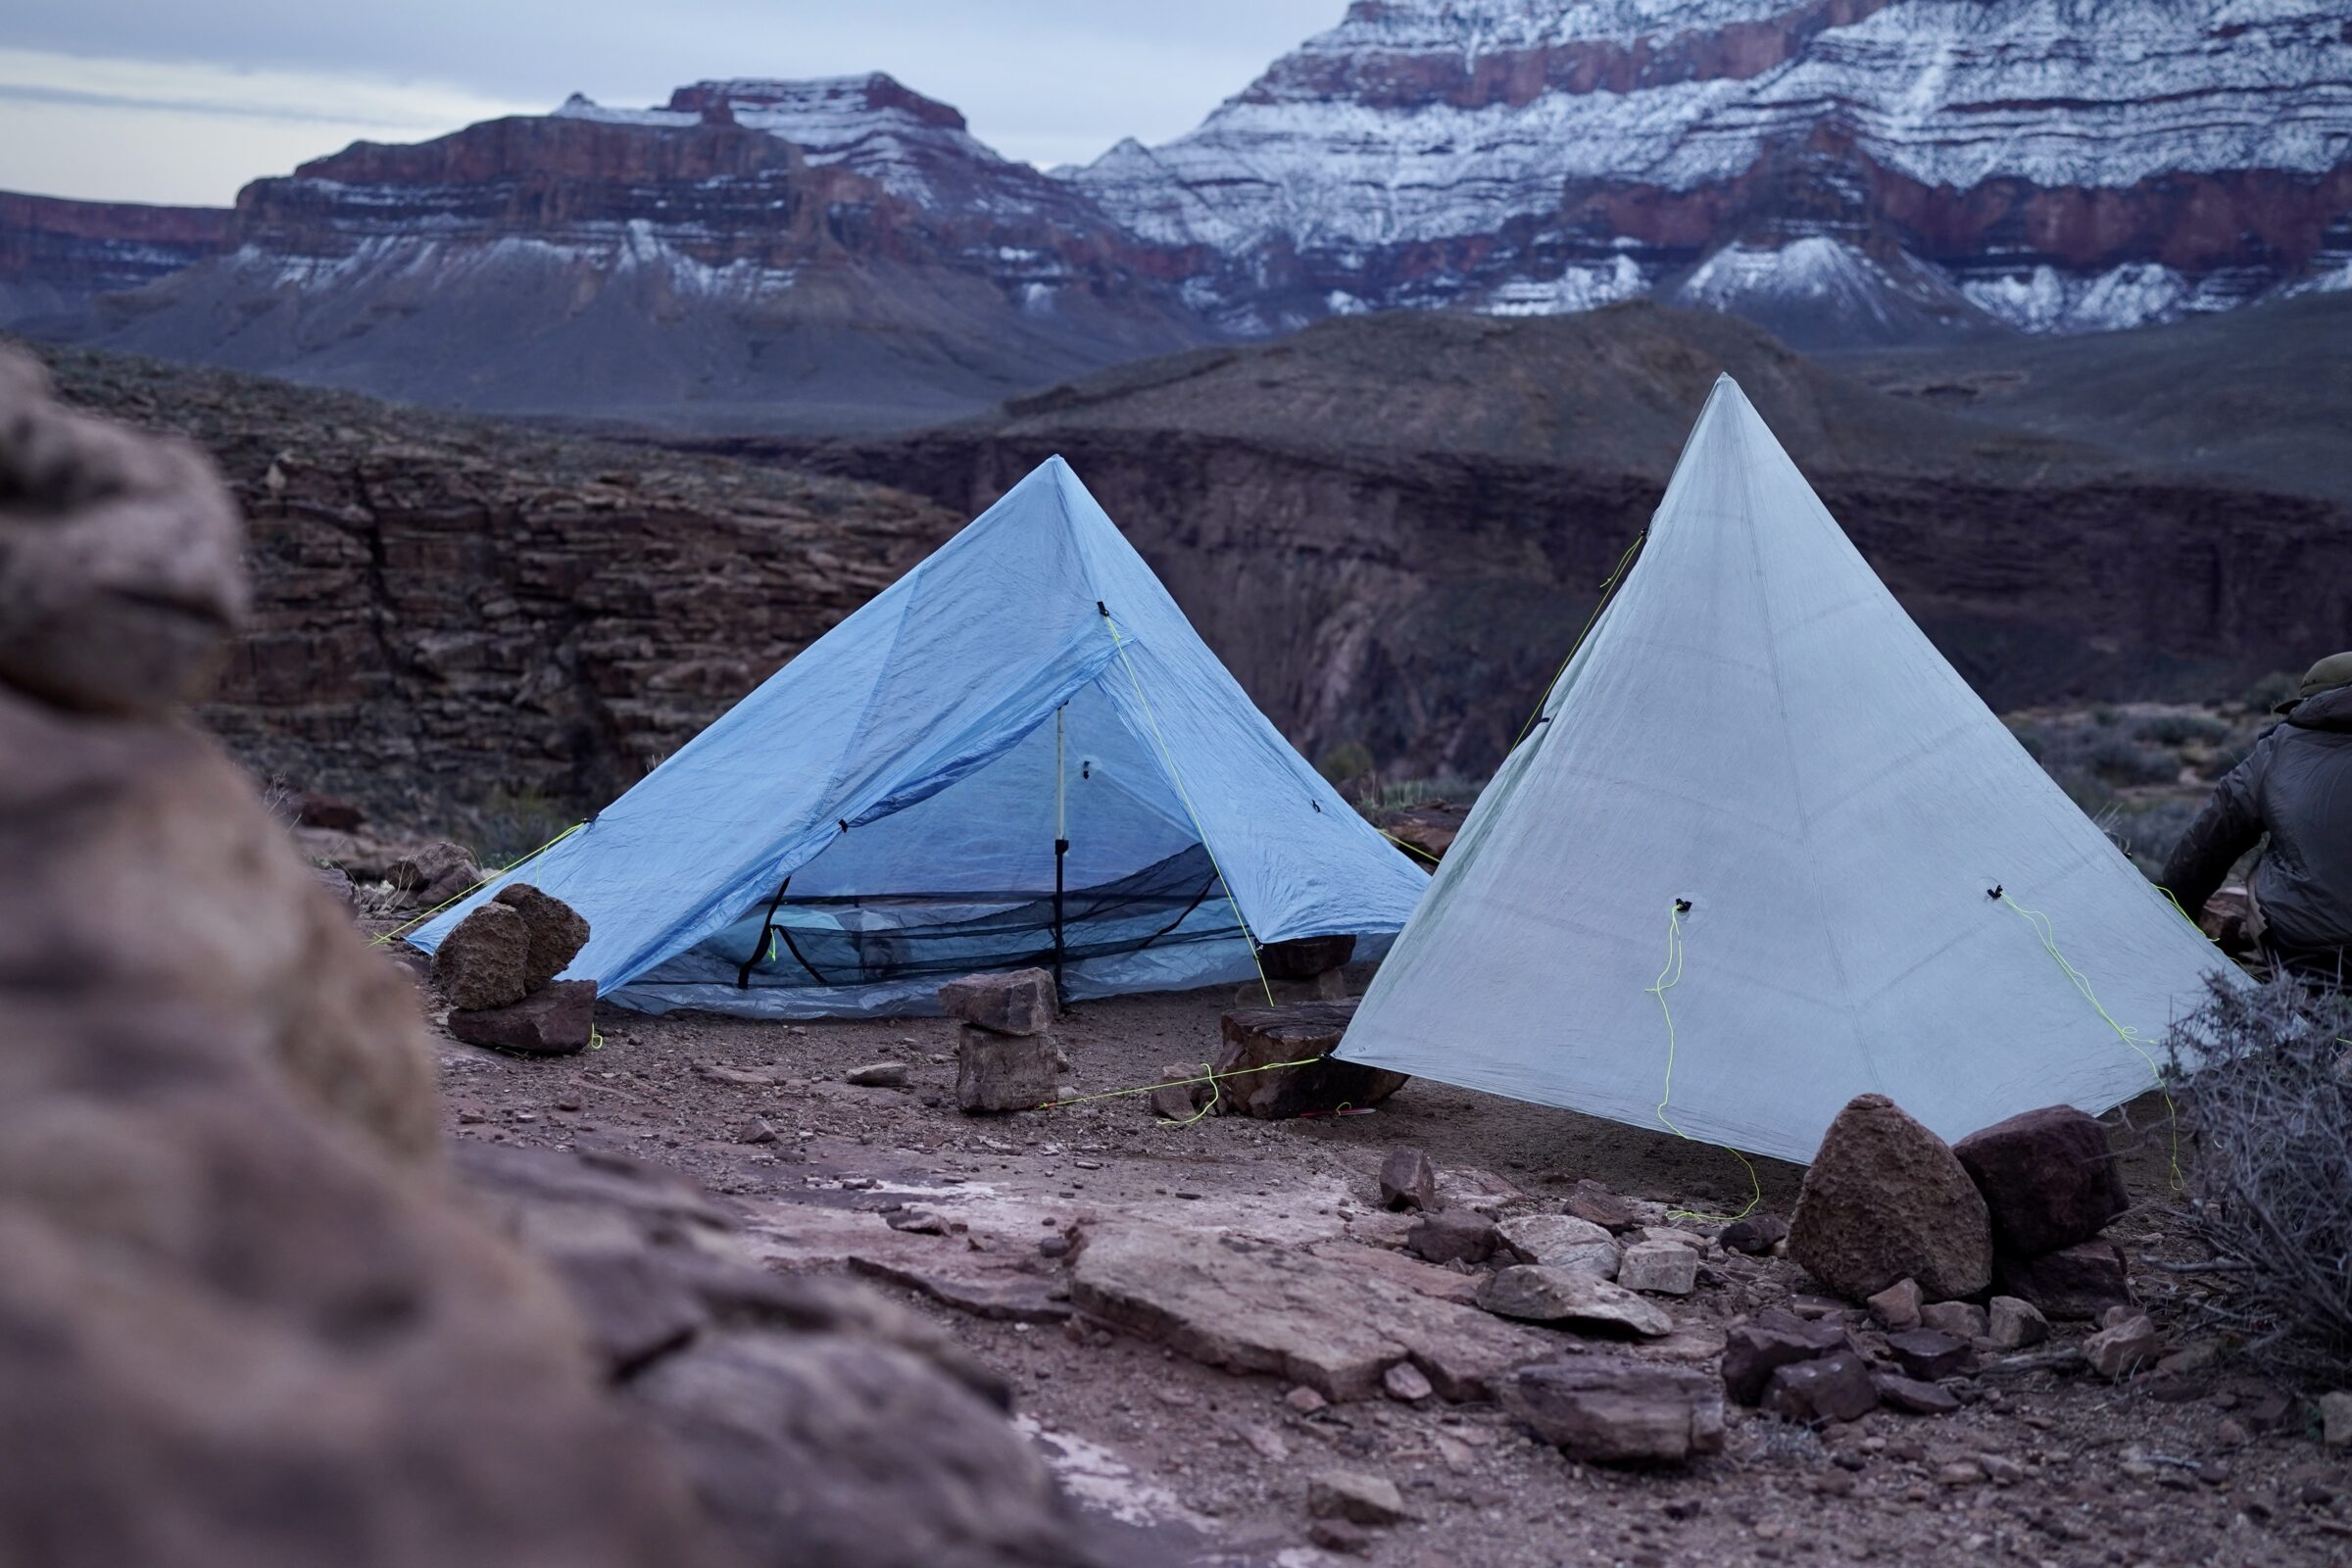
We’re frustratingly particular about the shelter we hunker down in each night on a long journey, and heavily scrutinize each candidate for this guide. Rest assured — only the most deserving, durable, functional tents earned any real estate on this roundup. We’ve scoured online ultralight forums, bugged our broad swath of thru-hiking connections, and attended various gear shows to narrow in on the streamlined selection of tents you see today.
We recognize that the ultralight tent market is organic and constantly evolving. We have therefore slotted this guide into an iterative update schedule and are constantly on the prowl, scoping out new models the moment they hit the market, and testing them to see if they deserve recognition.
Our Expert Testers
From dedicated ultralight weekend warriors to lightweight backcountry hunters and full-blown thru-hikers living in tents for months on end, the GearJunkie squad has spent countless nights cuddled up in ultralight shelters.
Author Chris Carter has paid his dues on hundreds of backpacking trips over just as many miles through all manner of conditions. Chris has thru-hiked the Triple Crown of long trails in the United States: the Pacific Crest Trail, the Continental Divide Trail, and the Appalachian Trail, and continues to backpack with an ultralight loadout all over the world.
Assisting in our ultralight tent testing is Senior Editor Nick Belcaster, a 2018 PCT thru hiker who has run his OG Zpacks Duplex into the ground and then some, with potentially more patches than original DCF at this point. His typical base weight hovers around 9 pounds, and he travels across the West testing everything from ultralight backpacks to hiking sandals.
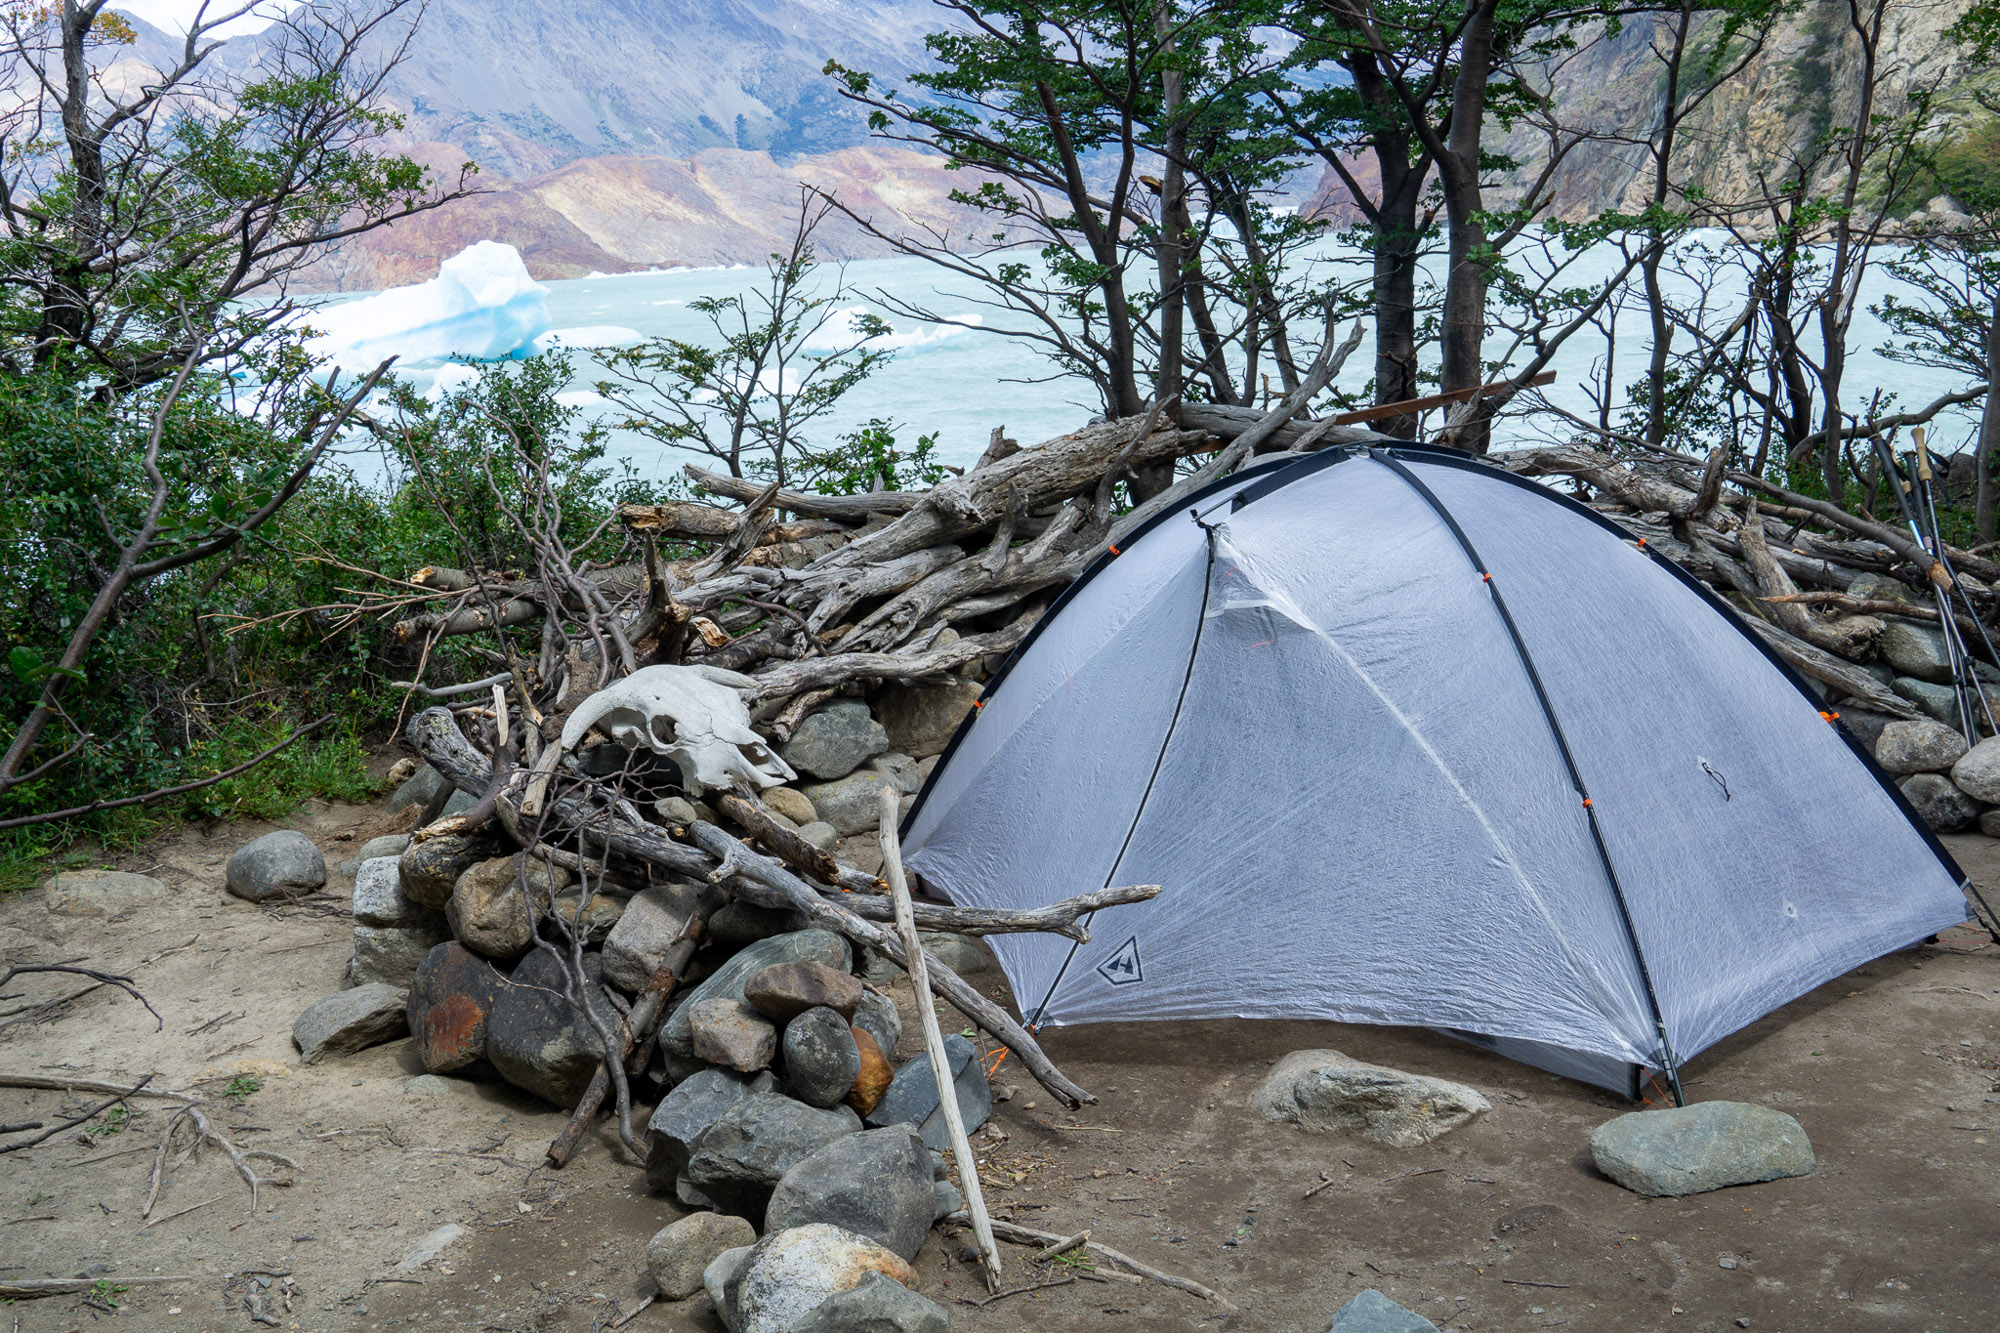
Our Testing Process and Testing Grounds
We’ve trekked to some of the most far-flung, remote corners of the globe, and weathered gale-force winds, snowy whiteouts, and perfect star-speckled nights in all sorts of featherlight tent designs. Along the way, we’ve learned the importance of a shelter for comfort and safety on any backcountry mission, and we won’t settle for anything but the best.
Our testing leans heavily on field experience, and much of it occurs on section hikes of the Pacific Crest and Appalachian Trails. Every ultralight tent we test is initially used without any instructions, giving us insight into the relative difficulty of setting it up. Then, we aim for the worst weather forecast we can find to test these shelters on their performance in harsh conditions.
Since this is ultralight equipment, we also rolled out the trusty kitchen scale to verify weights for ourselves, as well as compare compressed sizes when stuffed into the same compression sack, measure bathtub floor and peak heights, and even calculate the tent spaces needed for each set up. Combining these bench results from our field testing gives us the best possible understanding of these ultralight shelters, and when our recommendations come down to mere ounces, it all matters.
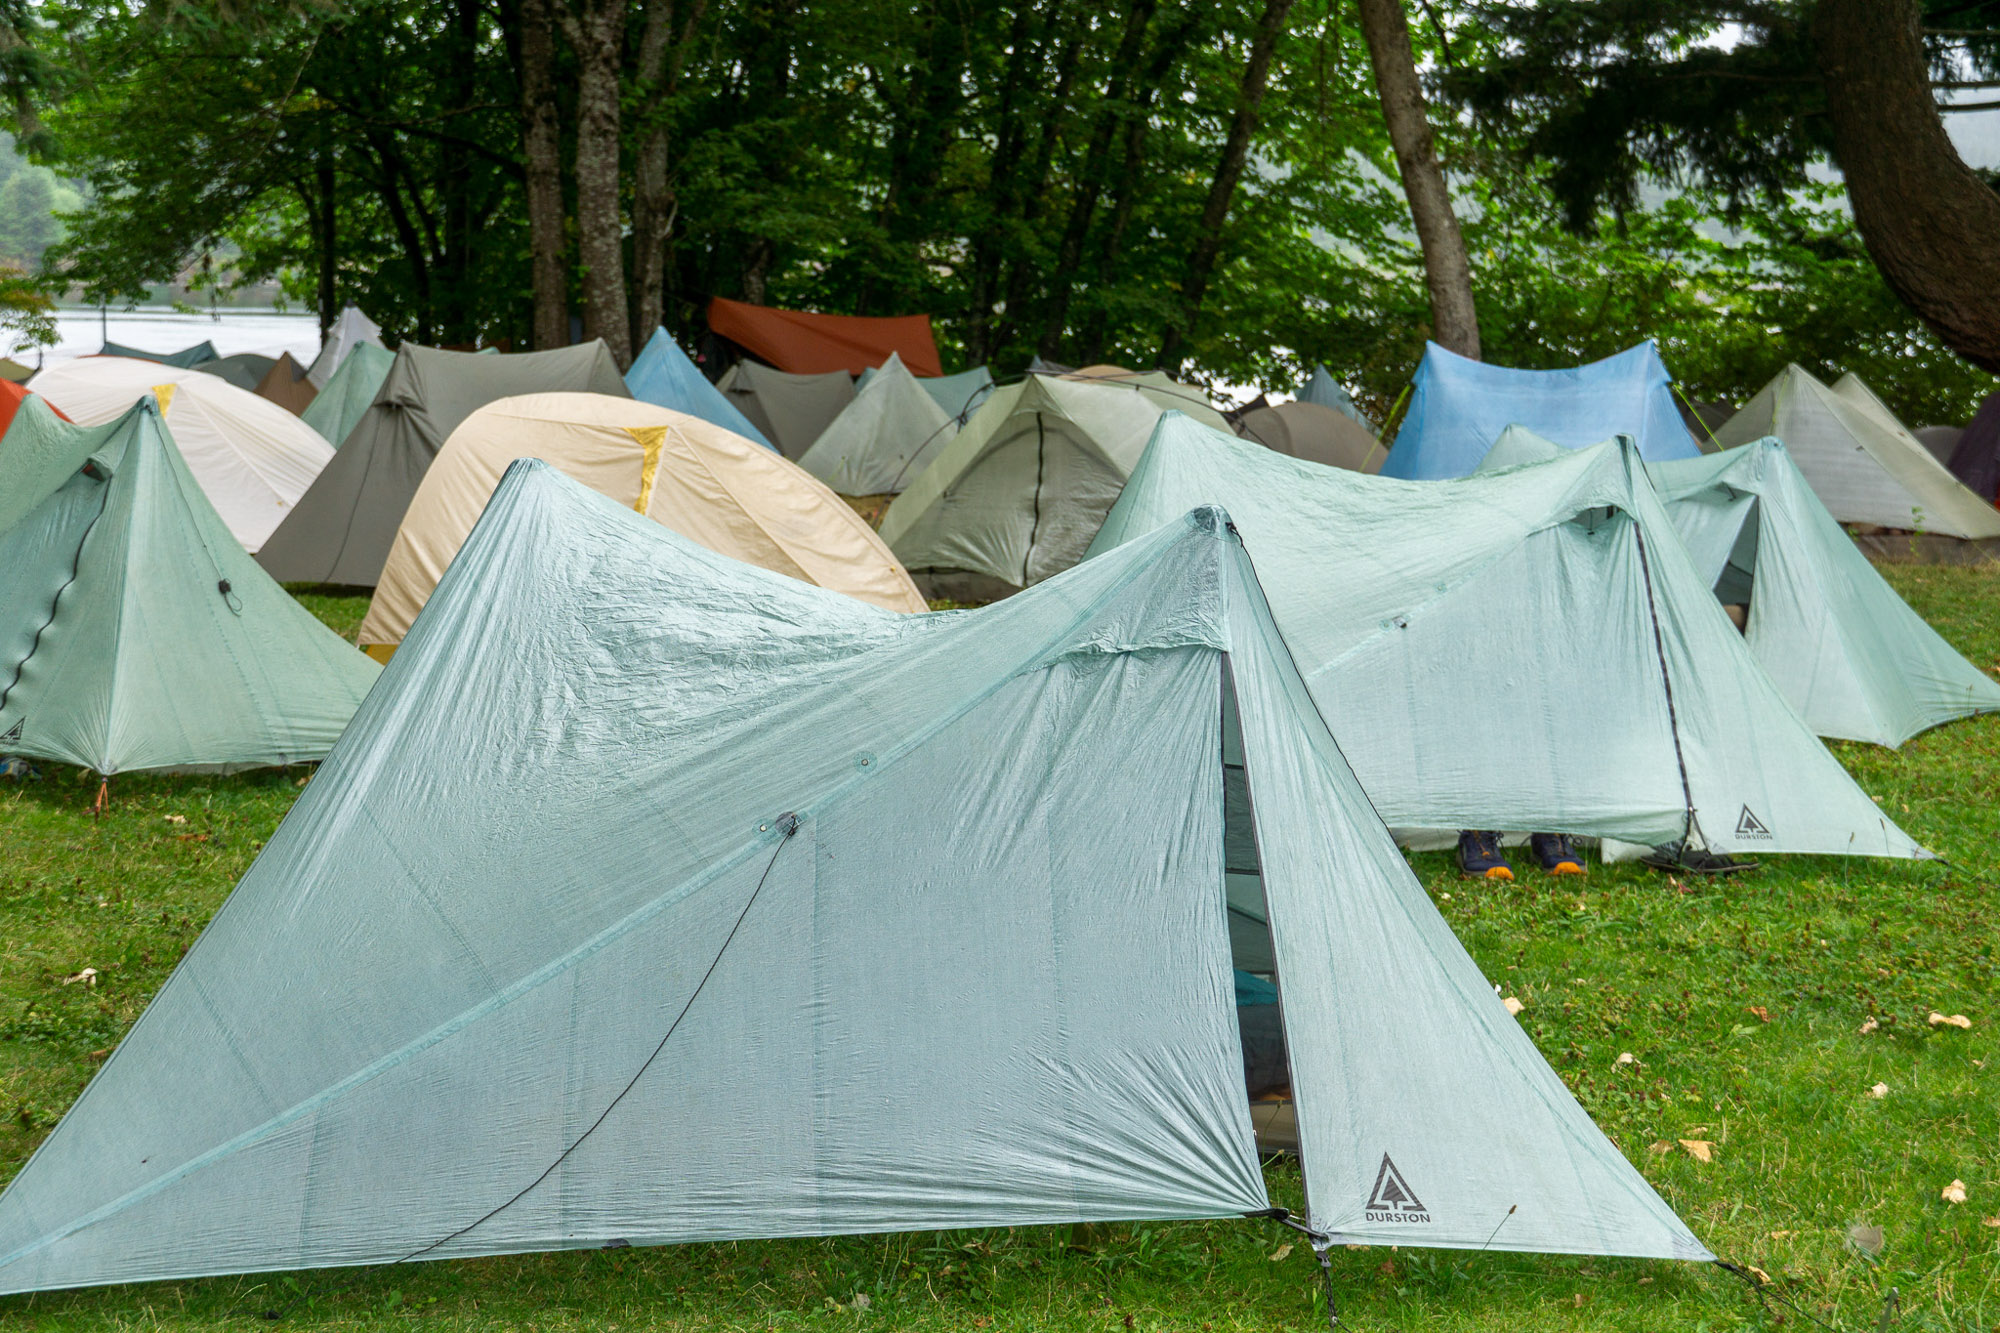
Our UL Tent Rating System
We’ve identified a few rating attributes to compare these UL tents on, aiming to better understand where they excel and where they’ve gone a bit too far in the ultralight quest.
Space & Comfort
When rating on space and comfort, we look for specific internal measurements such as peak height, floor dimensions, and distance from our sleeping bags to the walls. We consider the size of vestibules and the coverage they provide. Overall, we rate tents the highest when they can store all equipment in a covered area, or even better, in the tent with you.
Weight
Weight is a big deal in ultralight shelters, and we look for sub-1-pound weights for any DCF trekking-pole supported tents to award the highest ratings. Sub 2-pound weights for any freestanding UL shelter earn a good score. Some, like tarps, will score very high in the weight category, but suffer in the weather resistance rating due to low coverage.
Weather Resistance
After our in-field and bench testing, we’ve got a pretty good idea of weather resistance, and we look for protection against rain, wind, and blown sand to award the highest scores here. Freestanding tents will score higher compared to trekking pole shelters, with the trade off being weight.
Ease of Use
A UL shelter should be simple to set up, but not all of them are. We look for simple staking, footprints that are able to sneak into smaller tent sites, and designs that use fewer tension lines and are easier to balance while setting up. Freestanding tents typically rate the highest, followed by non-freestanding, and then tarp shelters.
Buyer’s Guide: How to Choose an Ultralight Tent
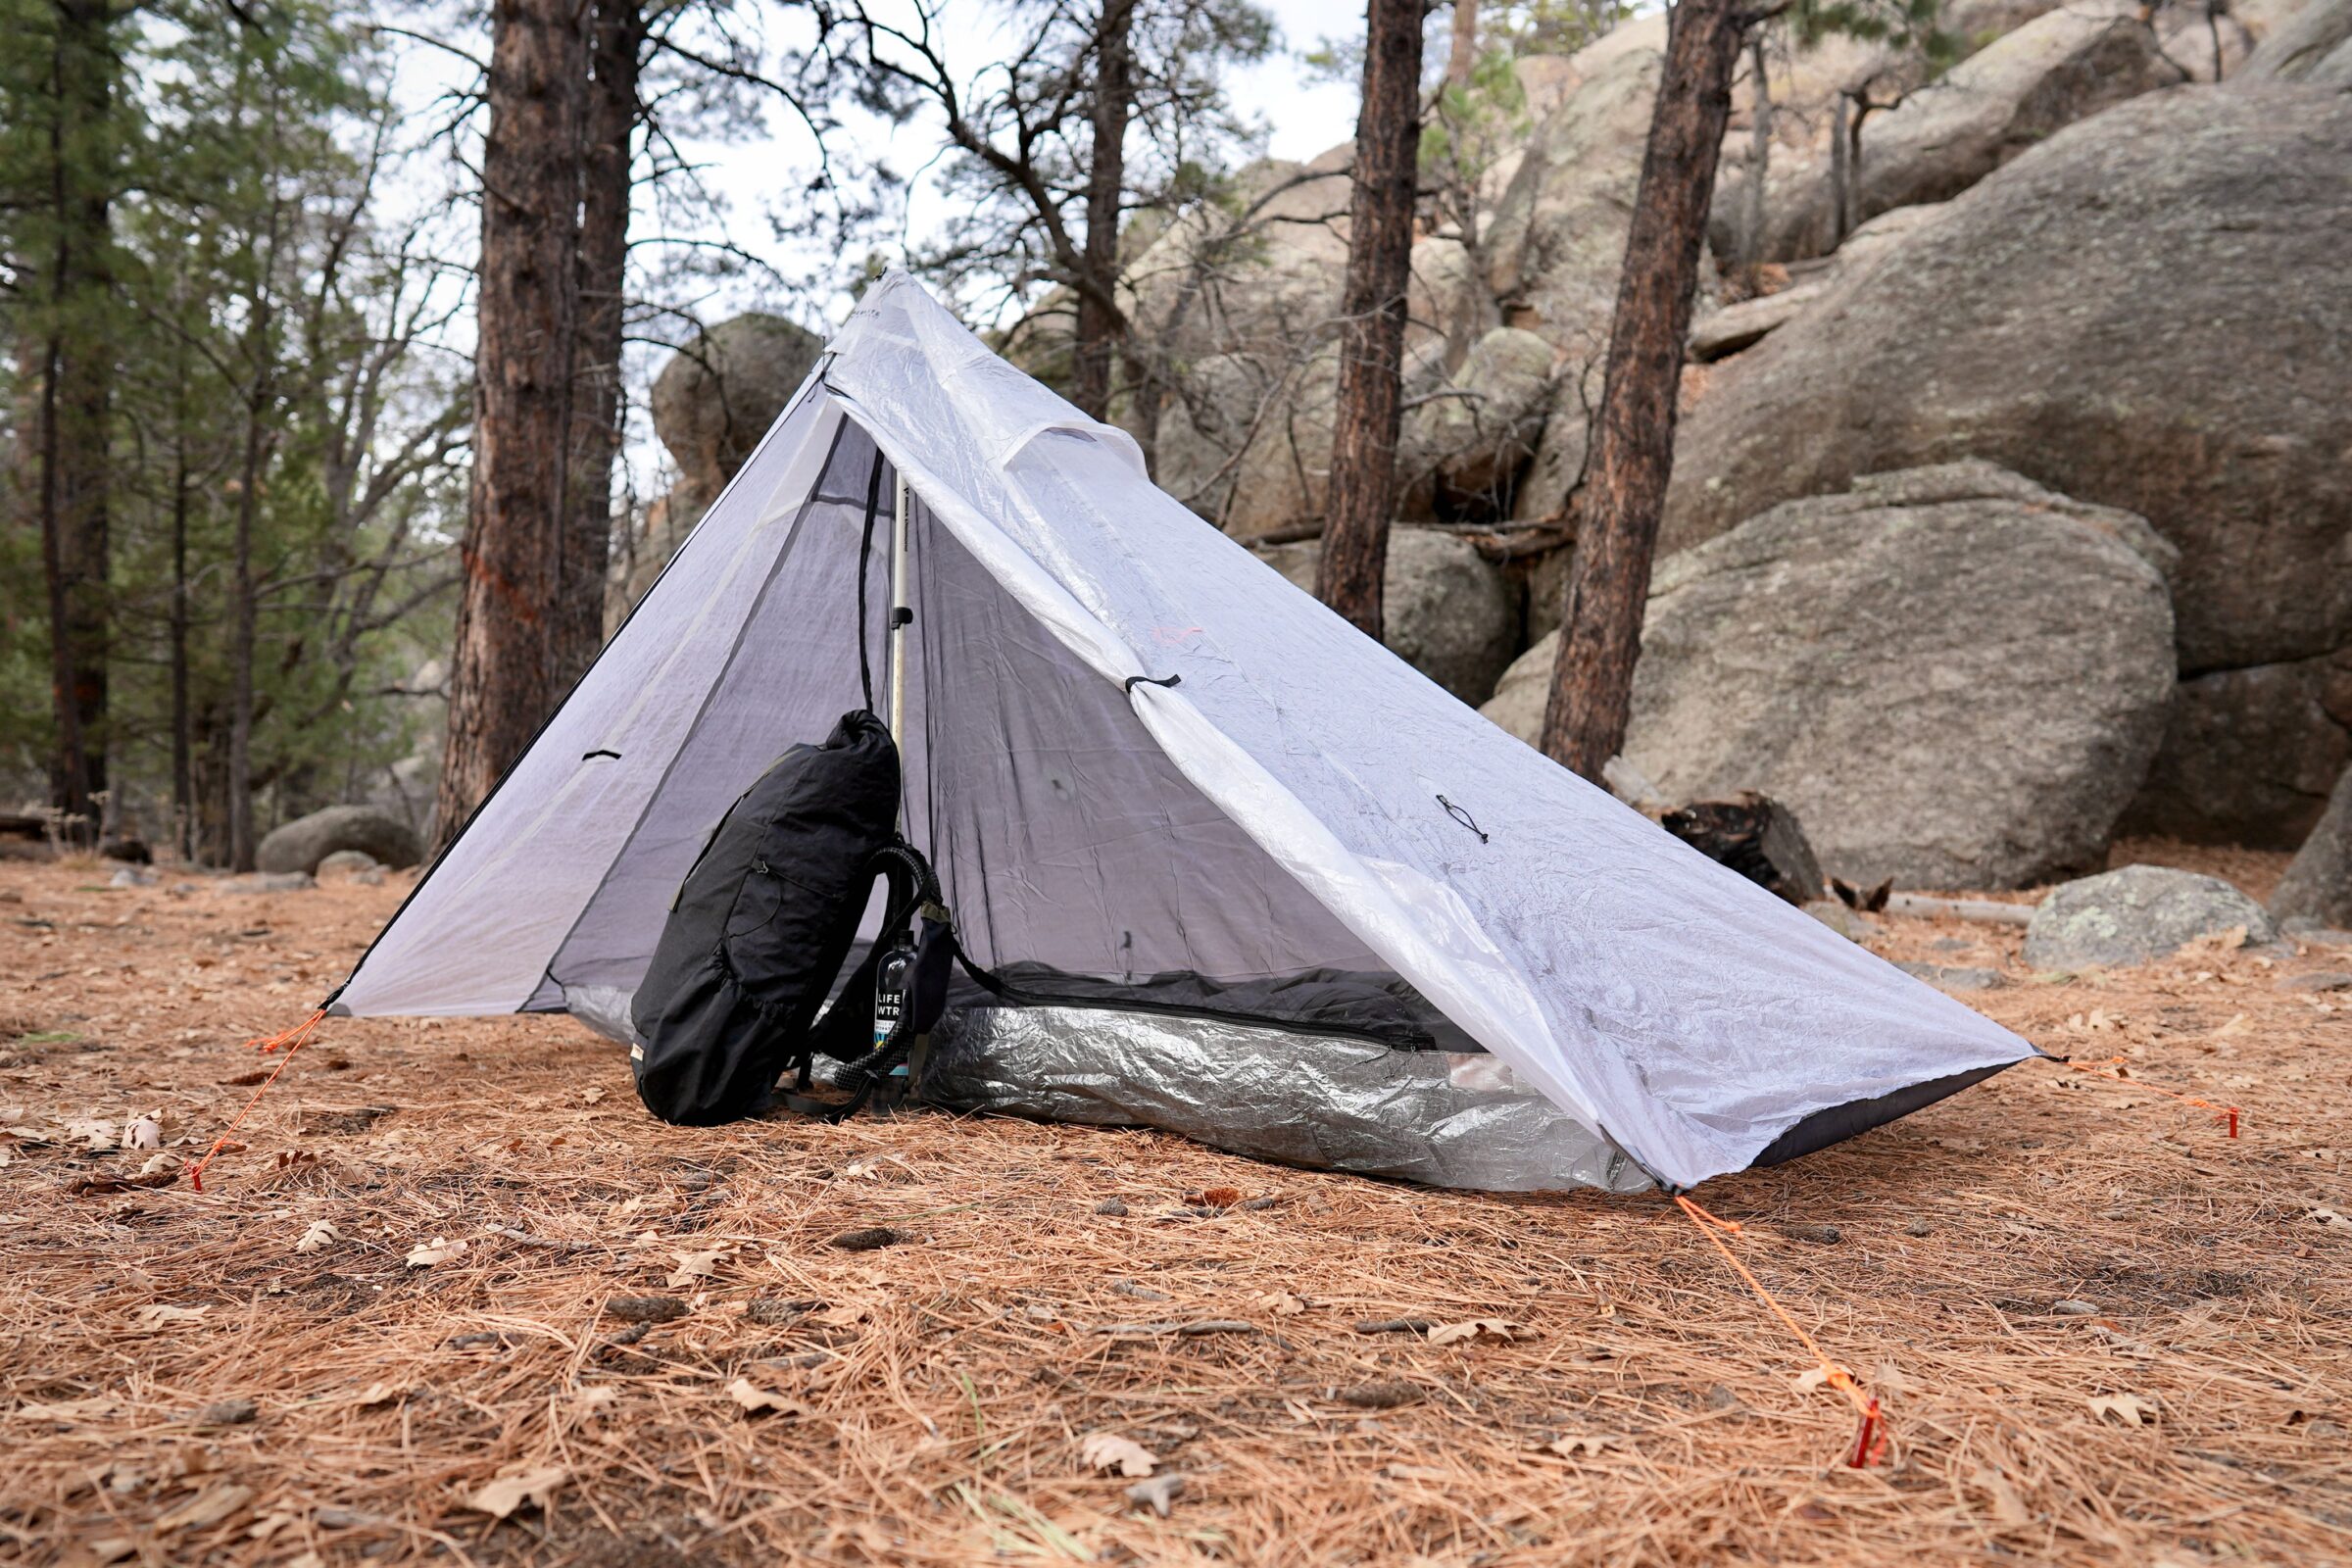
Ultralight tents allow you to truly narrow in on absurdly minuscule base weights, but still must hold up to the rigors of life on trail. Your shelter is your first line of defense against life-threatening elements, and you shouldn’t fudge on safety for the sake of weight savings. Above, we covered a broad range of ultralight tent designs, and it’s important to seriously consider your needs and personal comfort threshold before jumping to a decision.
Below, we’ve outlined some important considerations when choosing the perfect model for your needs. The best ultralight tents help gram-conscious adventurers trim back the weight of their load. The tradeoff? These designs require more user care and, for some models, more time to set up than beefier builds.
All things considered, these featherlight tents are a great option for long-distance trekkers, thru-hikers, and other seasoned outdoor travelers wanting to slim down the burden of their supplies.
It’s important to note that this guide focuses on niche mega-light tents, and that choosing the right tent for you is essential. For more casual backpacking trips that afford a bit more comfort, check out our comprehensive guide on regular backpacking tents. And, if you’re simply scoping out a camping tent for car camping adventures or base camp luxury, be sure to scroll through our guide on the best camping tents on the market.
Seasonality

Backpacking tents are typically built for three-season or four-season conditions. A three-season tent will suffice if you plan on using your tent across the spring, summer, and fall.
The infrastructure of a three-season tent can handle rain and light snow. Typically, these builds are not ideal for heavy snow, super-high winds, or vicious storms — like the harsh or blizzard conditions you might face while ski mountaineering. A four-season tent is a better choice for full-on winter, the weight of snow, and strong winds.
That said, ultralight shelters are designed with the demands of high-altitude stretches on long-distance trips like thru-hikes in mind. Our authors have weathered some seriously gnarly conditions in these flimsy shelters, including driving whiteouts in sub-zero temps.
Capacity & Doors
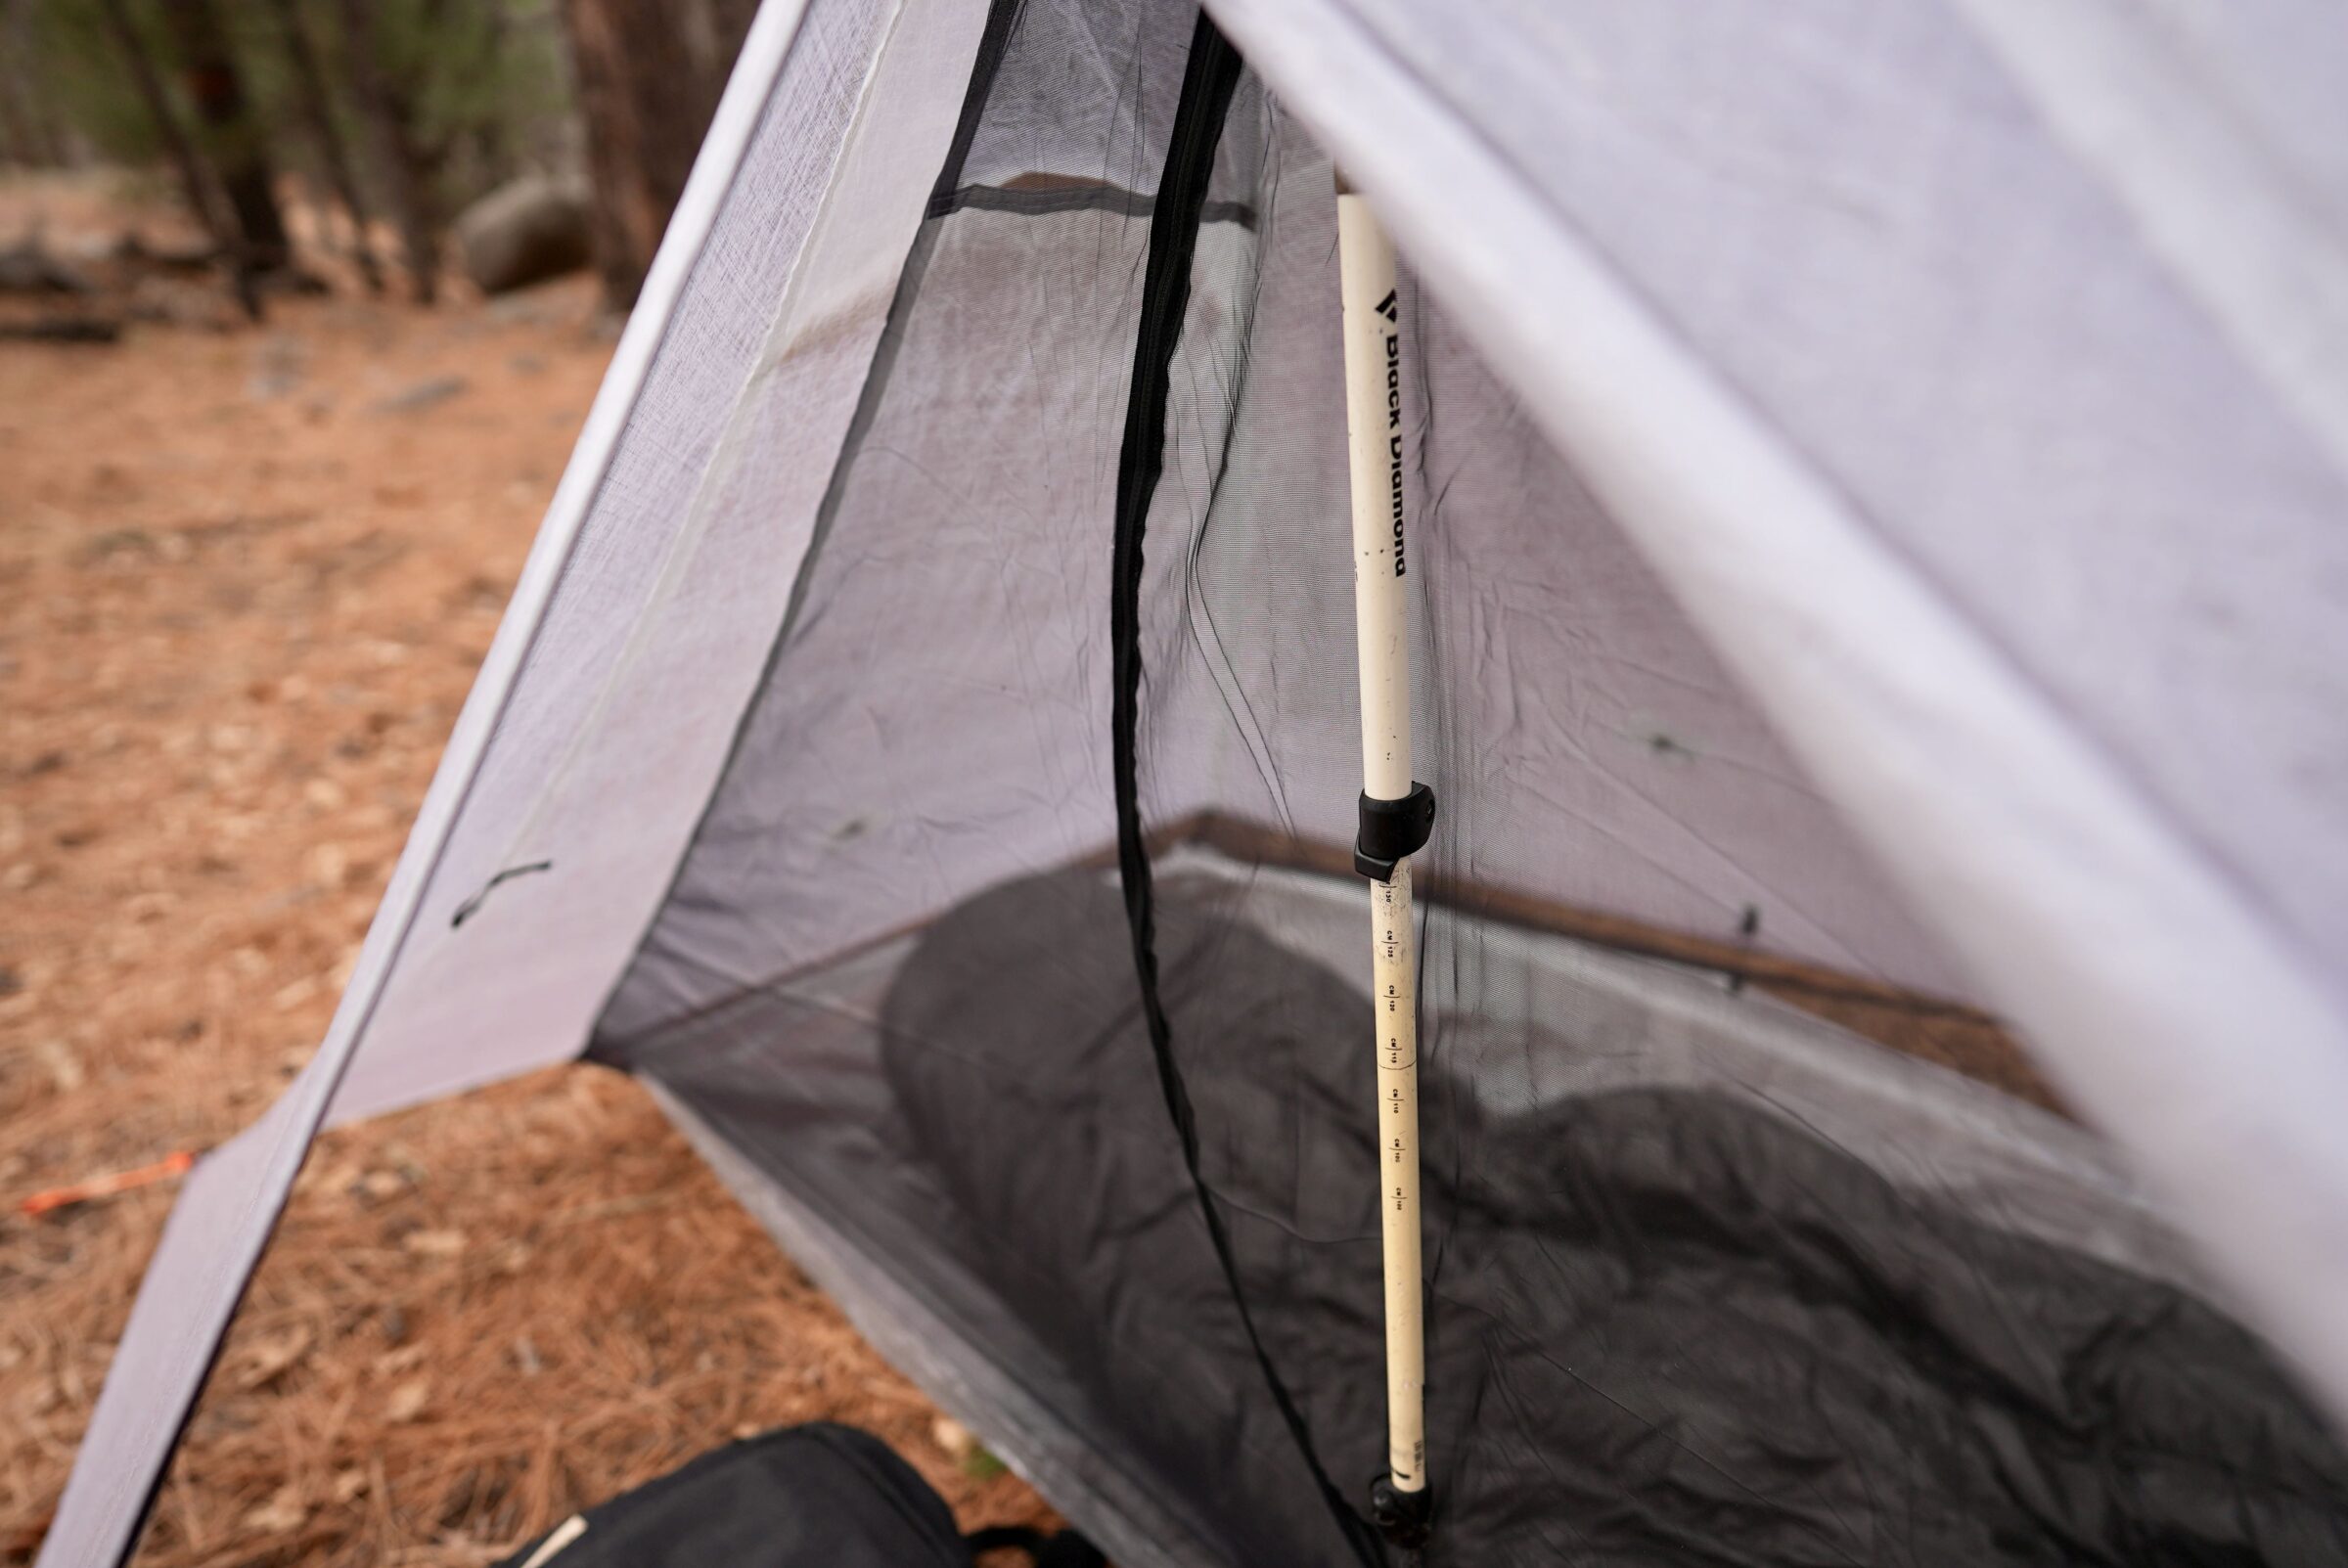
Folks aiming for ultralight tents usually invest in a one- or two-person design. Three- and four-person ultralight tents exist, too. For instance, the three-person Big Agnes Tiger Wall UL3 Solution Dye ($500) is 2 pounds, 10 ounces.
Your ideal tent size depends on the number of campers, their overall size, and how much equipment needs to be stored. Brands categorize their tents based on the number of people, but the dimensions — length, width, height, and vestibule size — vary from tent to tent.
The tent’s peak height, which is where the tent is the tallest, also differs between each model. Get out your tape measure as you research. It’s also a good idea to visit a local retailer where the tent can be set up for you to check out in person.
You’ll want to consider whether one or two doors are more functional for you. Two doors can be helpful for each sleeper to have their own exit and entry. But, eliminating a door can cut weight and cost.
Ultralight tents that require only a single trekking pole for construction have the biggest challenge when it comes to maximizing space. Manufacturers have employed some serious geometric wizardry with these designs to increase space in both the vestibule and the enclosed sleeping area without adding significant weight. HMG’s Mid 1 sports one of our favorite vestibule designs on a single trekking pole shelter, increasing its space by placing the stakeout point further away from the mesh insert on the vestibule itself.
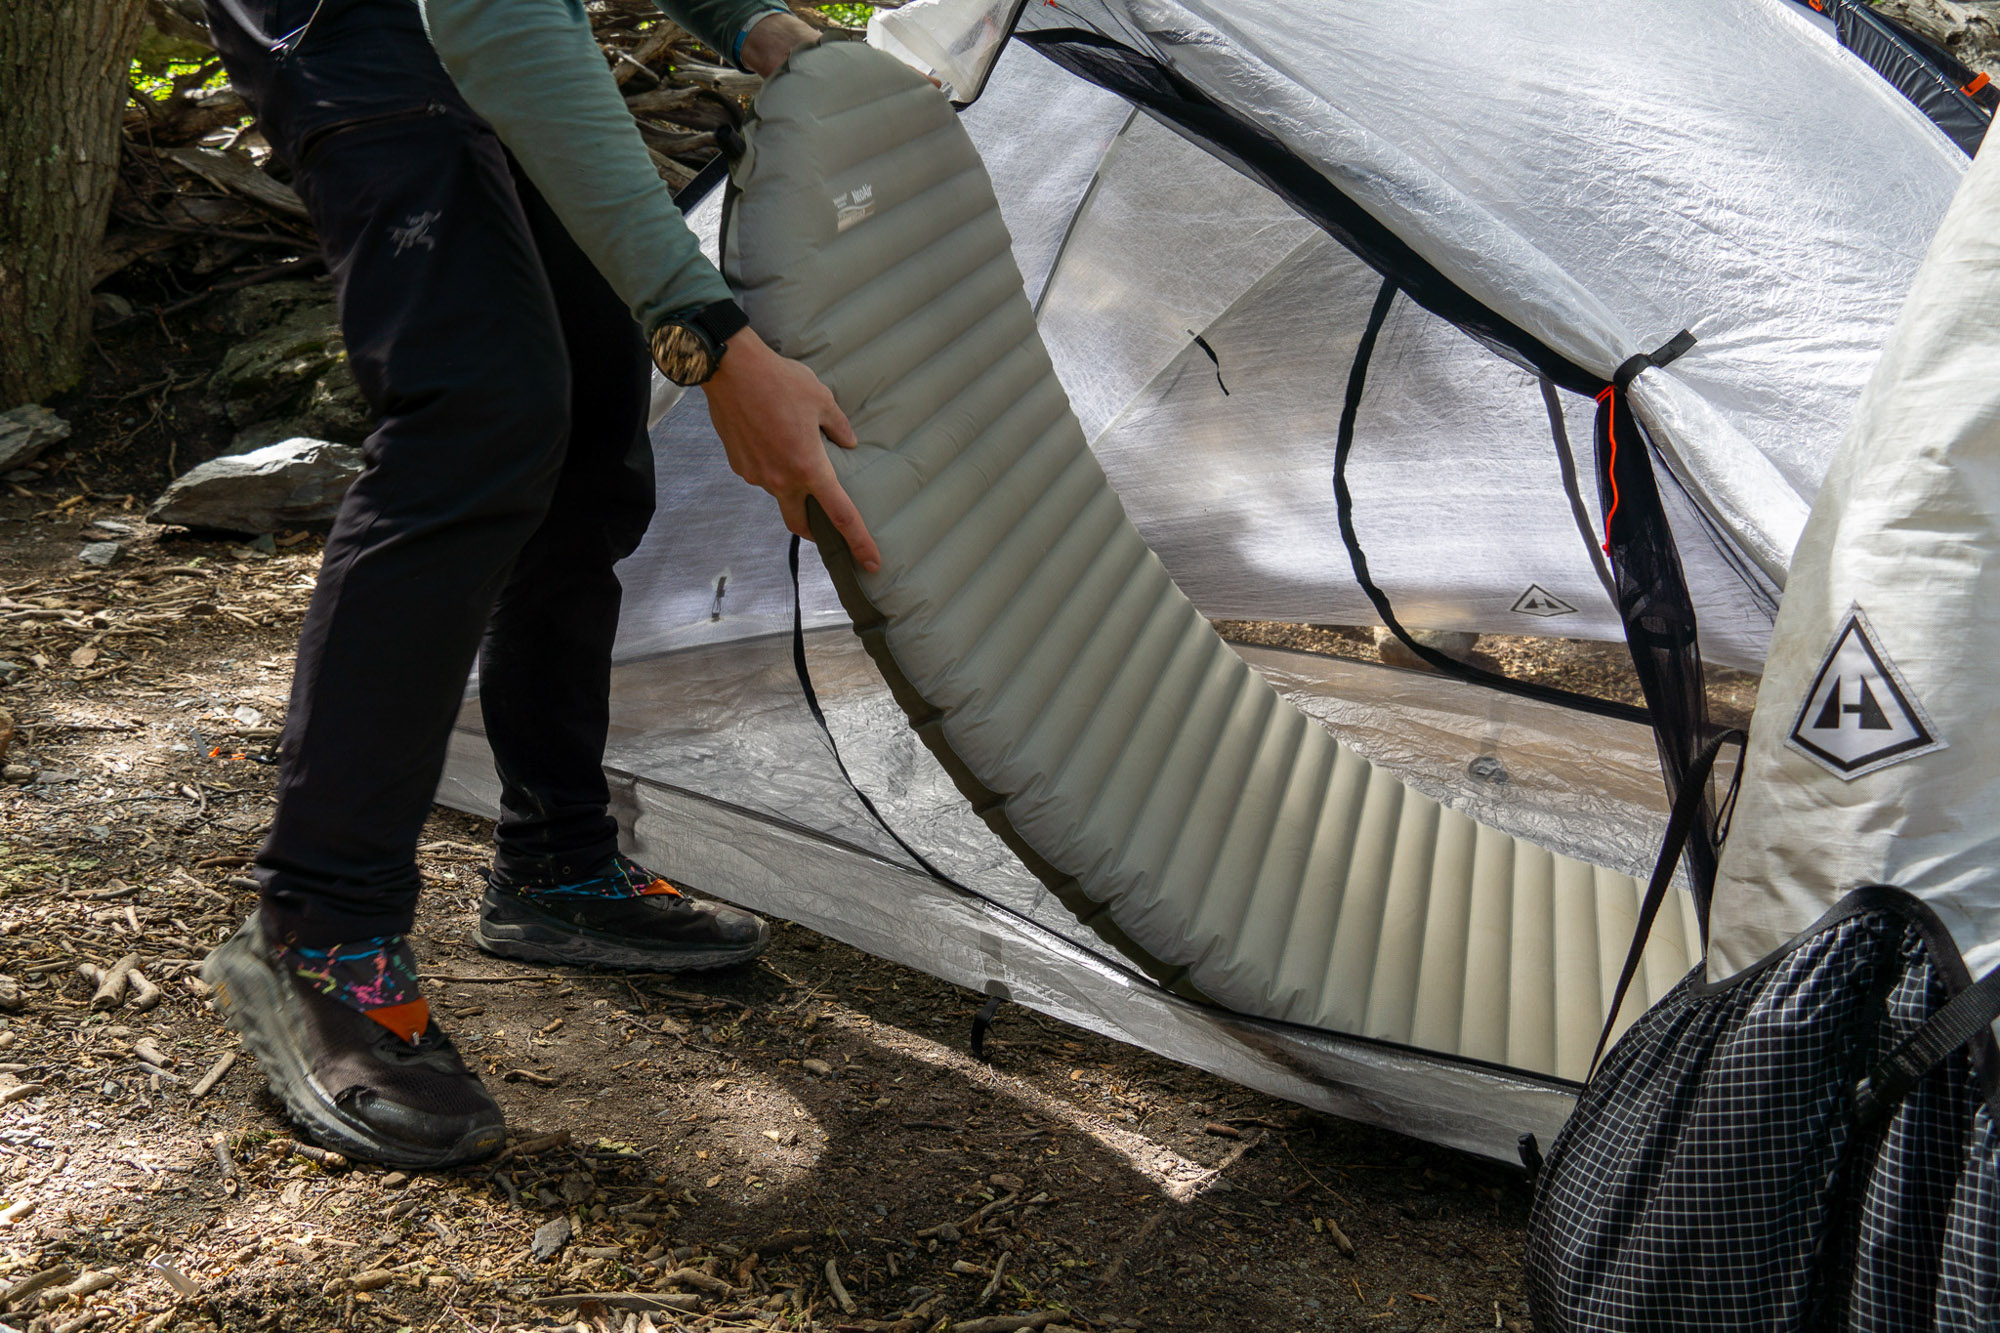
Whatever ultralight tent you decide to go with, make sure there is adequate room inside for your backpacking sleeping pad and sleeping bag of choice to comfortably deploy inside while leaving plenty of space for other gear. Taller, larger hikers need to keep this in mind if they tend to rock longer or wider pads and bags.
Single-Wall vs. Double-Wall
Tents are either single-wall or double-wall designs. Single-wall tents are lighter, nonbreathable, waterproof, and don’t include a rainfly. They typically don’t offer as much storage for gear but generally have some form of a vestibule.
A double-wall tent actually contains two items: a breathable tent paired with a waterproof rainfly. The setup usually offers vestibule space to stash equipment. Compared to a single-wall tent, the kit weighs more and requires more time to set up. Single-wall tents are less breathable and produce more condensation.
Materials & Footprints

Ultralight, strong materials — like Dyneema Composite Fabric (DCF) — cost more than heavier-set fabrics. For instance, the two-person Zpacks Duplex Lite weighs 14.9 ounces and costs $669. DCF has a phenomenal strength-to-weight ratio and is highly waterproof.
In contrast, the single-person Big Agnes Fly Creek HV UL ($370) is constructed with ripstop nylon and weighs nearly 33 ounces. Their volume isn’t apples to apples, but the lighter material certainly comes at a premium.
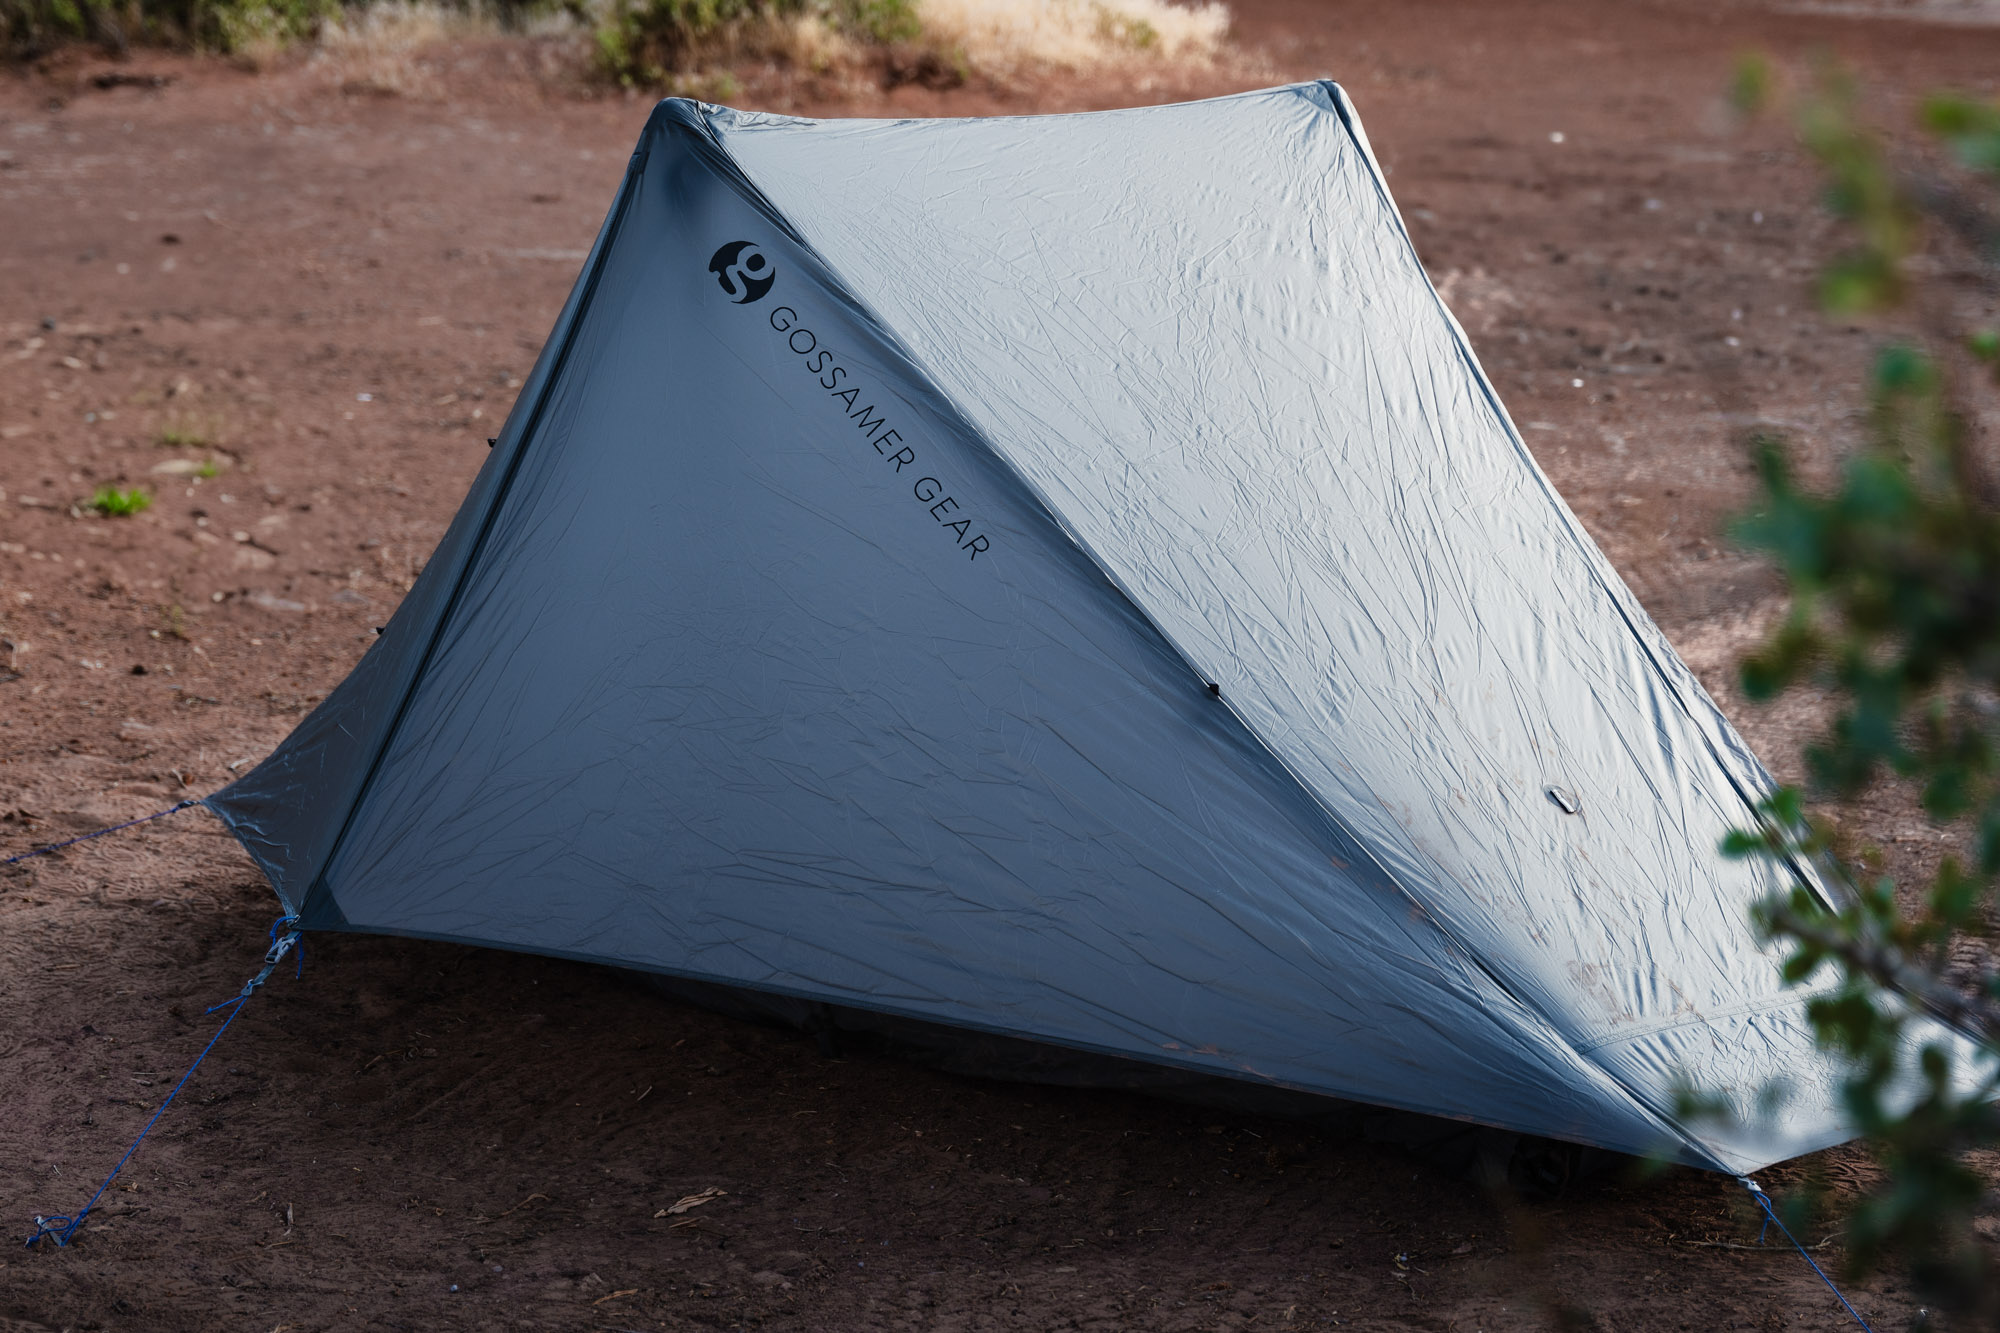
Gossamer Gear’s The One uses an interesting nylon ripstop SIL/PU fabric that sheds water well and crams down tiny, but stretches out at night after your initial setup — particularly in the rain. We’ll often have to adjust the guyline’s tension in tents like these soon after they are pitched. This fabric is not quite as premium as DCF, but it gets the job done and has a phenomenal pack size.
The material used in tent construction is either inherently waterproof or treated with a DWR (durable water-repellent) coating to block precipitation. If the fabric is treated, it’ll eventually need a refresh, depending on the conditions faced, user care, and volume of use. A separate footprint, or groundsheet, isn’t required for an enclosed single-wall tent.
Ultralight materials are pretty durable, but they tend to break down if they’re roughly handled. Investing in an ultralightweight bundle means the hiker should be mindful with gear care.
Minimalist Shelters
Minimalist shelters, like the Hexamid Pocket Tarp, are essentially rainflys that protect you from pouring elements — but not buzzing insects. The groundsheet is sold separately. Some designs have a zipper-free doorway that rolls up and can be clipped back. Campers can pair their superlight shelter with a personal bug net if the region is buggy.
To trim grams, some campers opt to leave behind the primary compartment of their double-wall tent kit. Instead, they solely use the footprint, poles, and rainfly.
Another option is a hammock tent: a hammock with a protective mesh enclosure and an optional rainfly, which is key if there are bothersome insects around like scorpions or ticks.
Weight and Packed Size
A dwelling’s ounces hinge on the materials — like the fabric and zippers — size, and whether poles, a rainfly, and footprint are included.
One of the lightest double-person tents on the market is the Zpacks Duplex Lite, which weighs 14.9 ounces. By comparison, the one-person ultralight Gossamer Gear The One weighs 20.6 ounces.
The Big Agnes Fly Creek HV UL 1 is 33 ounces. To really slim down cargo, a minimalist option like the Zpacks Hexamid Pocket Tarp with Doors is 5.2 ounces.
There are no hard rules about what defines an ultralightweight tent. Folks with a goal to decrease haul weight need to consider the cumulative ounces of their entire kit. Generally, lightweight tents range from 48 to 72 ounces. Ultralight configurations are less than 48 ounces.
You’ll need to select a feathery tent that still delivers the features that you need — like built-in insect protection or not. Be forewarned, the lighter a tent is, the more complicated the setup is and the less headroom there is.
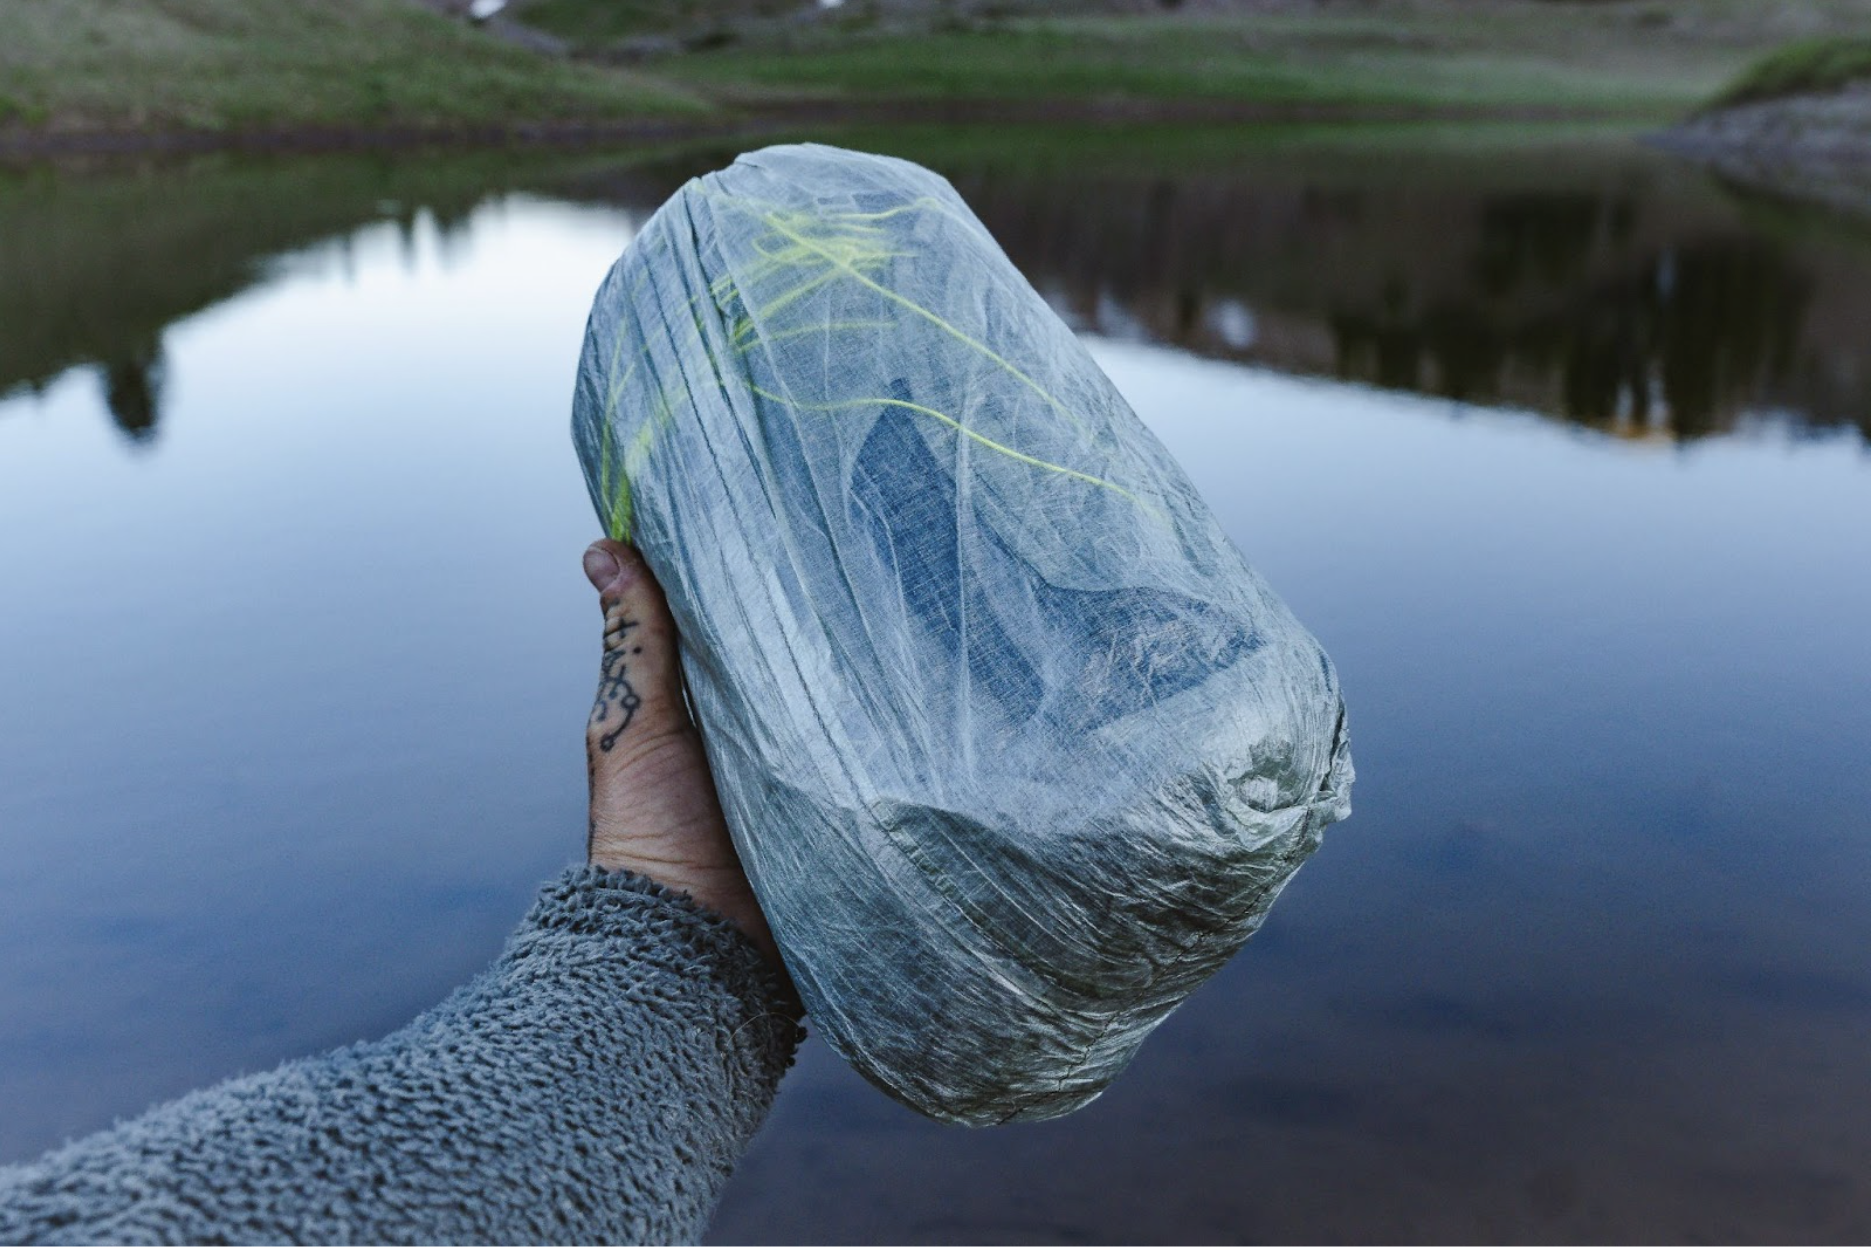
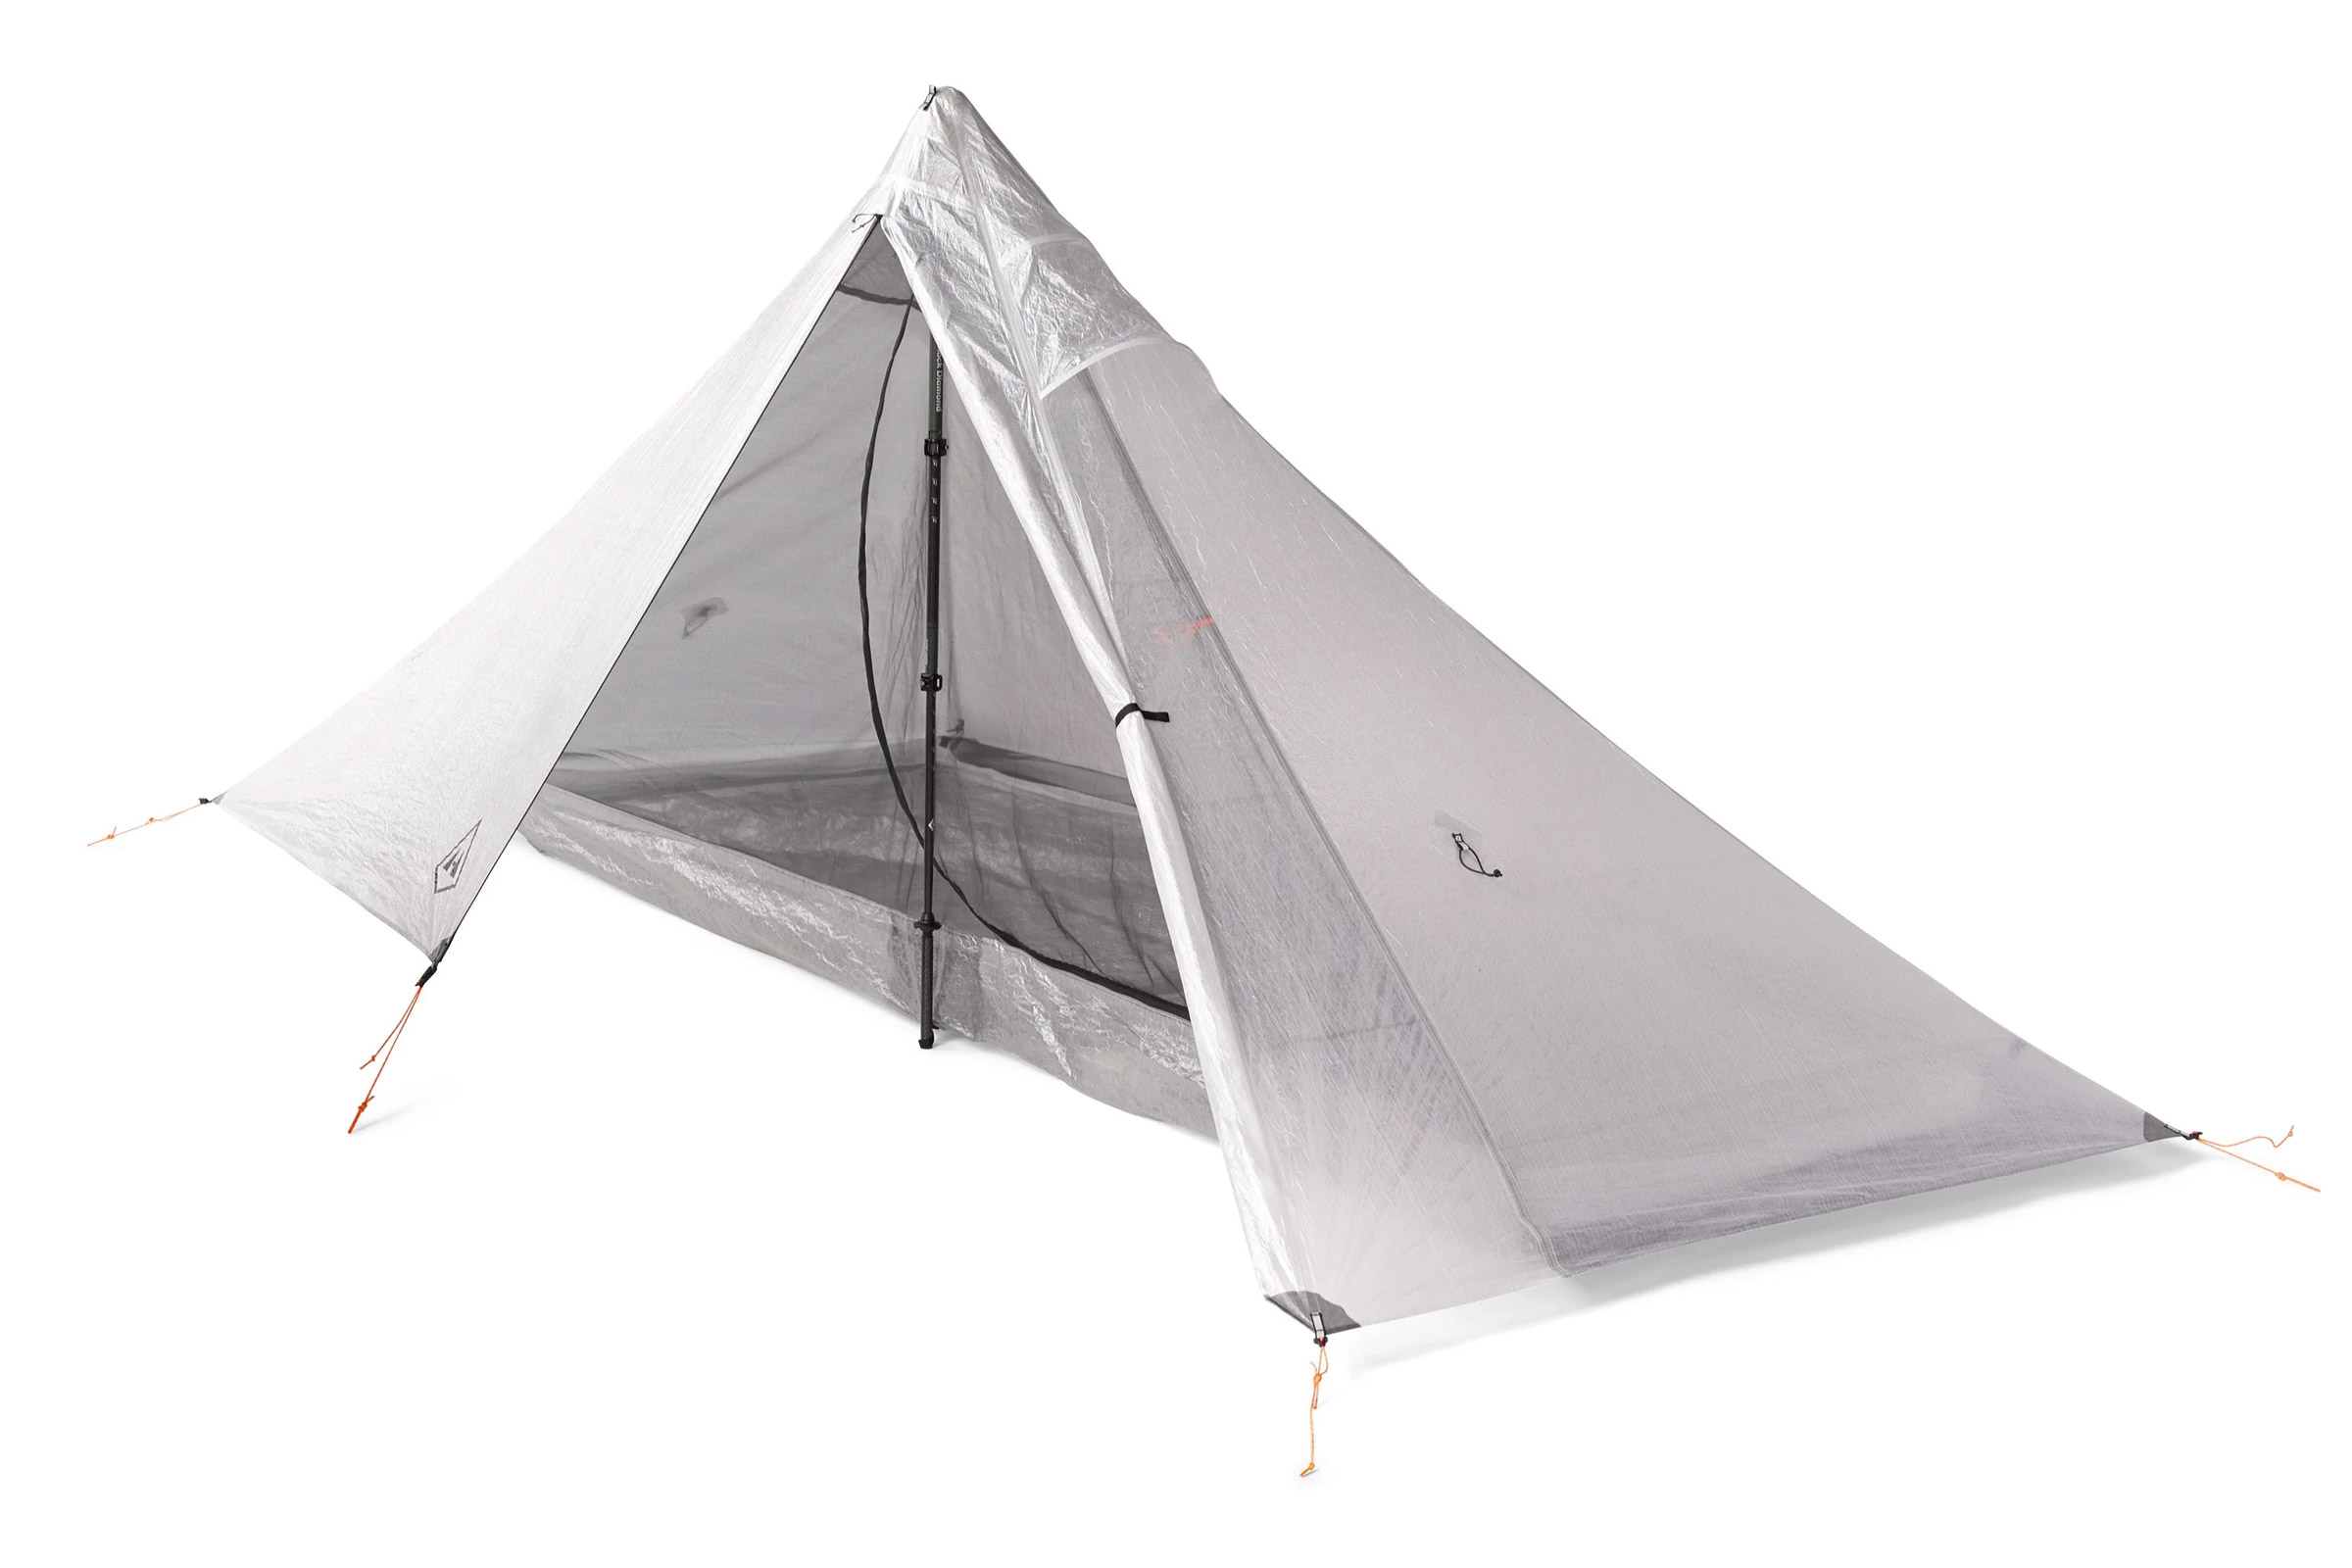
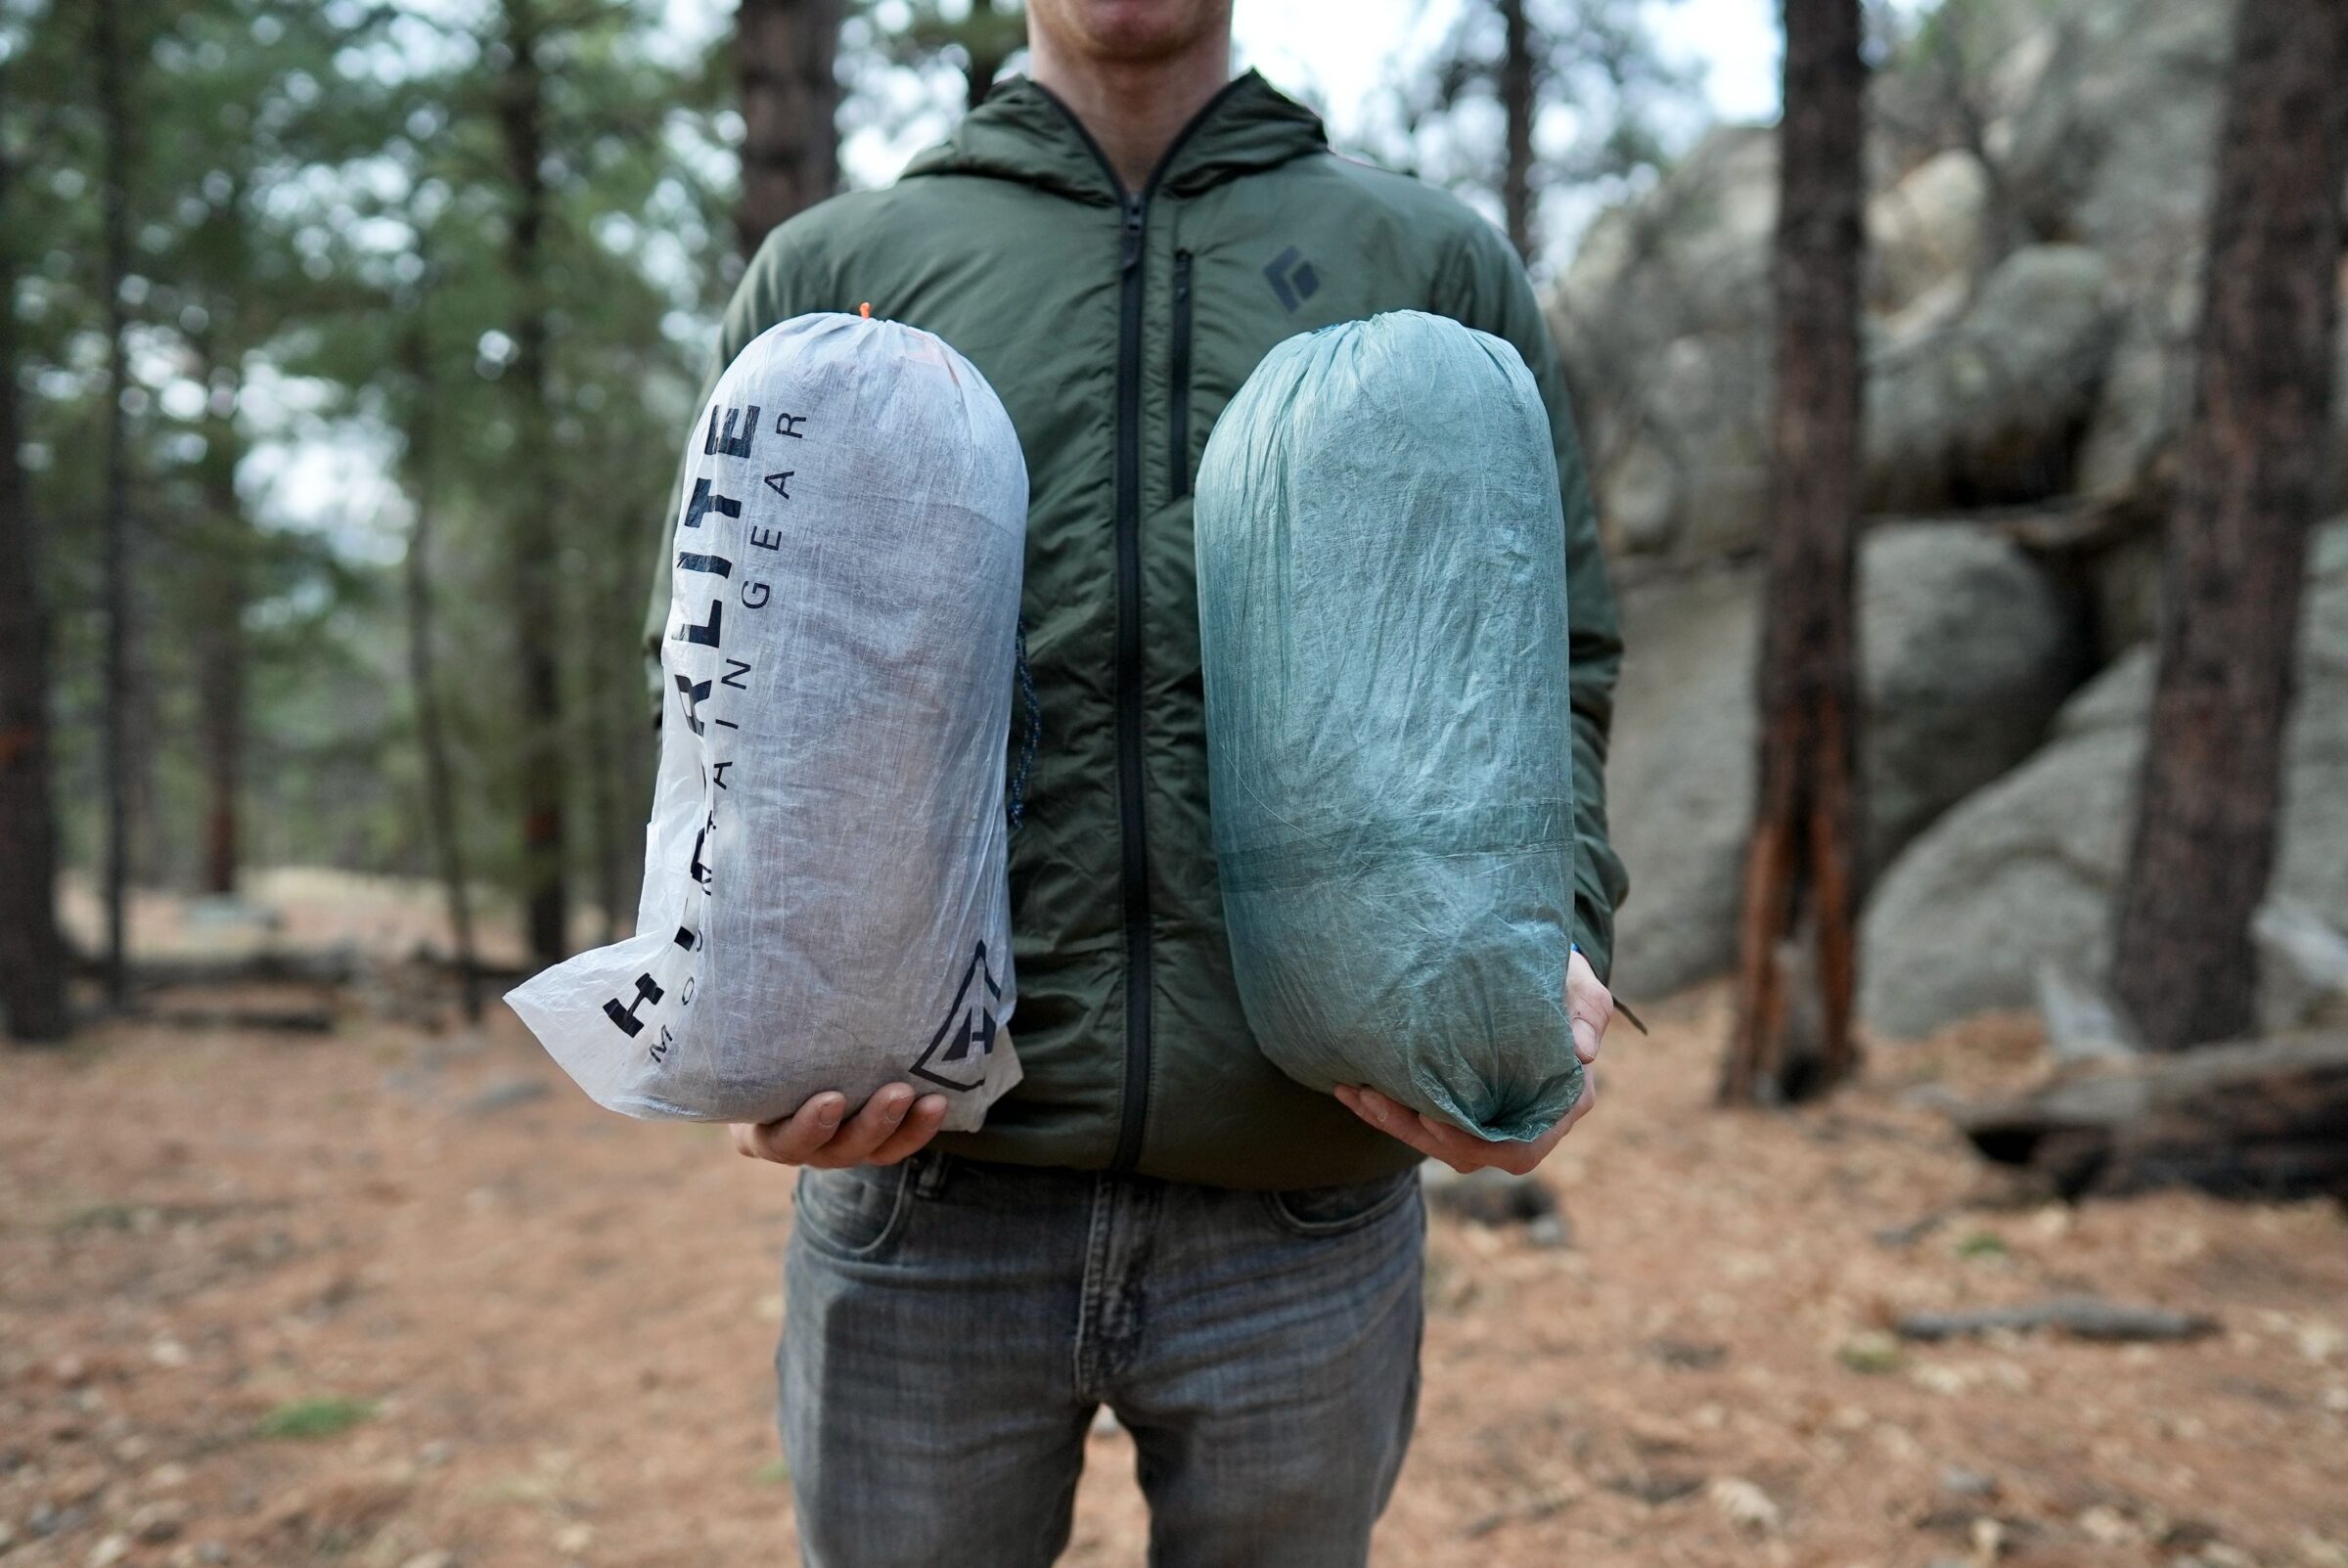
The packed size of a tent doesn’t correlate with its weight as much as it does with the materials used. Fabrics like nylon ripstop SIL/PU used in GG’s The One tend to squeeze down to a smaller packed weight than tents made of DCF (like HMG’s Mid 1) in the above photo, though the DCF models may boast a lighter weight.
Make sure that the packed size of your UL tent fits comfortably with the rest of your loadout in your ultralight backpack. Many packs that accompany these ultralight kits fall in the 35-45L range, and every element’s volume needs to be considered.
Pitching Ultralight Tents
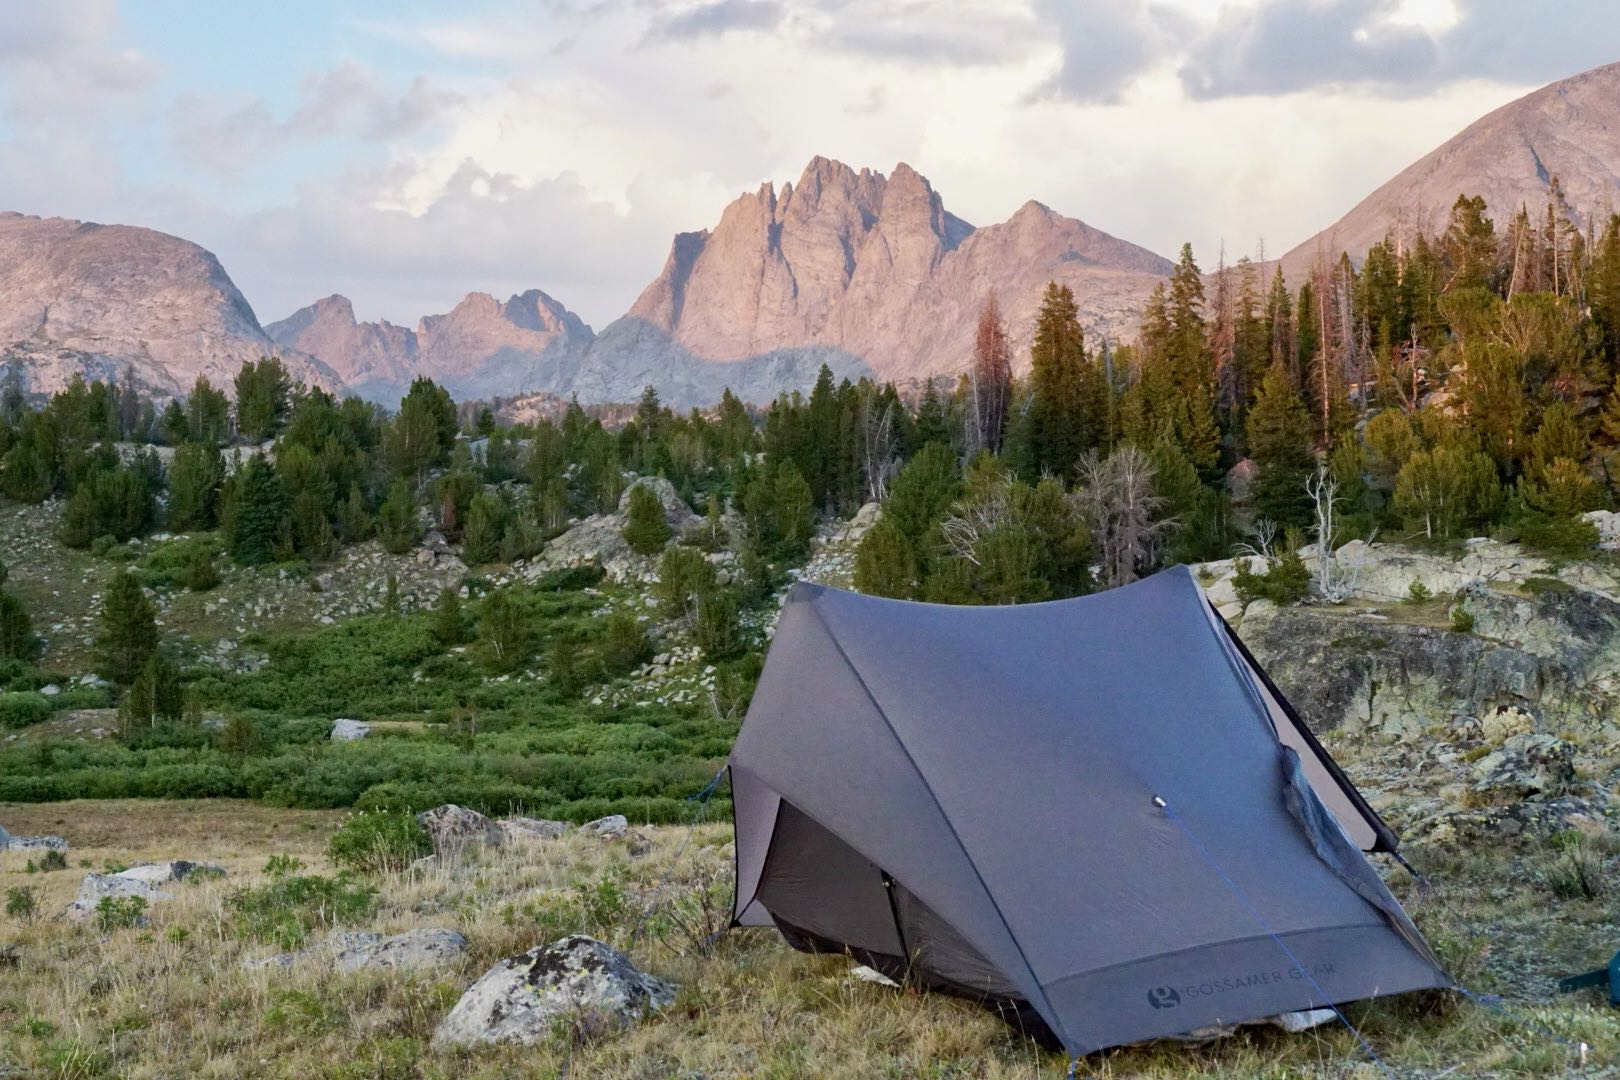
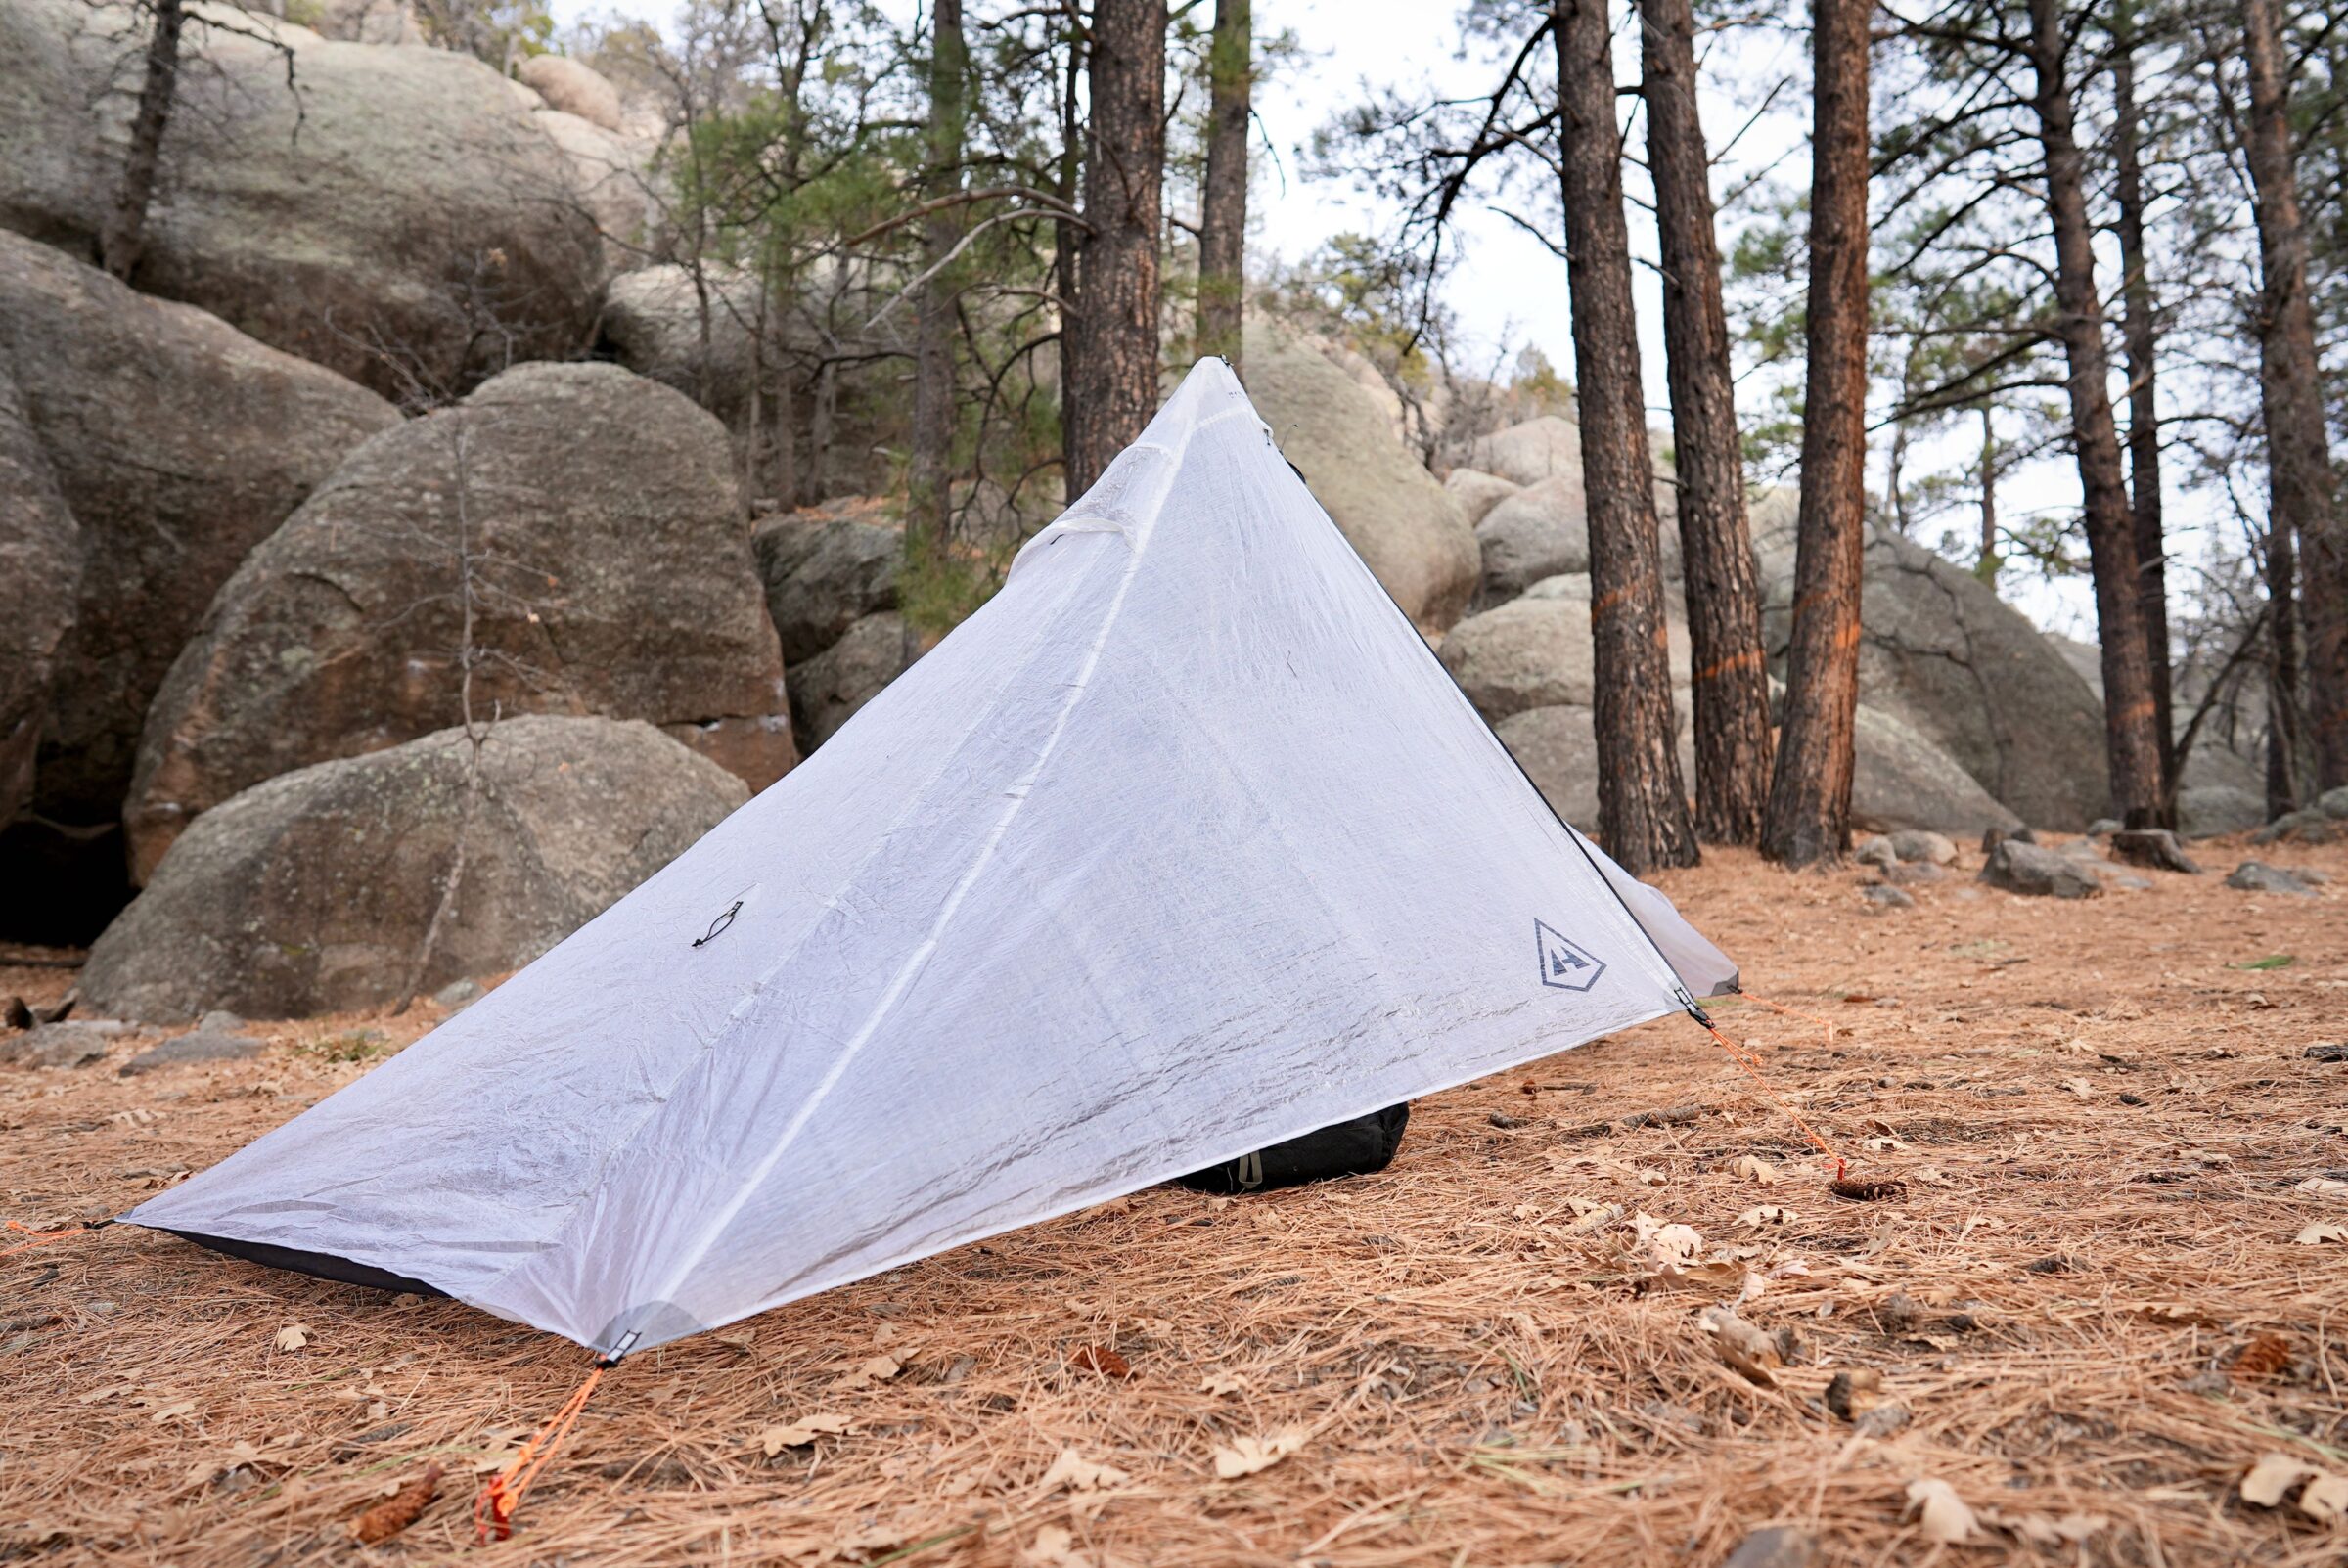
The lightest tents and shelters are non-freestanding, meaning they don’t include tent poles to be hoisted up. Instead, one or two trekking poles plus stakes are used to elevate the tent. The tent is held upright by tensioning the tent fabric between the trekking poles and stakes firmly planted in the ground.
Some light designs, like the Big Agnes Fly Creek UV UL 1, are freestanding and fast to pick up and adjust location — they just weigh a bit more. Most of the designs we tested for this guide use trekking poles as the backbone of their structure.
Compared to a freestanding tent, this type of skeleton takes more time to assemble, because the ground needs to offset the stake just right — especially if it’s windy or rainy out. This can be difficult, particularly in the alpine where it may be too rocky to drive stakes in at the perfect locations.
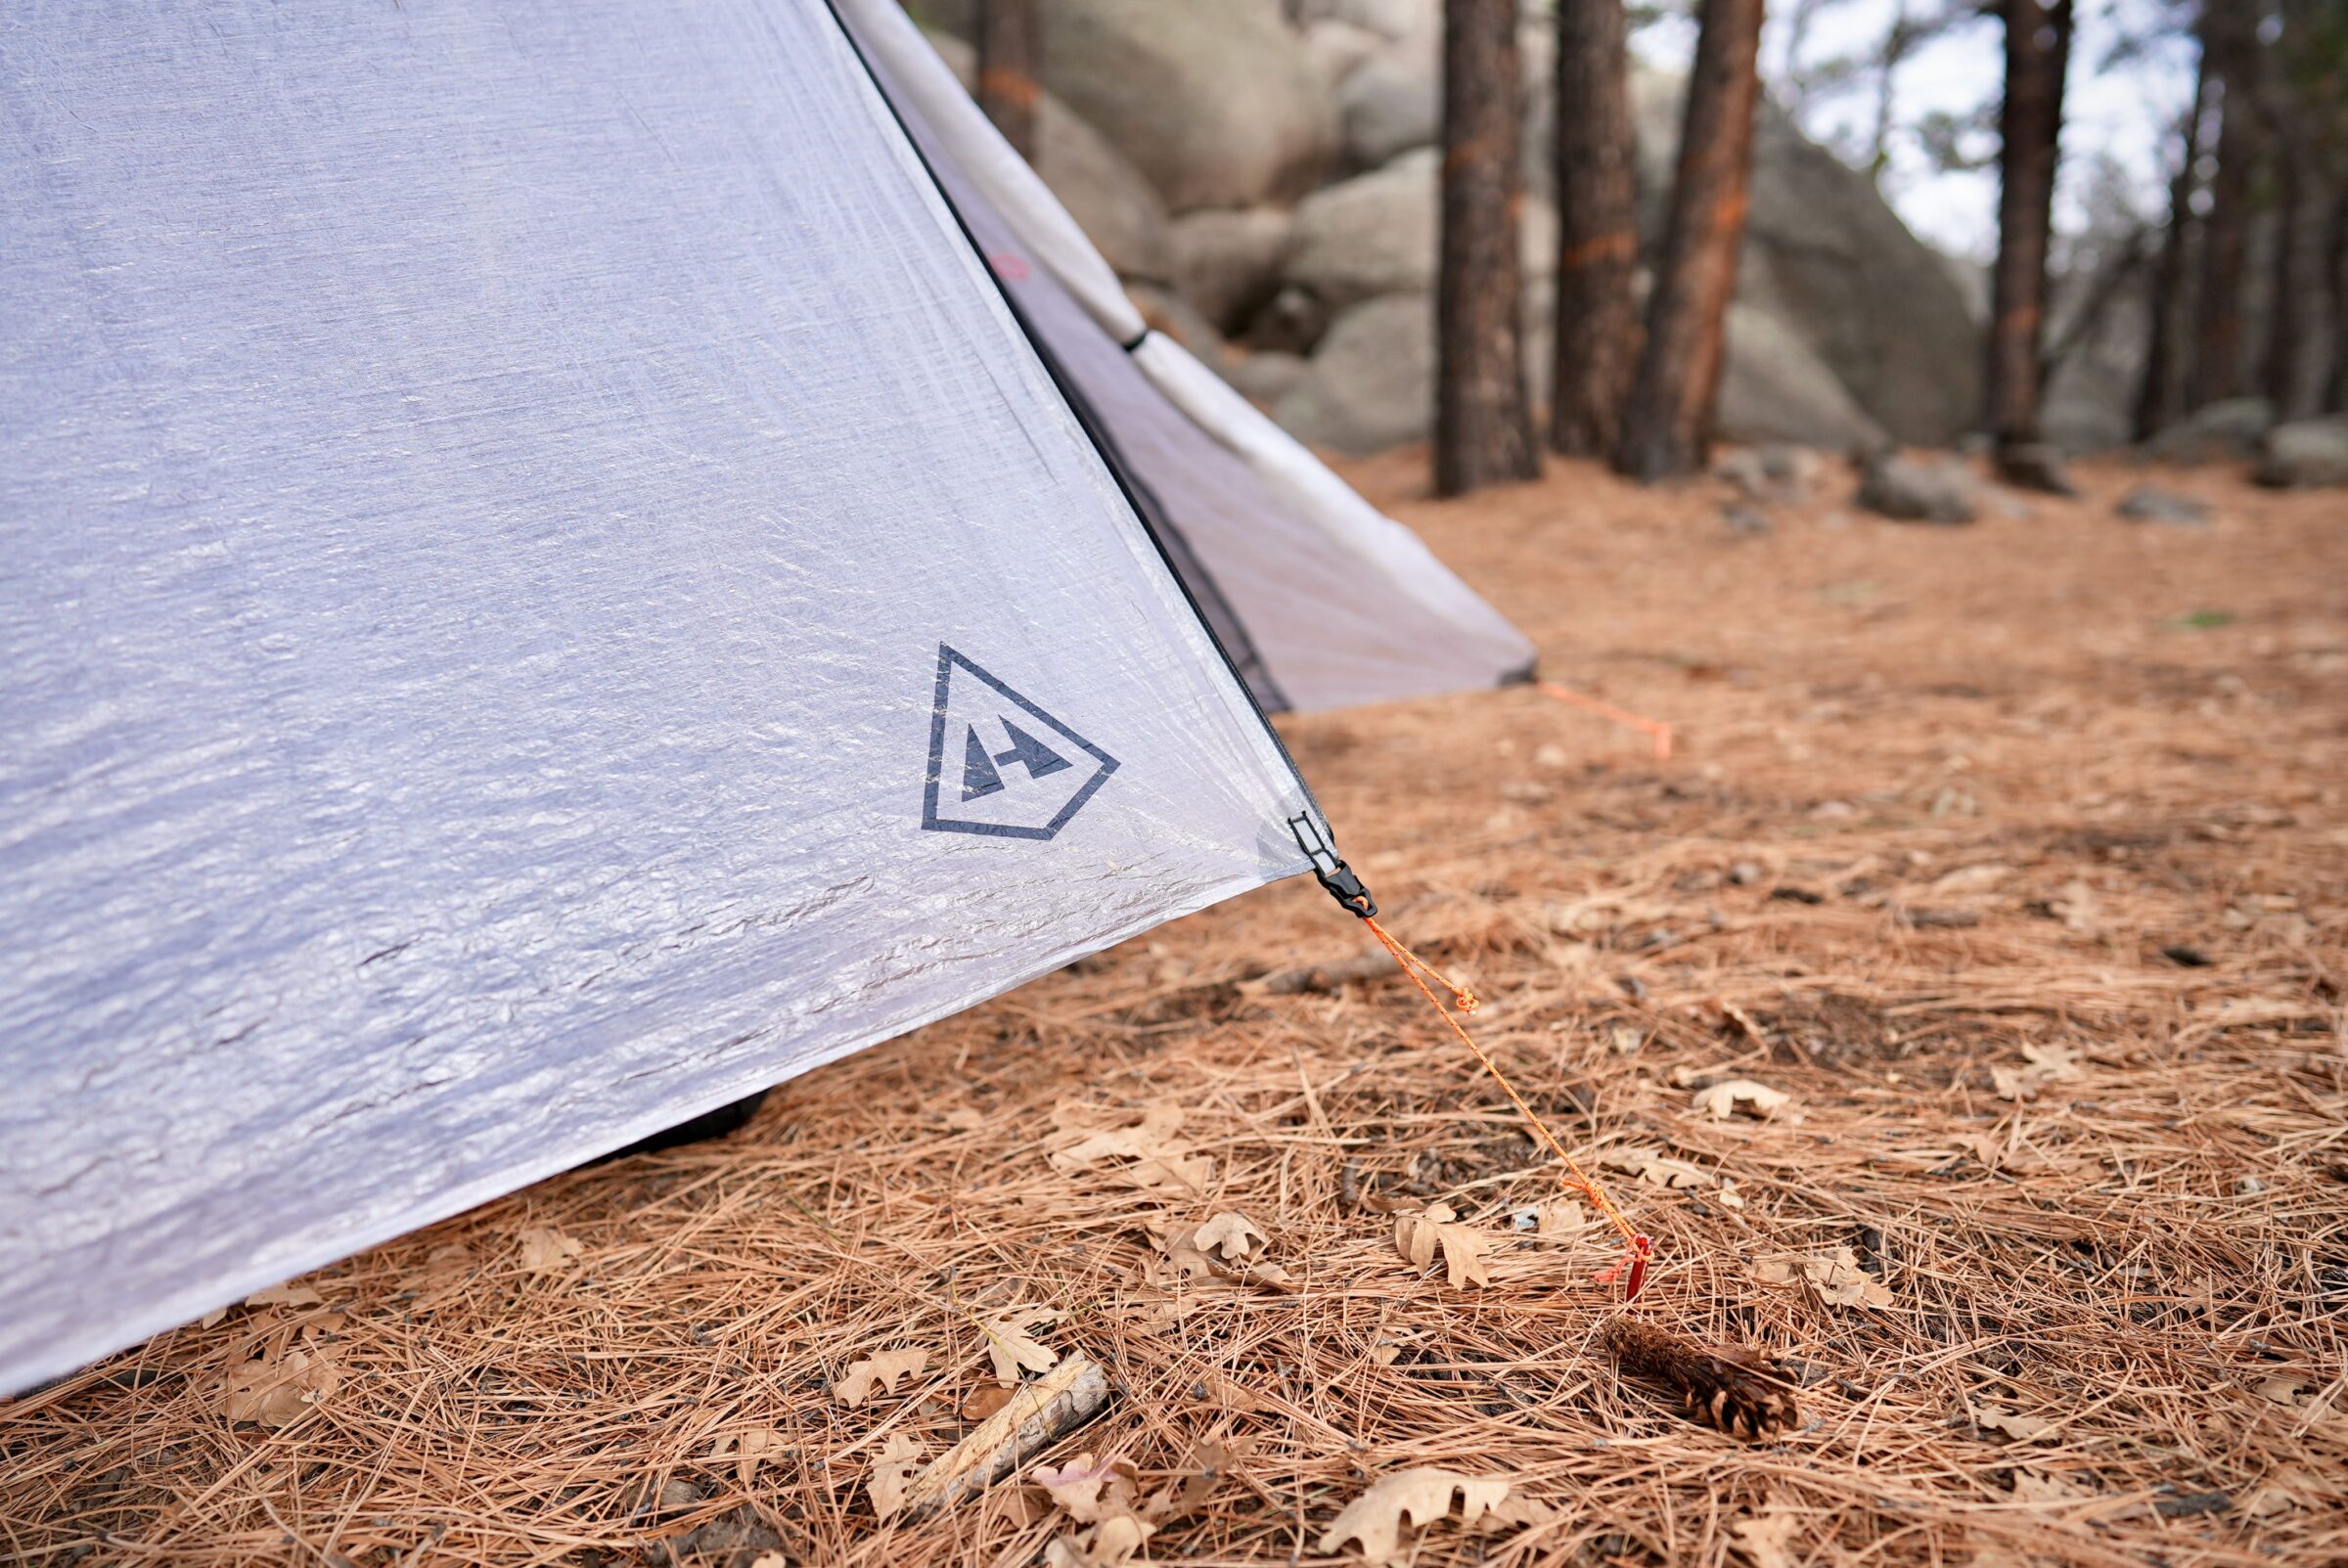
In a pinch, large rocks can be used to get the corners and guylines of your tent where they need to be. If you can’t slide a large rock into the cords coming out at the stakeout points, you can insert a stake into the cord, and place it horizontally on the ground with a large rock between the stake and the tent. When you tension the cords, the stake won’t be able to slide under the rock. This was our author’s method on many a night on thru-hikes when pitching his tent above the treeline.
We like to bring a couple of different lengths and strengths of stakes for the different stakeout points around our tents. We generally use shorter, lighter stakes for the four corners of trekking-pole-style tents and the guylines, and bring two longer, thicker options for staking out the sides of the tent, which bear more stress and need to have a more solid purchase in the ground.
Make sure to practice setting up your ultralight tent before setting off on your journey. It takes time to master how much tension you should put in the guy lines, what to adjust your trekking poles to, and how to avoid an awkward off-center pitch. Freestanding tents can be much more straightforward to set up, and there are additional considerations when pitching a trekking-pole-style tent.
Trekking Poles in Ultralight Tents
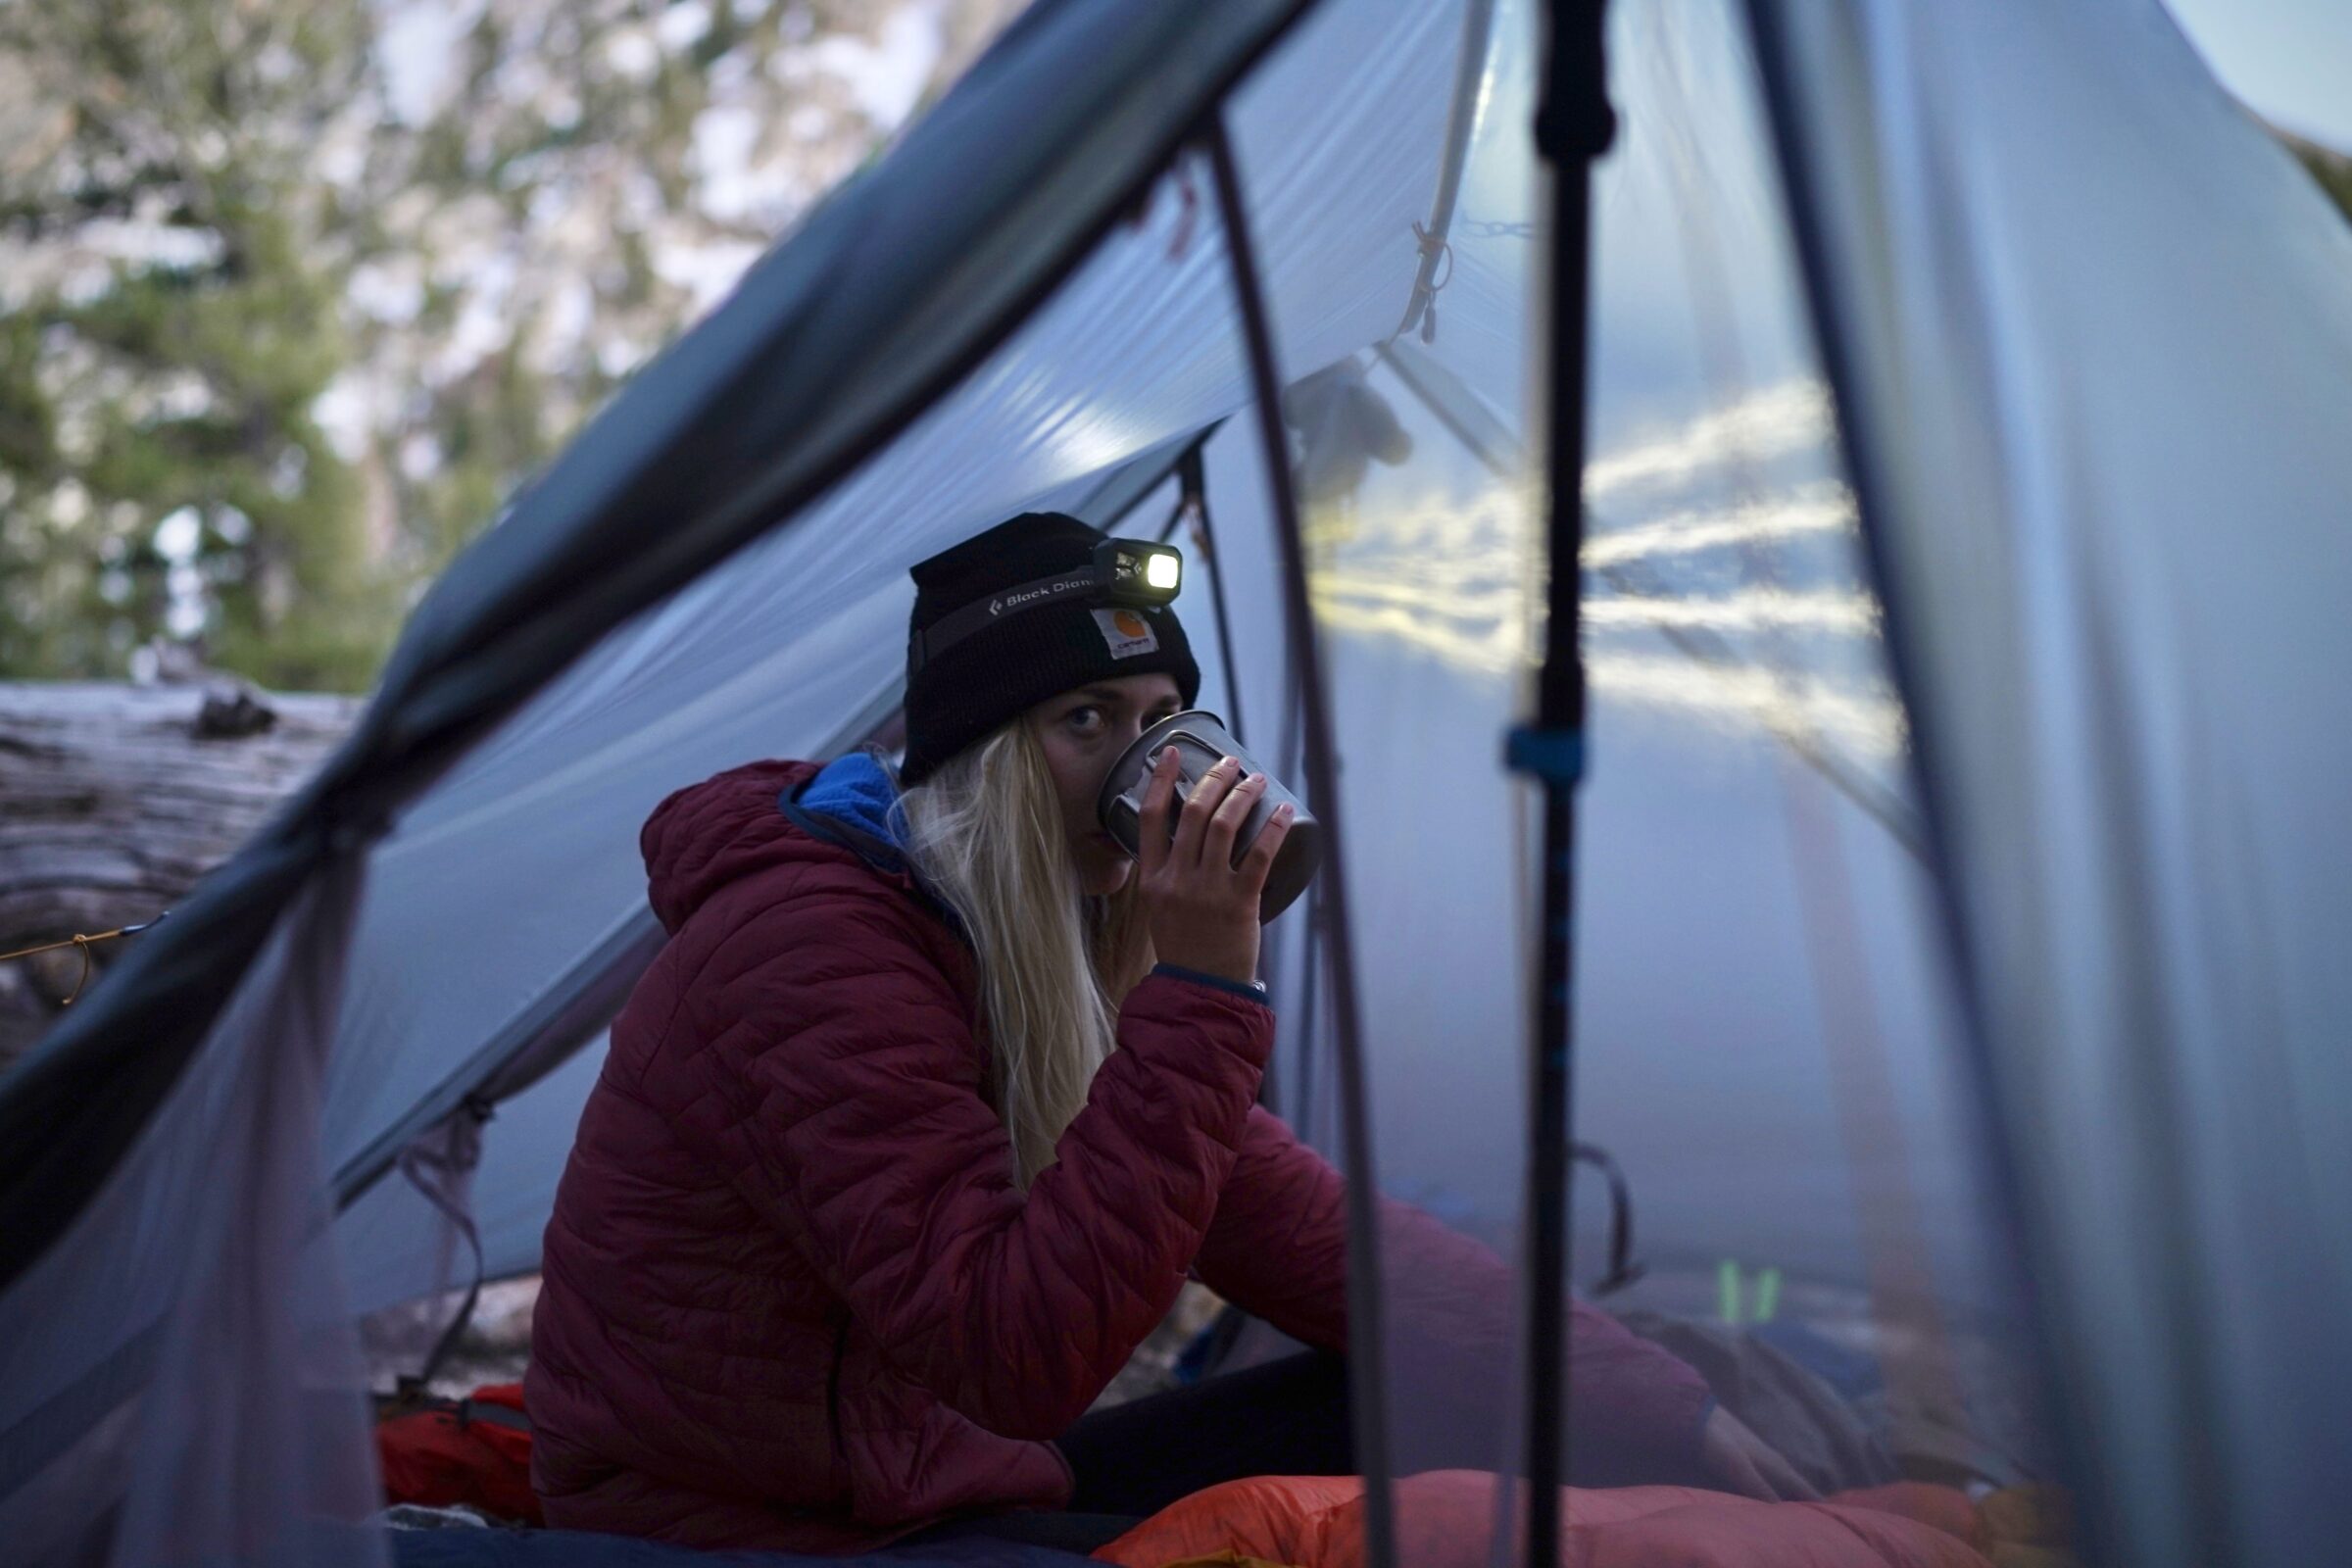
As discussed above, it can be a challenge to master the art of pitching a trekking-pole-style shelter. A perfect pitch largely boils down to appropriate trekking poles. If you are going to be depending on these types of tents in the backcountry, your poles need to be sturdy enough to handle brutal blasts of wind and rain, and long enough to reach the required length to properly pitch the tent.
These tents require you to expand your trekking poles much longer than you would have them set for hiking, and not every pole can extend to the lengths needed to reach the tent’s peak. Also, you most likely won’t be able to use fixed-length poles if you plan on bringing these types of tents along.
Select poles that have broad grips that fit solidly in the reinforced pouches at the peaks of your tent. Thin grips shift around and could even slide out of the tent in strong wind. The clasps on your poles need to be strong, as heavy wind could force your poles to collapse if they are weak, making the tent tumble in around you at midnight. Not a pleasant alarm clock — we speak from experience.
Bathtub Floor
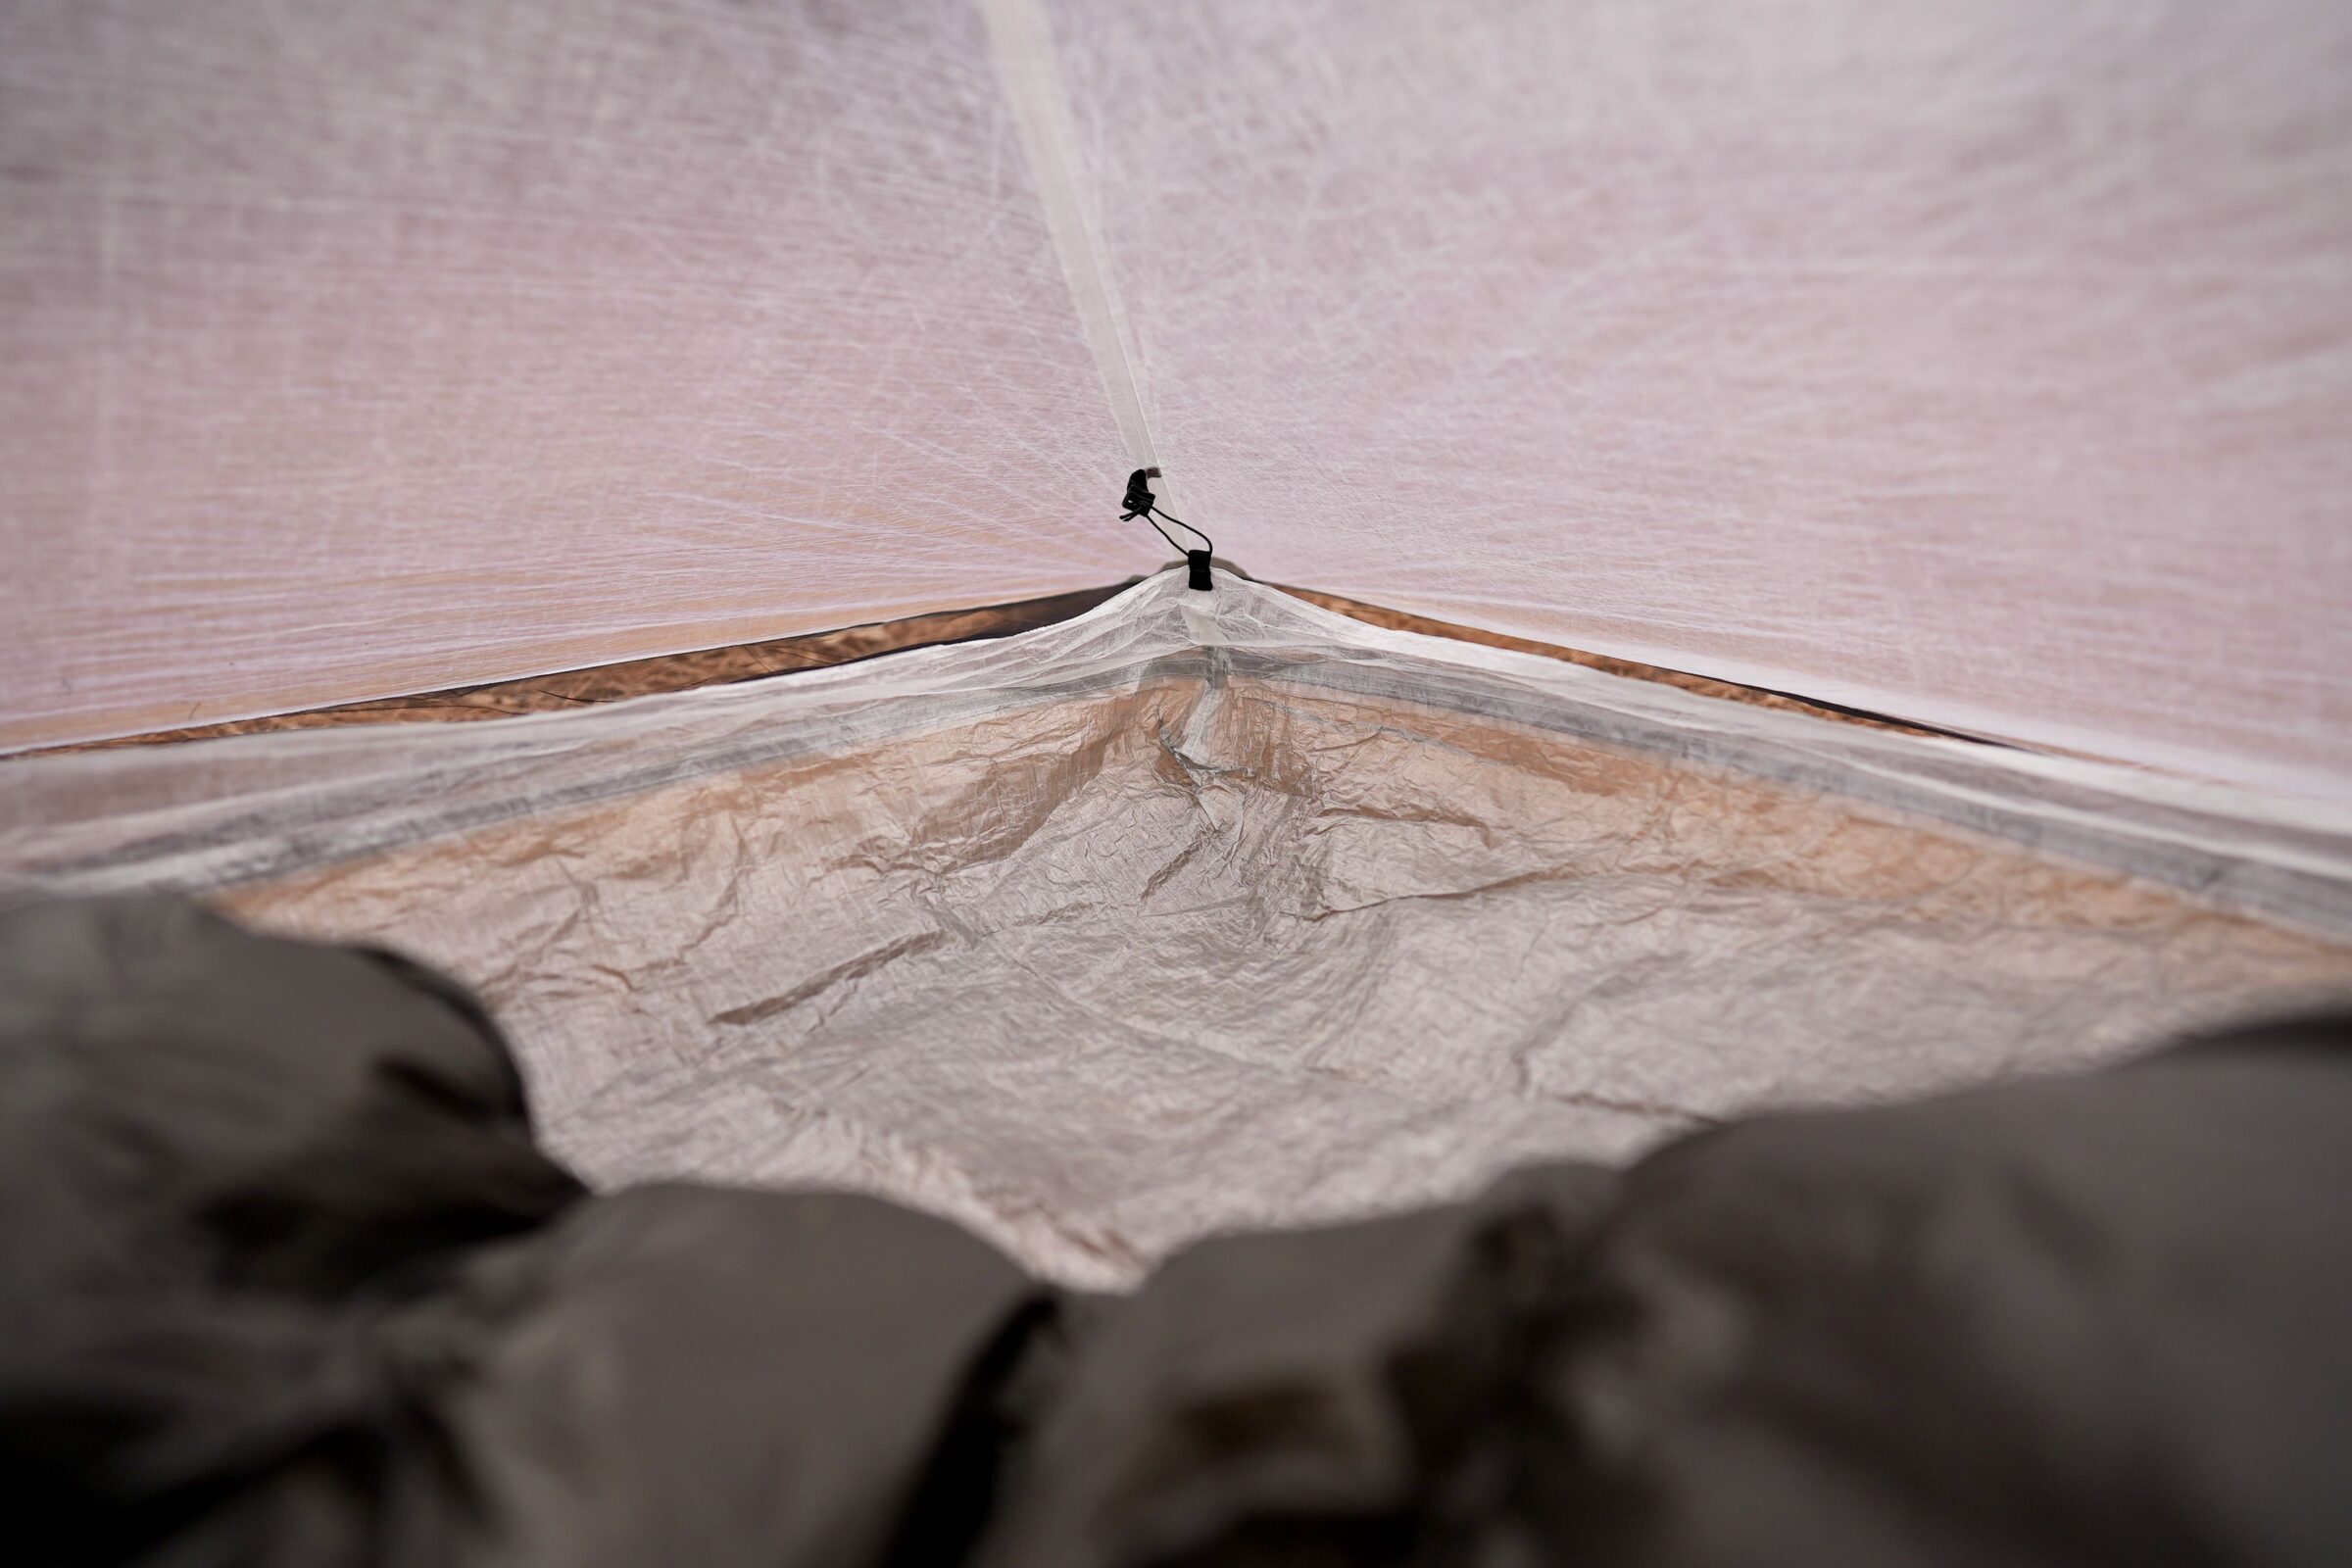
Frequently, ultralight setups have a bathtub floor, which prevents groundwater from seeping in during a weather event. A bathtub floor means that the waterproof fabric comprising the floor extends a few inches off the ground and up the tent walls.
These are important elements of ultralight tents, and need to be made of durable, extremely waterproof fabric. Some floors in models like many Zpacks tents and HMG’s Mid 1 (photographed above) allow you to adjust the height of the floor to allow more or less airflow into the tent and help regulate condensation buildup.
Vestibule & Interior Storage
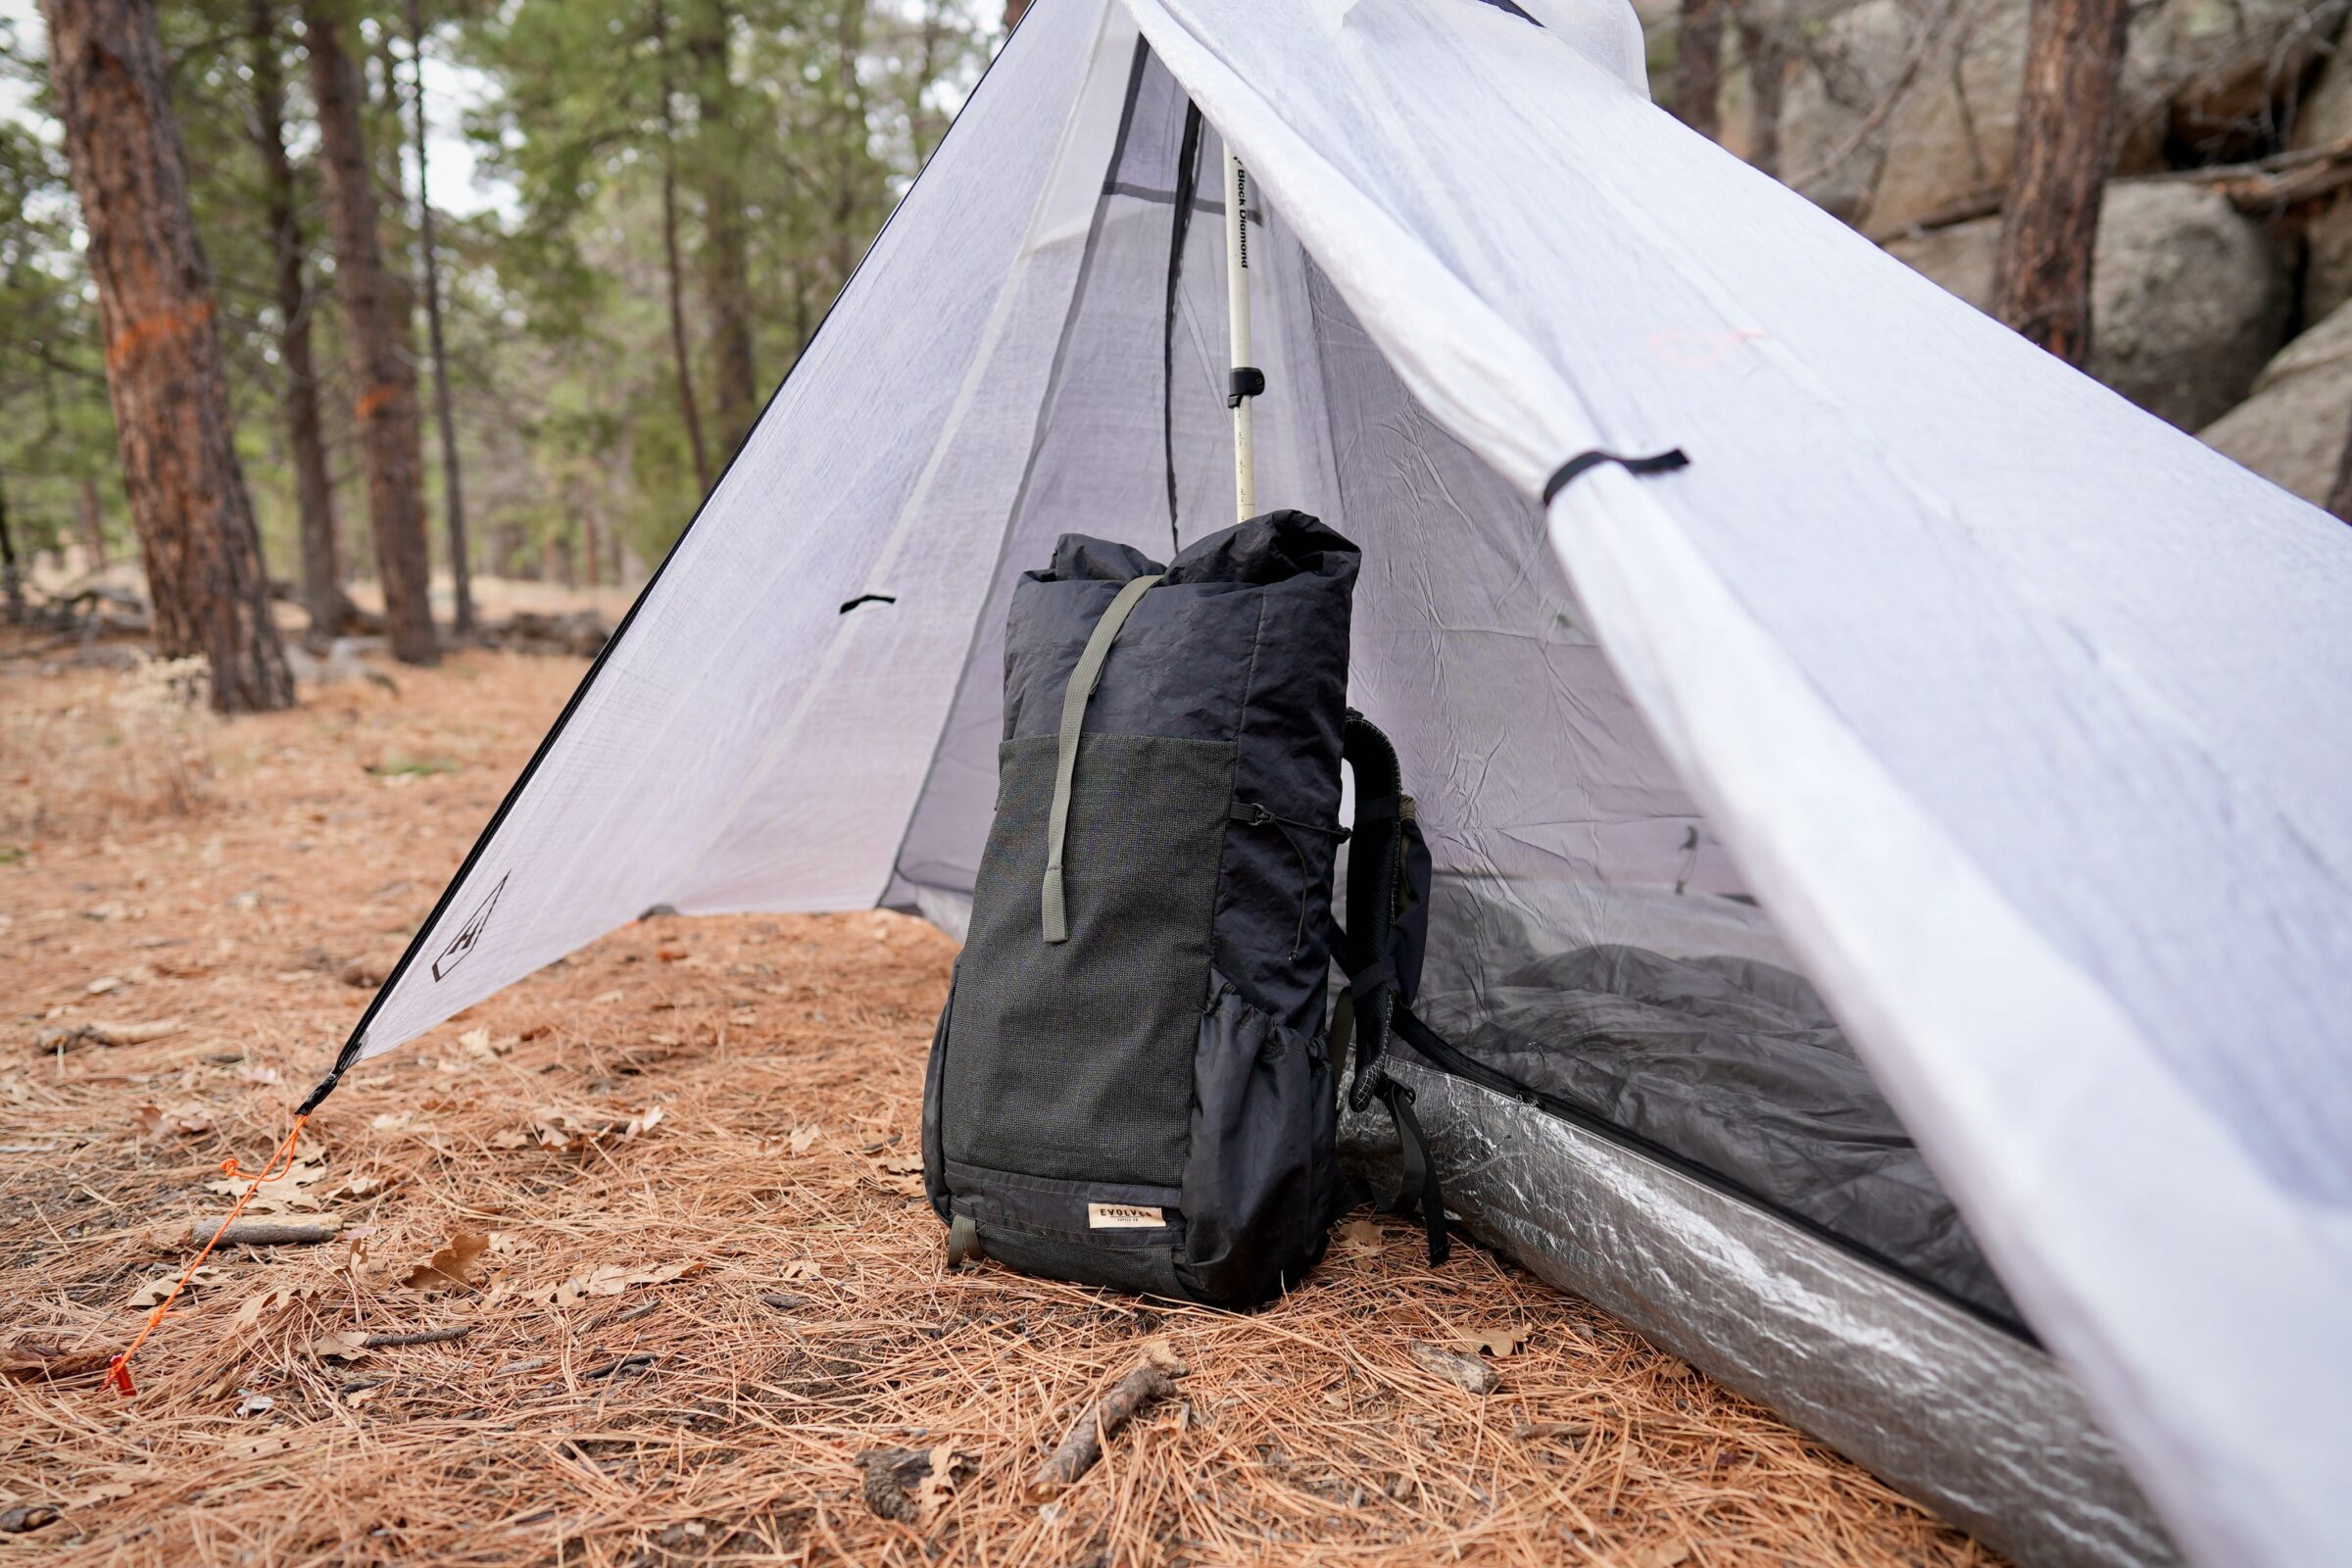
Ultralight tents will often have storm doors that roll back or clip forward to protect equipment rather than a zipper-enclosed vestibule door. Compare your body measurements to the tent’s width and length. If it’s stormy out and you’re hunkered down for a while, it’s nice to have a bit of extra room to bring some or all of the gear inside.
Otherwise, the vestibule can be a great spot to leave the boots or pack overnight. Stashing these in the vestibule helps keep debris and pebbles that could poke through the tent floor out of your living space.
Some ultralight tents might have small, interior mesh pockets to store a few items like a phone or headlamp. Generally, ultralight tents don’t have as many storage compartments as lightweight or heavier tent designs.
Guylines
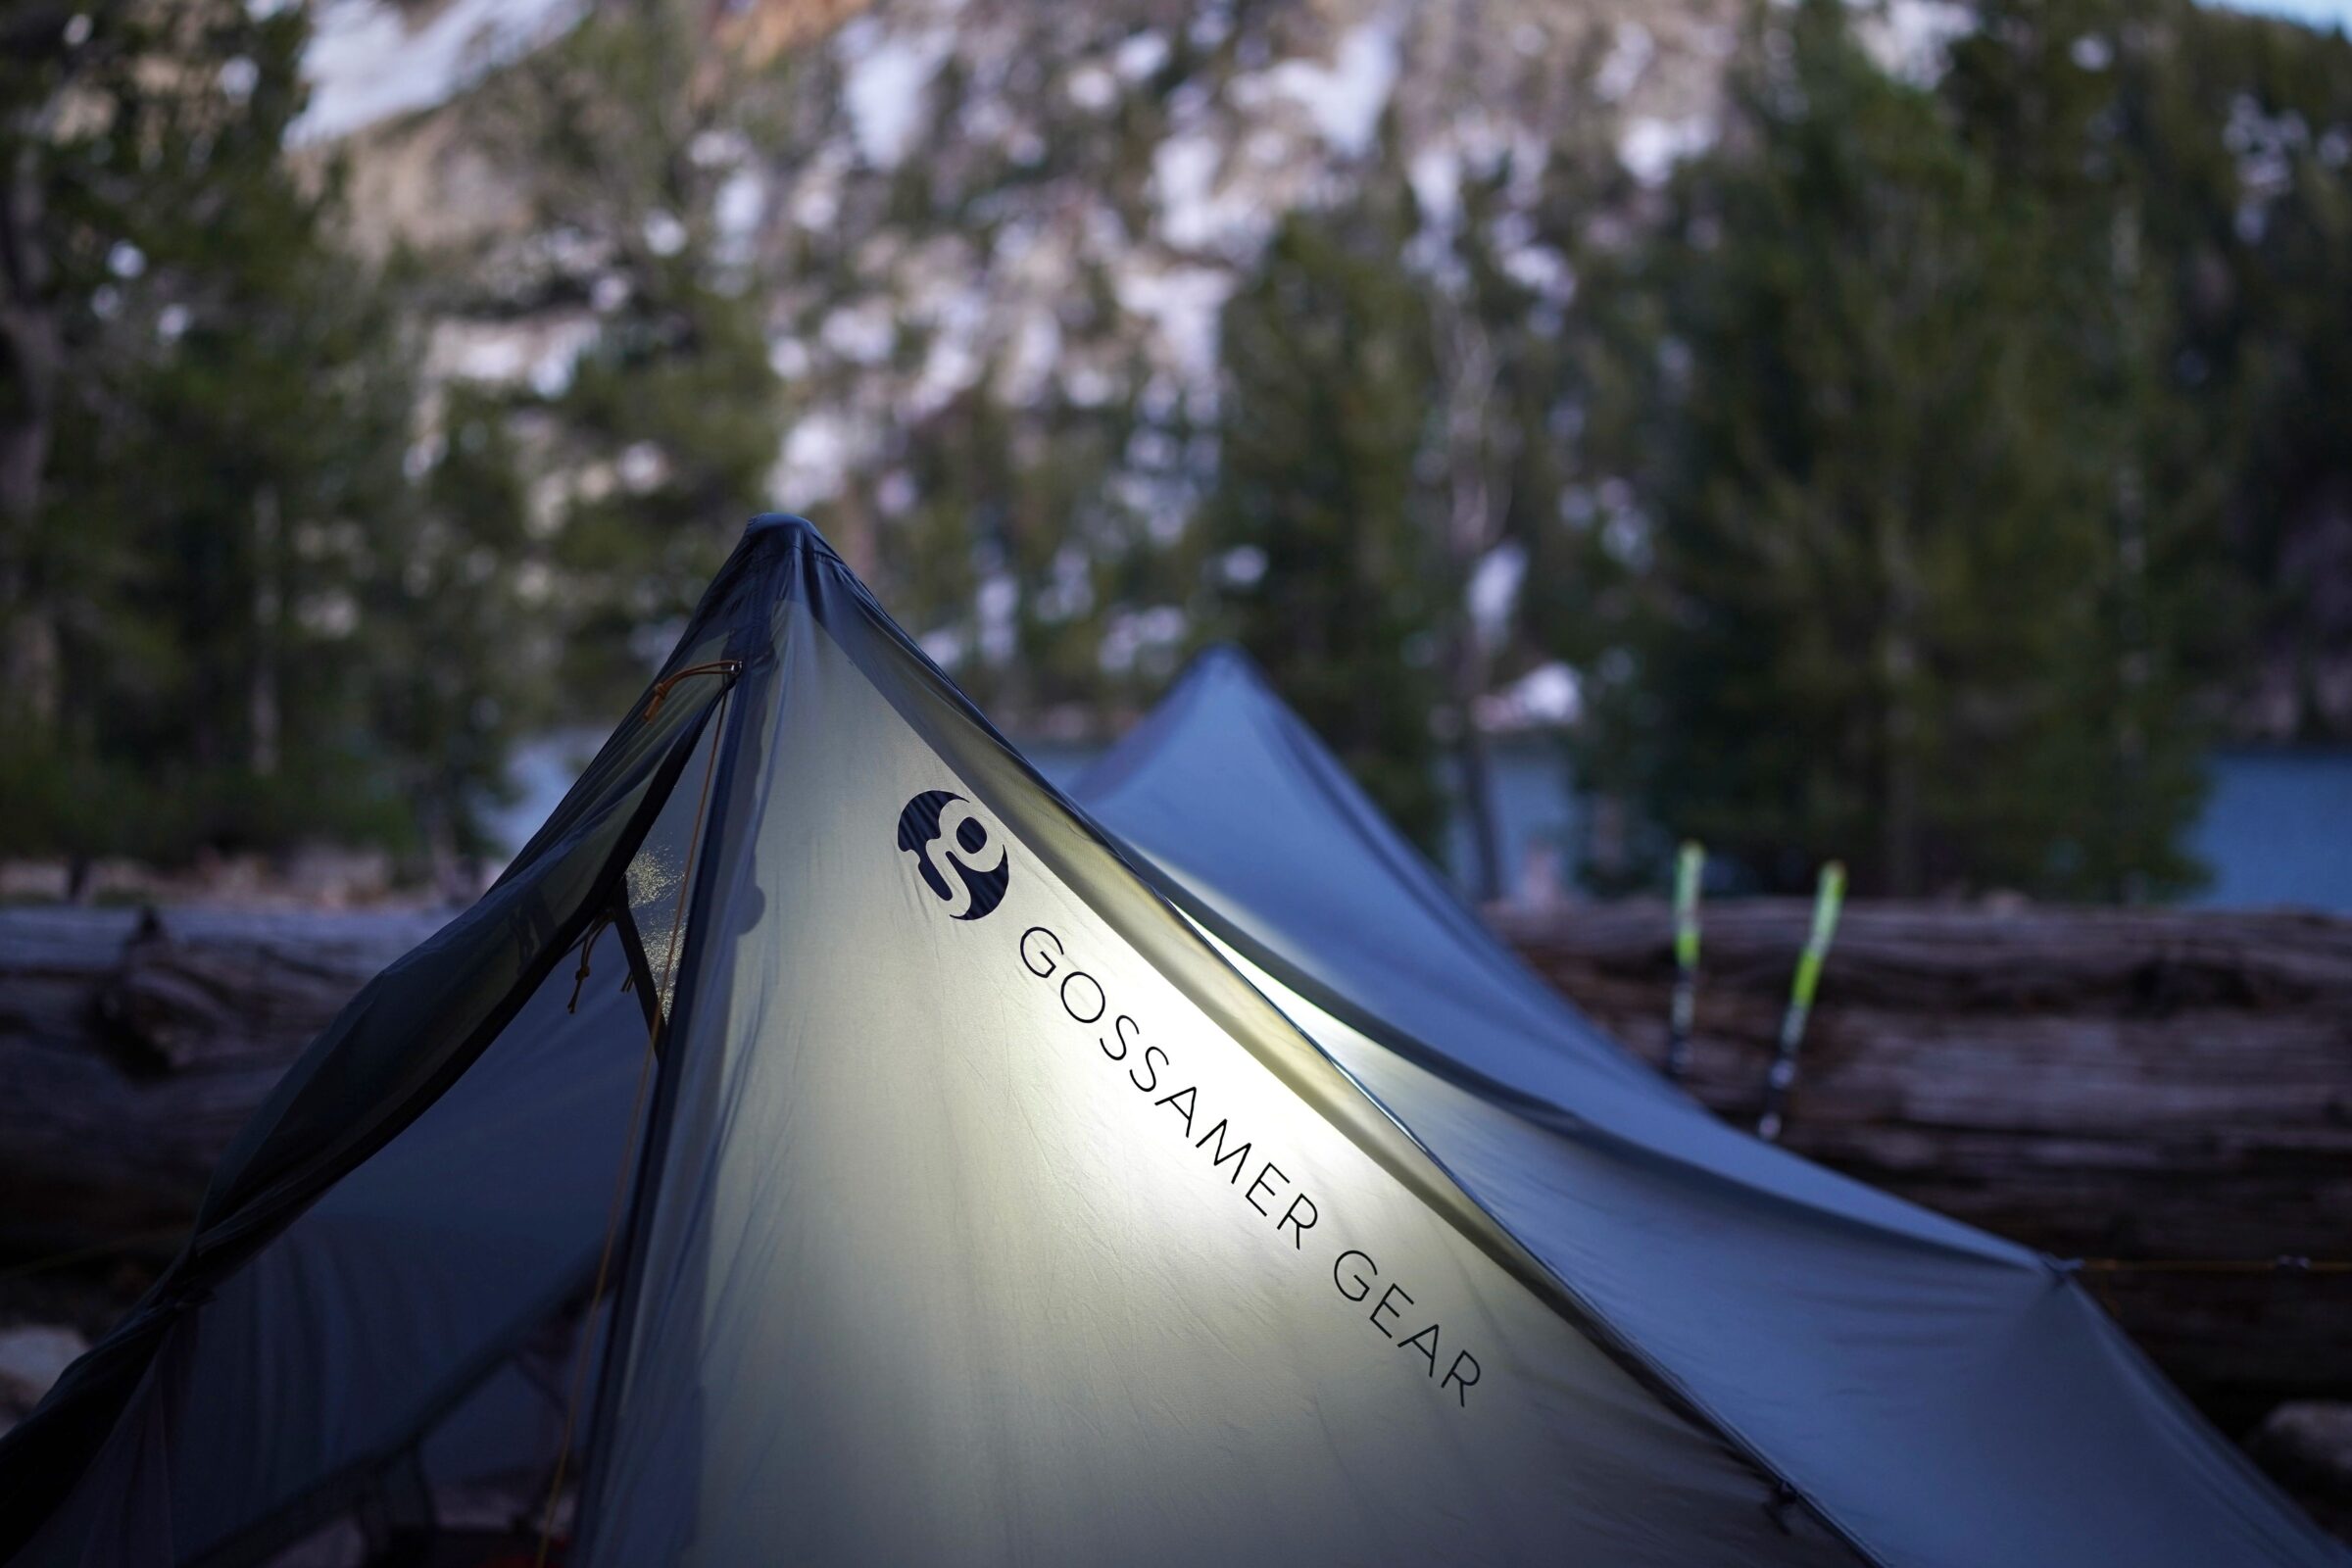
Guylines are important features on ultralight tents for a number of reasons. For trekking-pole-style tents, they serve as a quick and easy way to pull the sidewalls out further, immediately boosting the internal volume. For freestanding and double-wall shelters, this doesn’t apply quite as much, but they still can afford a bit more internal space.
Perhaps more importantly, however, guyline points allow you to further secure your tent to the ground in the case of tempestuous storms or strong wind. A properly guyed-out tent can withstand some seriously gnarly weather. Many tents come with a small spool of guyline cord in the box that you can stuff in the bottom of the stake bag in case they are needed. Others, like HMG’s Mid 1, require you to provide your own cordage if you want the additional protection.
Tent Stakes and Pole Splints
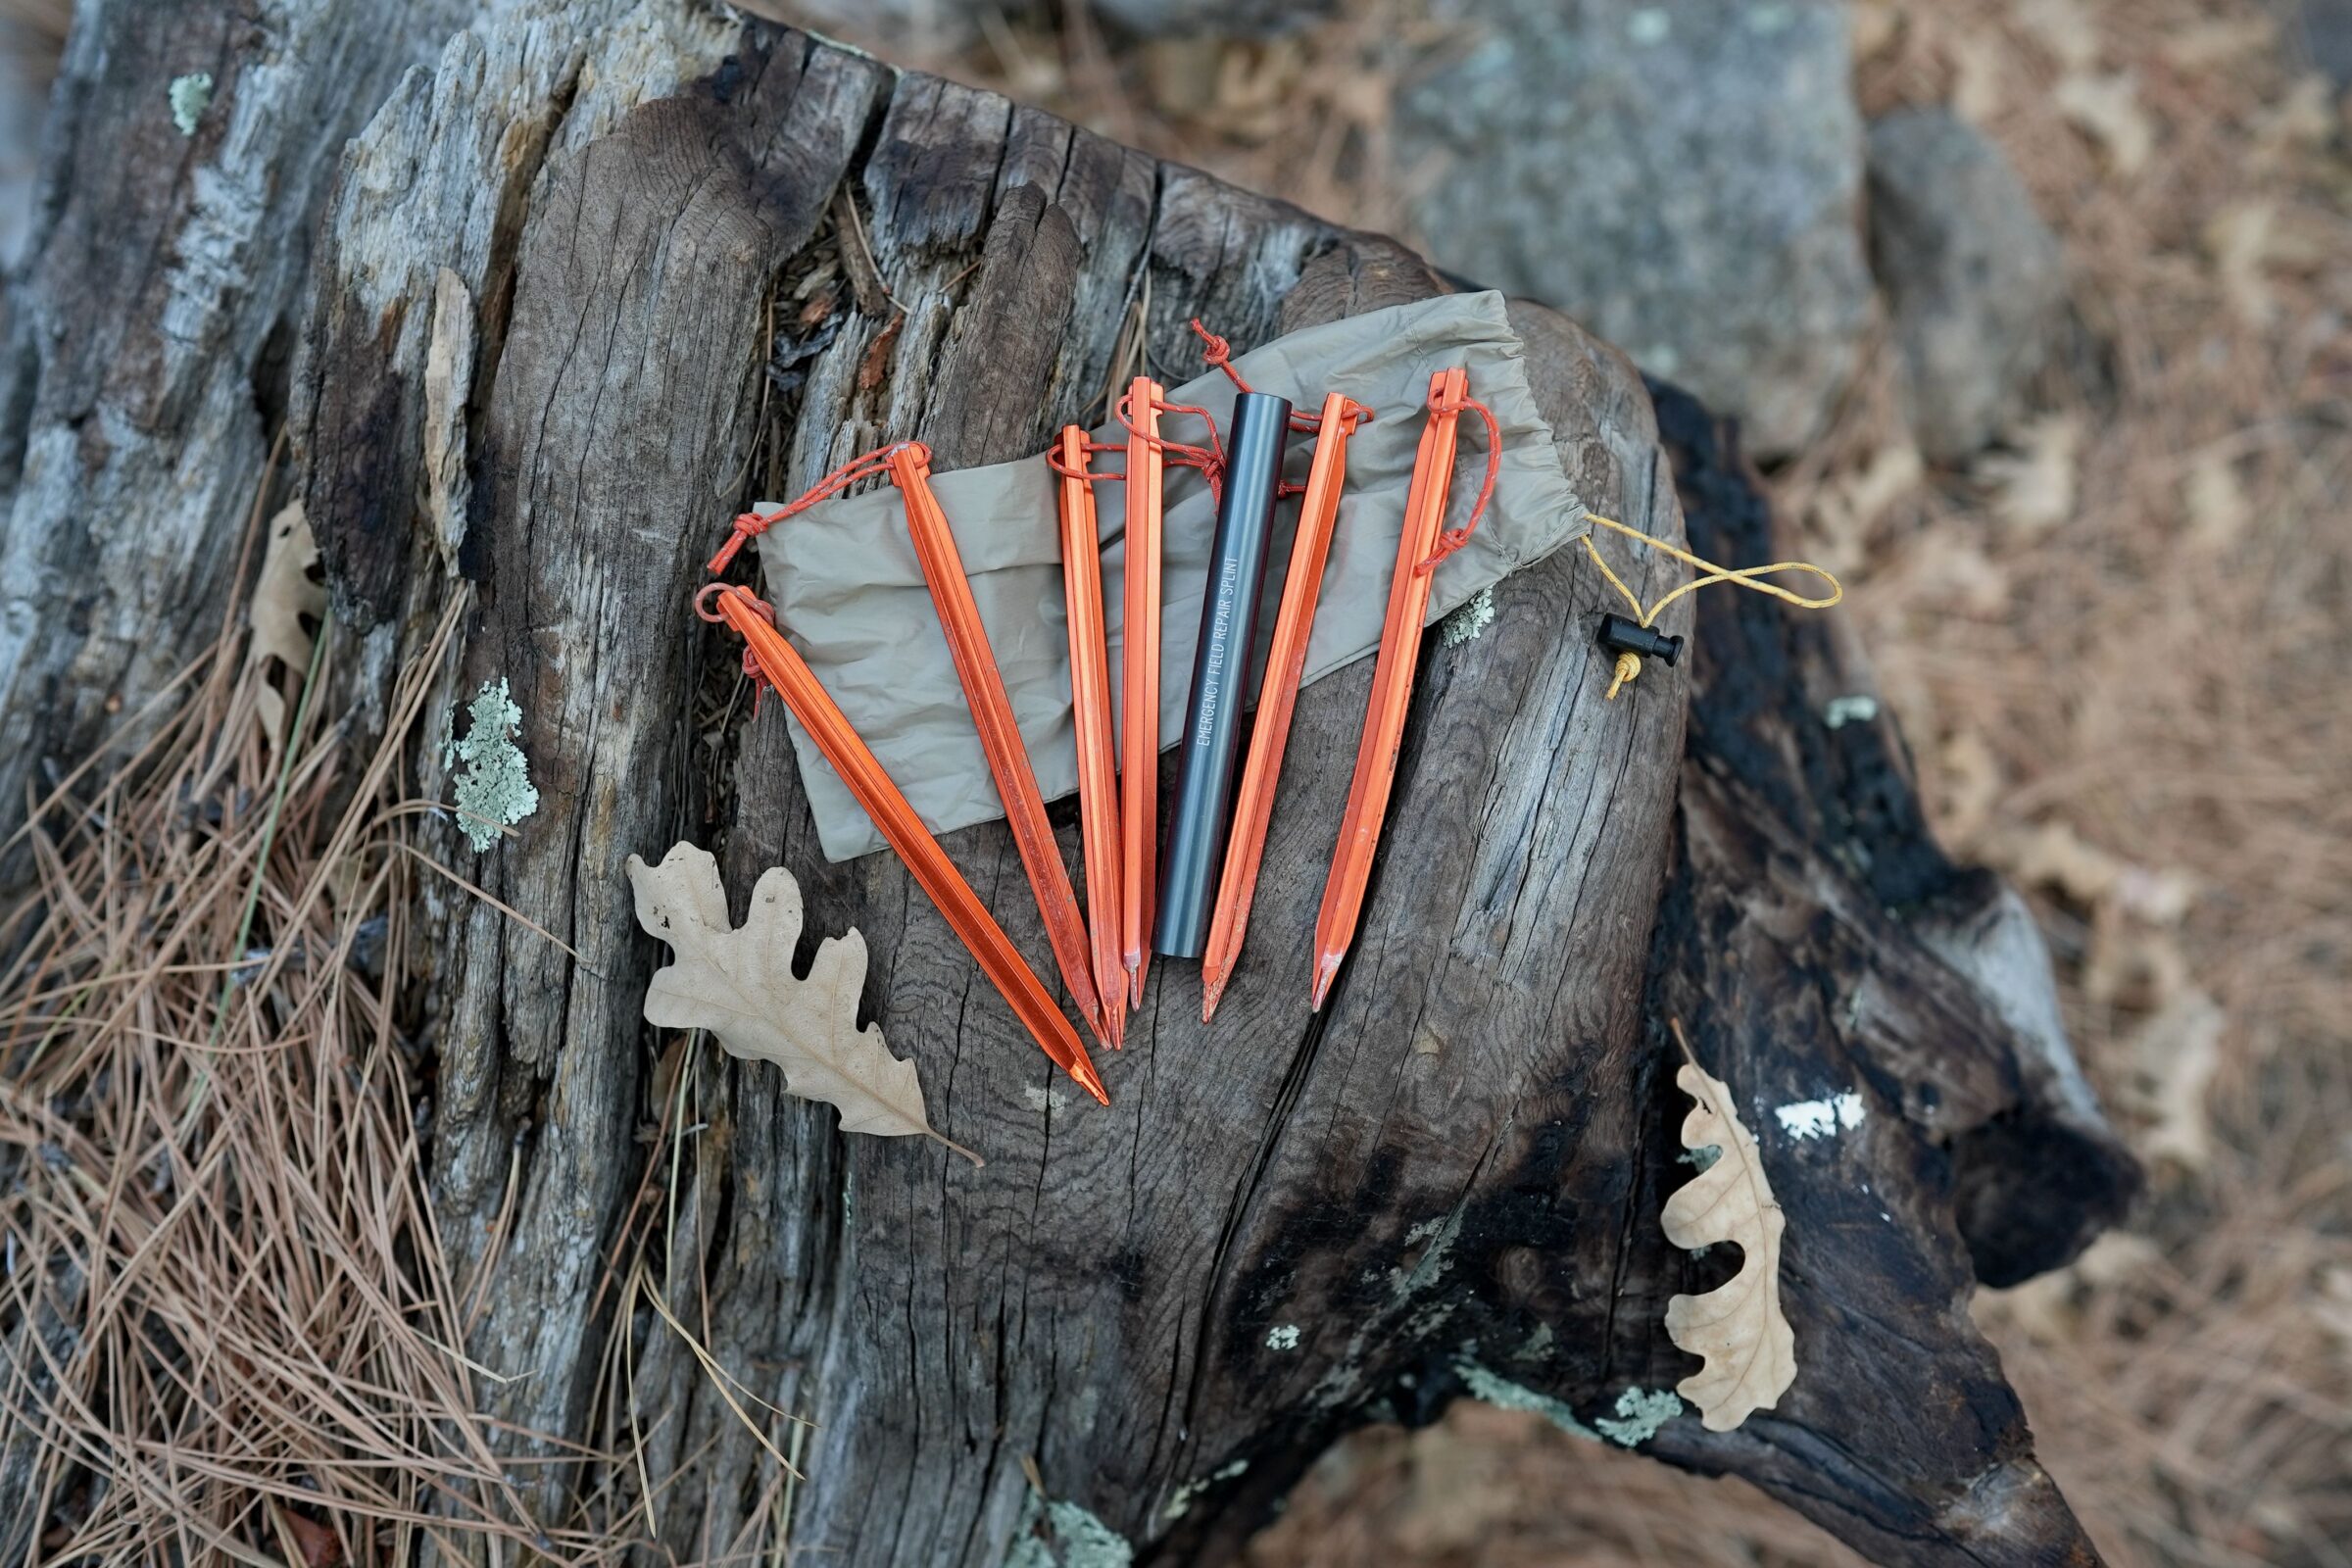
Like everything in the ultralight cult, the debate on the best ground stakes for an ultralight loadout is fierce and constantly evolving. Every iota of weight is scrutinized for each gear category — especially if there is any metal in the system.
The conversation around which stakes are best for which purpose is so nuanced and intense, that many ultralight tent manufacturers have stopped shipping stakes with their tents altogether. This is under the assumption that most UL backpackers have already dialed in on their specialized stake kit of choice — and in the case of our author — they’re not wrong.
We possess a variety of stake kits that we bring for different ultralight backpacking scenarios, and each serves its purpose in specific climates and environments. It would take too long to dig into the minutia of each kit’s models and purposes, but the one we use the most is our MSR Ground Hog combo. These stakes have proven themselves worthy over thousands of miles, and strike a healthy balance between strength and weight.
There are more featherlight options out there — like Vargo’s Titanium Shepherds Hooks (0.3 ounces) or Suluk 46’s absurd Atani Titanium Tent Stakes (0.17 ounces) — but unless we are trying to go as light as possible, the Ground Hogs are perfect for most UL backpacking trips we set out on. If we plan to rock a freestanding tent (which we usually do when hiking with a partner and sharing the tent’s weight), we simply bring the requisite number of ultralight MSR Mini Ground Hogs (0.35 ounces).
If we think we will have to pitch the tent in light snow or insane weather, we swap these out for their longer, sturdier older sibling: MSR’s regular Ground Hogs (0.5 ounces). For deep snow on winter objectives, you’d have to upgrade to beefier snow stakes like MSR’s Blizzard Stakes, or REI’s Snow Stakes.
When hiking with a trekking-pole-style tent — which is 90% of the time for us — we bring a combo of 4-6 Mini Ground Hogs, and two regular Ground Hogs for the side stakes. The stakes at the base of these tent’s doors and sides bear the most weight and are tensioned tight against the trekking poles. They need to be driven deep into hard ground so they don’t pull out when you cinch your tent tight, or when it’s hit with a strong gust of wind.
If we are backpacking with a freestanding tent, we will almost always throw in a lightweight pole splint in case one of our poles snaps or cracks mid-trip. Simply slide these splints over the broken area, and you can still pitch your tent until you get to a place where you can replace the poles. Splints have saved us on a number of trips, and we don’t like to leave home without them.
Ventilation and Dealing With Condensation
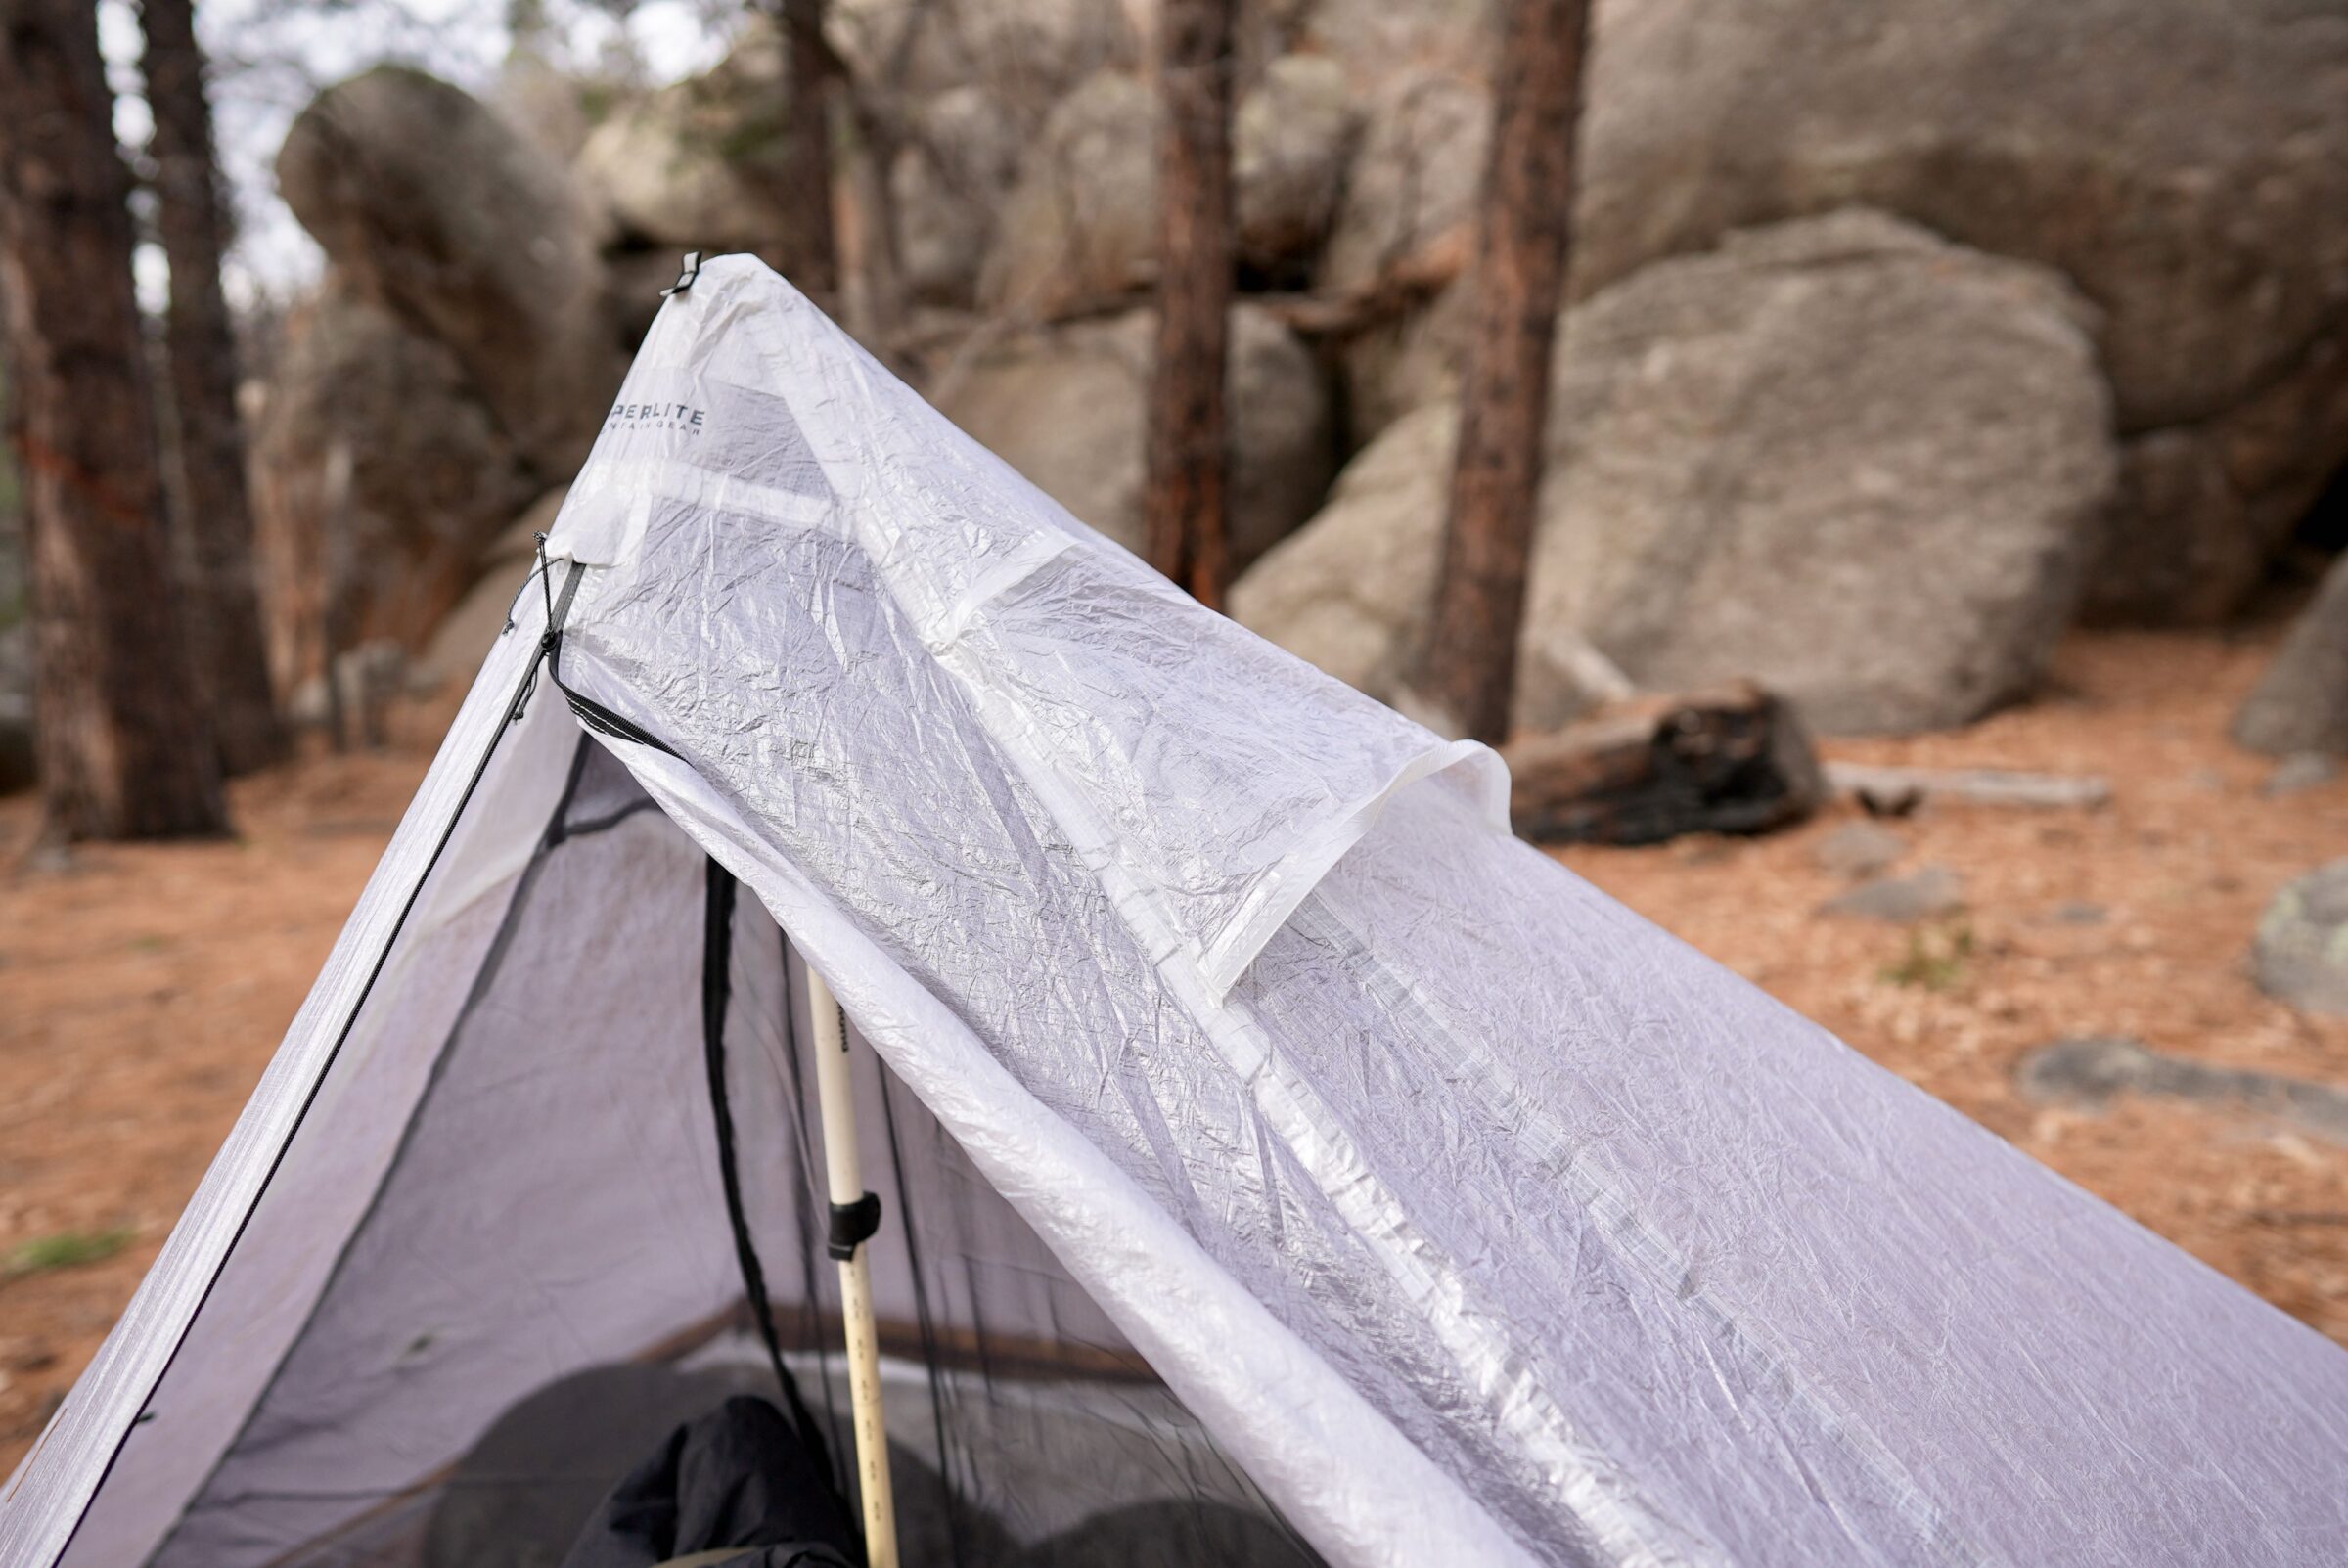
Ultralight tents often feature mesh walls, storm doors that furl back, or no walls at all for airflow. Mesh walls decrease the overall temperature inside the tent and help fight condensation. As mentioned, single-wall tents with a solid synthetic construction experience more condensation and feel clammy beneath precipitation.
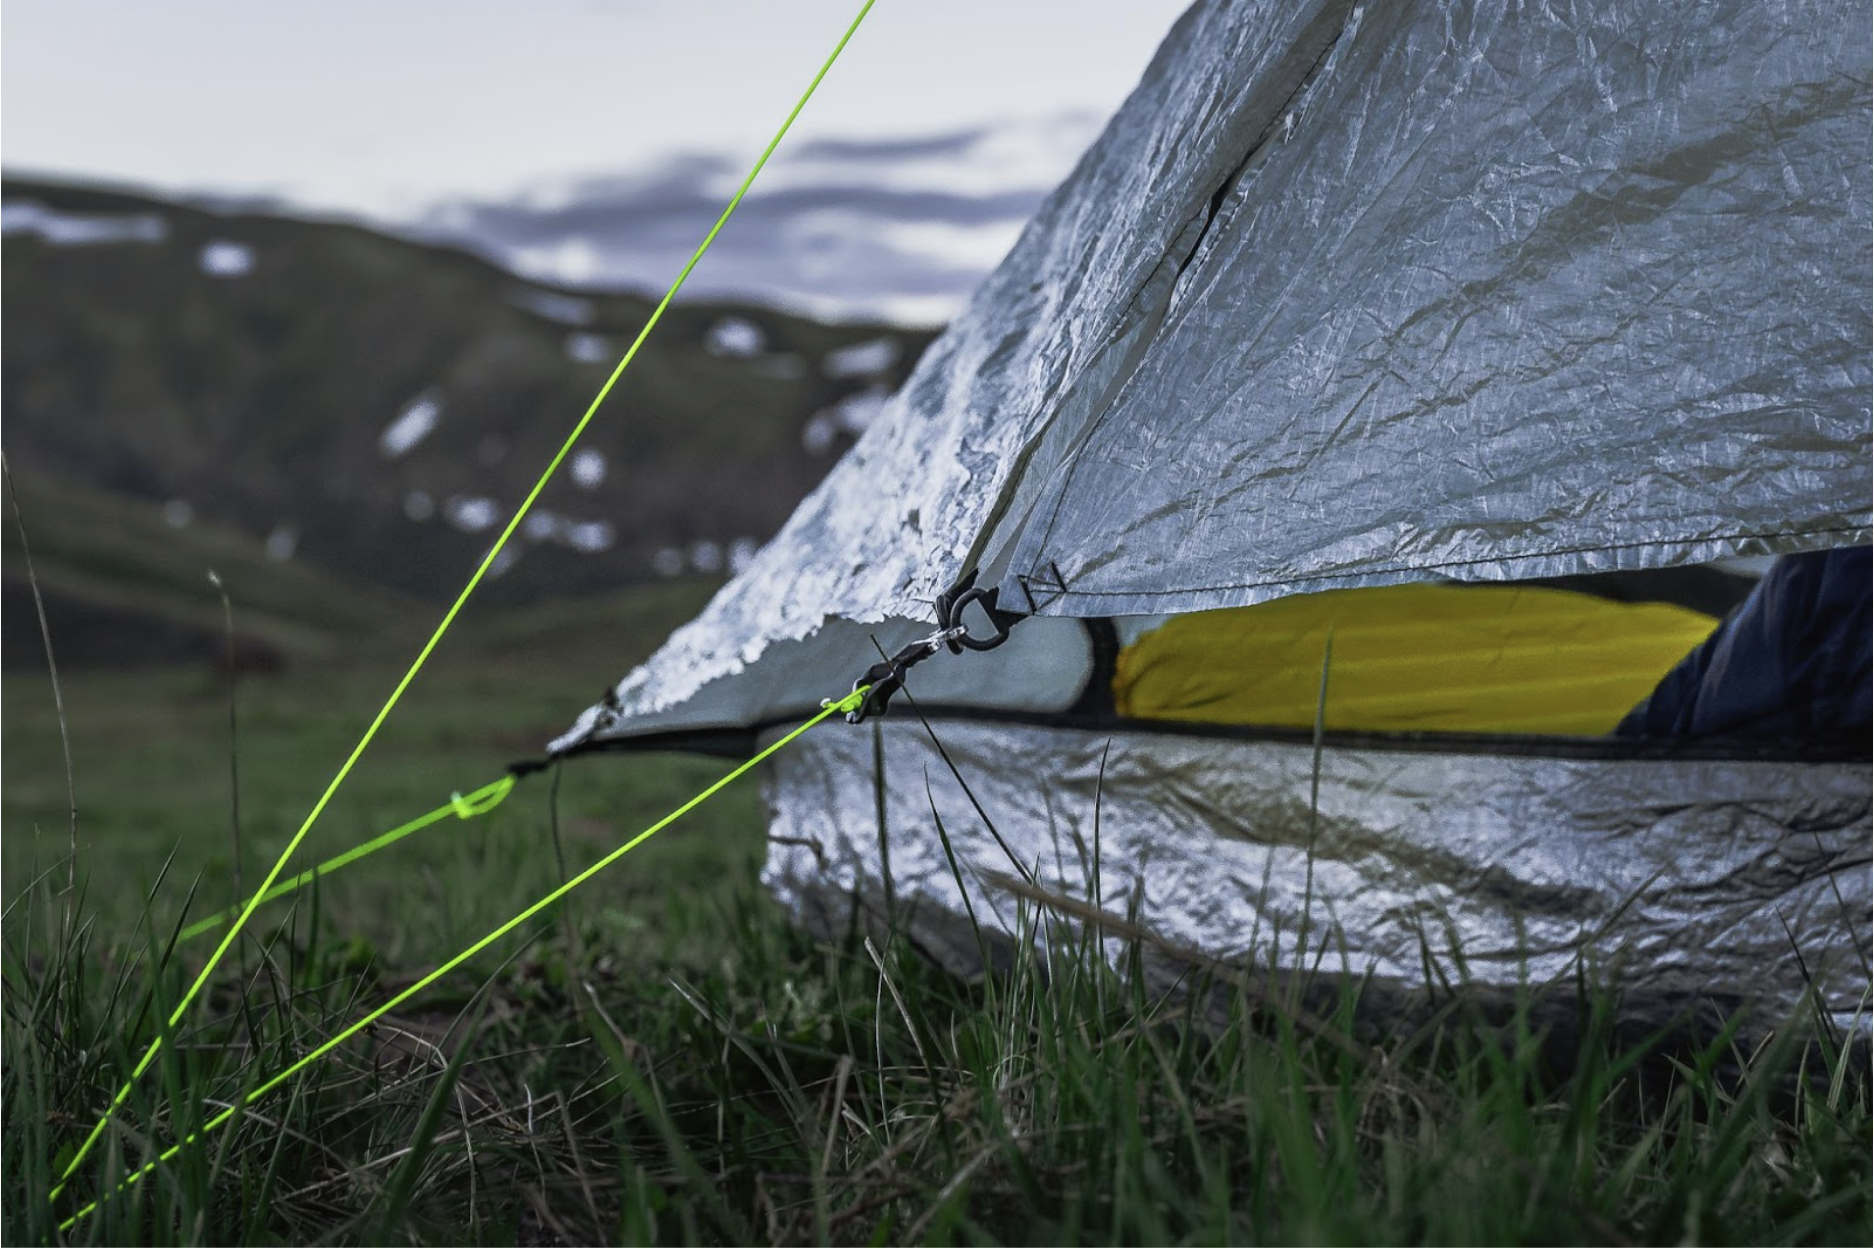
Ultralight tent designers have done everything they can to limit condensation buildup, but the reality of the matter is — those walls are going to sweat. Vents on the walls (like in the photo above), broad mesh panels, and variable bathtub floor heights can minimize the misery, but in our experience, some condensation is inevitable.
There are a number of ways to mitigate moisture buildup in ultralight tents, and you can fight the condensation calamities if you work with the wind and pitch your tent in an appropriate location. Here is a bit of wisdom we’ve accrued through trial and error during our countless nights in the backcountry:
- Ventilate your tent as much as possible by sleeping with all the doors rolled back or with the rainfly off if it’s not raining. This helps humid air and moist vapor from your breath to easily escape.
- Avoid camping under the open sky as much as possible. If you can, pitch your tent under a tree’s canopy.
- Orient your tent so that the vents are facing the direction of the wind. This allows the wind to circulate through your tent easier and boosts ventilation.
- Try not to hang wet clothes or shoes up to dry inside your tent whenever possible. Drying them inside your tent boosts humidity. If you need to keep them inside, store them in a dry sack so the moisture is contained. Make sure you have plenty of lashing points on your backpacking backpack so you can tie wet gear up to dry in the sun as you hike the next day. Under the same token, cook and boil water outside your tent as much as possible.
- Avoid camping right next to streams, rivers, lakes, or marshy areas with higher humidity when you can help it. We know — It’s fun to camp next to a babbling brook, though, so don’t sacrifice the beauty of a potential campsite just so your tent is a bit dryer. For us, the condensation cost is usually worth it for the experience.
- If possible, don’t pitch your tent in low valleys or depressions of a landscape where cold air lingers at night.
- As one of our old thru-hiking mentors would say, “Simply hold your breath all night. It’s the only way to keep ultralight tents dry.”
In all honesty, there’s no golden rule for getting rid of drippy condensation. Our best advice is to embrace it as part of the brutal but beautiful joy of backpacking — and pull your tent out to dry in the sun when you plop down for lunch the following day.
Price & Value
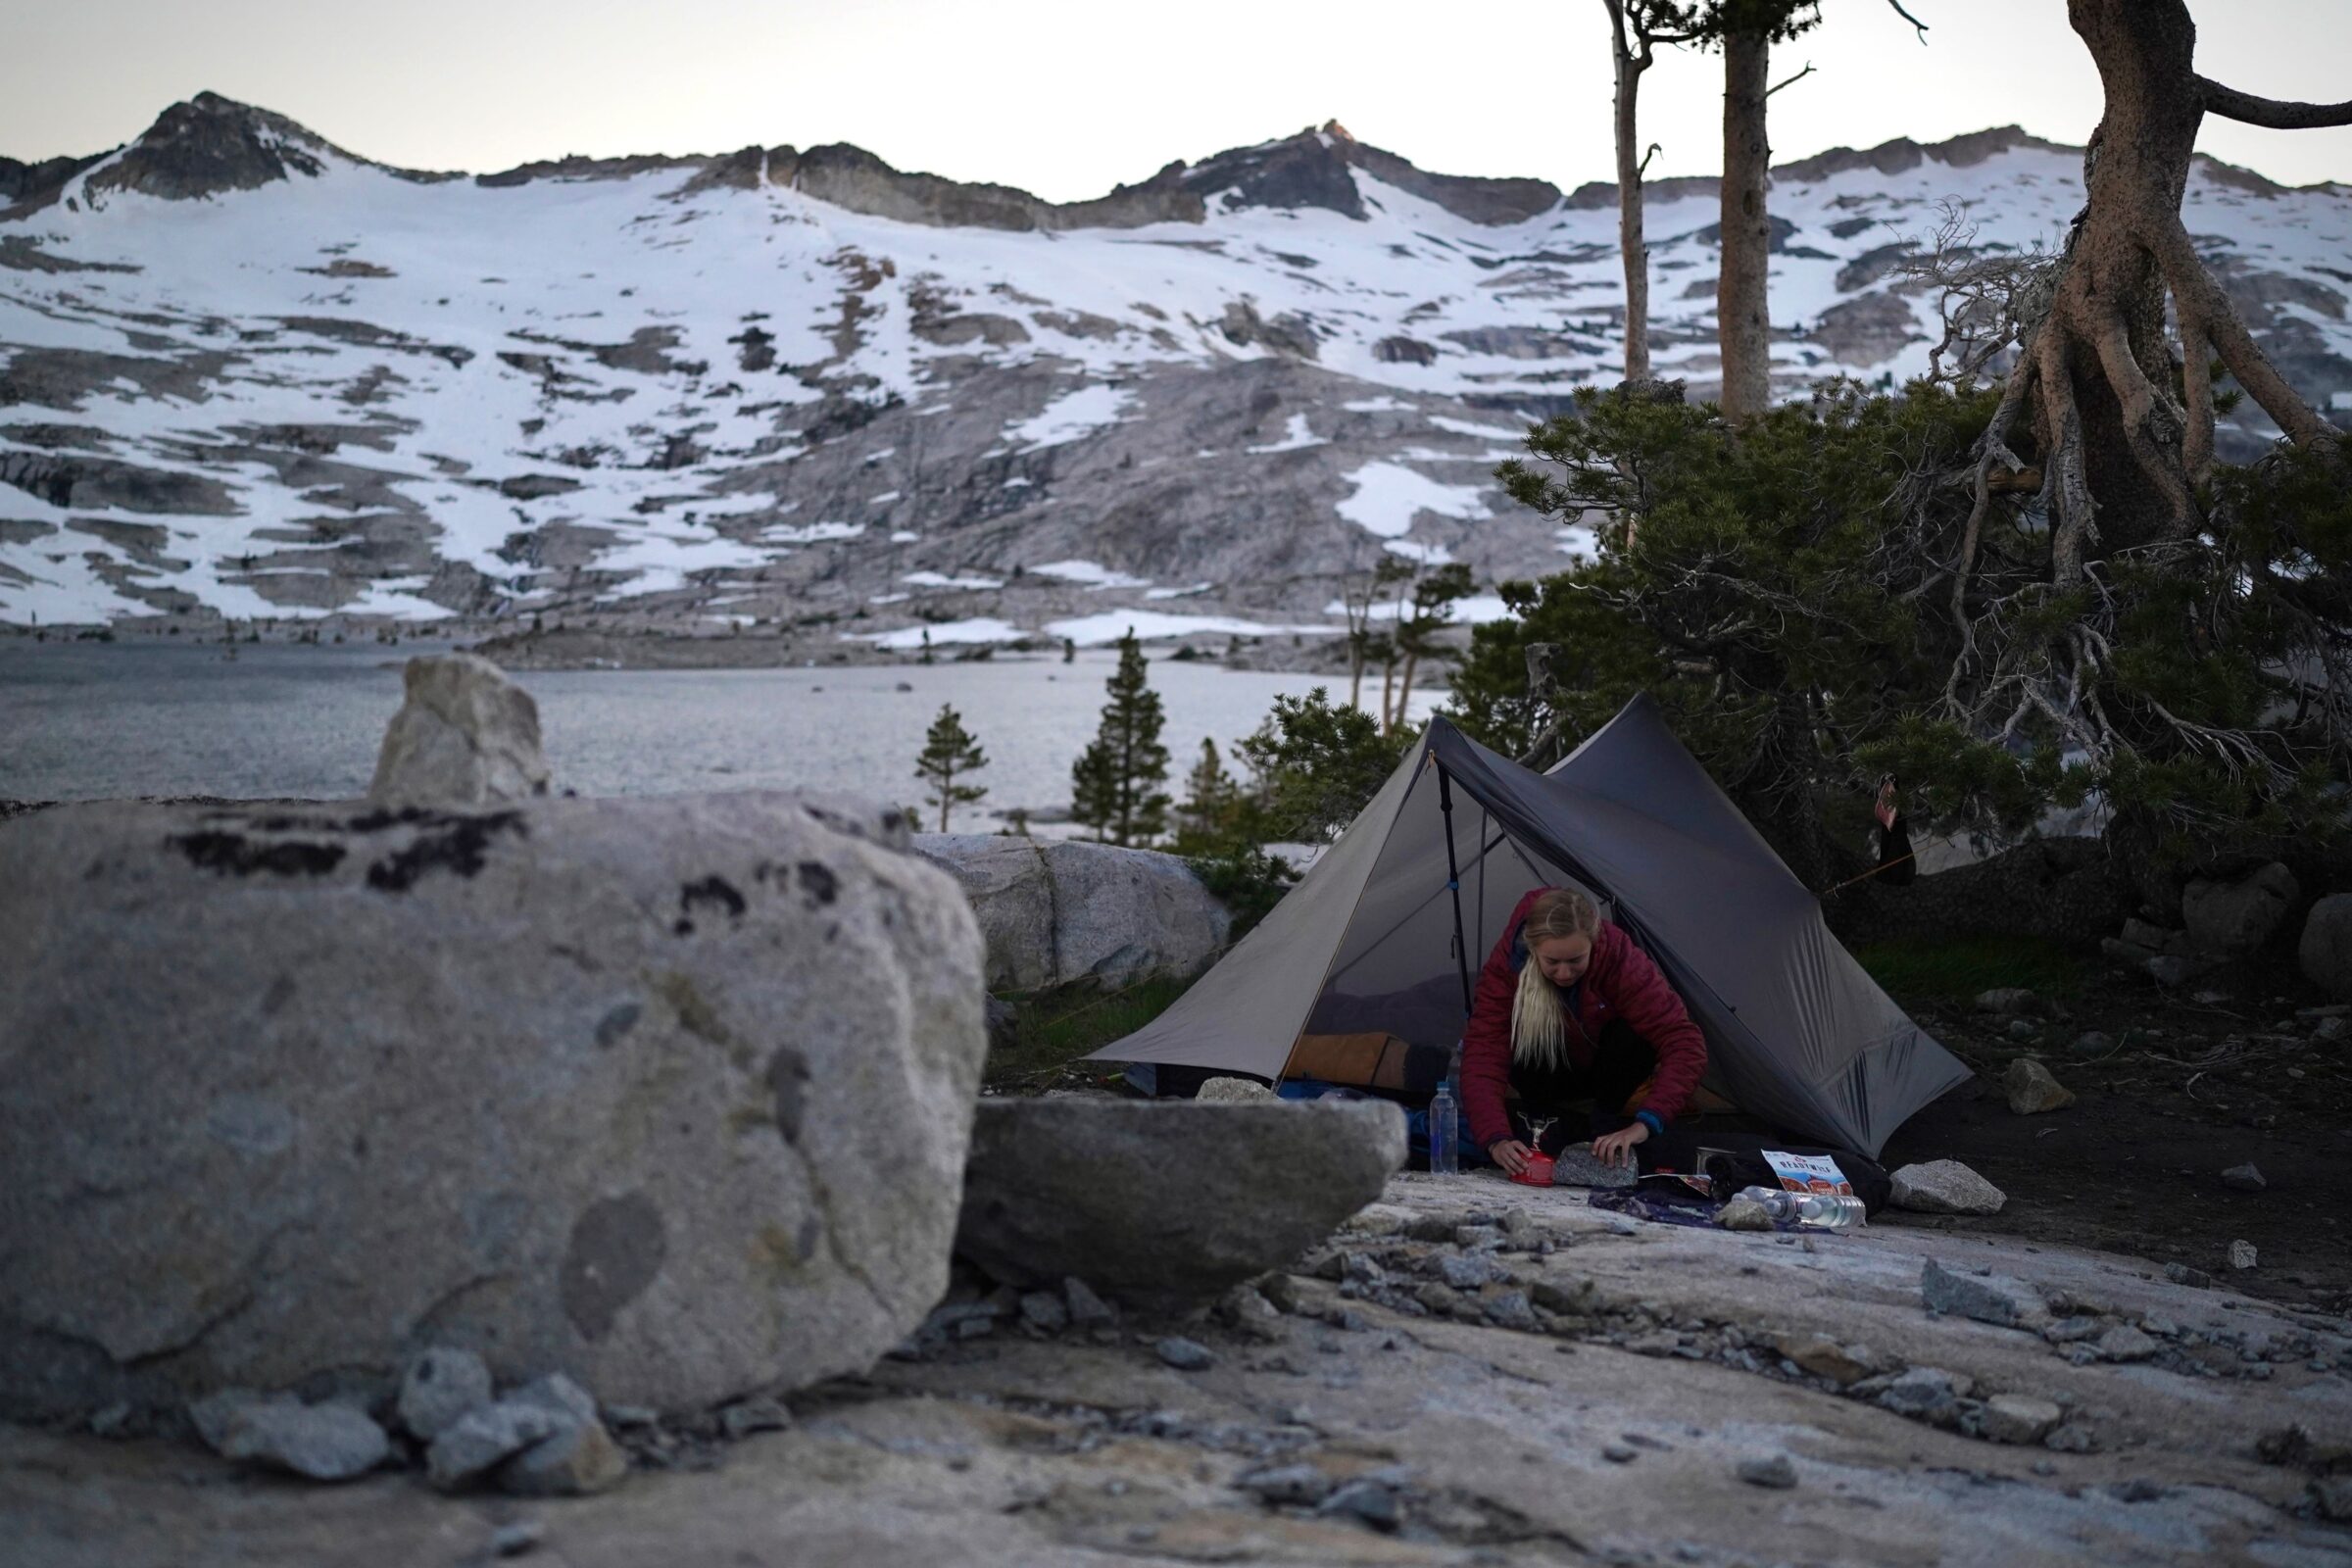
Ultralight backpacking equipment often isn’t cheap, but you also don’t need to part with any extraneous organs in order to get your hands on a solid UL tent, either. With options in both silnylon/silpoly and more deluxe composites like Dyneema Composite Fabric or Ultra, there’s a definite range of tents out there.
You’ll need to consider how often you’ll be using your tent as a major deciding factor — thru-hikers will obviously need to opt for a larger investment, while weekend backpackers can likely get away with less.
Budget
If you’ve already splurged on your UL pack and sleep setup, going with a budget ultralight shelter can make a lot of sense. These will typically run you between $250 and $300, and they are overwhelmingly single-wall designs made from silicon-treated nylon or polyester. This certainly helps to keep the price down, but it won’t be as light as tents made from DCF.
The Gossamer Gear The One ($255) is still our favorite budget UL tent, and while some single-person tents use a solo trekking pole design, the One uses two to create a good amount of interior space. The Durston X-Mid 1 ($239) is set up in a similar way, but uses a unique offset design to increase interior space even further, and sports a double wall design. Both are reliable shelters with entire thru-hikes under their belts, and less than many mainstream backpacking tents today.
Mid-Tier
Spending between $400 and $600 opens up a lot of doors in ultralight tents, including the use of DCF materials in the build. Single hiker shelters like the Zpacks Plex Solo ($599) and Hyperlite Mountain Gear Mid 1 ($599) both hover around the 1-pound mark, and sport around 20 sq. ft. of floor space, which we’ve found just about right for solo hikers.
You can also get into a lightweight freestanding tent for these prices, and the $370 Big Agnes Fly Creek HV UL 1 is even a bargain comparatively. Overall weight will be a little higher due to the use of tent poles (2 pounds on the Fly Creek), but the ability to set up the tent on rock slabs or frozen ground can make a worthy tradeoff.
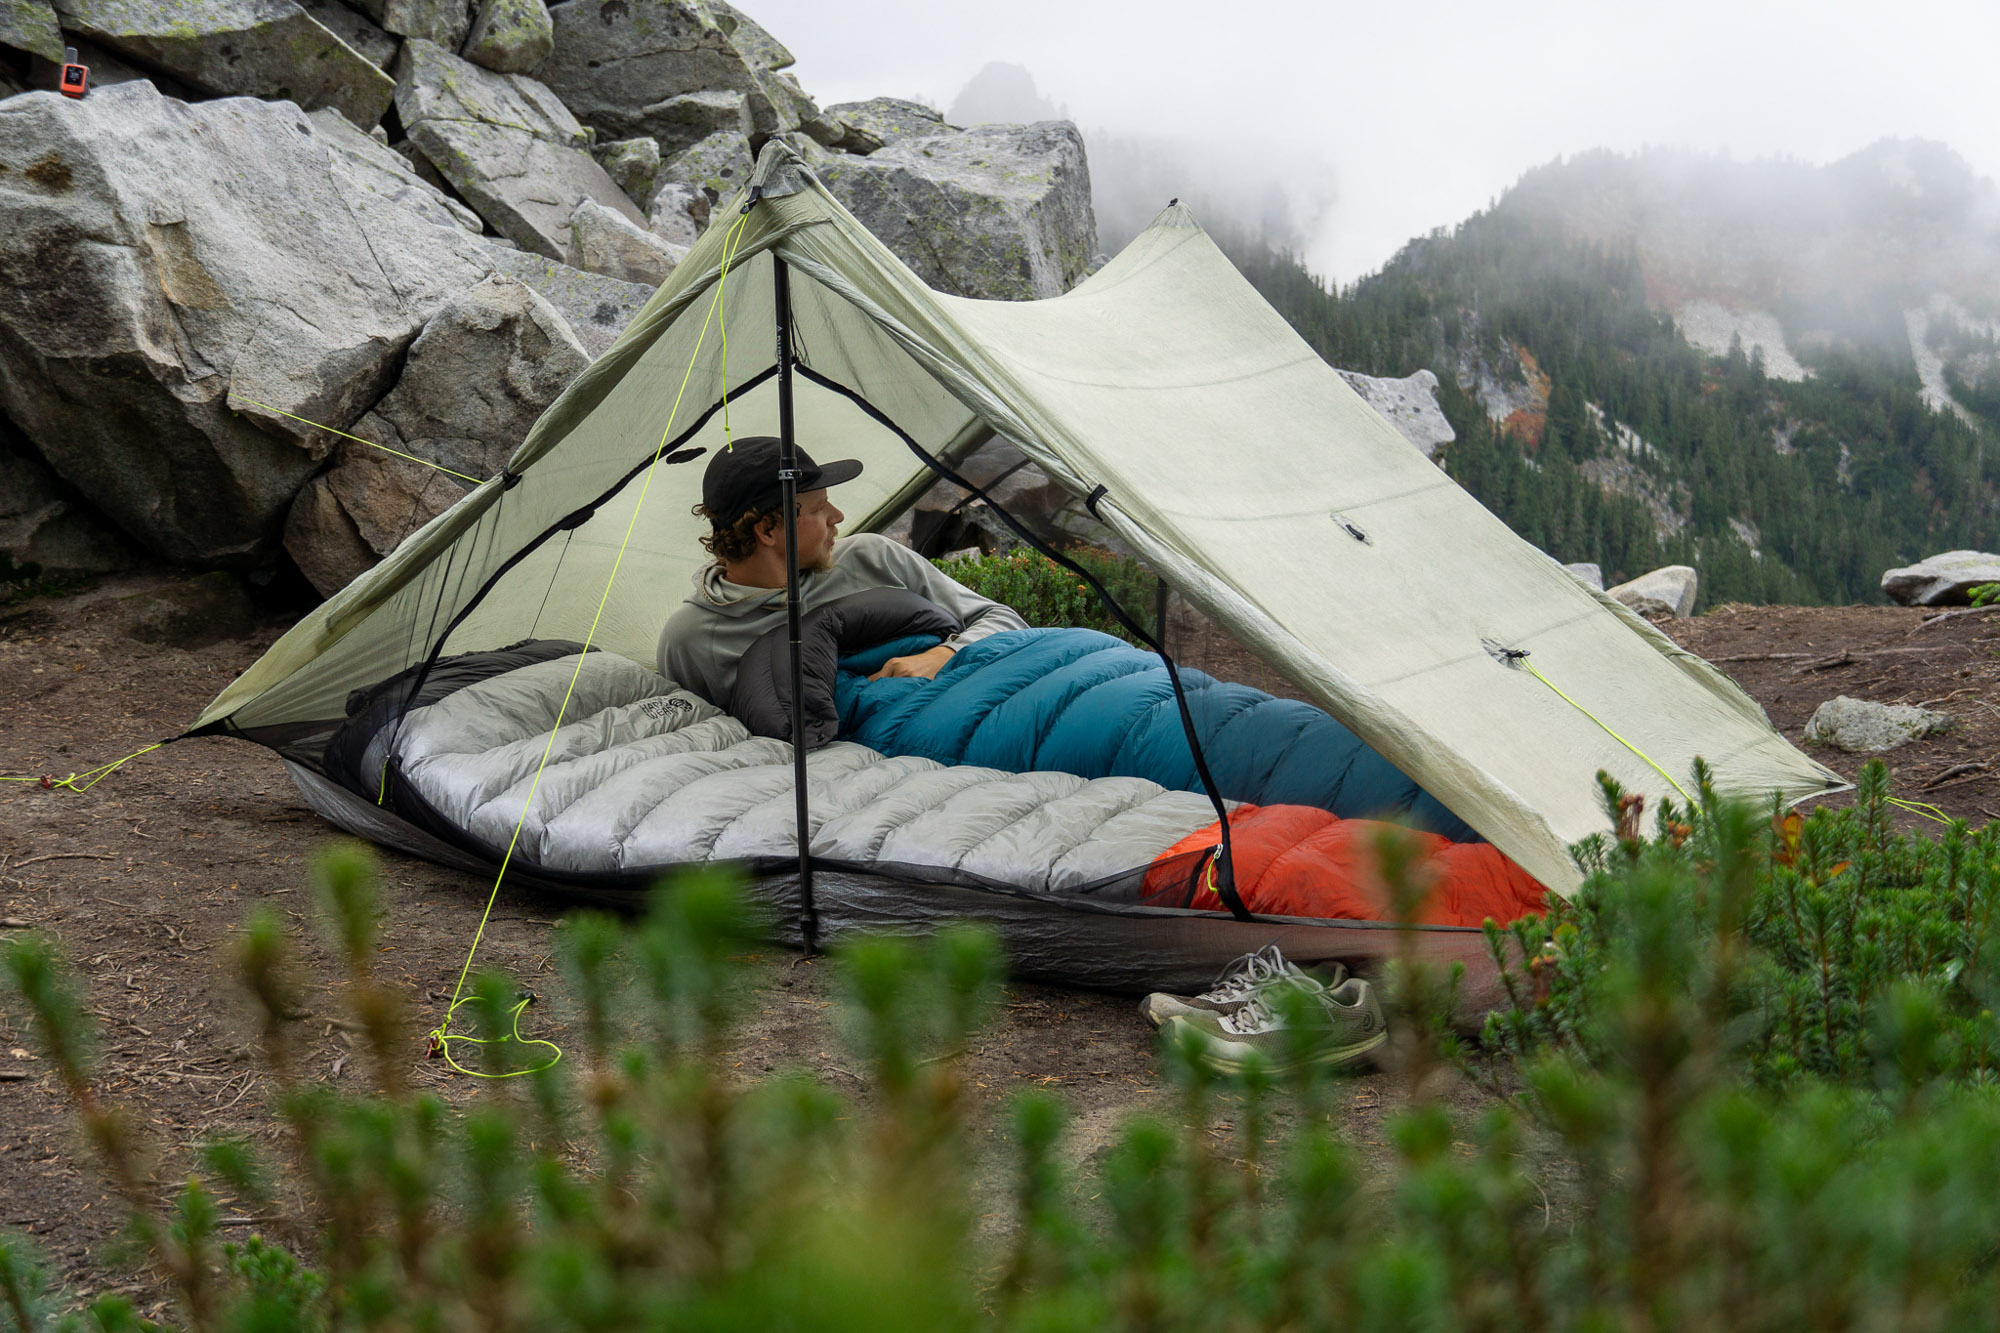
Premium
It could be argued that all ultralight tents are premium, but there is an upper crust even here, with full DCF two-person shelters running upward of $700. These tents make use of a lot of Dyneema, which helps explain their lofty price tags, but quality design also weighs heavy here.
The Hyperlite Mountain Gear Unbound 2P ($699) and Zpacks Duplex ($699) are very similar tents, and both implement a design that has been refined over many years of testing on long trails.
Frequently Asked Questions
The best ultralight tent is one that keeps you comfortable in the terrain where you venture and one that alleviates the weight on your back. However, you could sacrifice comfort and durability if you choose an ultralight tent that’s too lightweight.
Some experienced thru-hikers and adventurers prefer to drop as much weight as possible to help them boost mileage. And they don’t mind the caveat of being more vulnerable to the surrounding habitat and inclement weather.
Ultralight tents are fairly durable against the weather but are also more sensitive to abrasion and rough handling than heftier tent designs. The lower the ounces, the more conscious the tent’s user needs to be.
There’s no universal guideline that defines the ultralightweight tent category. Generally, ultralight tents weigh less than 48 ounces. The shelters recommended in this guide range from 5.2 to 33 ounces, and this list isn’t comprehensive of all the best ultralight options.
An ultralight tent is a stellar investment for long-distance or high-volume trekkers seeking to move faster and more nimbly. Also, if an outdoor traveler is seeking to pare down their entire overnight kit, cutting the den weight is a good avenue.
Some hikers need to lessen the burden on their bodies for health reasons and overall longevity, and the extra cost is worthwhile.
Backpacking tents degrade over time due to exposure to the elements. Those variables include rain and direct sunlight, contact with the terrain, overall handling, care, and storage conditions.
As with any outdoor equipment, tents reflect wear and tear with time. They will last longer if they’re well maintained.
To give you an idea, the Zpacks Duplex Tent claims it will last a minimum of 2,500 miles straight or several years of casual use. Thru-hiker Elina Osborne confirmed the tent tackled her 2,653-mile journey along the PCT and counting.
At print, the Big Agnes Fly Creek HV UL 1 handled 200 days of use. The Zpacks Hexamid Pocket Tarp with Doors withstood more than 300 nights. And the Gossamer Gear The One breezed through more than 3,000 miles, all according to our expert crew of thru-hikers. Each of those tents isn’t in mint condition but they’re all still workable, protective, and in the field.
You can integrate a few simple routines to extend the life of your tent. During a trip, shake out the tent before you pack it away, to relinquish loose debris that could scrape the fabric.
After heavy use, your shelter can be soaked in soapy water, rinsed, and hung or put up outside in the shade to completely dry. When it’s ready to be stashed, make sure the tent is in a dry, fairly cool place and not wound up tight.
You can make simple repairs too. Tent seams are taped to prevent water from entering the tent but can degrade. They can be restrengthened with seam sealer.
A waterproof coating can be reapplied, as well. Be sure to check with your tent’s manufacturer about which aftermarket products are compatible with the materials.
If the interior material itself is falling apart — as in, the waterproof coating is peeling off — that’s a clear sign the tent is worn out, and it’s near time for a replacement. If there are large holes (like from a campfire spark) that can’t be dependably patched, it’s a fair segue to a new purchase.
Furthermore, as more outdoor industry brands remove chemical treatments from their tent products, you might opt to purchase a tent that is more environmentally friendly and aligns with your health needs.
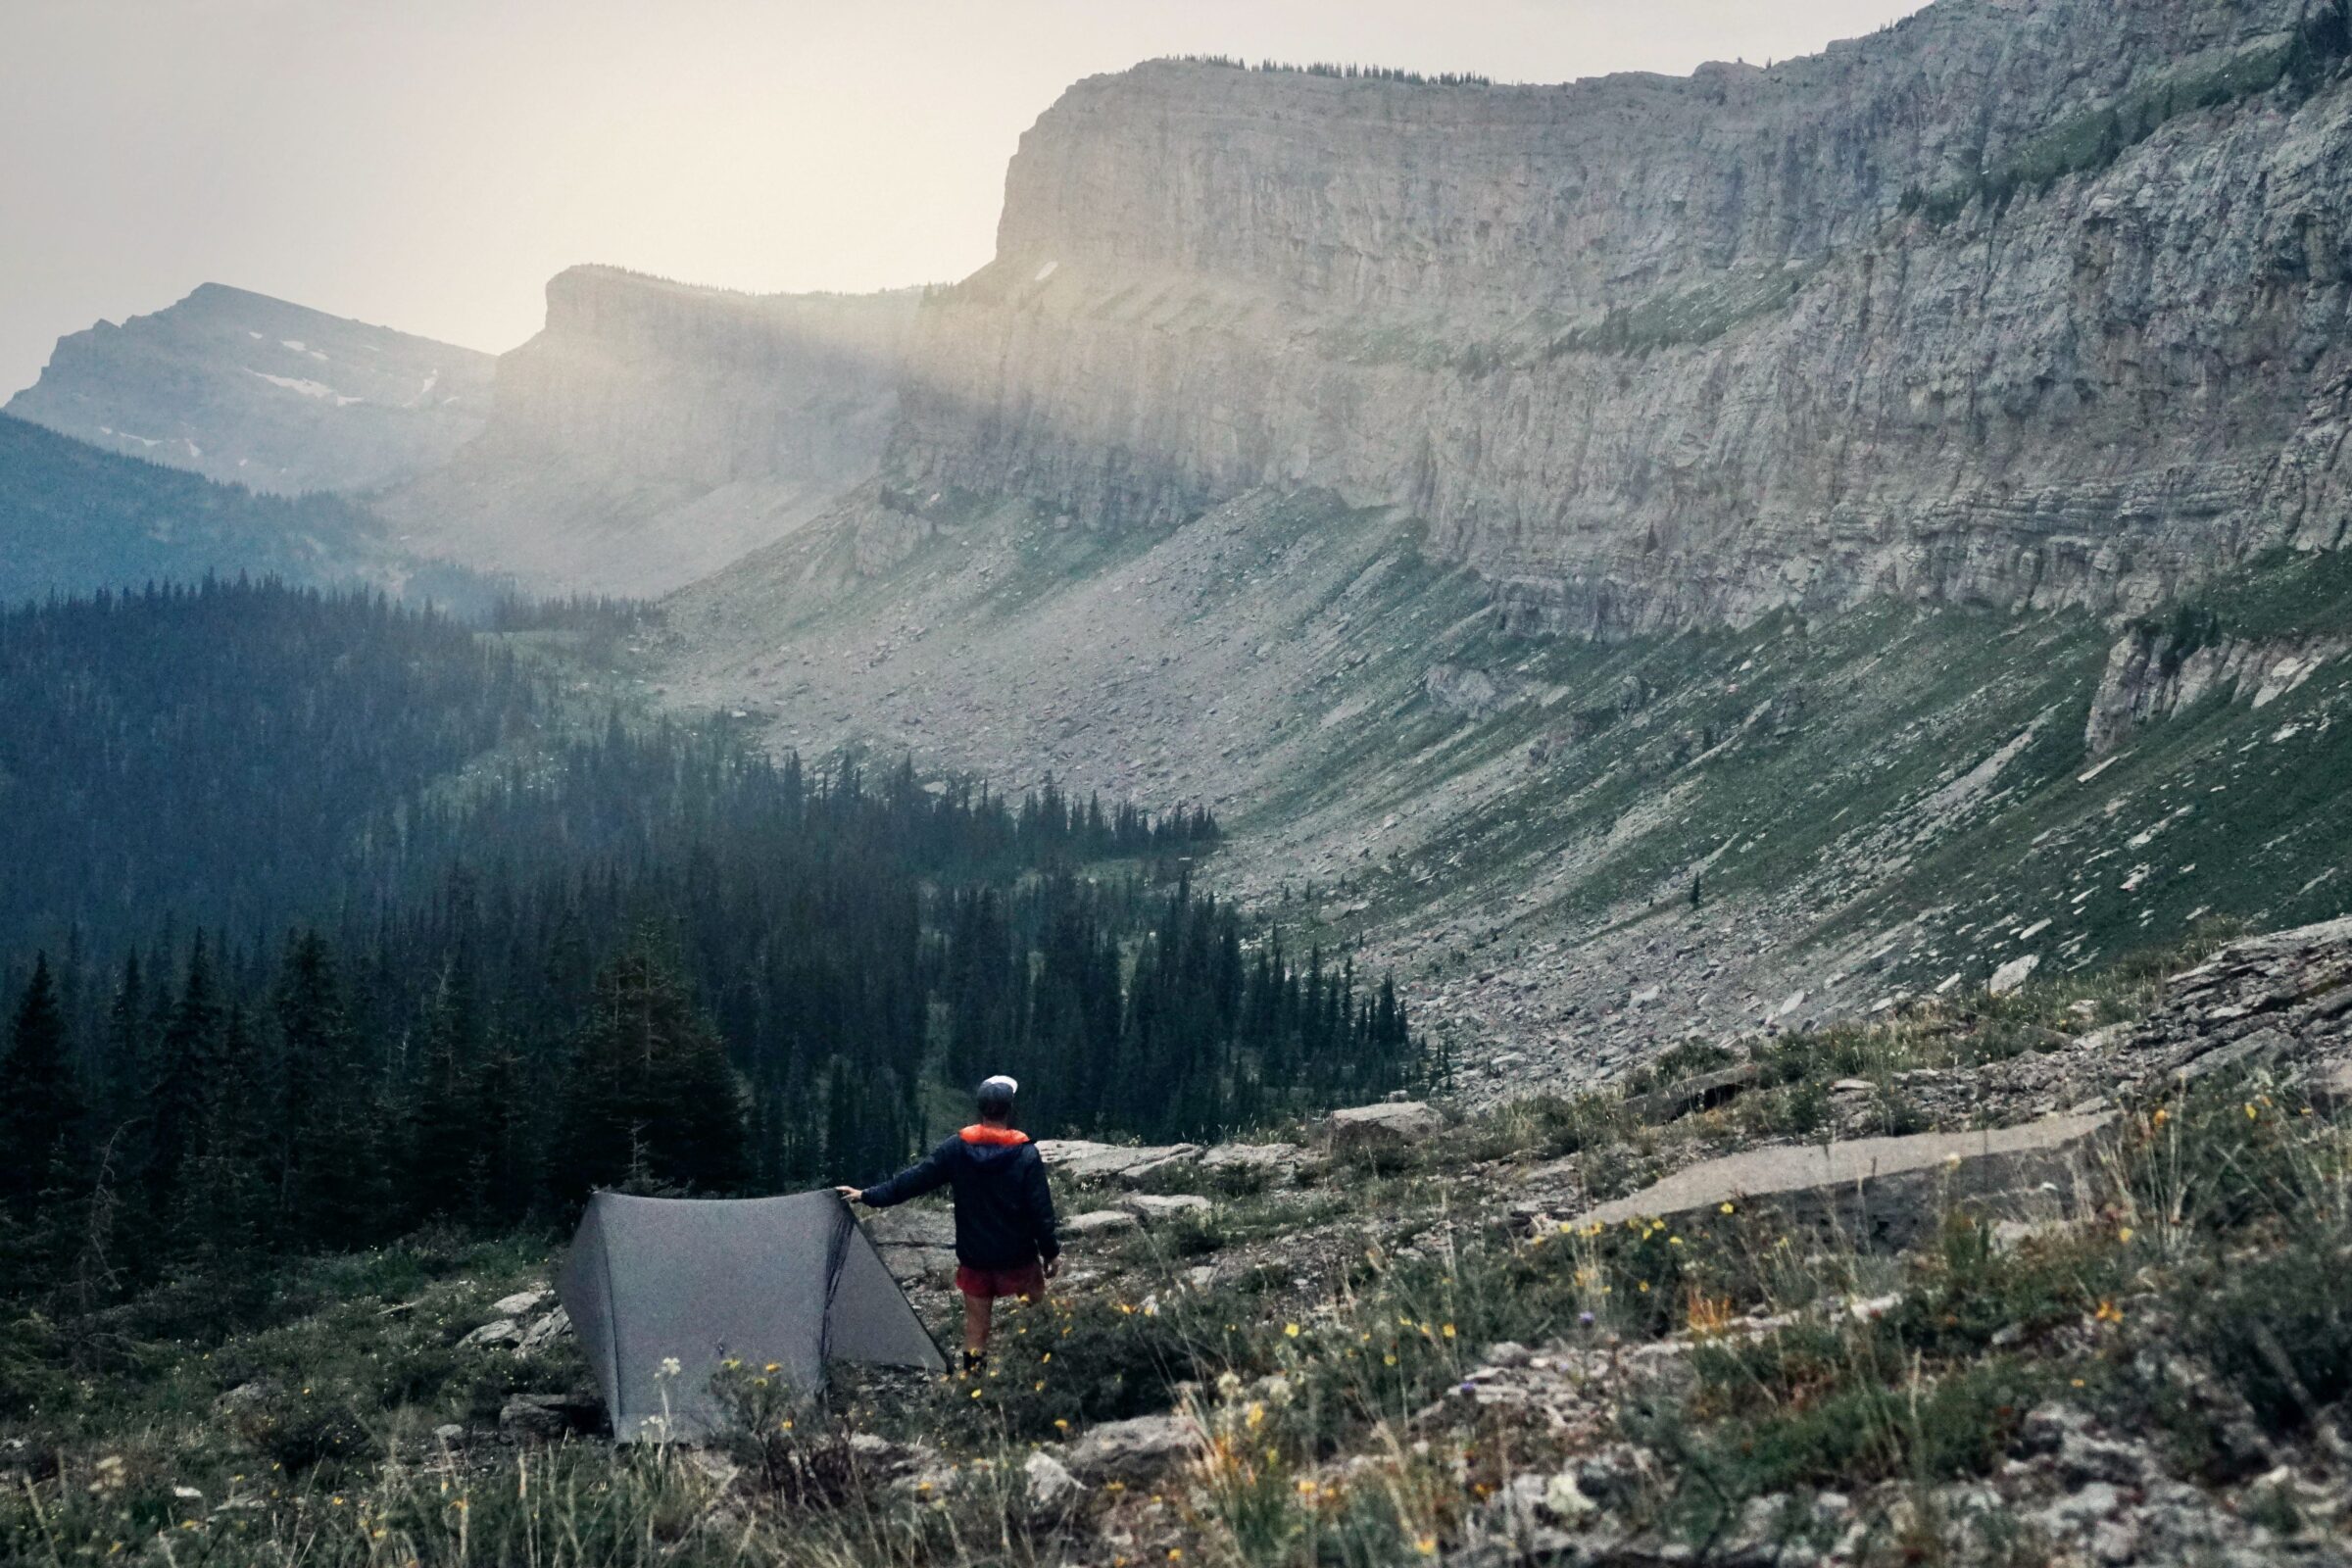
The Best Backpacking Sleeping Bags of 2026
We’ve found the best backpacking sleeping bags for every environment and budget, with top picks from Therm-a-Rest, Mountain Hardwear, NEMO, and more.
The Best Ultralight Backpacks of 2026
We interviewed thru-hikers and dedicated weekend warriors, putting loads of models to the test to narrow in on the top ultralight backpacks for any adventure. Check out our top picks from Durston, Gossamer Gear, Hyperlight Mountain Gear, and more.
